16 Must-Do Activities in St. Augustine, Florida

St. Augustine, Florida was founded in 1565 by Spanish settlers, making it the oldest continuously occupied European settlement in the continental United States. Known as the nation’s Oldest City (as well as the Ancient City), this small town has more than enough to keep visitors occupied for an extended weekend, with charming cobblestone streets, historic buildings and landmarks, prime nature-viewing areas and gorgeous beaches.

I went to high school in St. Augustine and although I haven’t lived in the area in well over a decade, I go back for frequent visits, exploring local hotspots as well as the well-known tourist areas.

Here’s a list of my recommend activities in St. Augustine, ranging from the typical tourist sites to a few locals-only secrets.

Trolley tour through downtown St. Augustine: While I’ve never taken a trolley tour myself, I still recommend them to all first-time visitors to St. Augustine. The will give you a great overview of the downtown area and since it’s a hop-on, hop-off trolley, you can spend more time at any of the locations. The drivers will also share the history of St. Augustine while driving you around the city.

Additionally, if you opted not to rent a car, a free shuttle to the St. Augustine Lighthouse and beaches is included as part of the tour cost.

How to get there: Since street parking is challenging to find, you’ll want to park at the Visitor Information Center at downtown St. Augustine, which costs $15. Address: 1 Cordova Street, St. Augustine, FL 32084.

Cost: Approximately $25 per person for adults

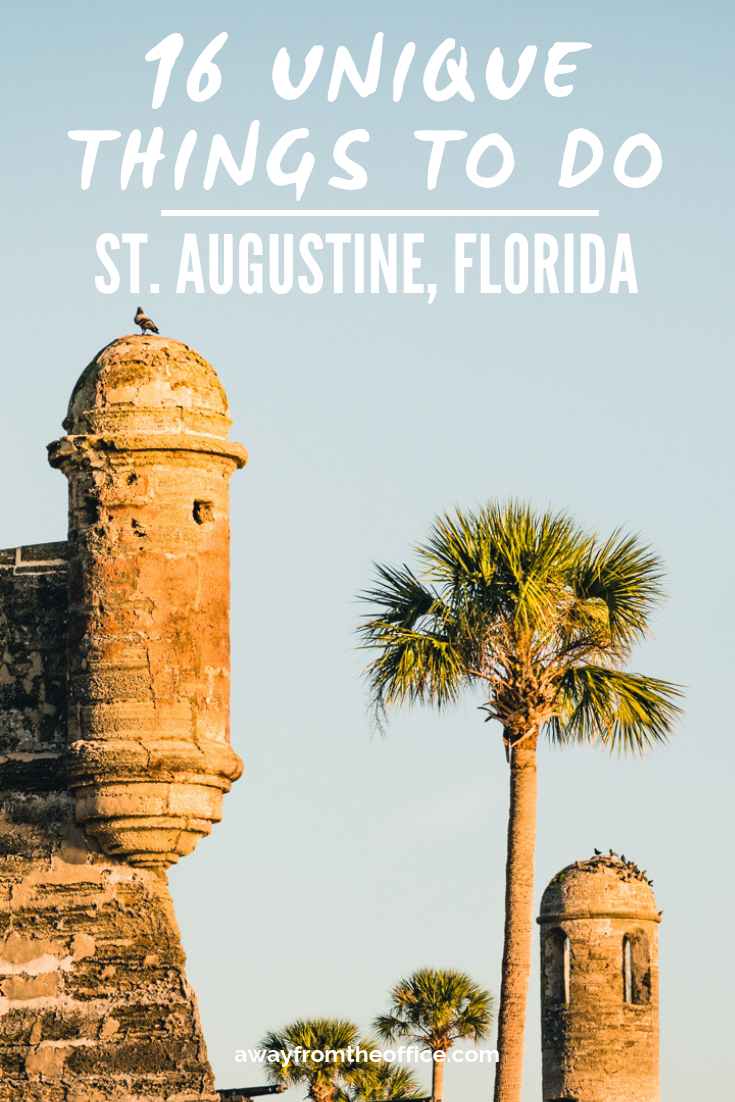
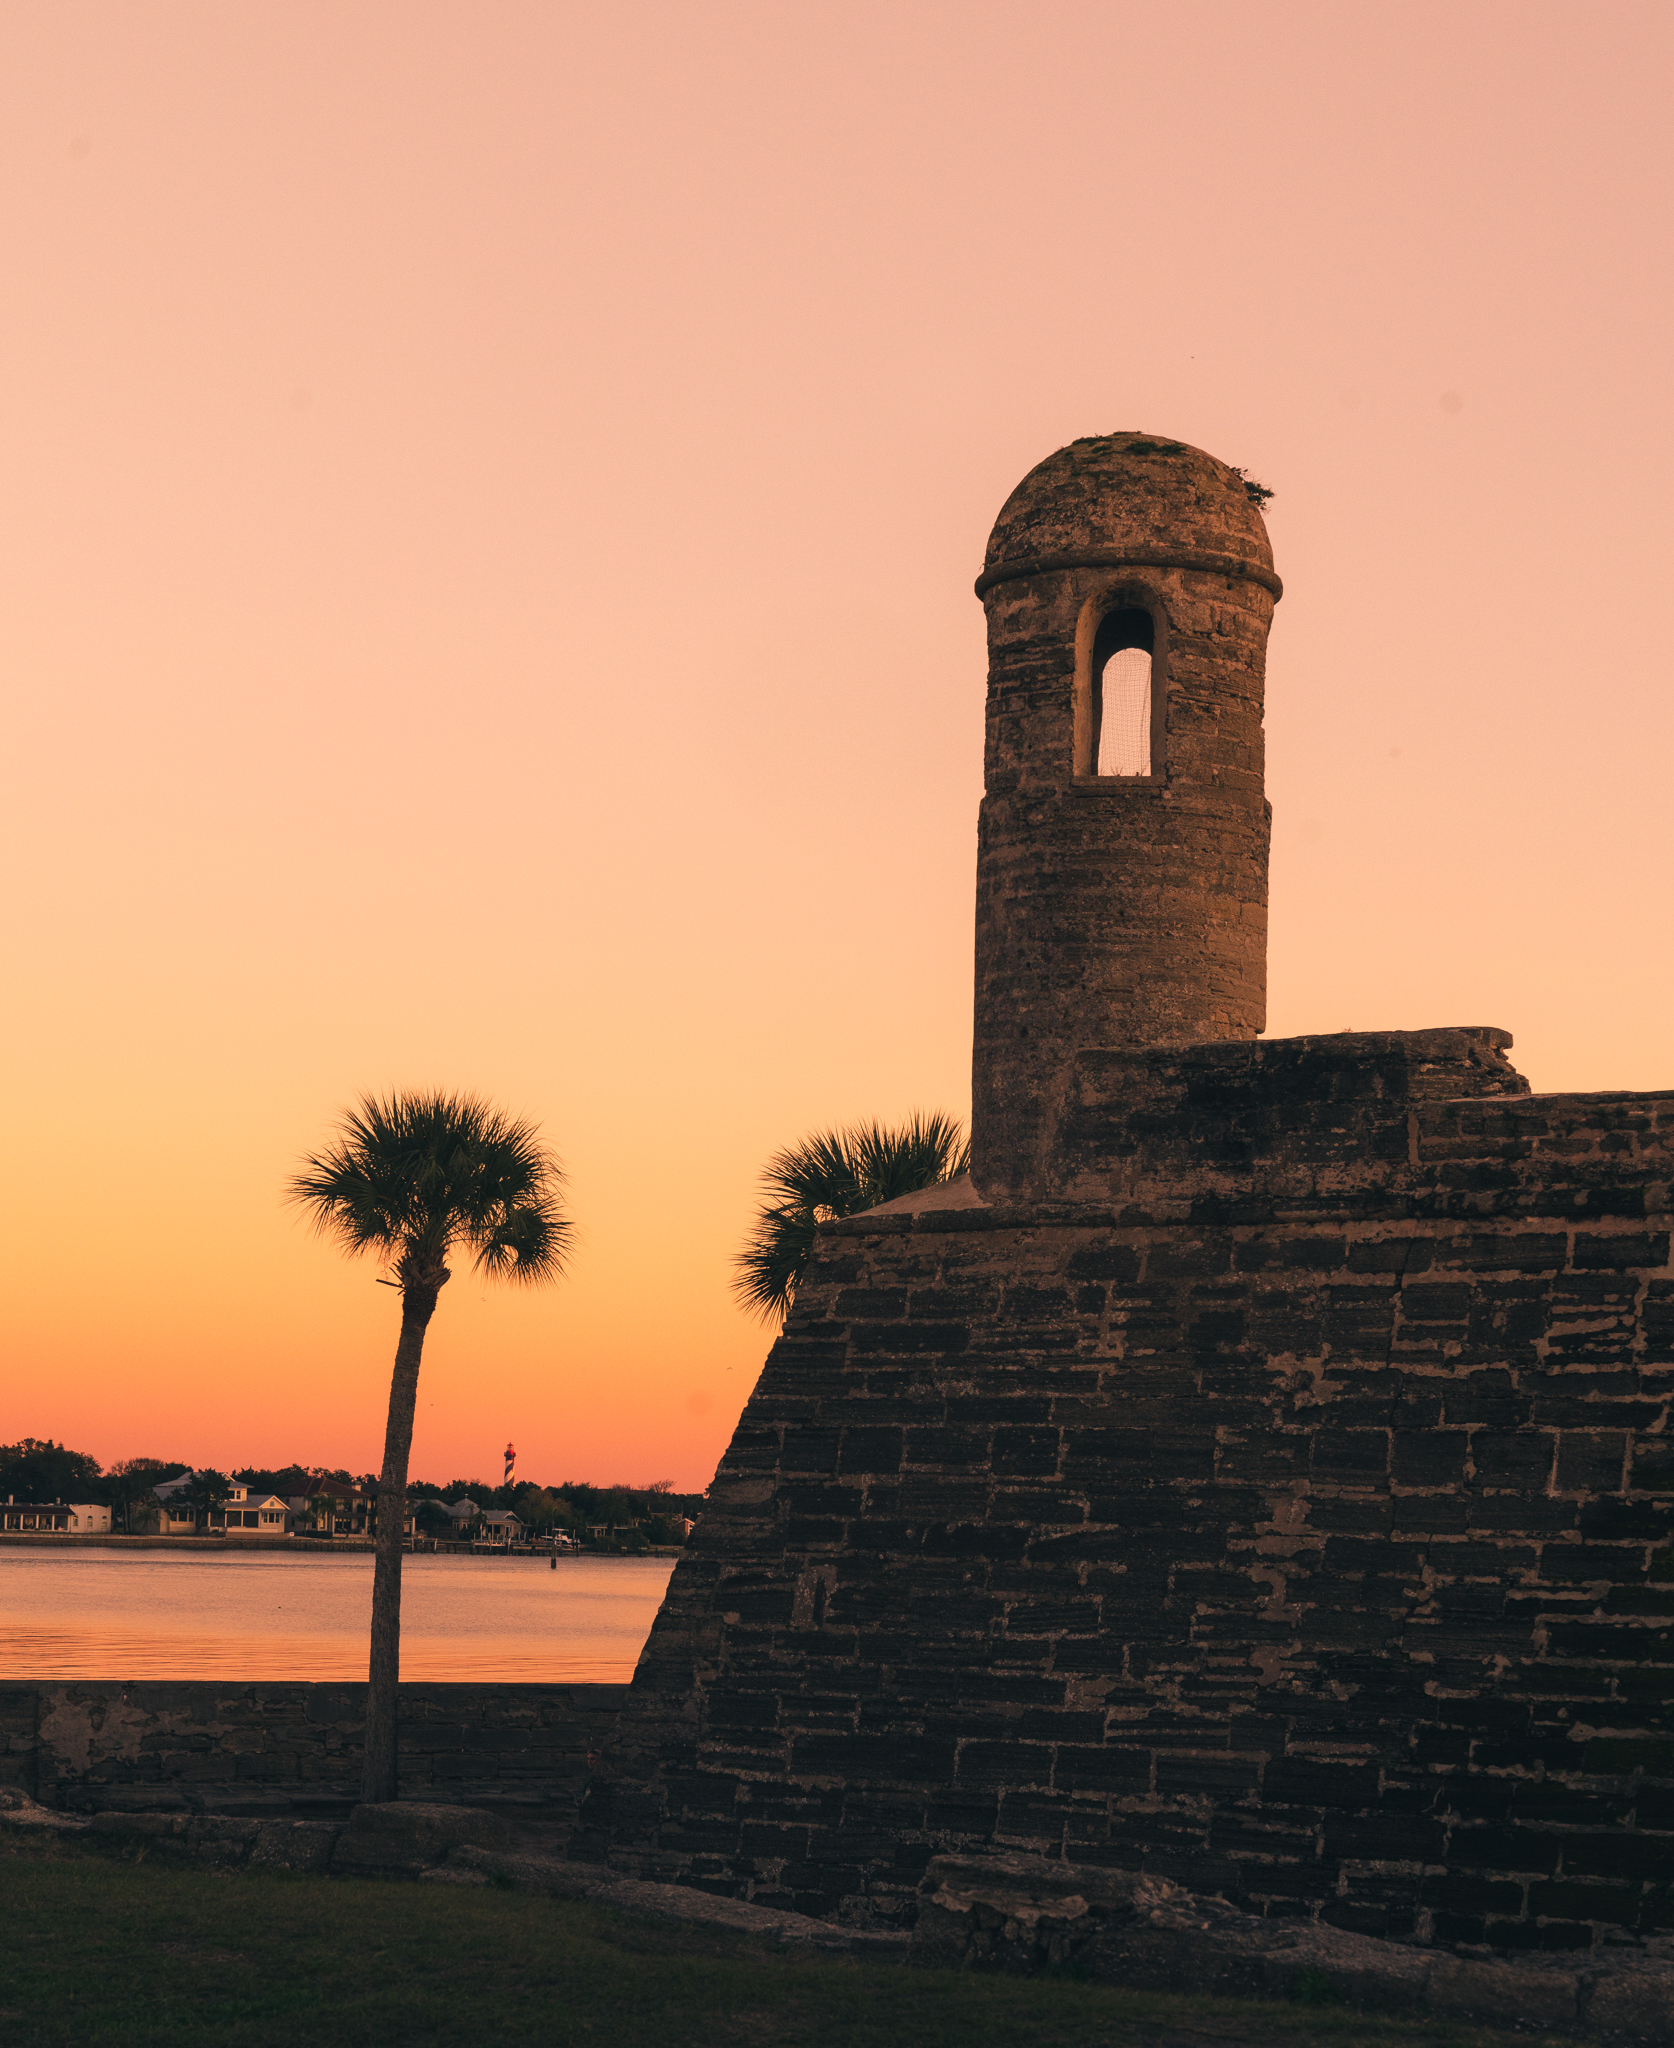
Castillo de San Marco National Monument: Known as the “the fort” to locals, the Castillo de San Marcos was built by the Spanish in the late 1600s and it became a national monument in 1900. Park rangers offer tours, providing details of the fort’s long history as well as cannon-firing demonstrations. After visiting the fort, wander the outside on the part closest to the bay and keep your eye out for wild dolphins. This area is also fantastic for sunset photography.

How to get there: There’s a parking lot in front of the fort, which charges $2.50 per hour. The address is 1 South Castillo Drive, St. Augustine, FL 32084. If you’re going to visit other areas of downtown St. Augustine, I recommend parking at the Visitor Information Center parking garage.

Cost: Adults (age 16 and up) are $15 per person; kids 15 and under as well as America the Beautiful pass holders are free.
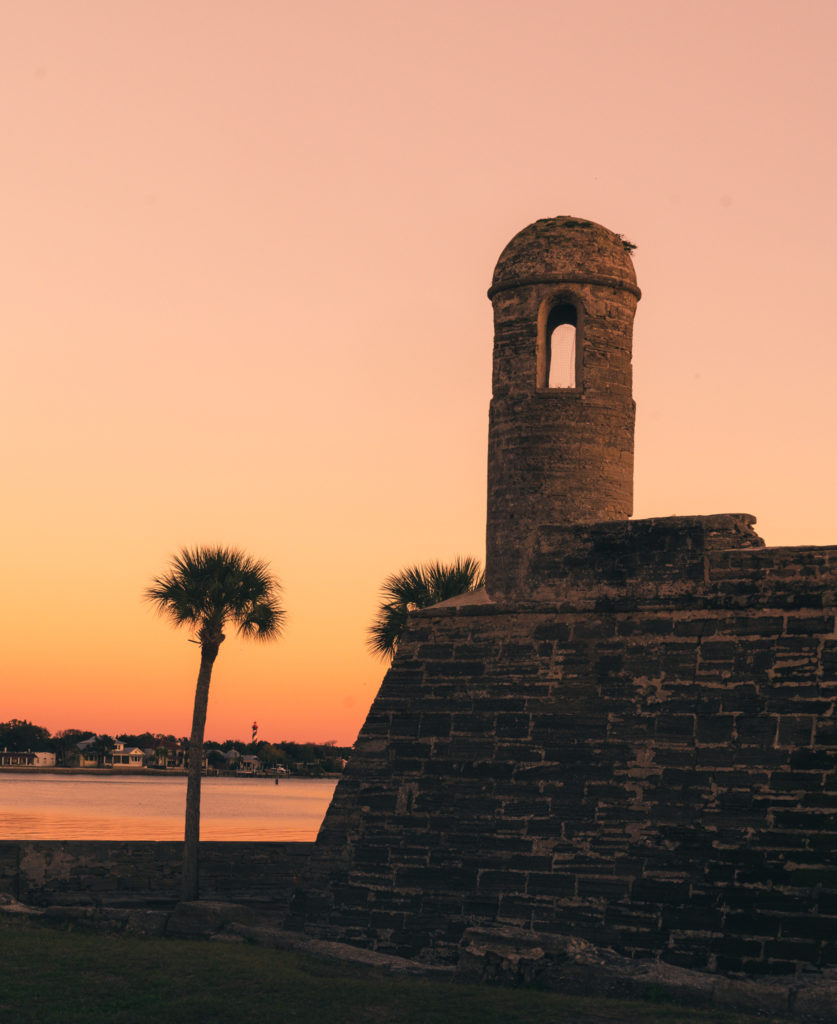
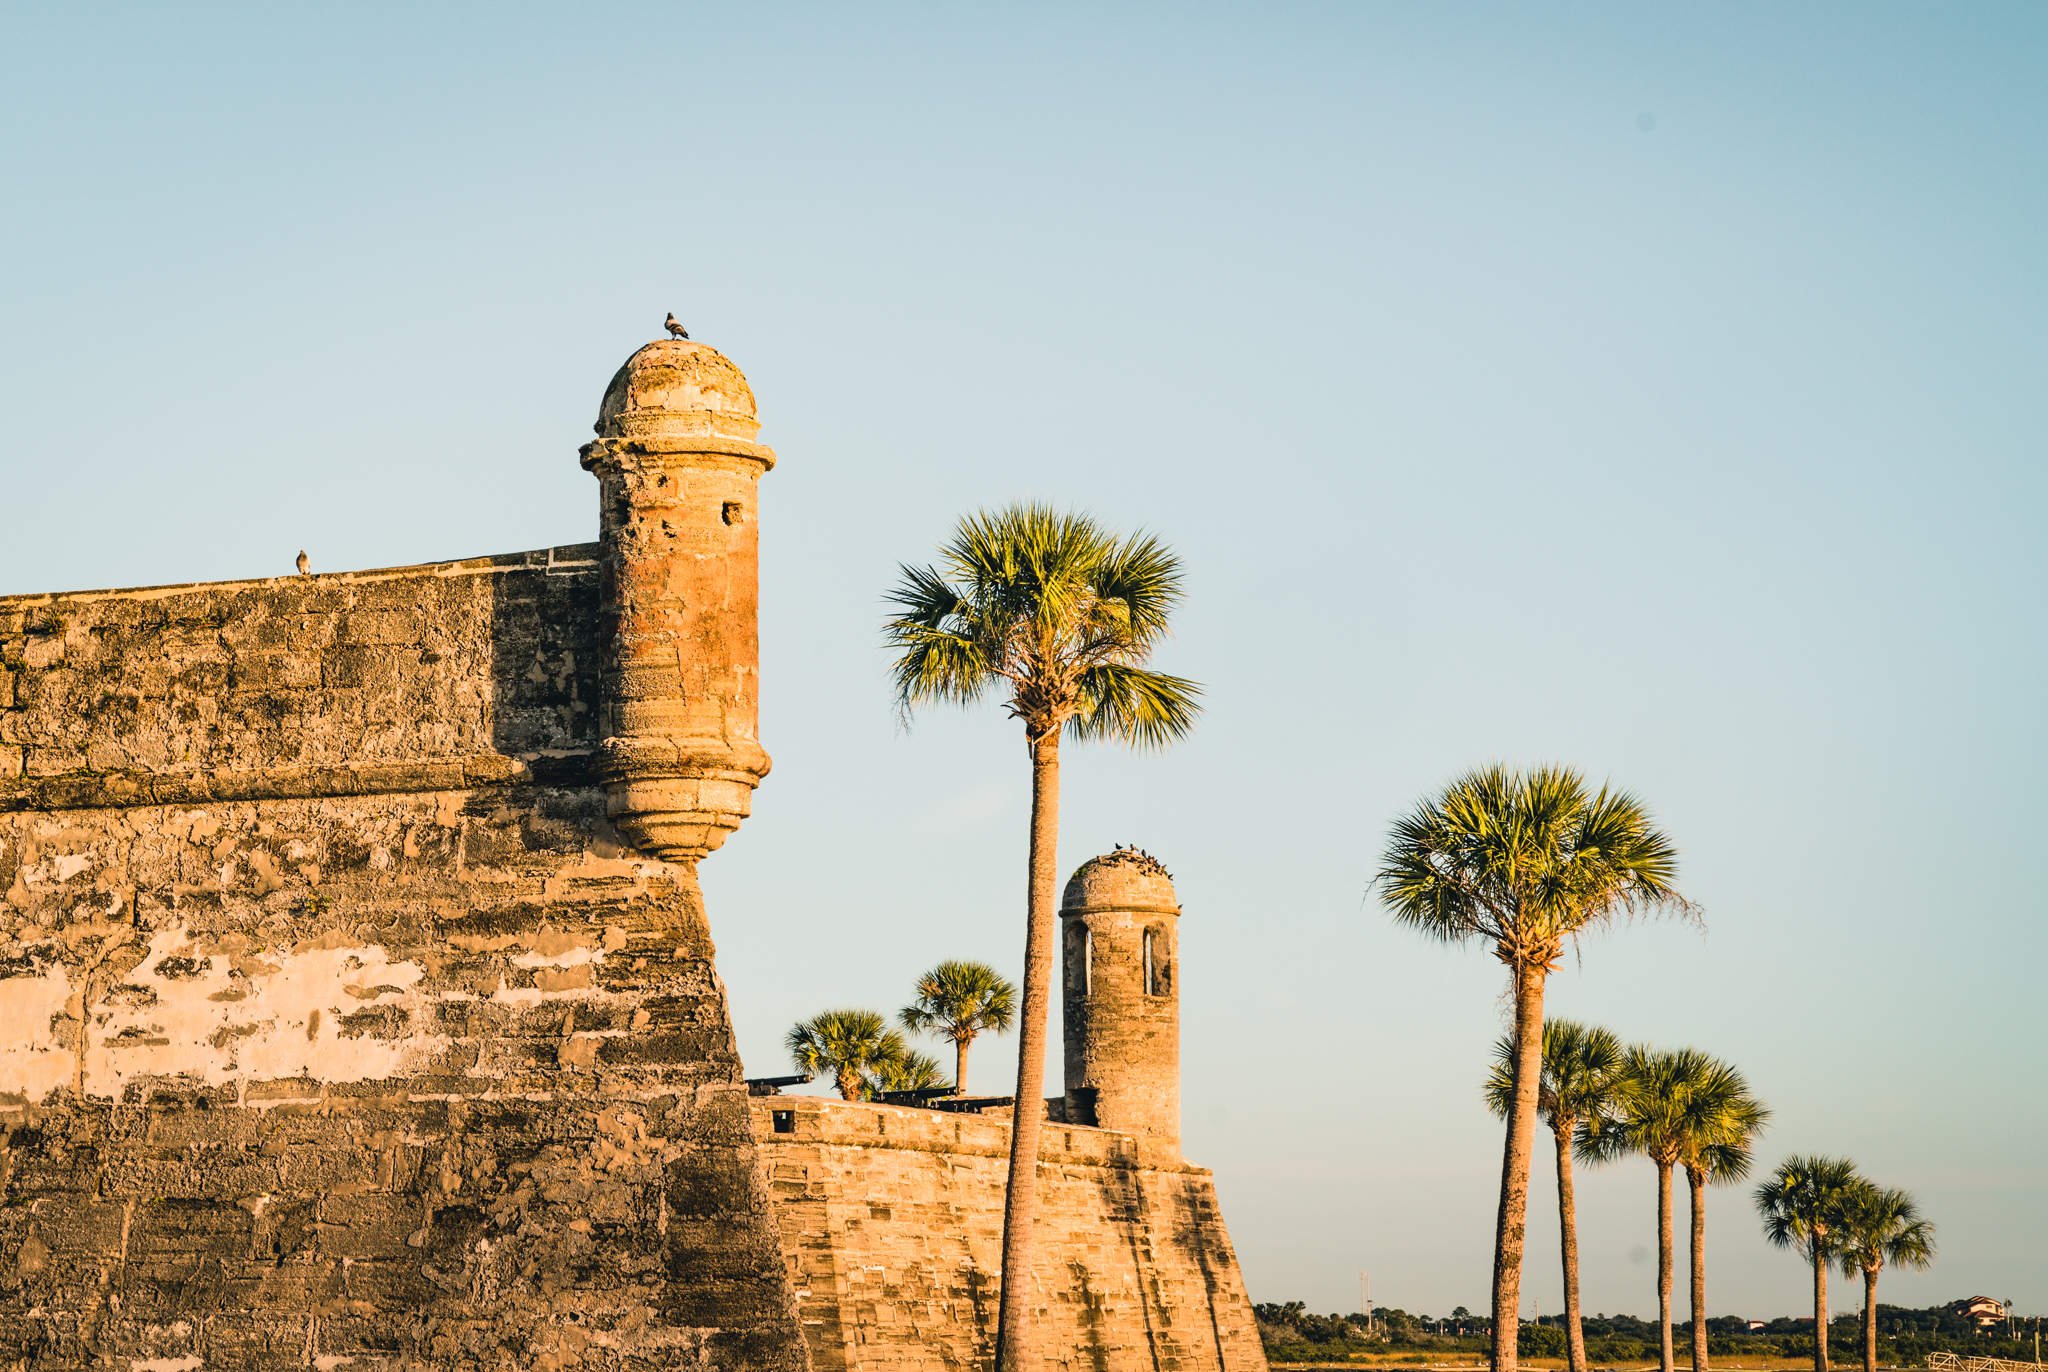
Castillo de San Marcos, St. Augustine, Florida

Castillo de San Marcos, St. Augustine, Florida

Castillo de San Marcos, St. Augustine, Florida

St. George Street: St. George Street is located in the heart of the colonial district, across from the Castillo de San Marco. You can spend hours eating and shopping on this street as well as visiting historic attractions, such as the Oldest Schoolhouse (more on that later). You’ll find everything from typical tourist shops selling salt-water taffy and t-shirts to antique shops.

Since I’m often visiting St. Augustine right before Christmas, I’ll often shop for stocking stuffers on this street since there are some unique gifts that I can’t find anywhere else, such as datil pepper sauce.

Make sure you bring a hearty appetite since there are numerous places to grab a snack (I counted no less than 8 ice cream shops on this street during my last visit) or a delicious meal. It’s also worth veering off the side streets and exploring some of the smaller alleyways.

If you want to avoid crowds, make sure to visit early in the morning. During peak times (like the holidays), the street can become very crowded.

How to get there: Since St. George Street is a pedestrian zone, there’s no parking available directly on the street. I recommend parking at the Visitor Information Center and walking a couple of blocks to get to the start of St. George Street.

Cost: None; walking the street is free. You’ll likely pick up some souvenirs along the way, however.
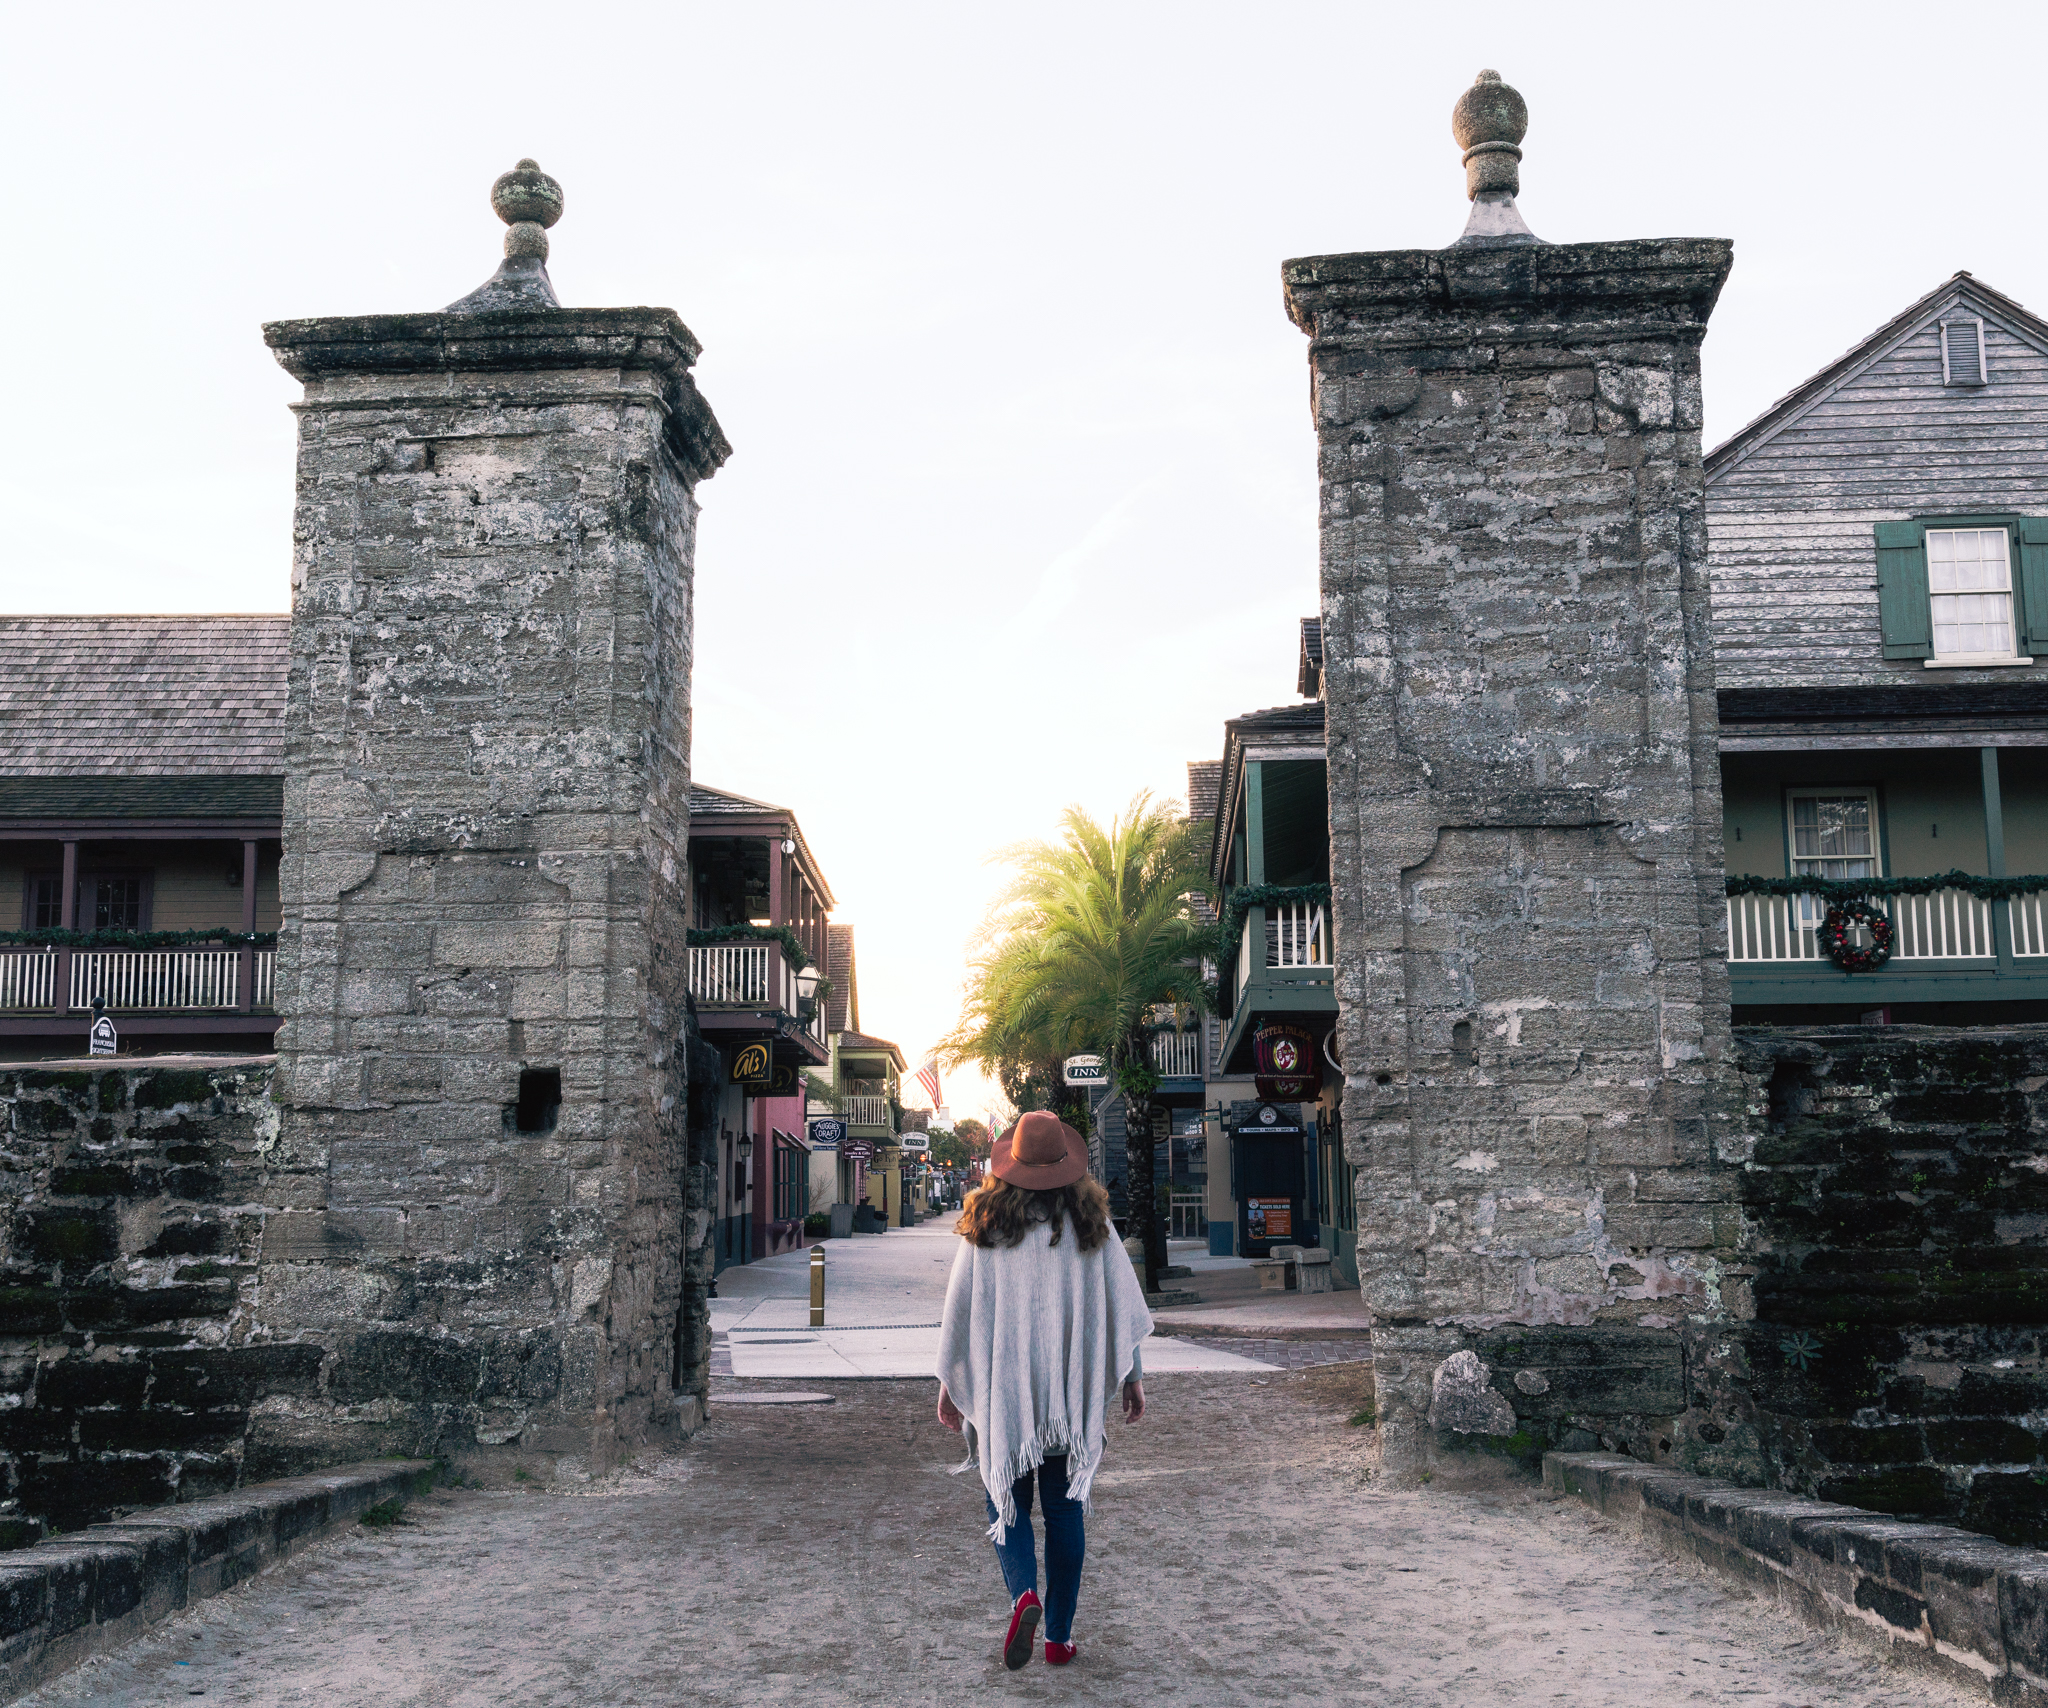
Saint George Street, St. Augustine, FL

Aviles Street: Aviles Street is a hidden gem that a lot of tourists skip but it’s definitely worth a visit and reminds me of the streets in Spain, with cobblestone roads and coquina walls. There’s a wide range of restaurants on the street, ranging from Polish to Cuban, as well as some cute antique shops.

How to get there: Parking can be challenging so I recommend parking at the Visitor Information Center parking garage.

Cost: None
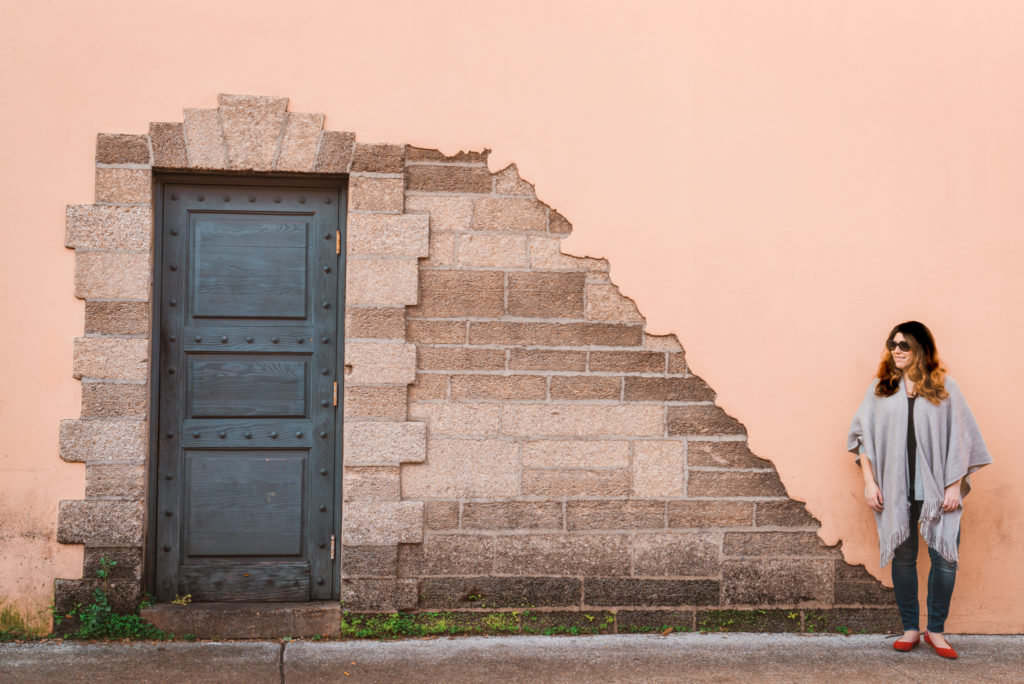
Aviles Street, St. Augustine, Florida

Oldest Wooden SchoolhouseLocated right on St. George Street, the Oldest Wooden Schoolhouse was built over 200 years ago, during the reign of the Spanish. Take a tour through the one-room schoolhouse to see what school like was back in the days before electricity and running water.

How to get there: 14 St George Street. I recommend parking at the Visitor Information Center parking garage

Cost: $5 for adults and $4 for kids 6-12
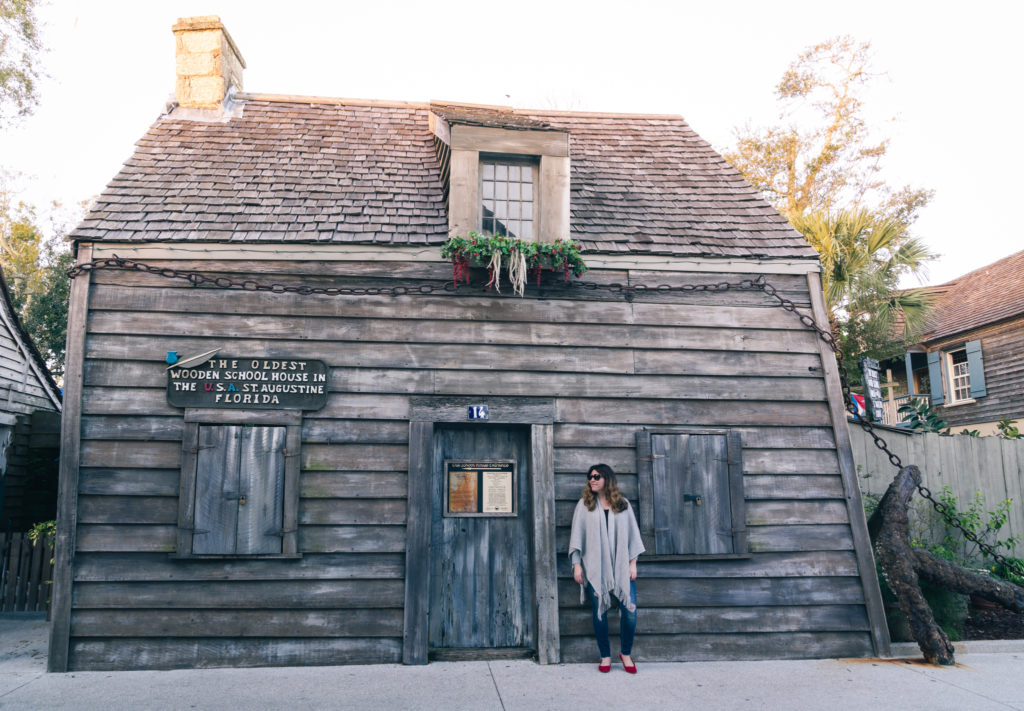
The Oldest Wooden Schoolhouse, St. Augustine, Florida

Mission Nombre de Dios: The grounds of the Mission Nombre de Dios are gorgeous, with moss-covered trees and wetlands. You’ll find a candle-lit chapel on the grounds, dating back to 1914, which pays tribute to Our Lady of La Leche. Make sure to keep your eye on the water since I almost always see wild dolphins playing in the little bay.

How to get there: 89 A1A, St. Augustine, FL 32084. Parking is free

Cost: None, although donations are accepted
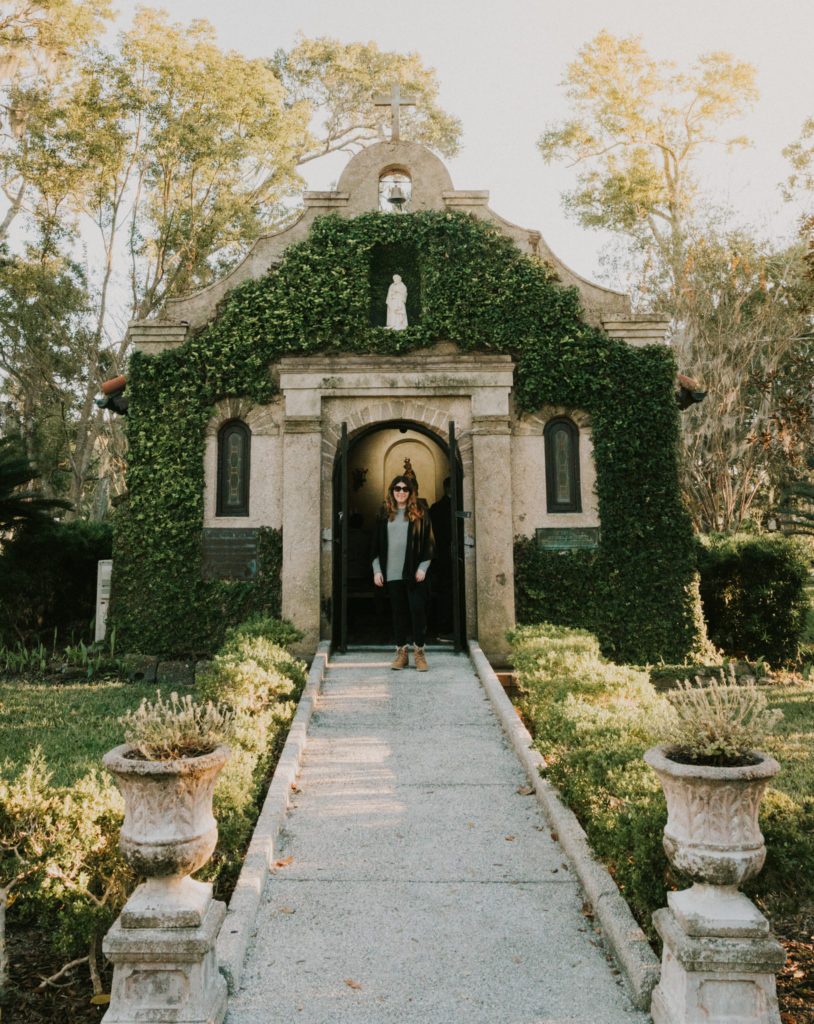
Mission Nombre de Dios, St. Augustine, Florida

Fountain of Youth: If you visit the Mission Nombre De Dios, it also makes sense to swing by the Fountain of Youth, a 15-acre historical attraction, where you can sample waters from the natural spring and take in the views of the water. You can also learn more about the Timucuan native Americans who lived in the area for over 3,000 years until the Spanish arrived in the 1500s.

How to get there: 11 Magnolia Avenue, St. Augustine, FL 32084. Parking is free

Cost: Adults, $15; Children 6-12, $9 (children under 5 are free)

Lightner Museum: Located in the former Alcazar Hotel built by Henry Flagler, the Ligthner Museum contains a diverse collection of art from the 19th-century. Walking through the museum, you’ll find everything from stained glass to costumes and furnishings. I recommend spending at least a couple of hours wandering around this msueum.

How to get there: 75 King Street, St. Augustine, FL 32084. There is a metered parking lot just behind the museum.

Cost: Adults, $15, 12-17 year olds, $8, children under 11 are free
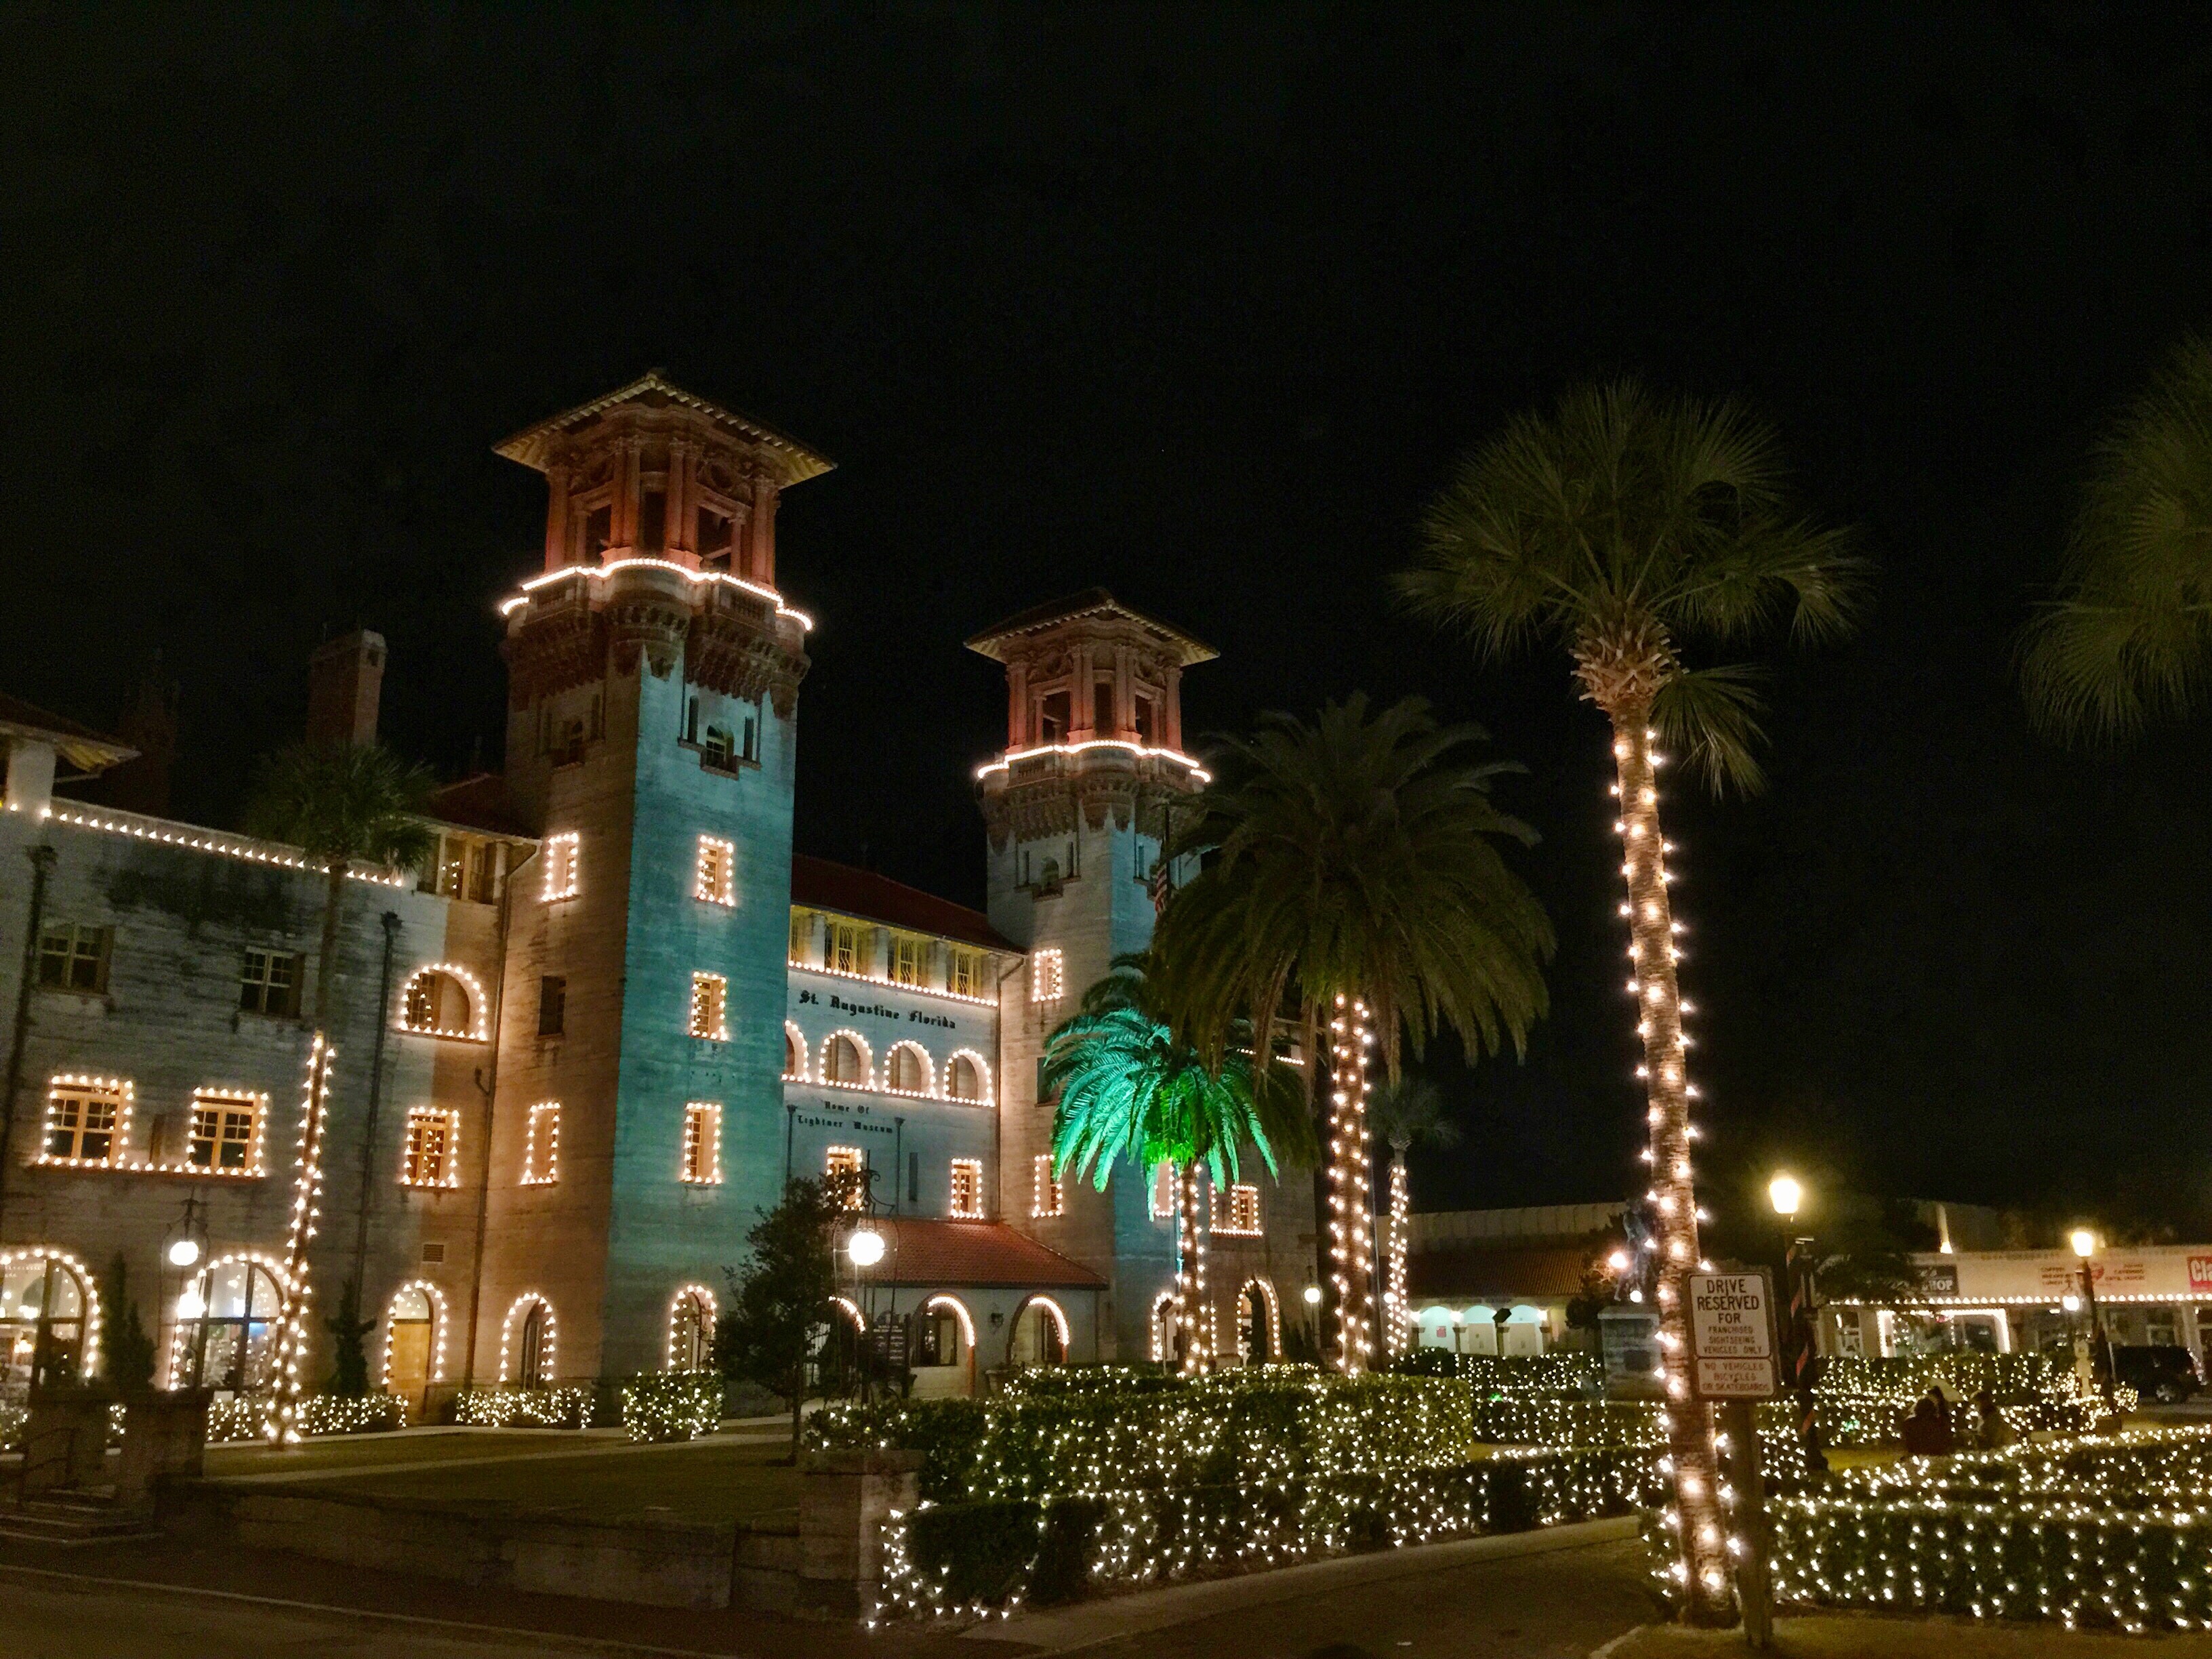
Lightner Museum, St. Augustine, FL

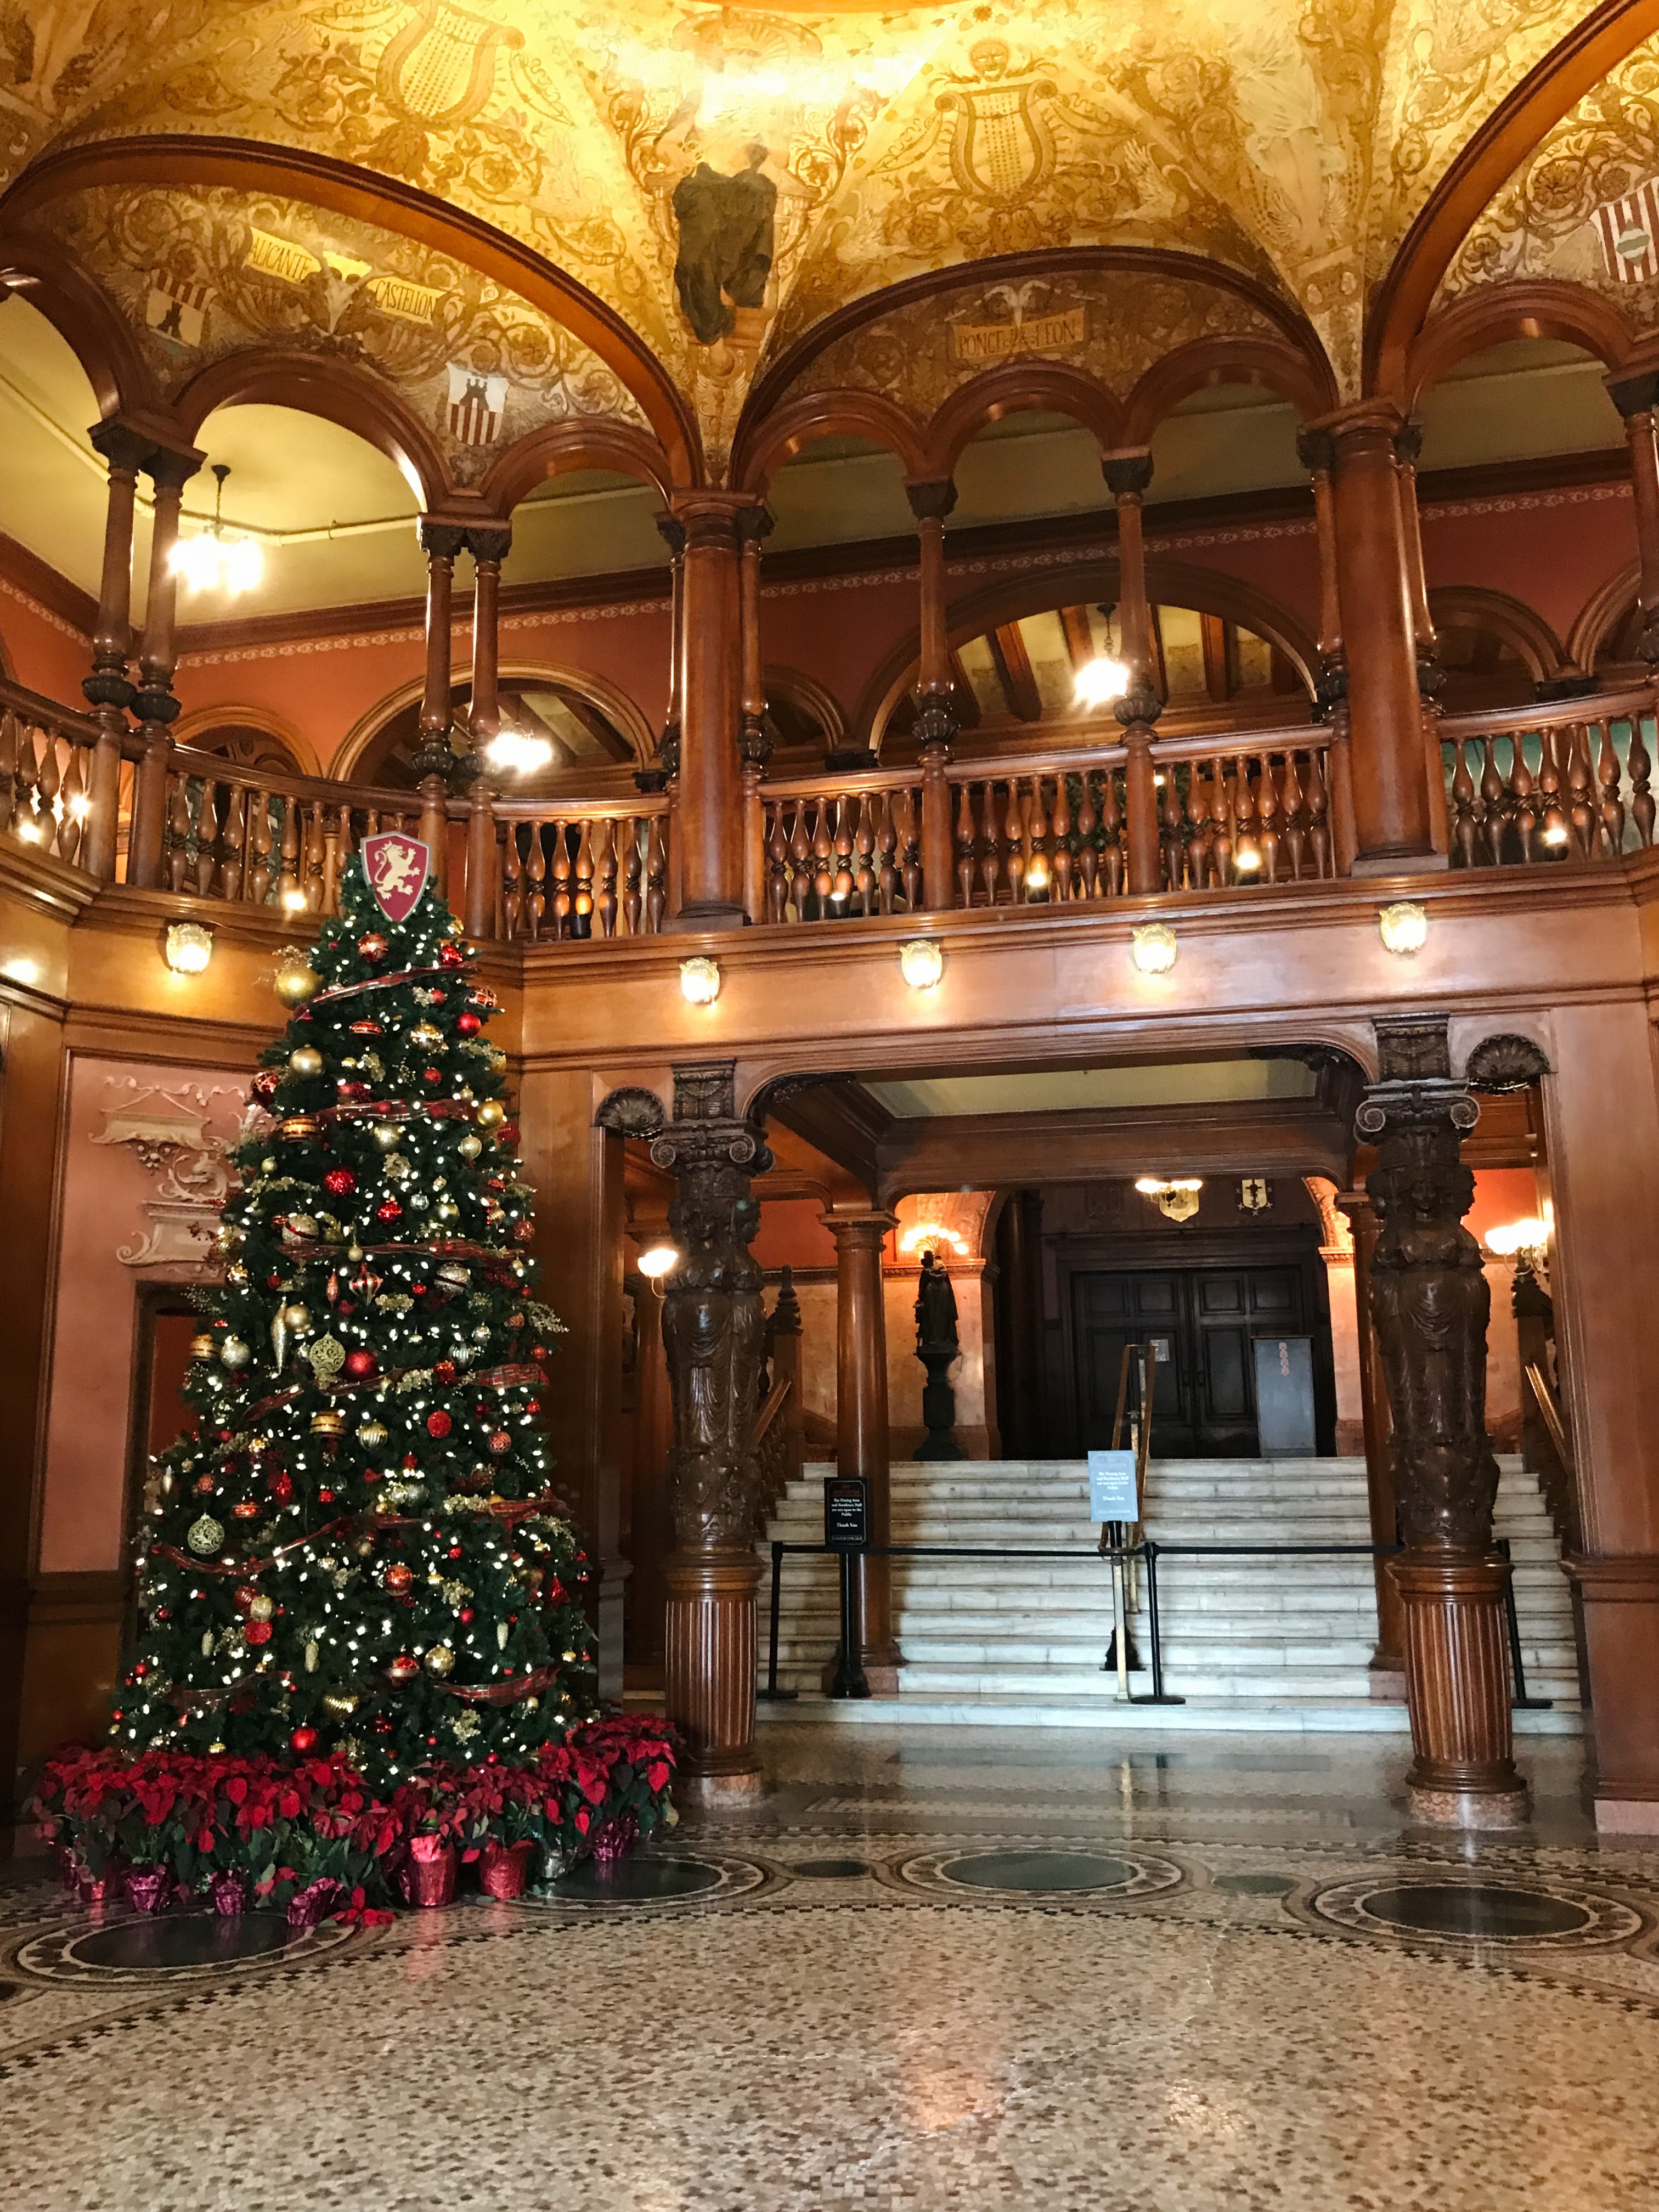
Flagler CollegeFlagler College is located just across the street from the Ligthner Museum and it’s well worth a visit. Like the Ligthner Museum, the college is a former hotel, known as the Ponce de Leon Hotel. Without a tour, you’re limited to seeing the courtyard, the lobby and the exterior. Tours are available twice a day and will give you access to a larger portion of the college.

How to get there: 59 St. George St, St. Augustine, FL 32084. I recommend parking at the Ligthner Museum and crossing the street to reach Flagler College.

Cost: Adults, $12; children under 10 are free
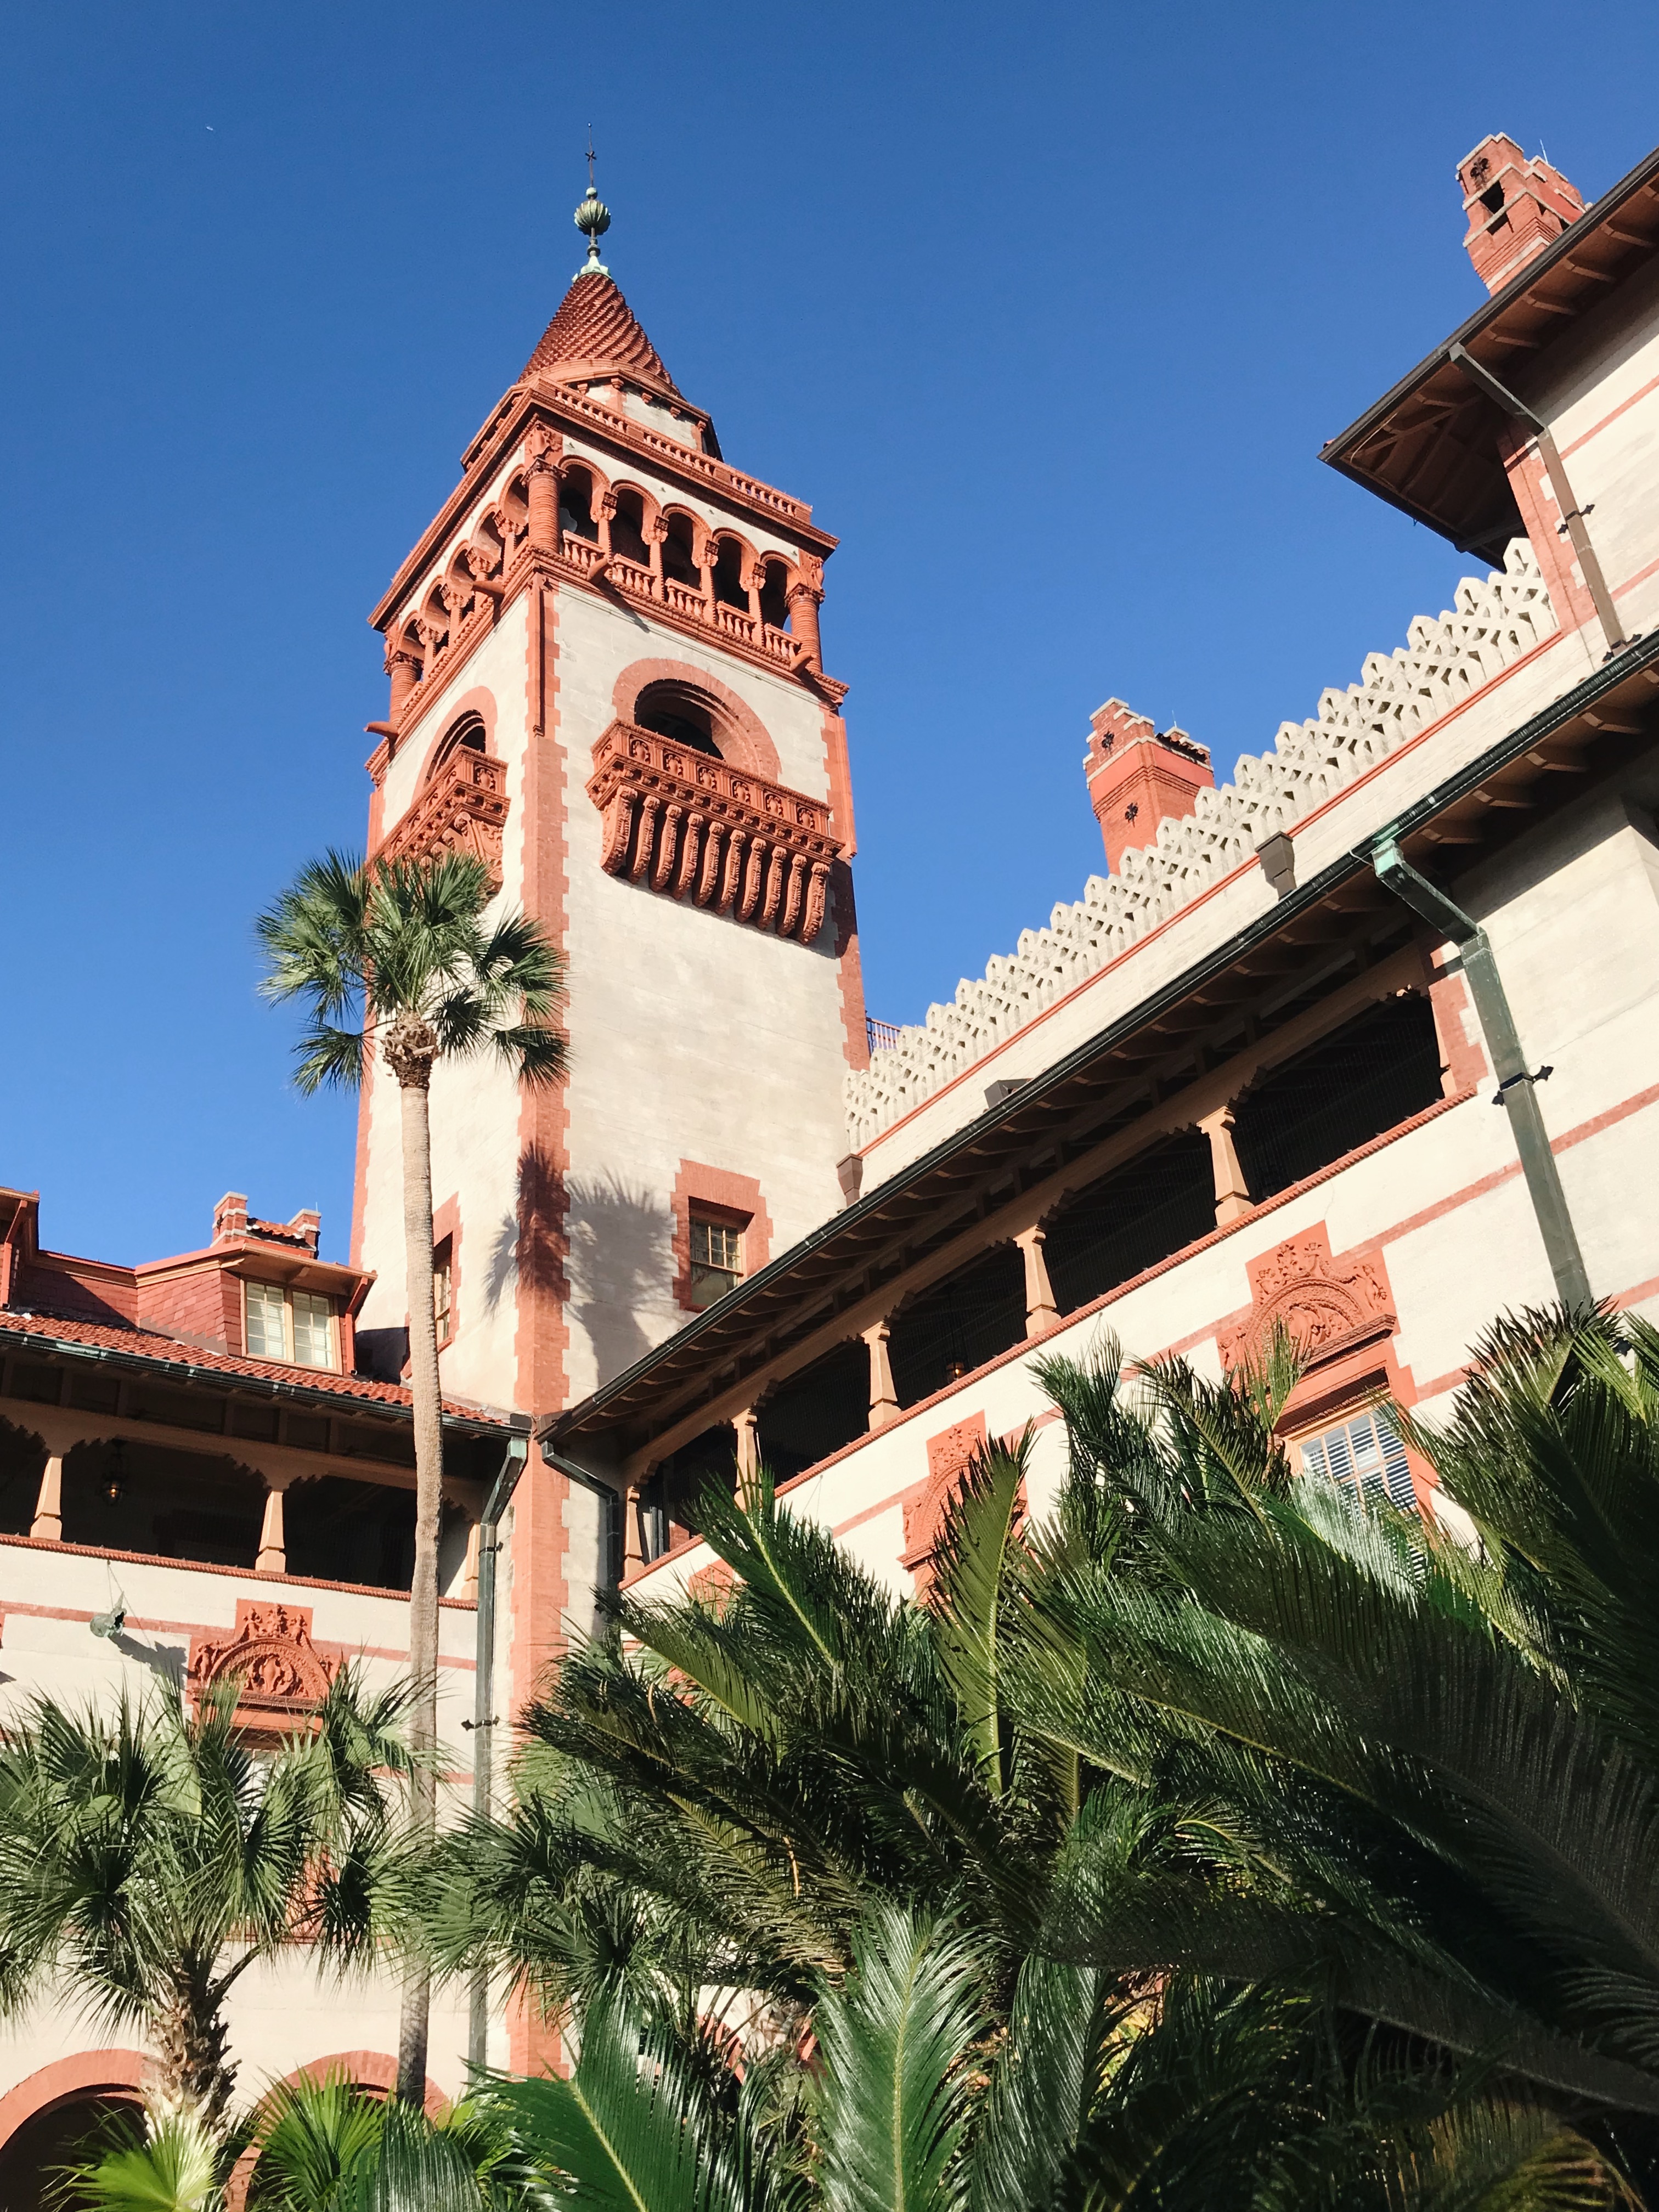
Flagler College, St. Augustine, FL

Flagler College lobby, St. Augustine, FL

The Old Jail: Visit this historic jail to learn about some of the most interesting criminals that once occupied the jail cells. You’ll be taken on a guided tour of the jail to learn what life was like for inmates in the late 1800s and early 1900s.

How to get there: 167 San Marco Ave, St. Augustine, FL 32084. I recommend parking in the Visitor Information Center parking garage.

Cost: Adults, $10; children $6

Memorial Presbyterian Church:Memorial Presbyterian Church holds a special place in my heart since my mother was a member and attended regularly before she passed away. Henry Flagler built this church for his daughter, who died in 1889. It’s worth walking by to view the church’s exterior, which was modeled on the Basilica of St. Mark in Venice. Tours are available if you want to learn more about the history of the church.

How to get there: 32 Sevilla St, St. Augustine, FL 32084. There’s a metered parking lot across the street.

Cost: None
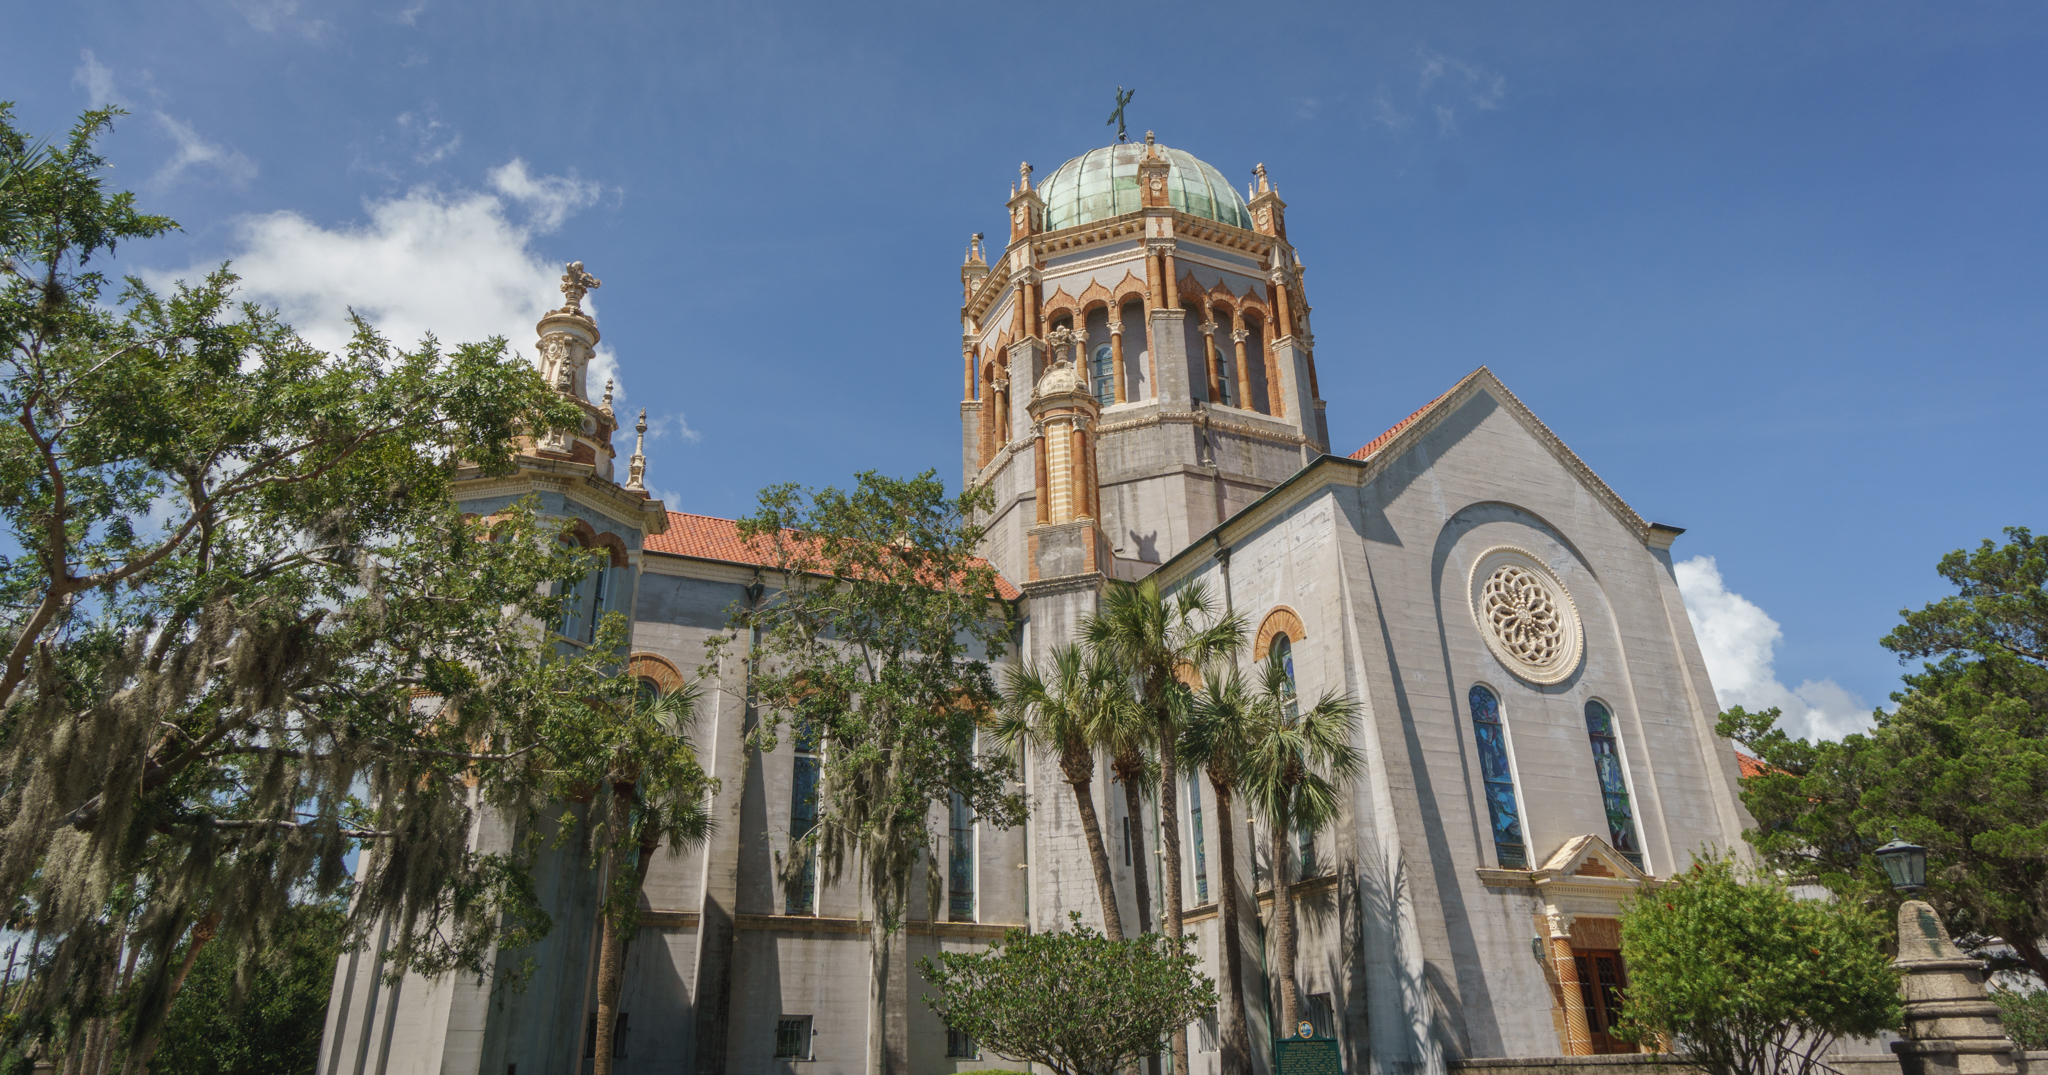
Memorial Presbyterian Church, St. Augustine, Florida

Nights of Lights: Between November and early February, the historic district of St. Augustine gets completely decked out in white lights, know as Nights of Lights. National Geographic has included St. Augustine in their roundup of the best holiday light displays around the world. One of my favorite ways to experience Nights of Lights is to walk through the historic district on foot. If you’re visiting at peak times before Christmas, downtown is going to be incredibly crowded so plan accordingly if you plan on eating dinner.
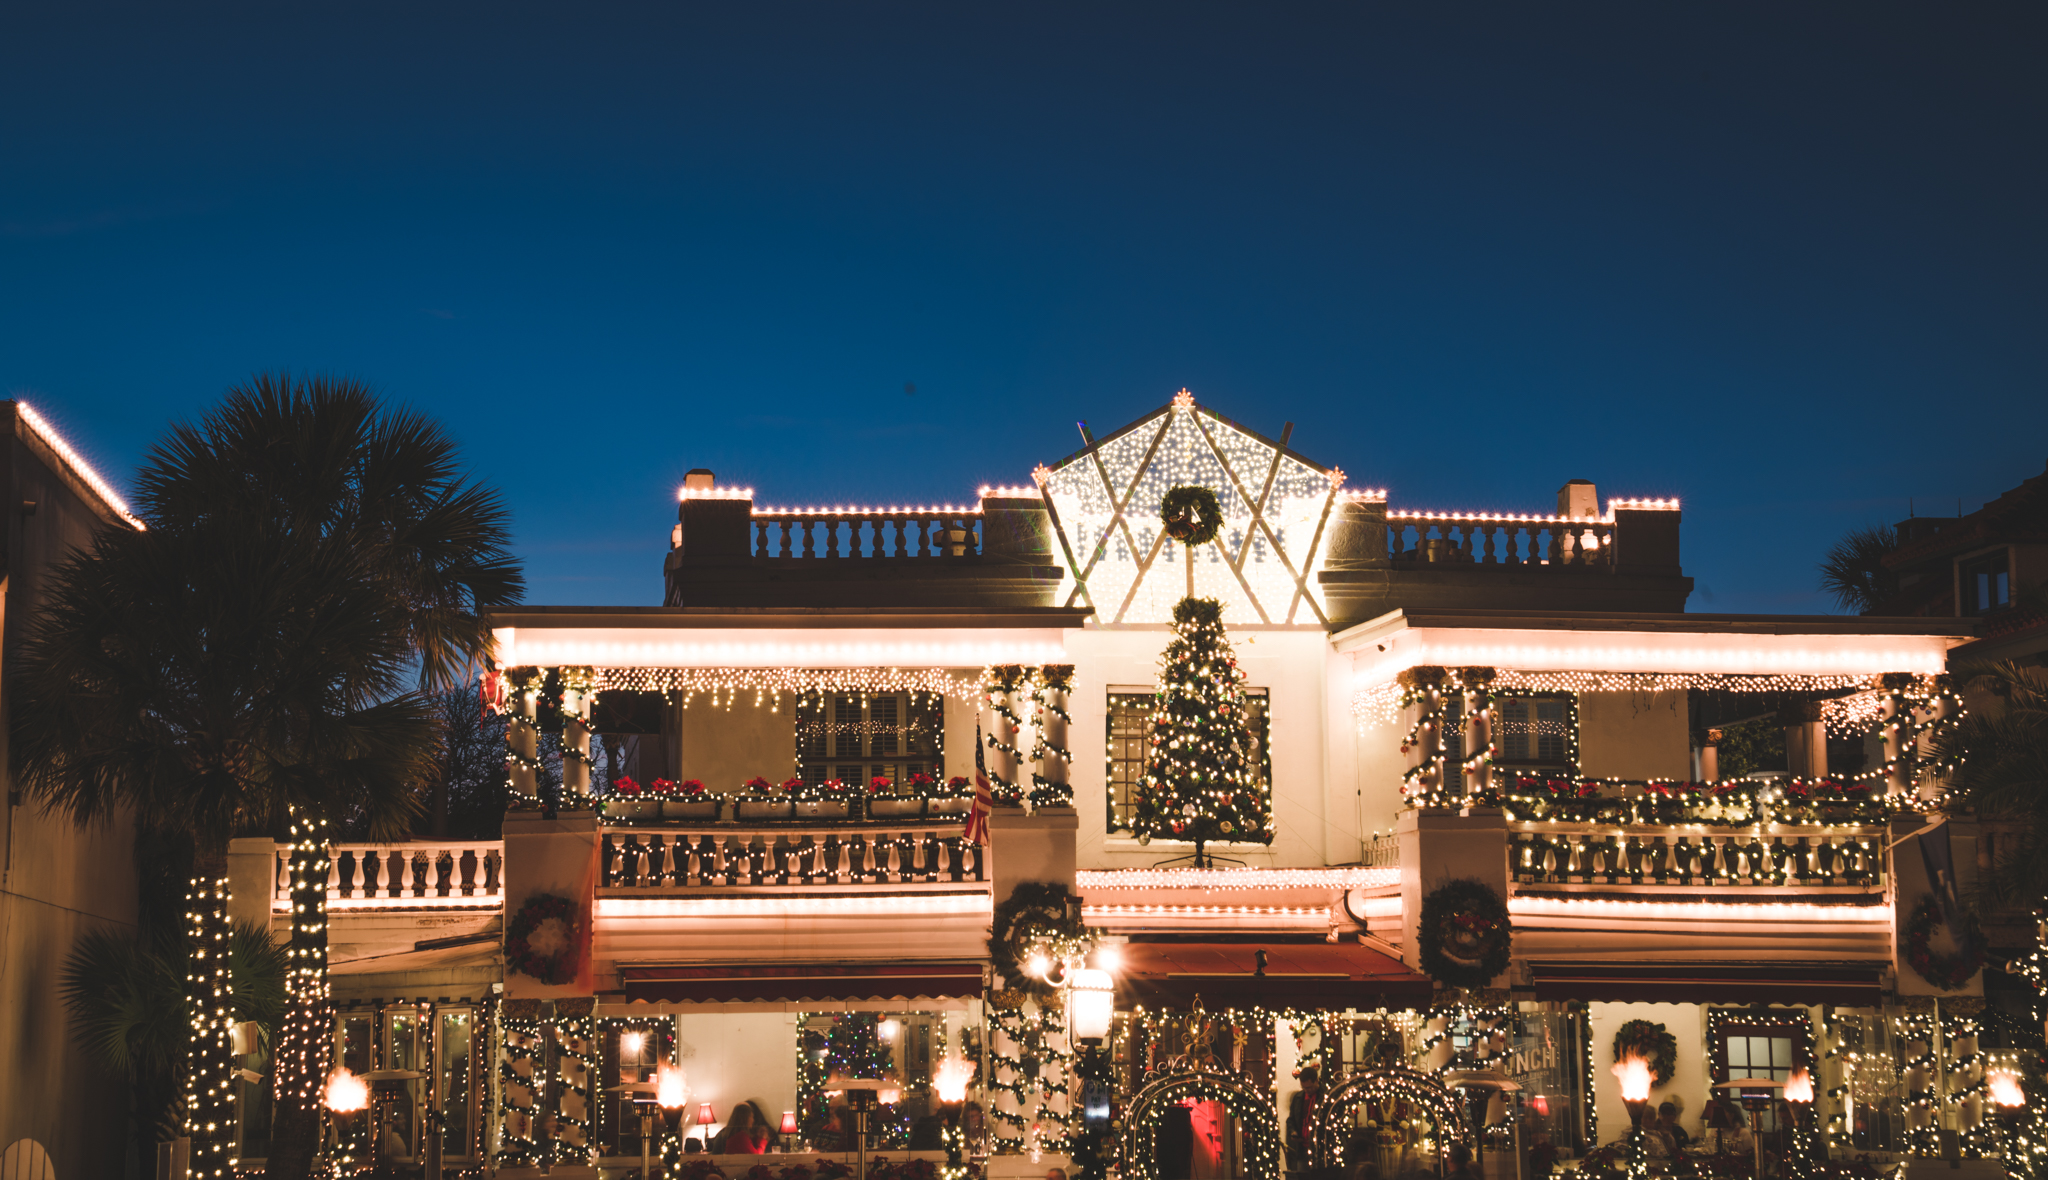
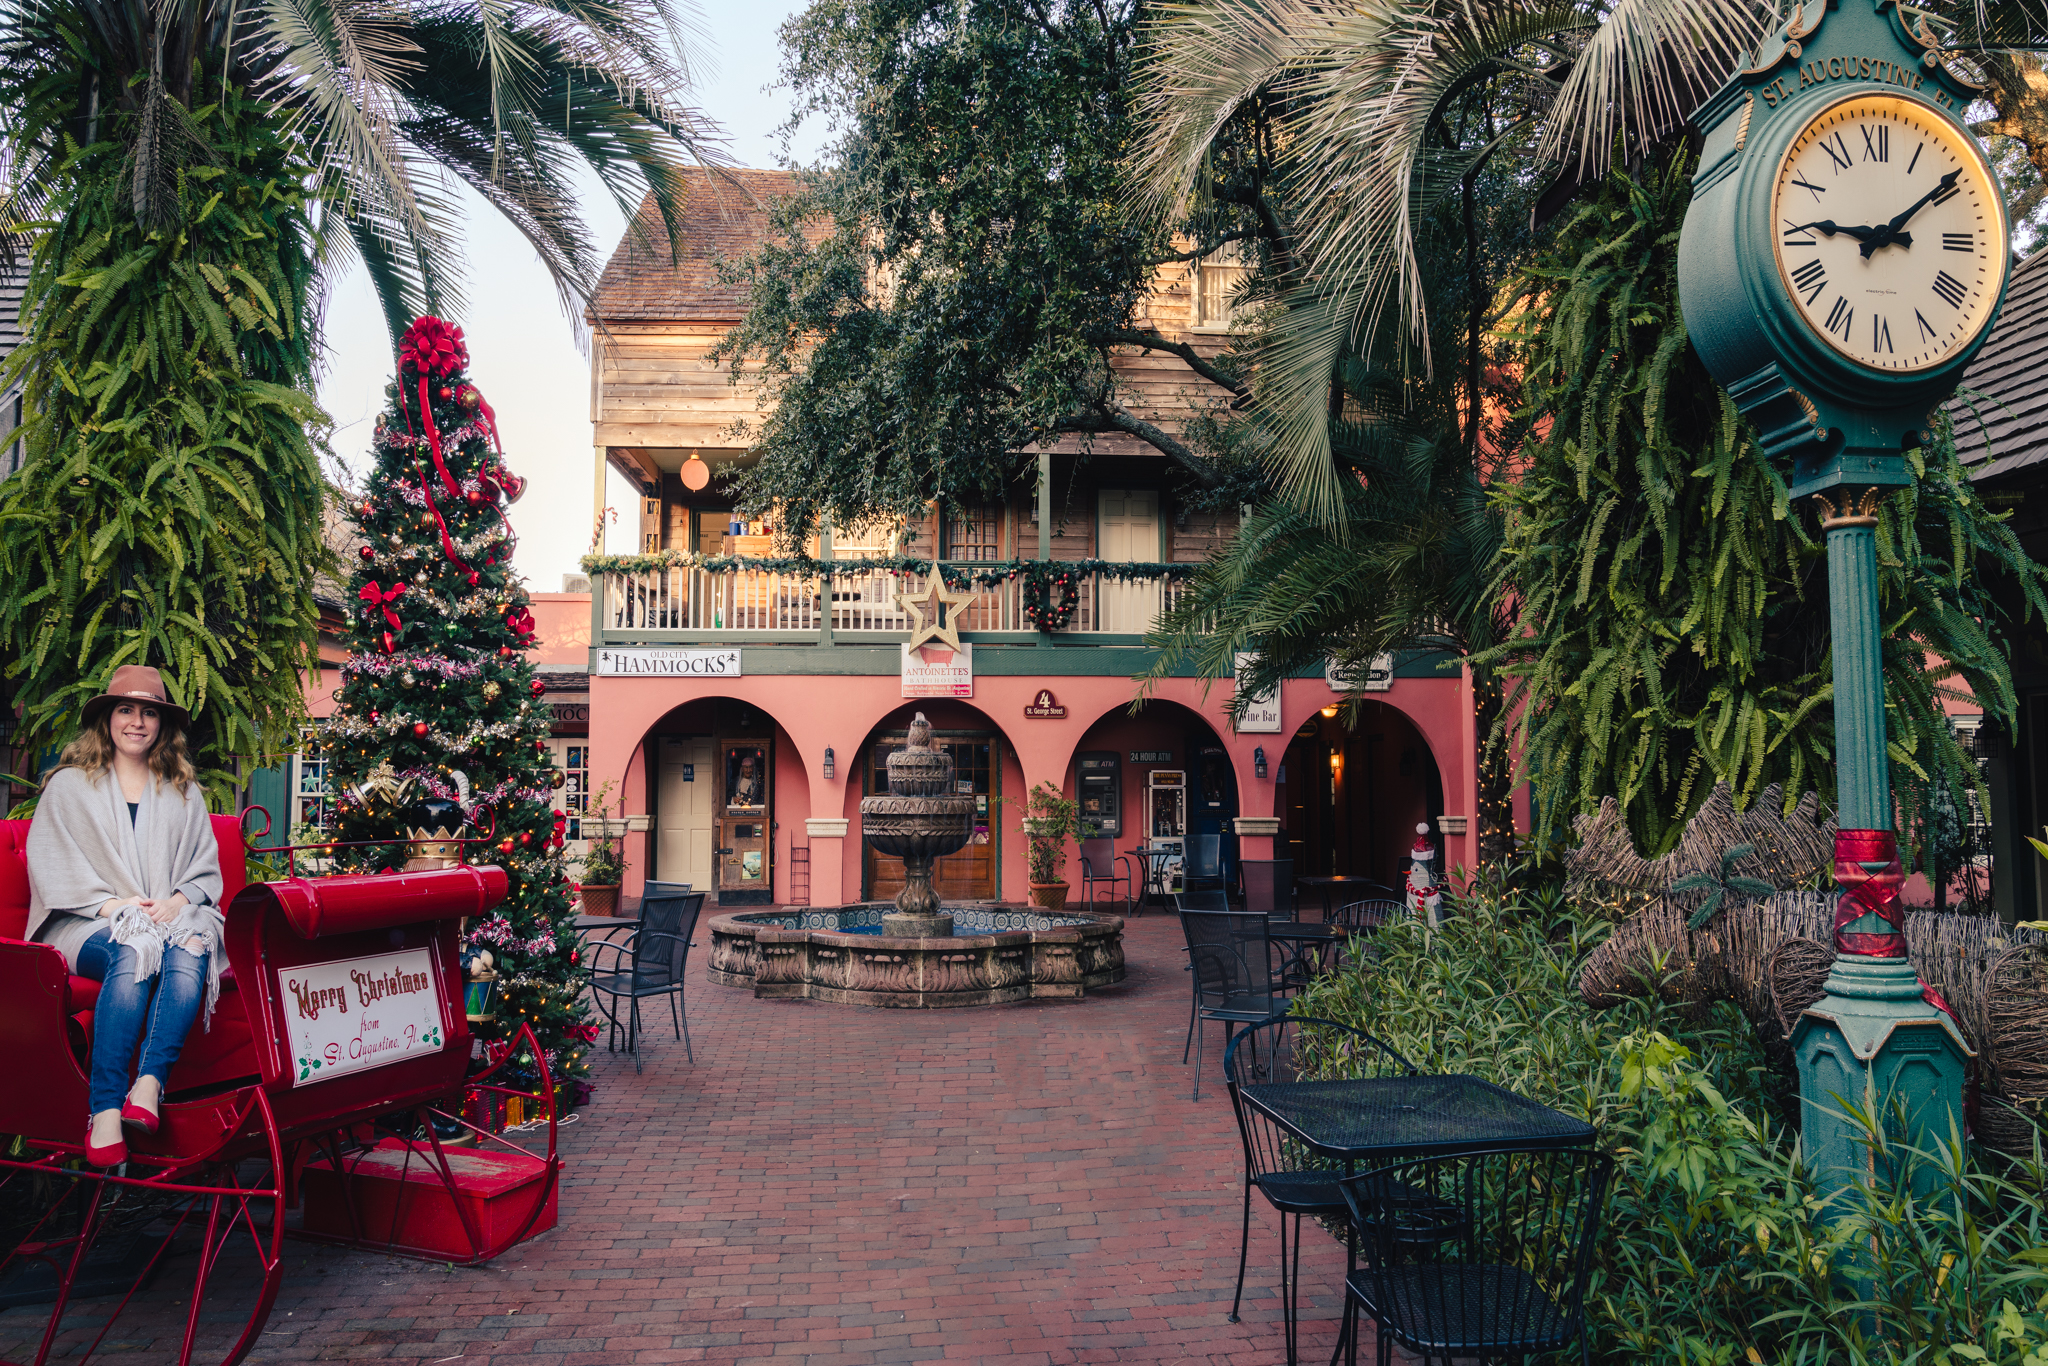
Nights of Lights, St. Augustine, FL

St. Augustine, Florida at Christmas

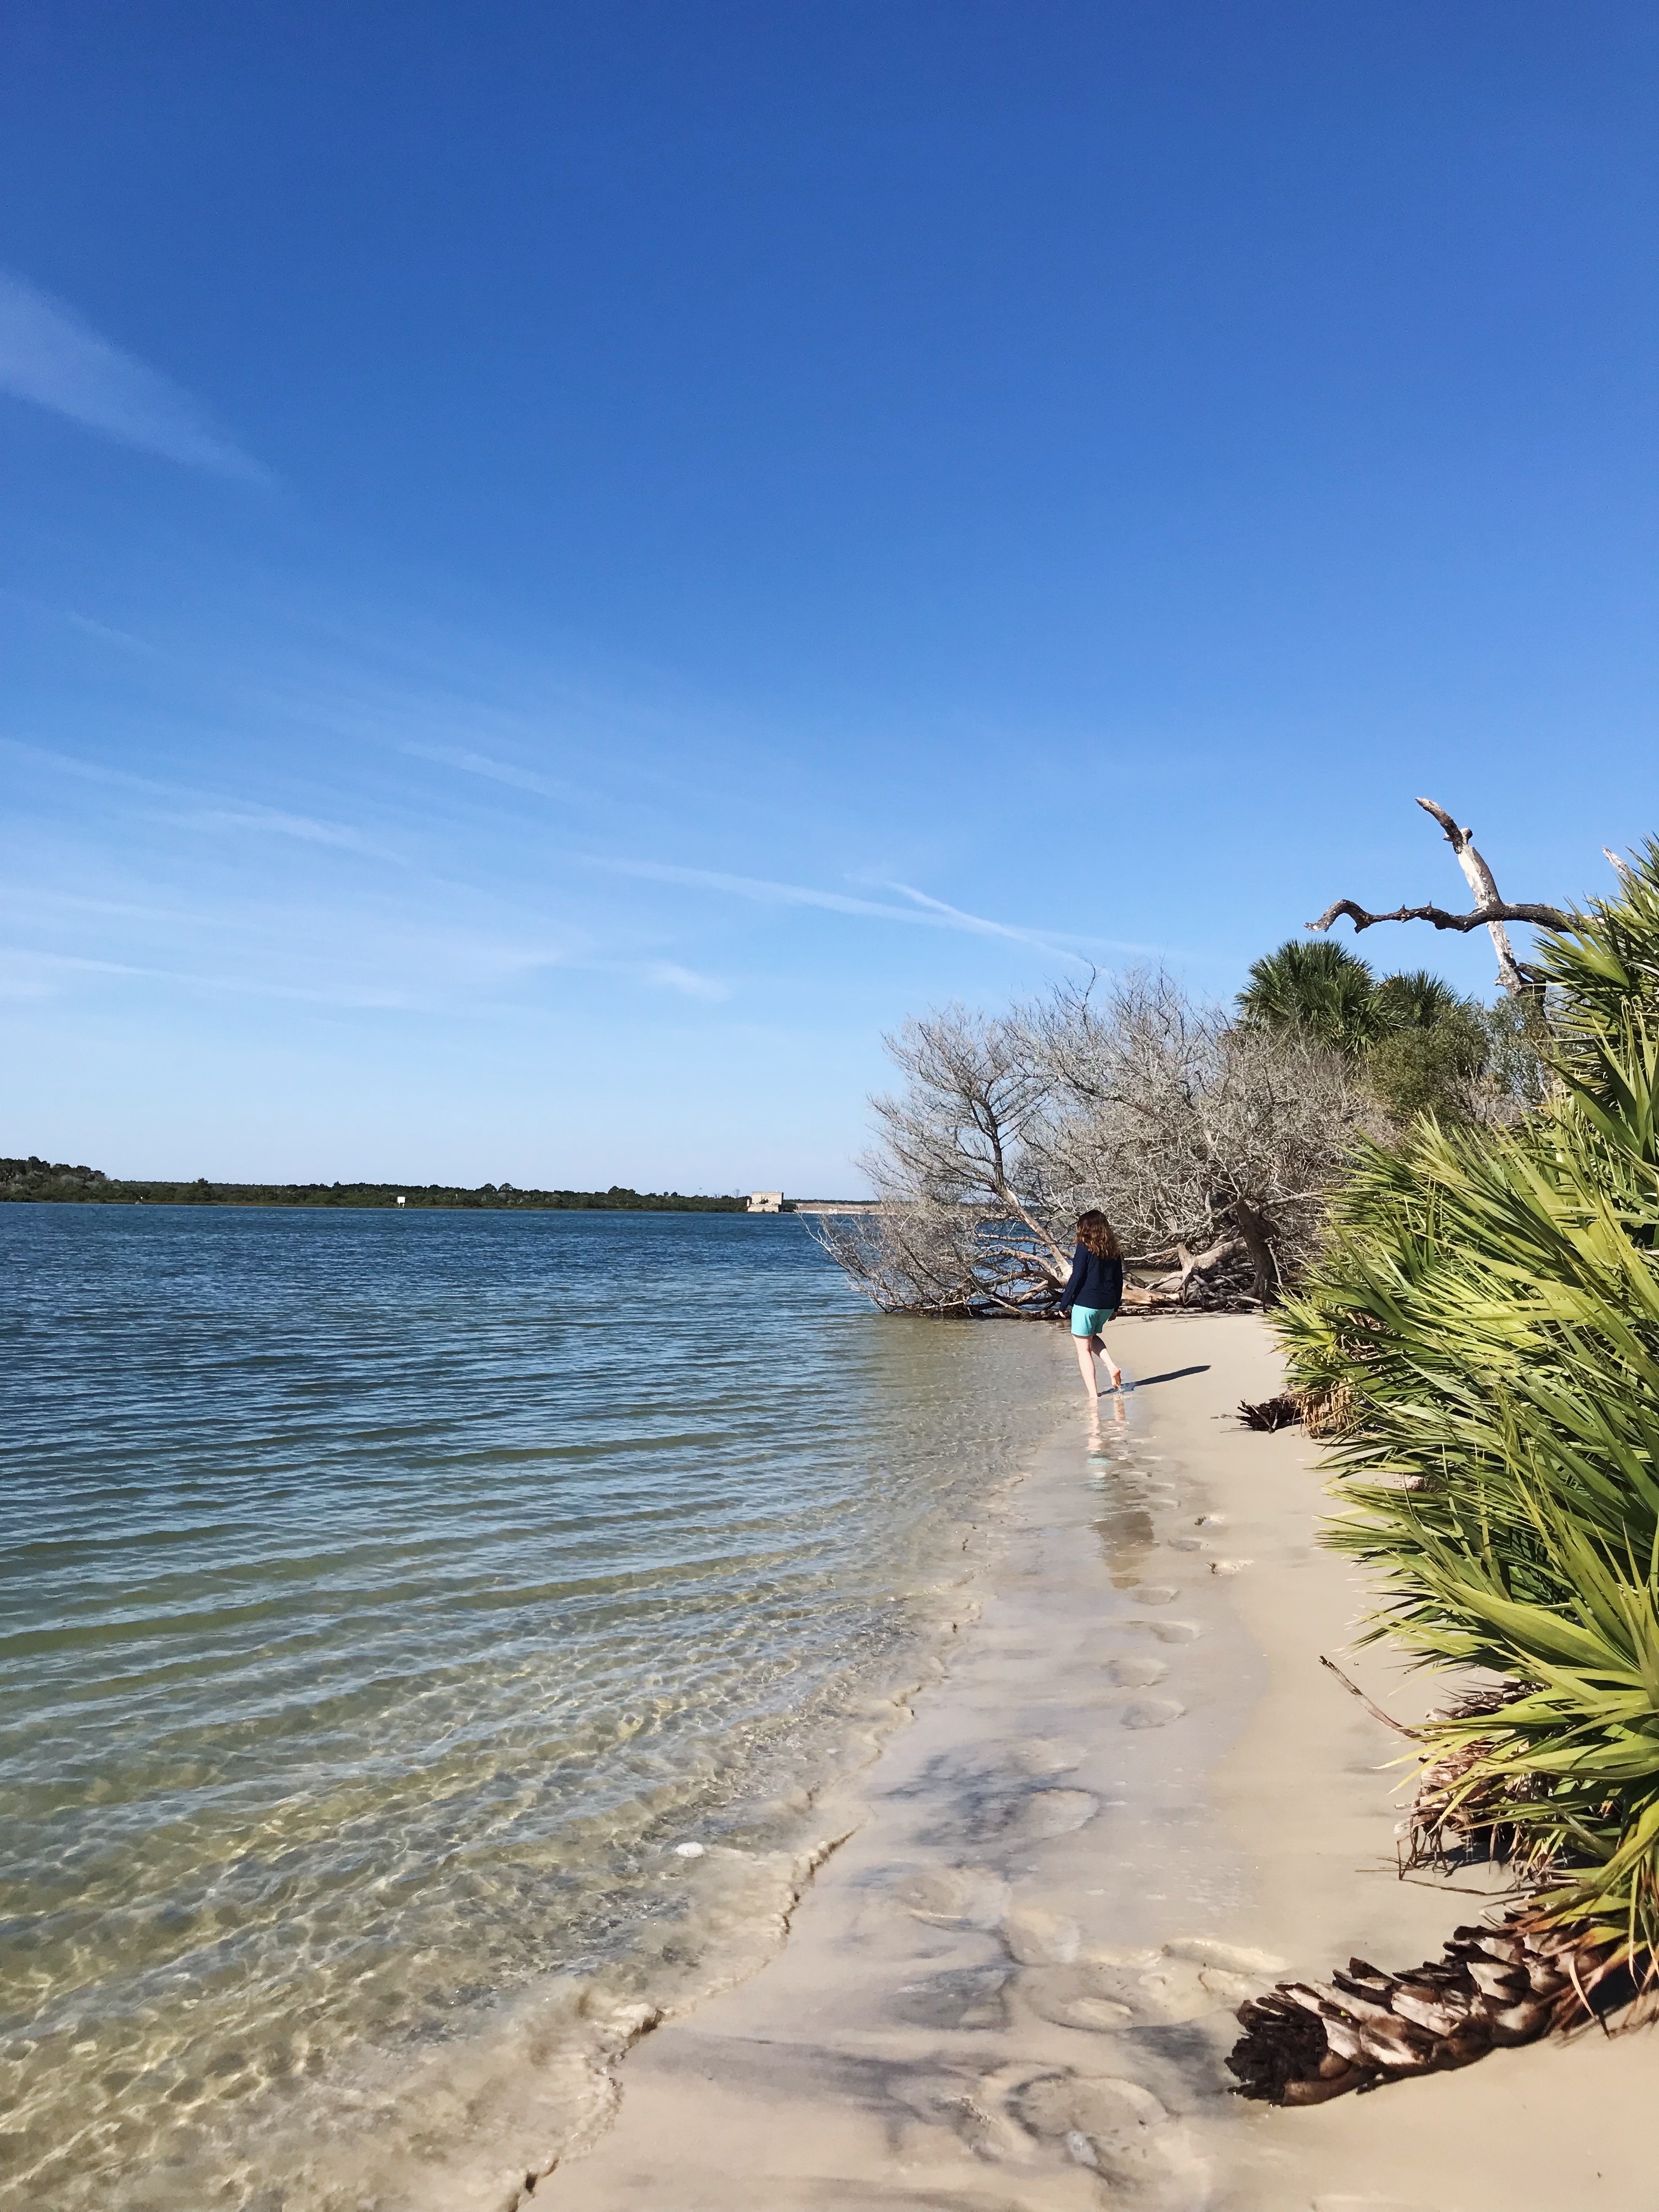
St. Augustine Beaches: The St. Augustine area has so many beaches to choose from and on many of them, you can drive and park your car directly on the sand. If you’re looking with a more popular beach with amenities, head to the “A Street” access point. If you’re looking for a quieter destination, I recommend heading to Anastasia State Park, which consists of a protected bird sanctuary, three miles of beach and kayak/paddle board rentals.
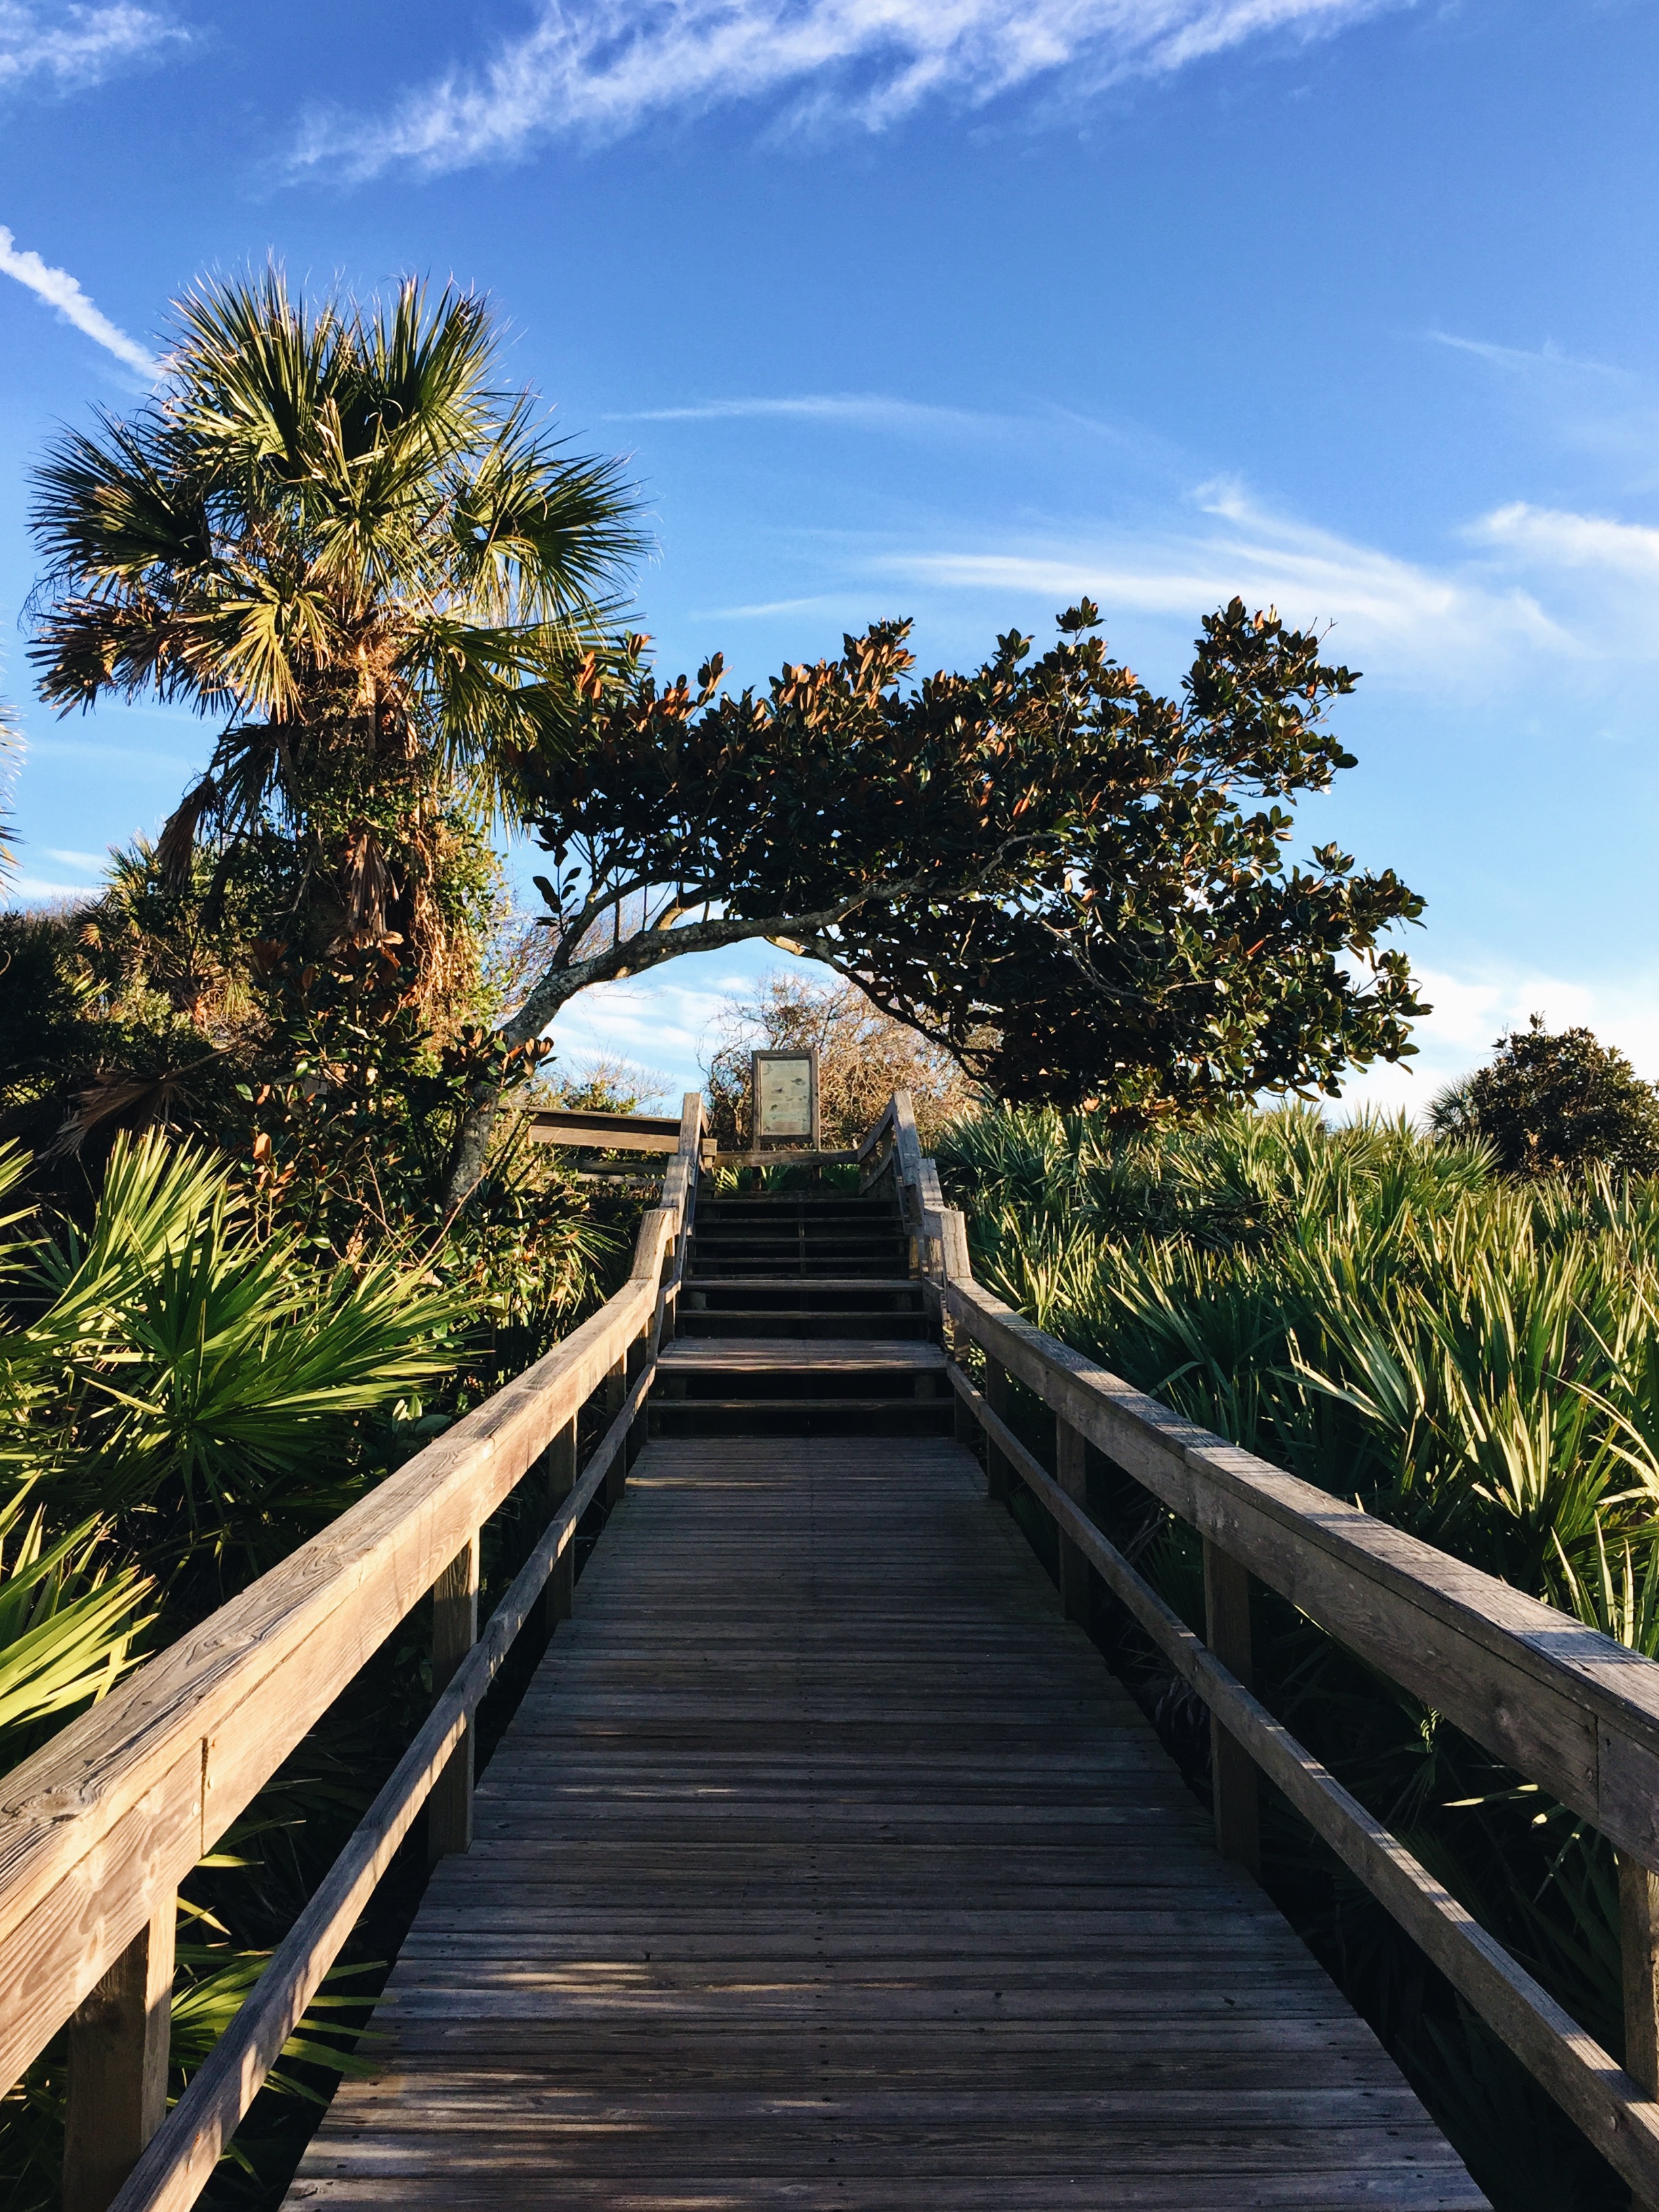
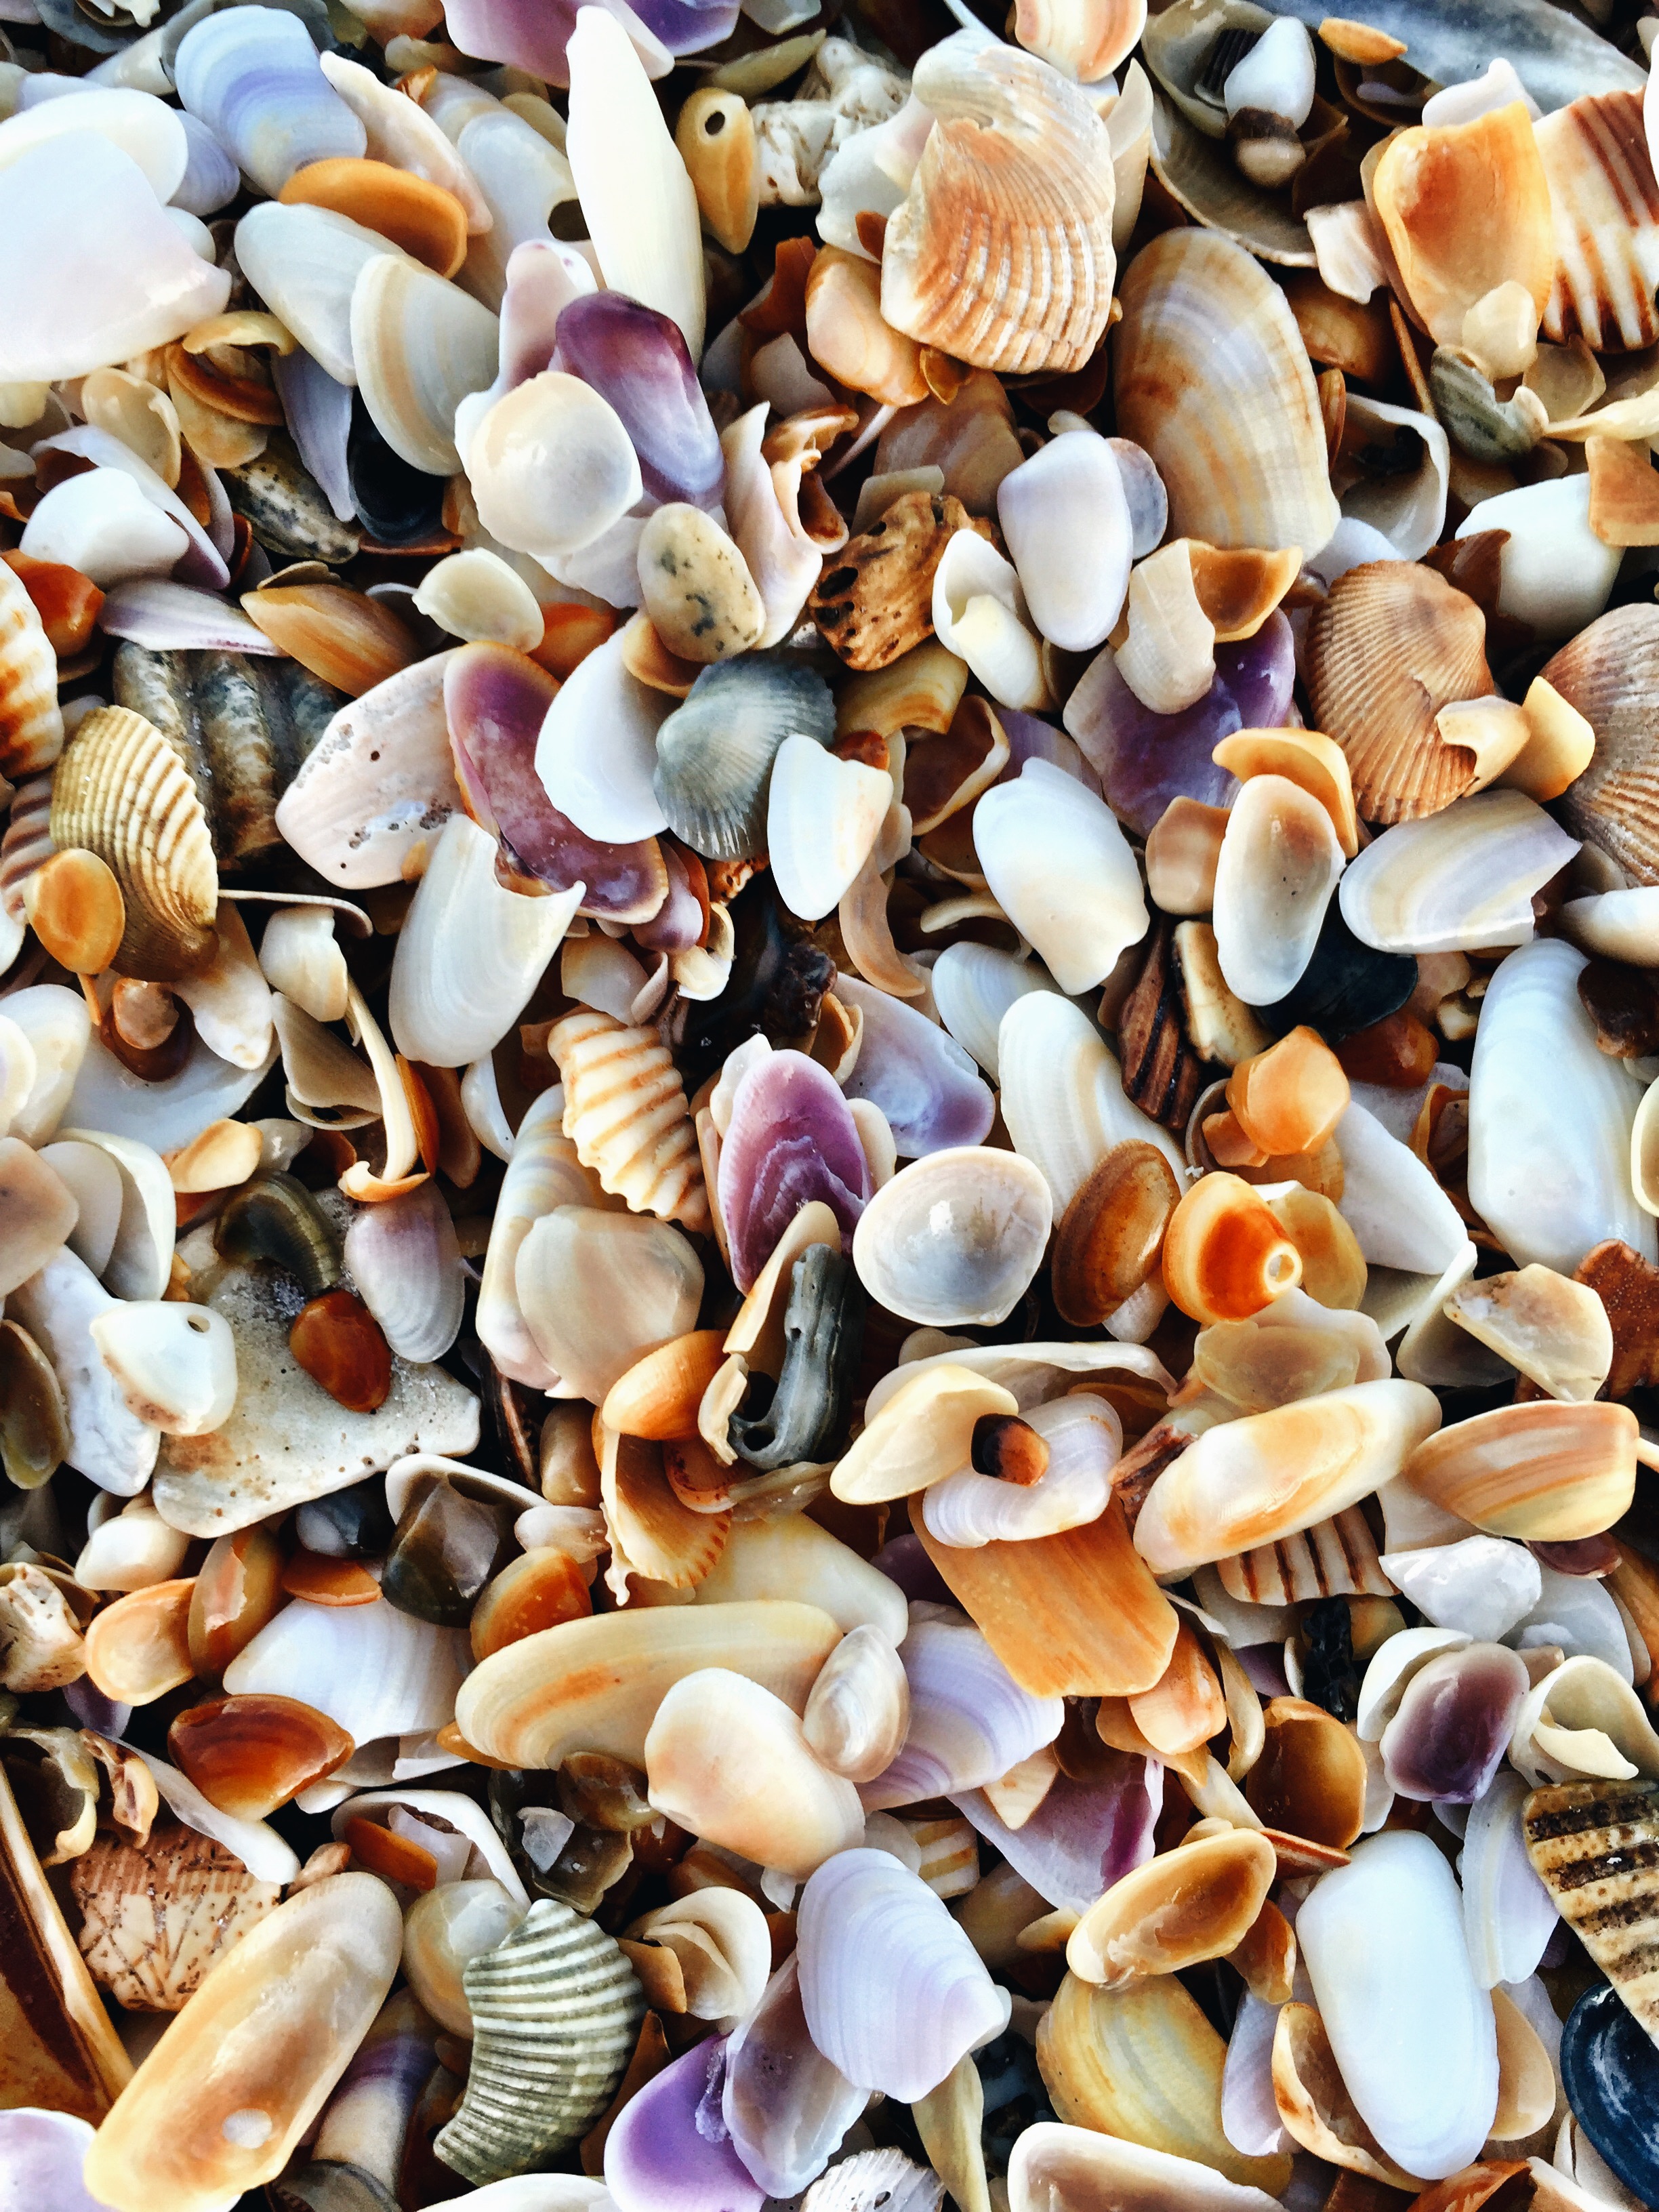
St. Augustine, Florida beach

St. Augustine, Florida beach

Fort Matanzas National Monument: Fort Matanzas National Monument bears some similarities to the Castillo de San Marcos. It was also built by the Spanish for defense. Located 15 miles south of downtown St. Augustine, the fort is less well-known than the Castillo de San Marcos. If you visit, make sure to stop by the parking lot just south of the fort for Matanzas Inlet. This area is well-known by locals for dolphin-watching; I see them almost every time I visit this spot. It’s also a great spot to launch your kayak or paddle board. If you go for a swim, be careful because the tides are often strong.

How to get there: 8635 A1A South, St. Augustine, FL 32080

Cost: None; admission to the fort is free
St. Augustine, Florida beach

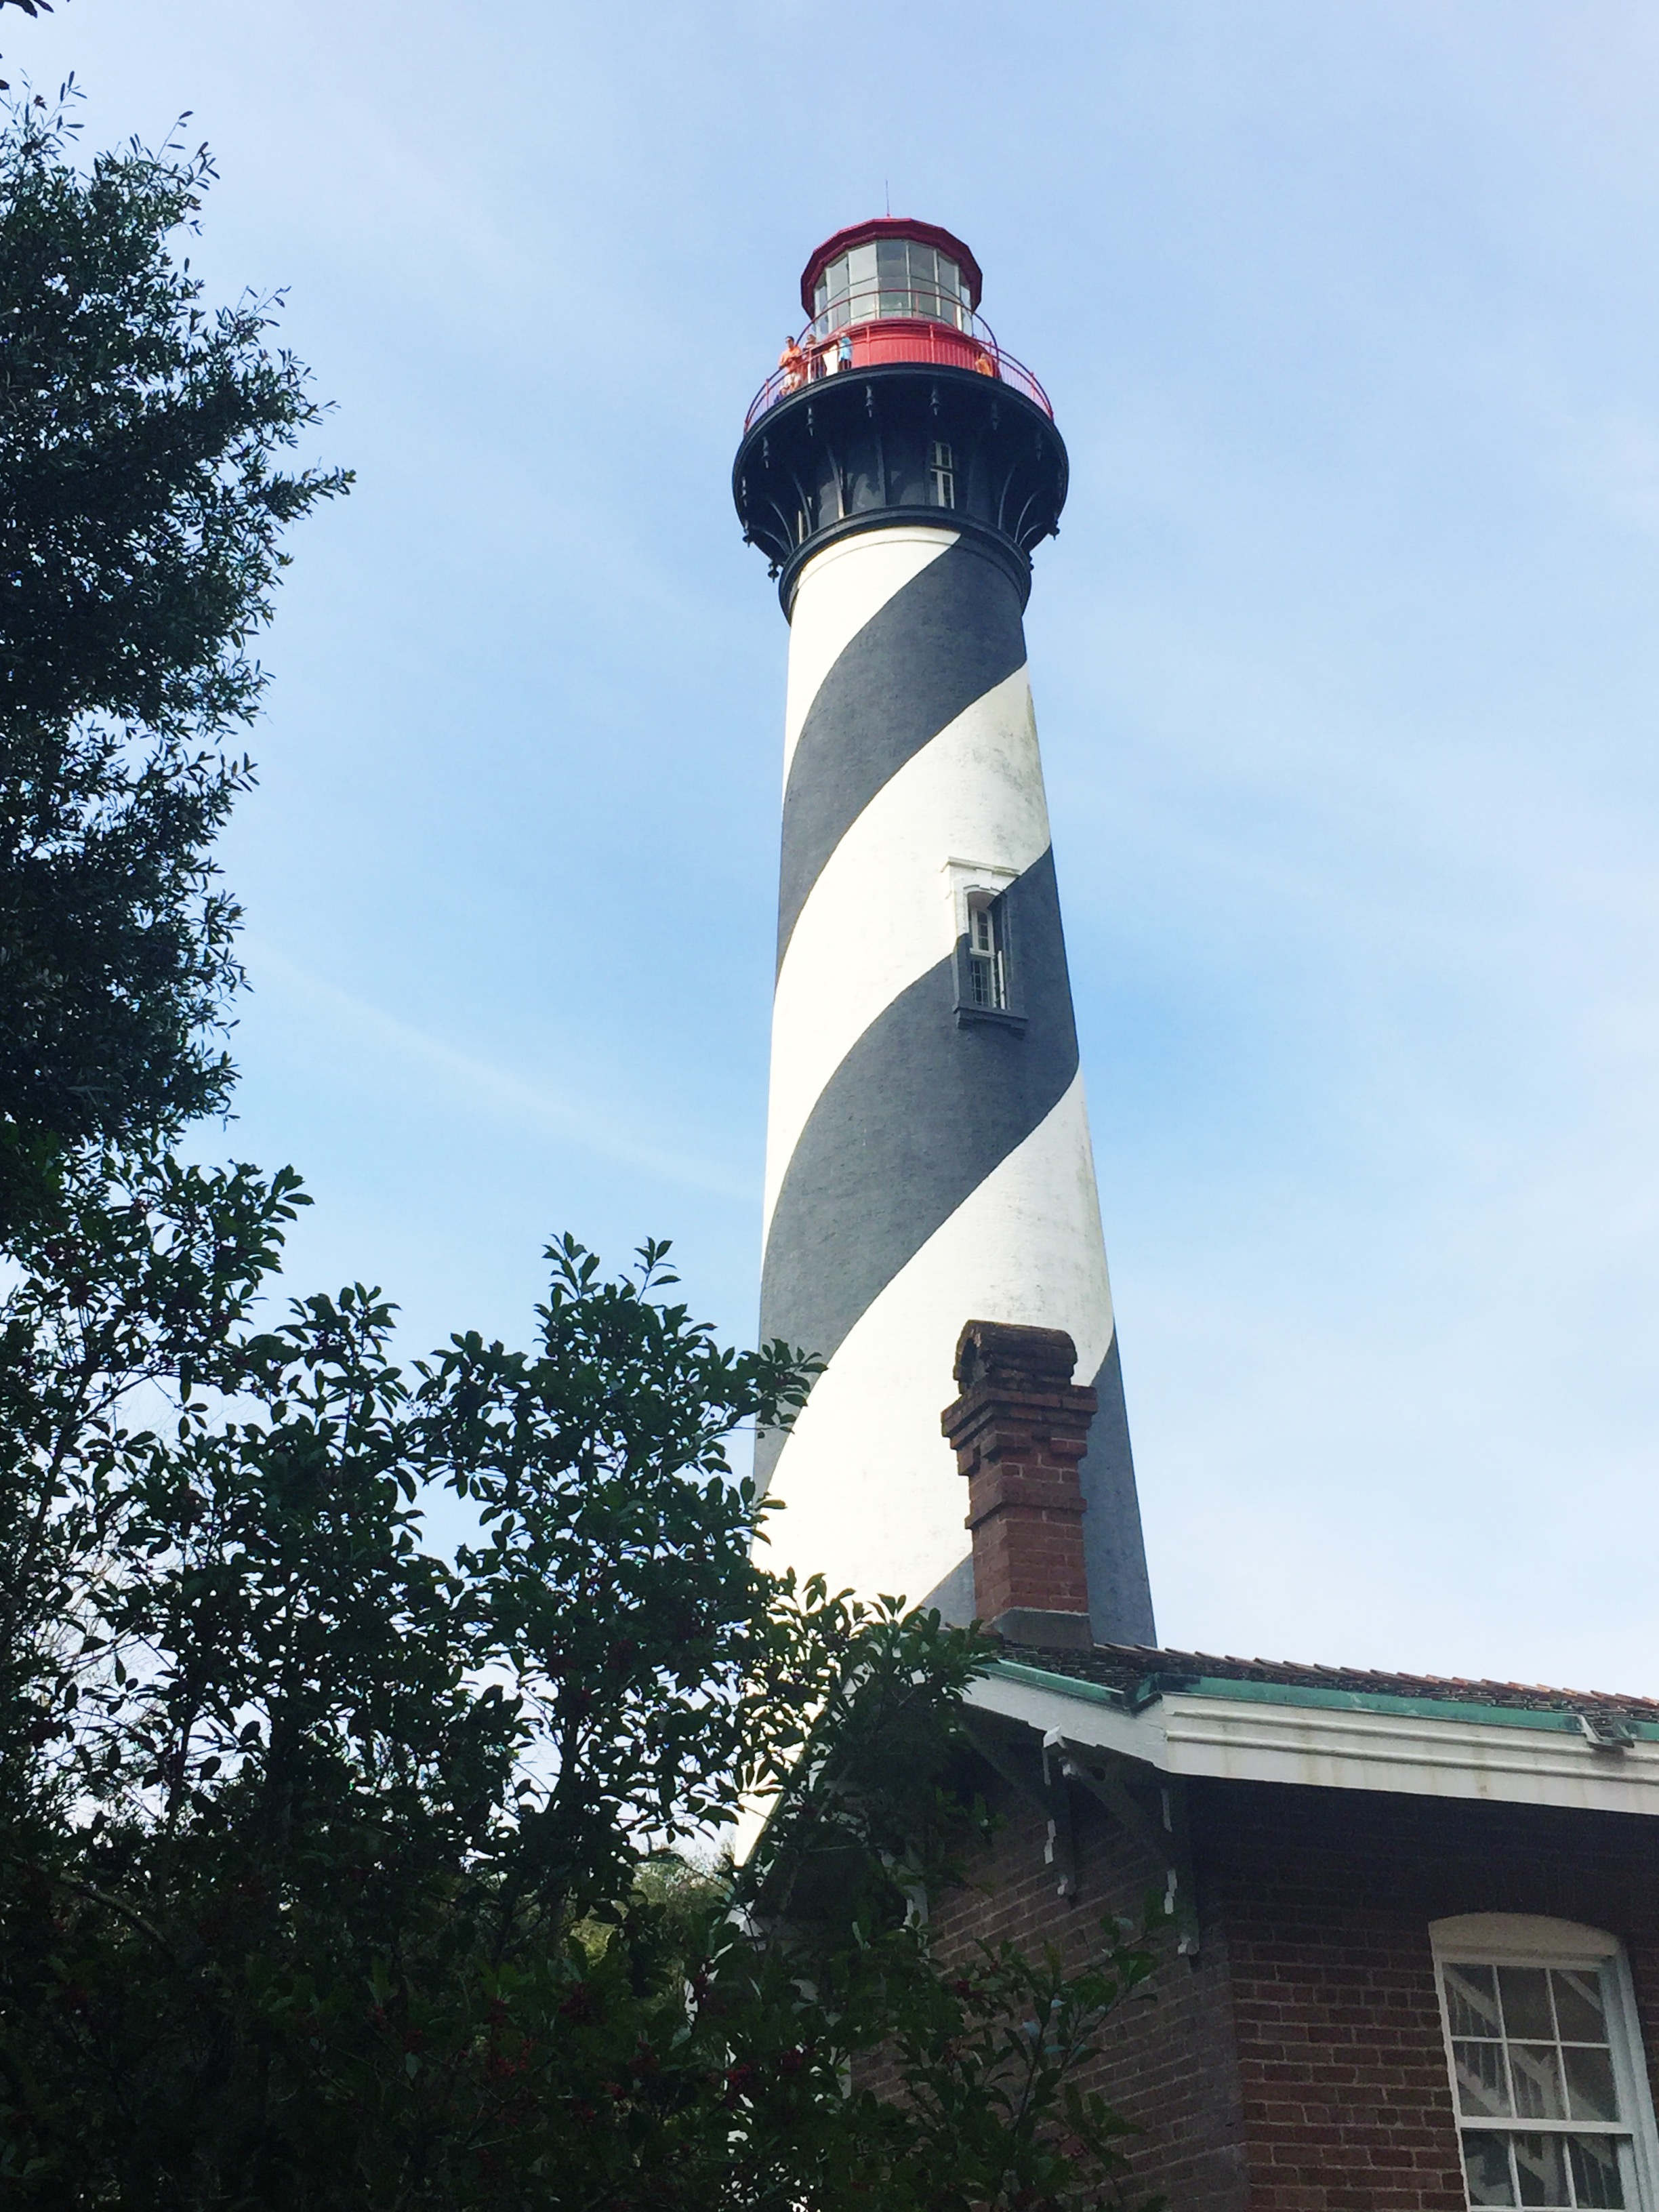
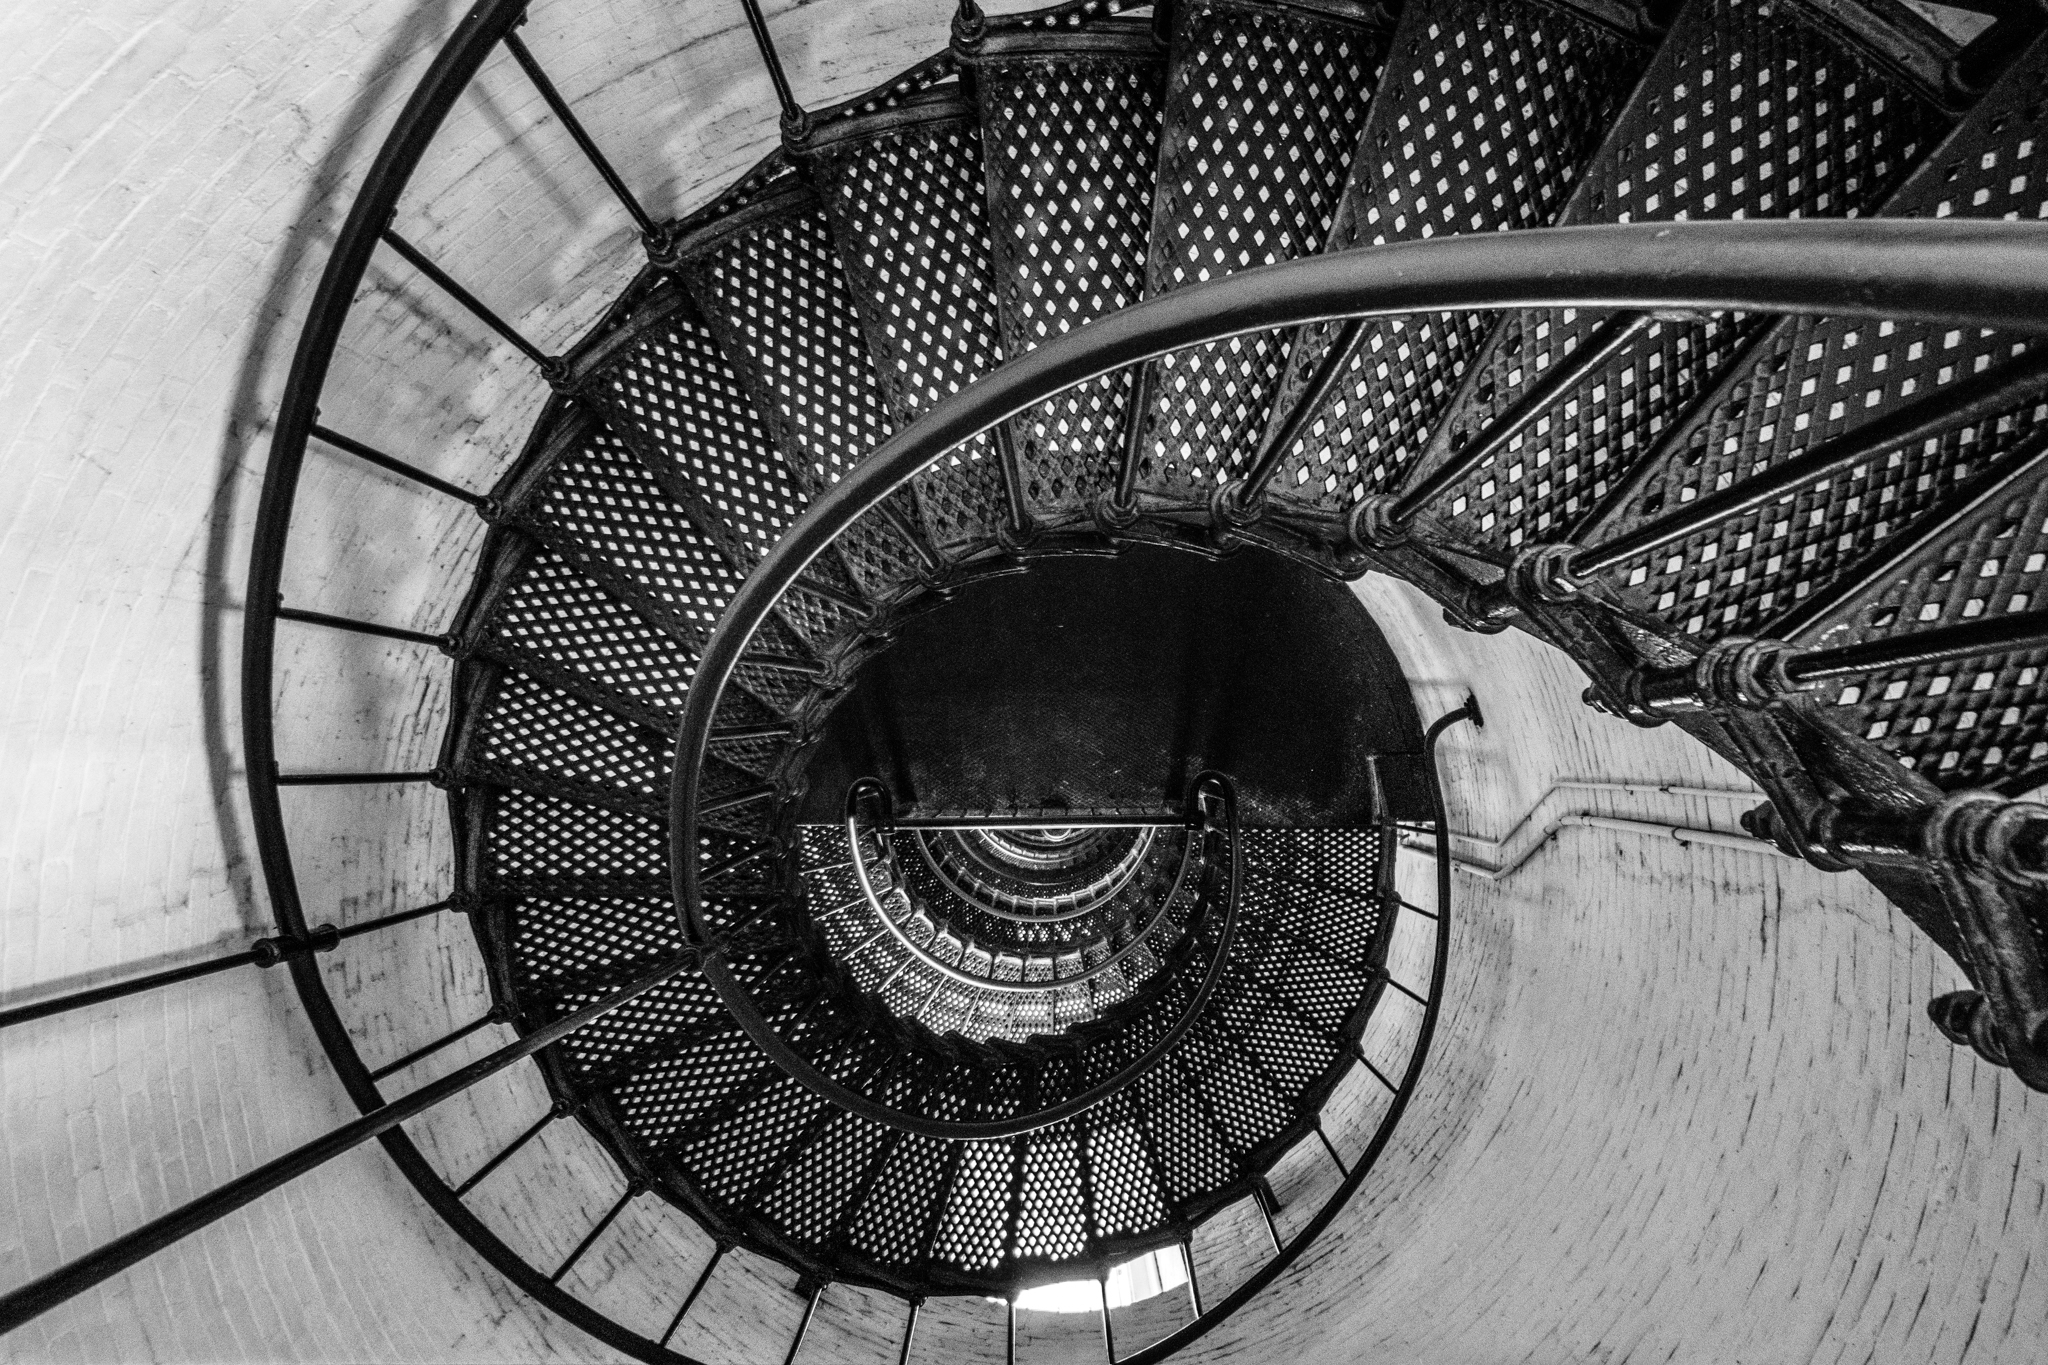
St. Augustine Lighthouse: Visit the lighthouse and climb the 219 steps to the top for spectacular views of downtown St. Augustine and the beaches. In addition to climbing up the lighthouse, you’ll also want to spend time strolling through the gorgeous grounds, filled with ancient trees with Spanish moss.

How to get there: 81 Lighthouse Avenue, St. Augustine, FL 32084

Cost: Adults, $12.95, children, $10.95
St. Augustine, Florida Lighthouse

St. Augustine Lighthouse, FL

Live Music: If you’re a fan of live music, make sure to visit downtown St. Augustine on Saturday. Some of my favorite spots in the historic district for catching some live music include: Mill Top Tavern, Tini Martini Bar, Mi Casa Cafe, Harry’s Seafood, White Lion and Prohibition Kitchen.

Disclaimer: There are affiliate links on this page, which means I get a small commission if you purchase some of the products or services I recommend. I would never, ever recommend any product or service that I wouldn’t personally use myself. 

Pin It For Later
16 Must-Visit Attractions in St. Augustine, Florida16 Must-Visit Attractions in St. Augustine, Florida

3 Days in Banff National Park During Shoulder Season

Despite the fact that Banff National Park is only a 1.5 hour flight and 2-hour car ride away from the Seattle airport, I’ve never been for a visit. A few weeks ago, I had a chance to visit Banff National Park, thanks to Banff and Lake Louise Tourism. I was fortunate to visit during the Banff Mountain Film Festival, a world-renowned festival featuring nine days of adventures, ground-breaking expeditions and remote journeys told through the eyes of filmmakers and photographers from around the world.

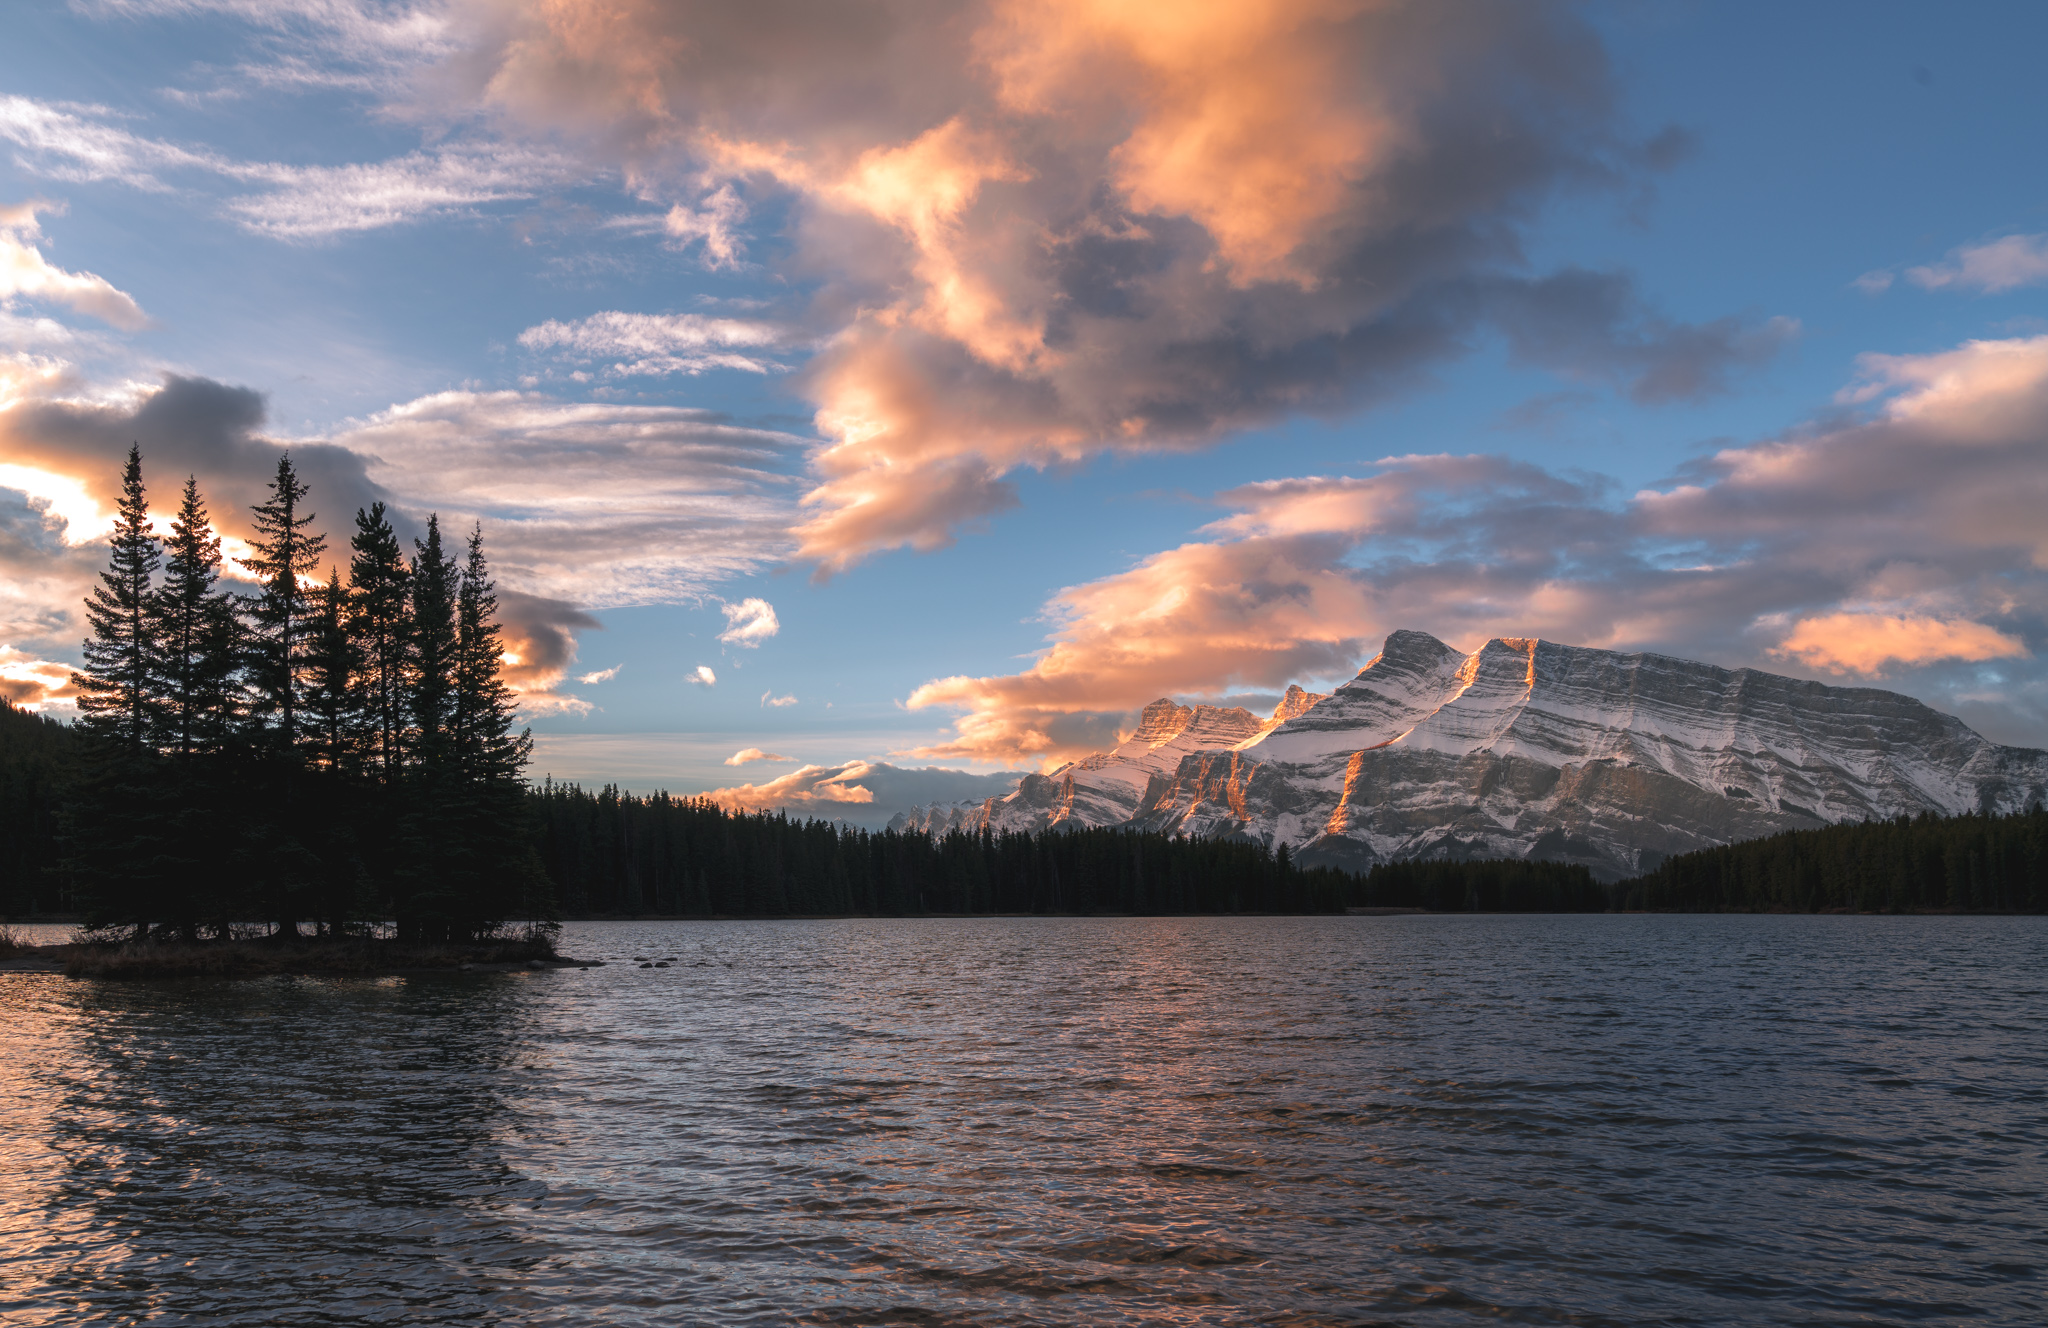
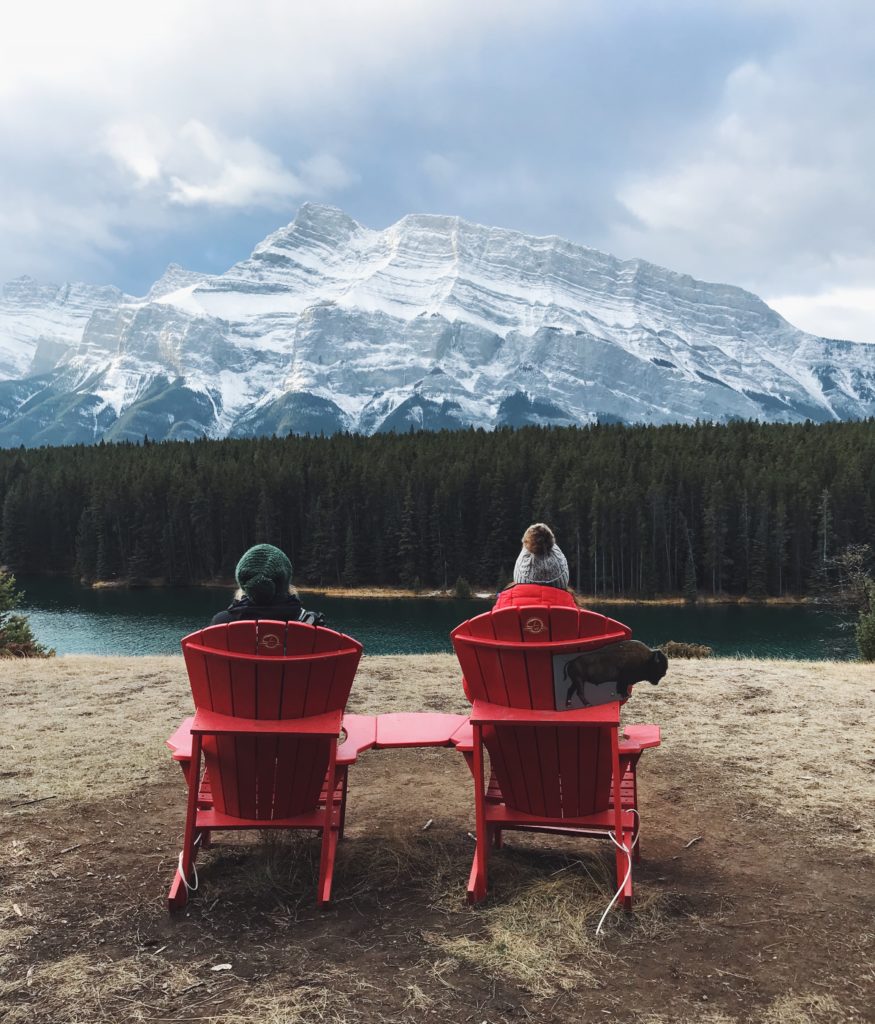
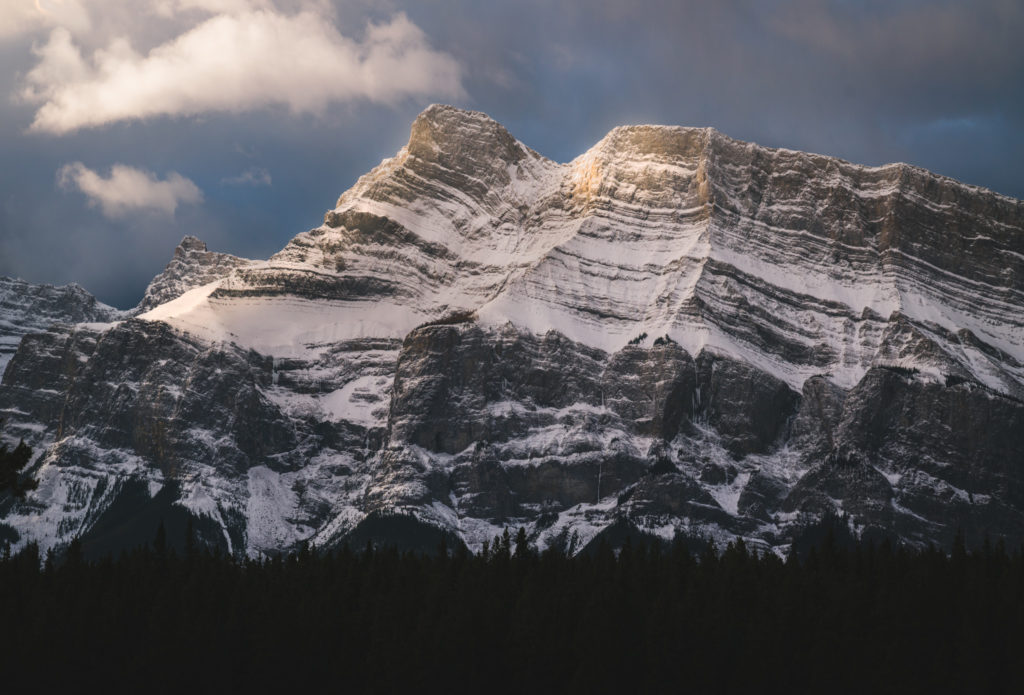
Two Jack Lake, Banff National Park

Why Visit During Shoulder Season?
Banff National Park is much quieter during the should season, which is typically late September through mid-December and late March through mid-June. I’m not much of a crowd person so I prefer to visit during off-season whenever possible, even if it means the weather is less-than-ideal. If you layer with appropriate clothing (see section on packing below), you can enjoy the outdoors even during chilly weather. Another benefit of visiting during fall is that you catch larch season if you time your visit just right.

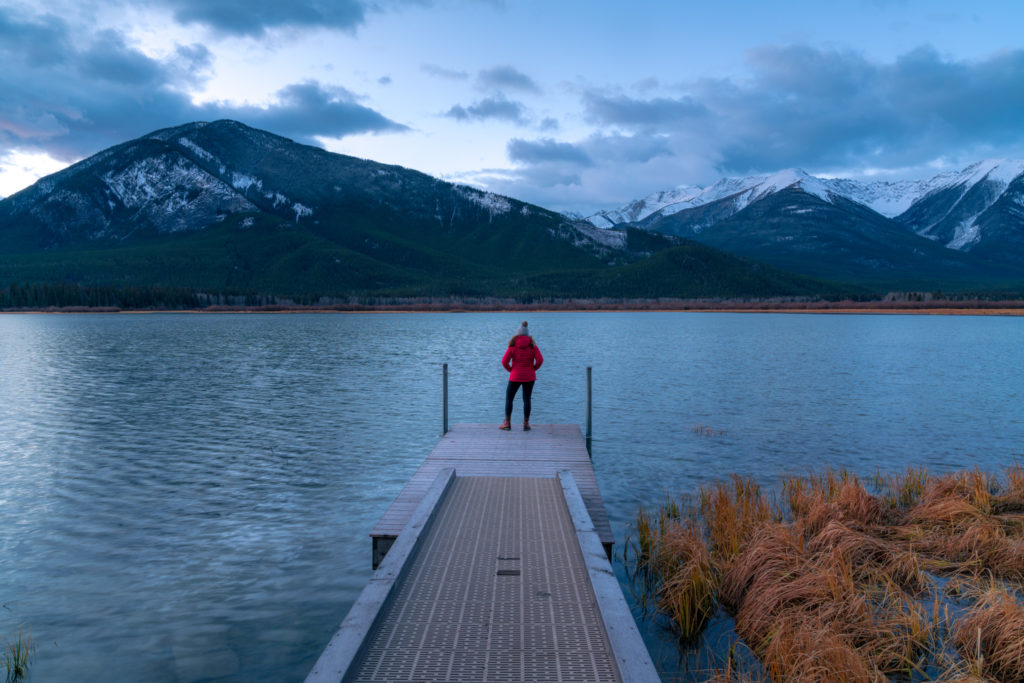
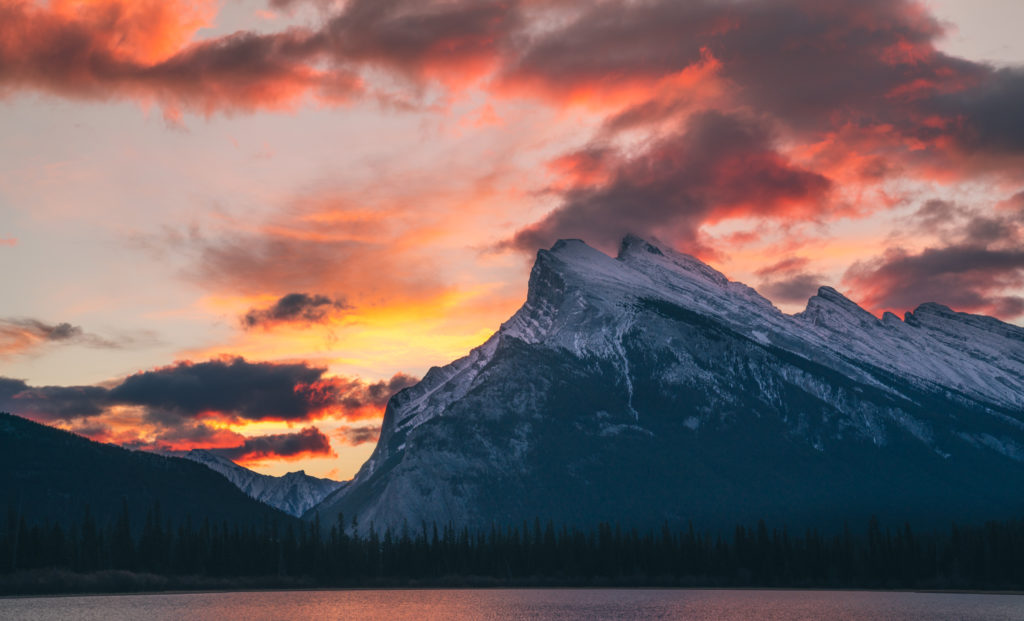
Vermillion Lakes, Banff

Getting to Banff National Park
Calgary International Airport (YYC) is the closest airport to Banff National Park, located 75 miles (or 120km) from the center of Banff. Like most airports in Canada, Calgary International Airport is clean, well-organized and staffed with friendly folks who are happy to point you in the right direction.

After my 1.5 hour flight from Seattle, I hopped on the Banff Airporter for the 2-hour ride. If you prefer to rent a car, Calgary Airport has car rentals available.

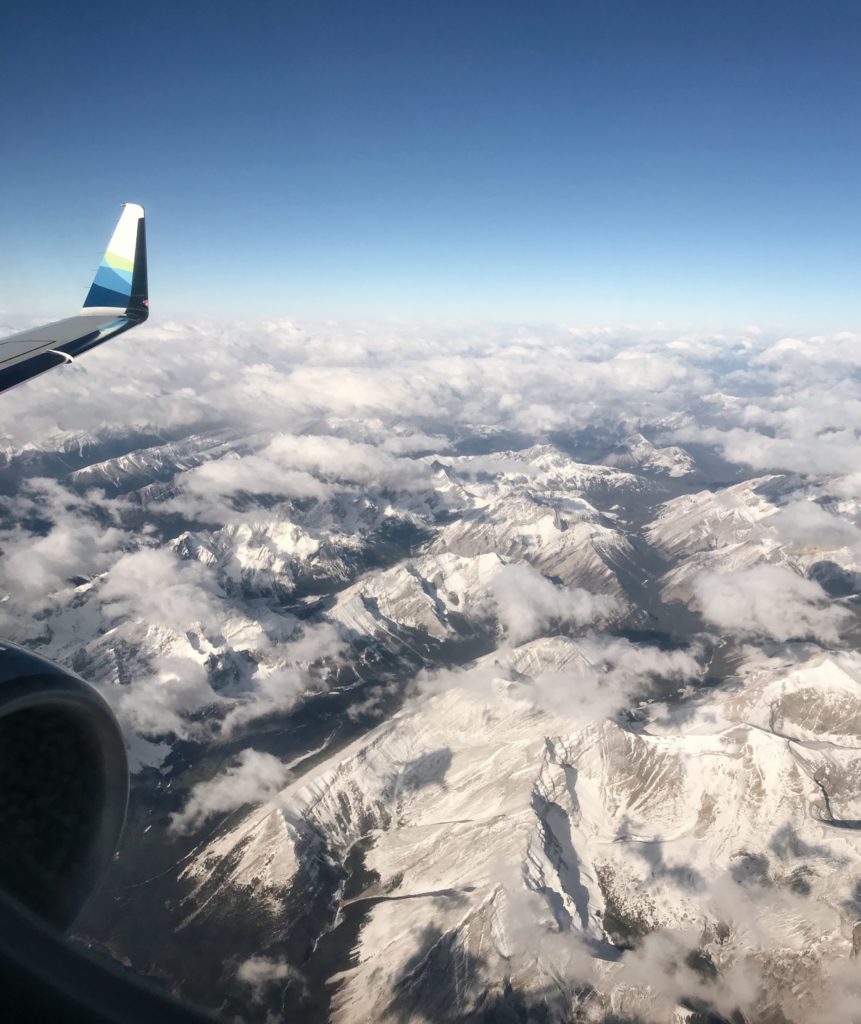
Flying to Calgary on Alaska Airlines

My Three-Day Itinerary in Banff National Park
My three-day weekend in Banff National Park flew by. There’s plenty within the immediate area of Banff city center to keep you occupied for a weekend trip. If you have more than 3 days available, I recommend extending your trip to explore nearby areas like Lake Louise.

On my first afternoon, our group walked from the Moose Hotel to the Fairmont Banff Springs via the Bow River. The walk was a great way to stretch my legs after a morning of sitting around at airports and planes. Since 1888, the “Castle in the Rockies” has been a destination for adventurers and foodies. We were treated to a tour of the hotel before heading to the Vermillion Room at the Fairmont for a delicious dinner.

Hiking in Banff National Park

In the evening, we headed to the Banff Mountain Film Festival for Leo Houlding – Specture Expedition. Climbers Leo Houlding, Jean Burgun and Mark Sedon went on a 50-day self-supported trip to Antartica’s remote Gothic Mountains. The team gave a talk and discussed the extreme temperatures, challenging winds, whiteout conditions and the time they narrowly avoided death. The guys are the definition of badass.

The next morning, I woke up for an early breakfast at Pacini’s in the Moose Hotel and headed to Rocky Mountain Yoga for a 90-minute Ashtanga class. While challenging (especially since I’ve never done Ashtanga), I found the yoga class relaxing, especially when it started snowing outside. Next, it was time for a relaxing massage at the Meadow Spa. If you book a treatment at the Meadow Spa, make sure to bring a swimsuit with you so that you can enjoy the outdoor spa.

After some downtime to relax after my massage, we headed to Park Distillery for lunch, followed by a behind-the-scenes tour of Banff Centre. Founded in 1933, Banff Centre for Arts and Creativity is a global organization that supports arts, culture and creativity across dozens of disciplines. The campus is gorgeous and sprawling, with views of nearby mountains. We got to see what goes on behind the scenes off the film festival and view some of the performing rooms and artist cabins.

Following the tour of Banff Centre, we headed to dinner at MacLab Bistro, where I tried authentic Canadian poutine for the first time (yes, it’s delicious). We made our way over to Banff Centre a bit early to get good seats for Free Solo.

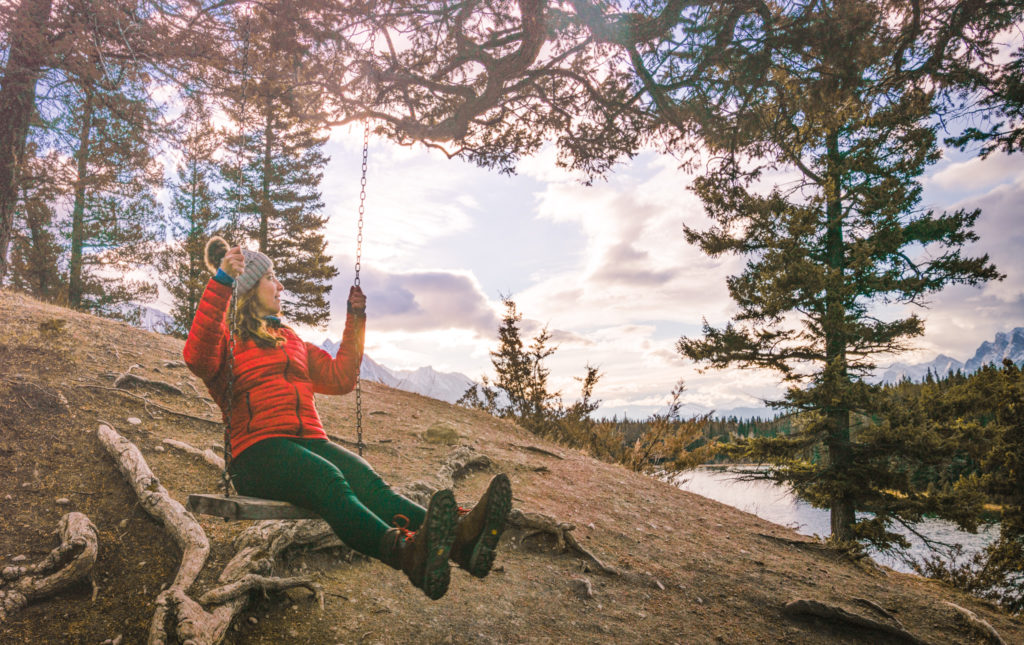
Swinging in Banff National Park

On my last day in Banff, I woke up well ahead of sunrise for a photo walk with Nick Fitzhardinge Photography. Nick took us to several nearby locations in Banff National Park, including Vermillion Lakes, Two Jack Lake and Lake Minnewanka. One of the big benefits of traveling during off-season or shoulder season is the lack of tourists. We pretty much had these well-known sites to ourselves. I’ve heard during the summer that they’re absolutely swarming with tourists. After the photo walk, I had a chance to walk around and relax before grabbing dinner at Saltlik before catching the Banff Airporter to head back to Calgary.

Vermillion Lakes, Banff National Park

Where to Eat
When I’m not taking photographs or hiking, you can usually find me eating and snacking my way through a new city. Thankfully, Banff has some amazing spots for foodies. Here are my favorite spots that I visited while in town:

The Vermillion Room: Located at Fairmont Banff Springs, the Vermillion Room serves dishes that can be described as “French elegance with Canadian charm.” I enjoyed a delicious steak and salad, thanks to the suggestion of our waiter.

The Vermillion Room, Fairmont Banff

Saltlik: Located in downtown Banff, Saltlik has a delicious steak and game menu. I started the evening with duck tacos (you must order them) and finished with a bison tenderloin served with blueberry butter.

Park Distillery: Located in downtown Banff, Park Distillery has an extensive bar menu, along with delicious comfort food, like the rotisserie chicken sandwich.

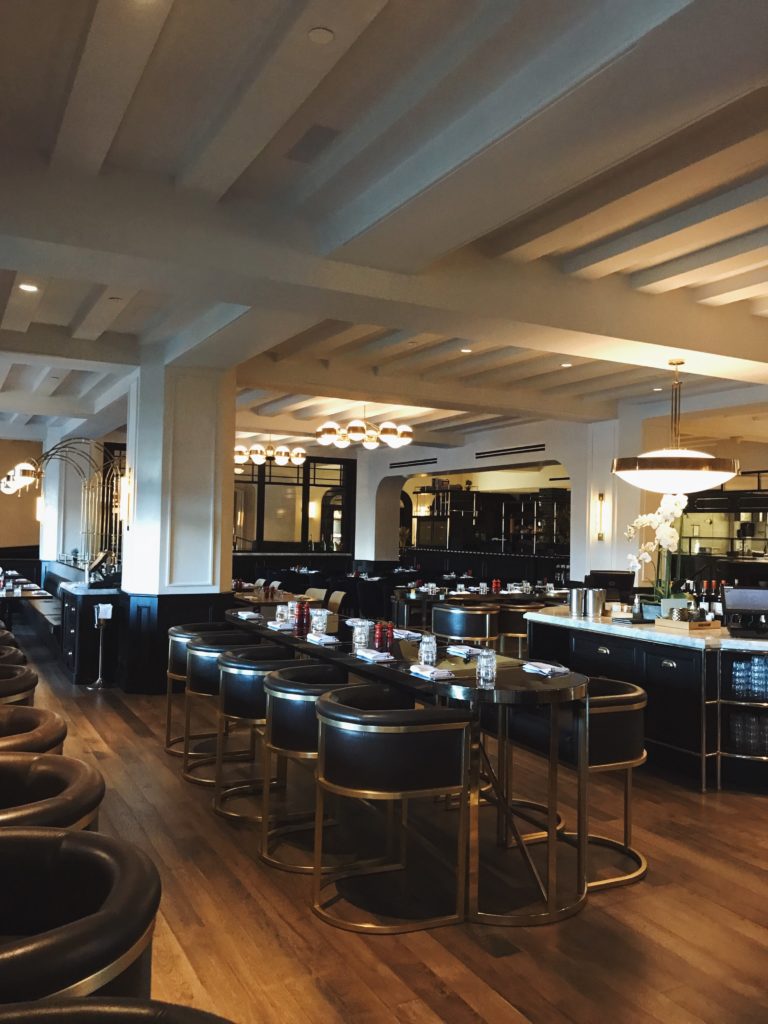
MacLab Bistro: MacLab Bistro is located on the Banff Centre campus and is the perfect spot to grab dinner and drinks before heading to the Banff Mountain Film Festival. You may also run into some famous faces, like climber Leo Houlding. I opted for the poutine (amazing) and the Alberta elk burger (I wish elk burgers were readily available in Seattle).

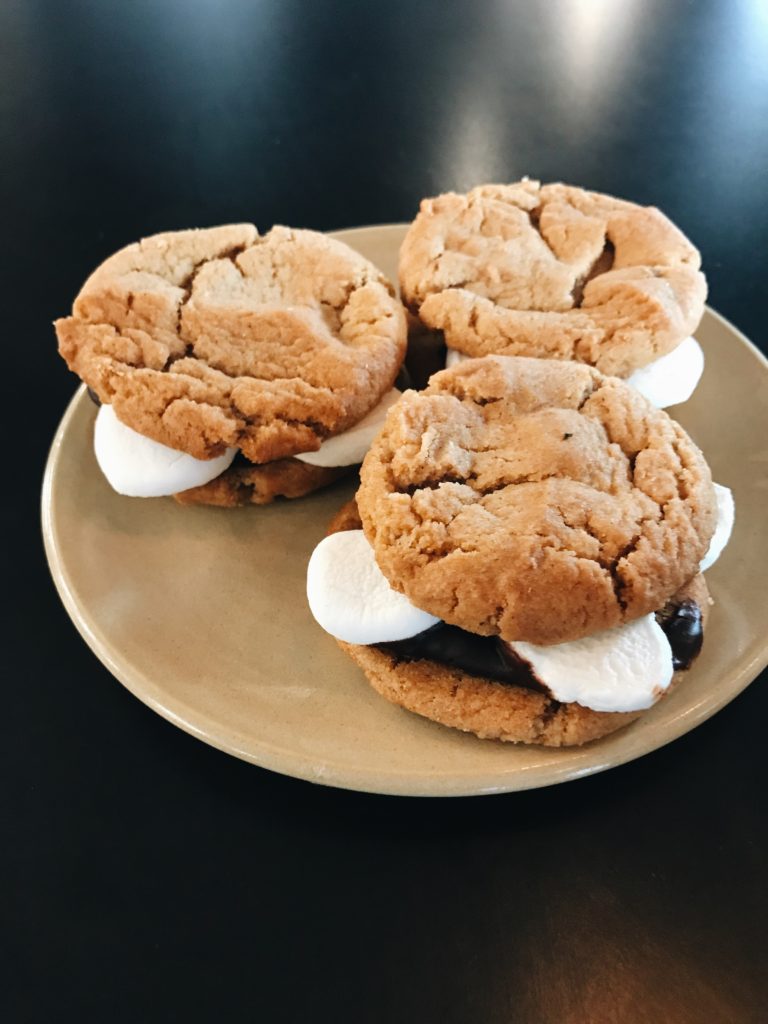
Good Earth Coffee House: This cute little coffee shop has delicious snack options as well as breakfast and lunch. Make sure to get the s’more cookies while you’re there.

S'more cookies at Good Earth Banff

Where to Stay
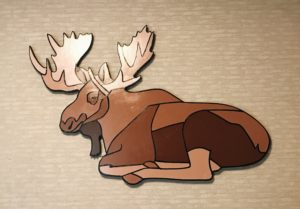
During my 3 days in Banff National Park, I stayed at the Moose Hotel & Suites, which is a new hotel located in the middle of downtown Banff. The rooms are fairly large and contain adorable moose-themed accents. The hotel is also home to the Meadow Spa, with 10 treatment rooms, a private outdoor hot pool and 2 rooftop hot pools.

The Moose Hotel, BanffMoose Hotel, Banff

What to Pack for Shoulder Season

  • Hiking boots (I love my Danner 600 boots)
  • Warm hat and gloves
  • Base layer (I like Icebreaker’s tops and bottoms)
  • Mid layers (depending on the weather, I’ll use a fleece like this North Face fleece or a down jacket like Rab Alpine Microlight)
  • Waterproof shell (Look for a Goretex shell, like this North Face jacket)
  • Pants + waterproof layer for your pants (I keep these Columbia Storm Surge pants in my backpack in case I get caught in the rain)
  • Your camera gear (I shoot with a Sony A7rii)
  • Warm socks
  • Daypack with the 10 essentials
  • Reusable water bottle
  • Microspikes (can be helpful if the trails are icy and slick, I use Kahtoola microspikes)
  • Optional: Hand warmers (my hands get cold)
  • Optional: Hiking poles
  • Optional: Bear spray (purchase locally and know how to use it)

Banff National Park

Safety
If you visit Banff National Park during shoulder season, make sure you check the trail conditions before you head out and always tell someone where you’re going. If you’re unfamiliar with mountain conditions, consider hiring a guide for a group hike.

This trip was sponsored by Banff and Lake Louise Tourism. All opinions expressed are my own. This post also contains Amazon affiliate links, which means I may receive a commission if you purchase a product after clicking a product link. I own and use all products that I recommend. 
Visiting Banff National Park, Canada, in the shoulder season: Your 3-day itineraryVisiting Banff National Park, Canada, in the shoulder season: Your 3-day itinerary
Iceland Trip Cost: How Much I Spent on a Two-Week Road Trip for Two

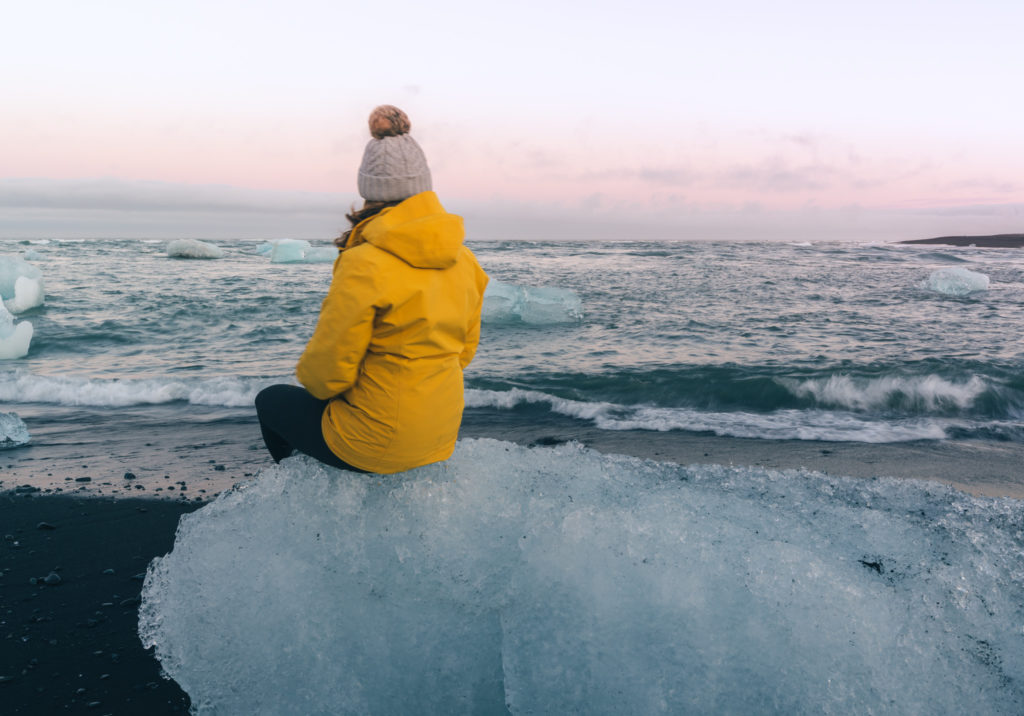
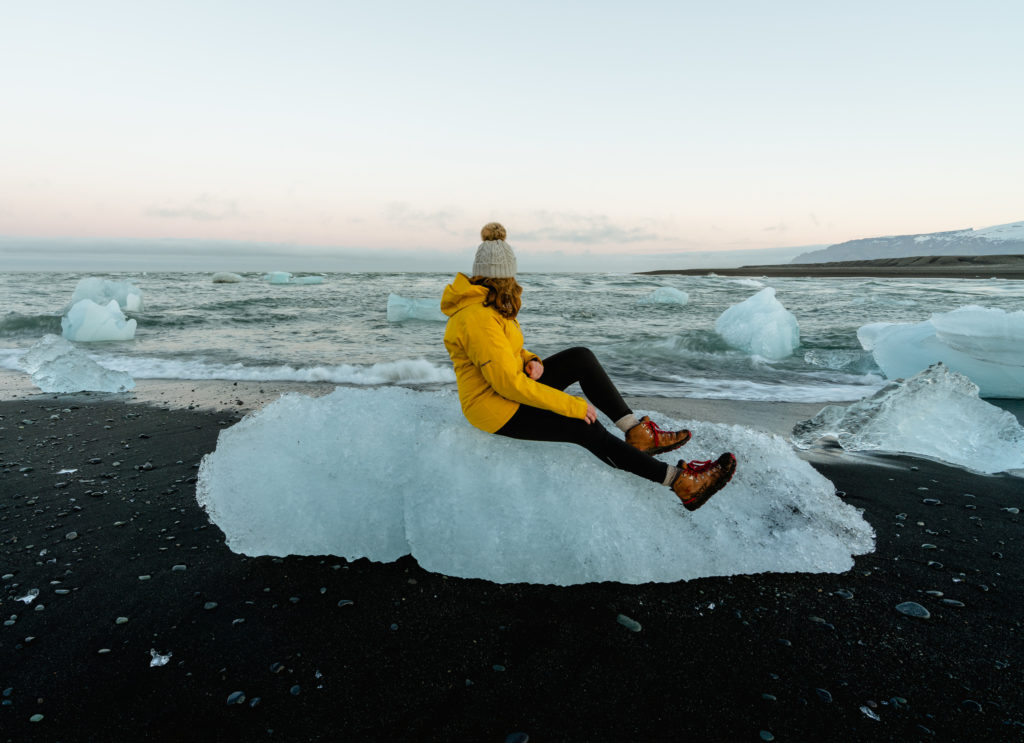
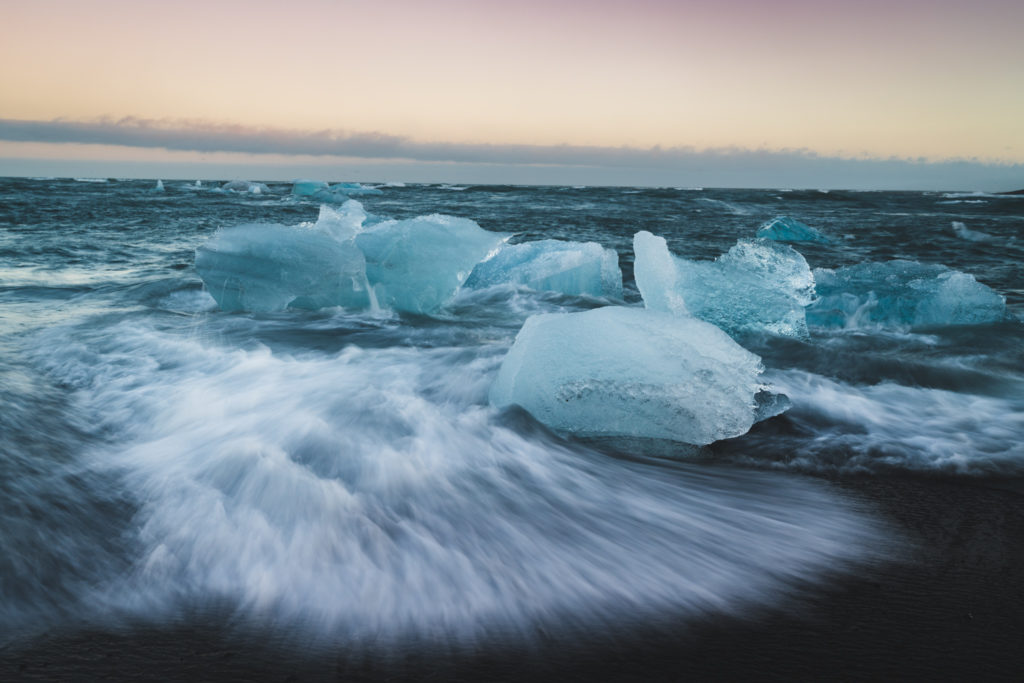
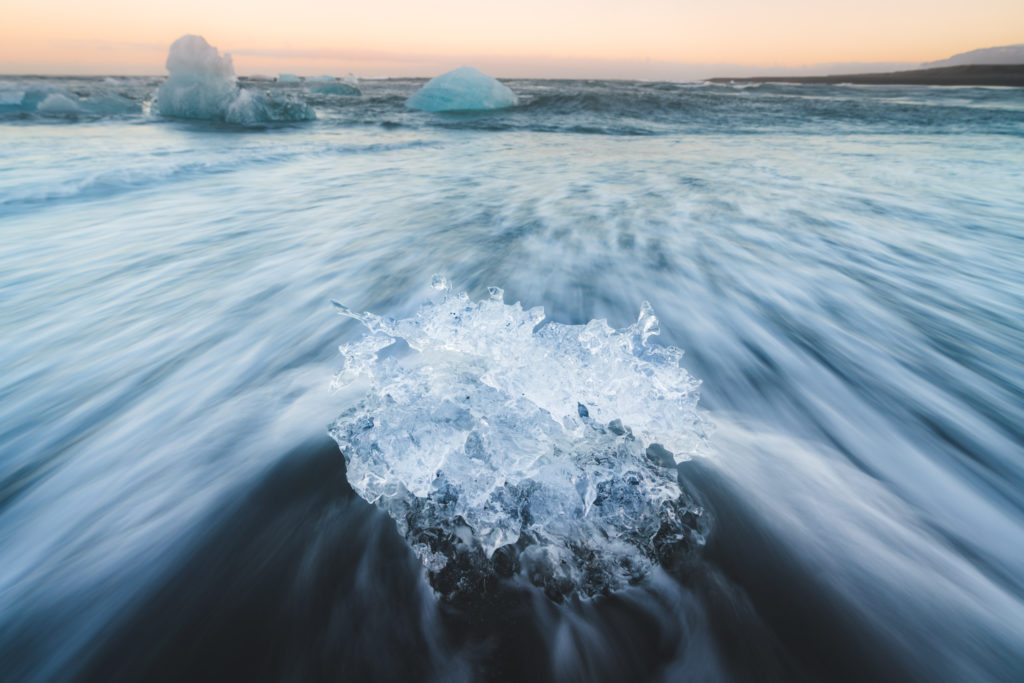
Diamond Beach, Iceland

How Much Does an Iceland Trip Cost?
Thanks to Icelandair and WOW Air, it’s usually pretty cheap to fly to Iceland. Once you land, you’ll see prices that will make you scratch your head and question reality. Hotels, gas and food are all much more expensive than you’re accustomed to back home, so unless you save money in advance, be prepared for sticker shock. In this post, I’ll outline how much money

I spent on my two-week Iceland vacation for two people so that you can budget for your trip in advance. I’ll also share some ways to save money on your trip (including a couple of things I wish I knew before my trip).

How we traveled in Iceland
I visited Iceland with my husband for two weeks in late June/early July 2018, road-tripping to the Golden Circle, Kerlingarfjöll, Landmannalaugar, the South Coast, Jökulsárlón and Heimaey. We splurged on a couple of activities but for the most part, we had a pretty standard trip, eating out at restaurants and staying at hotels as well as Airbnbs. We didn’t do any guided tours or activities, which definitely saved some money.

Cost of hotels in Iceland
As I mentioned above, we stayed at a mix of hotels and Airbnbs each night. If you average the total cost of our hotels over 14 nights, it comes to around $310 per night. Here’s a list of all the places we stayed:
Keflavik: Hotel Jazz
Laugarvatn: Héradsskólinn Boutique Hostel (we booked a private room with private bath, booked via Airbnb)
Kerlingarfjöll: Kerlingarfjöll Mountain Resort
Hrauneyjar: The Highland Center
Hvolsvöllur: UMI Hotel
Glacier Lagoon: Hali Country Hotel
Vestmannaeyjar: Airbnb

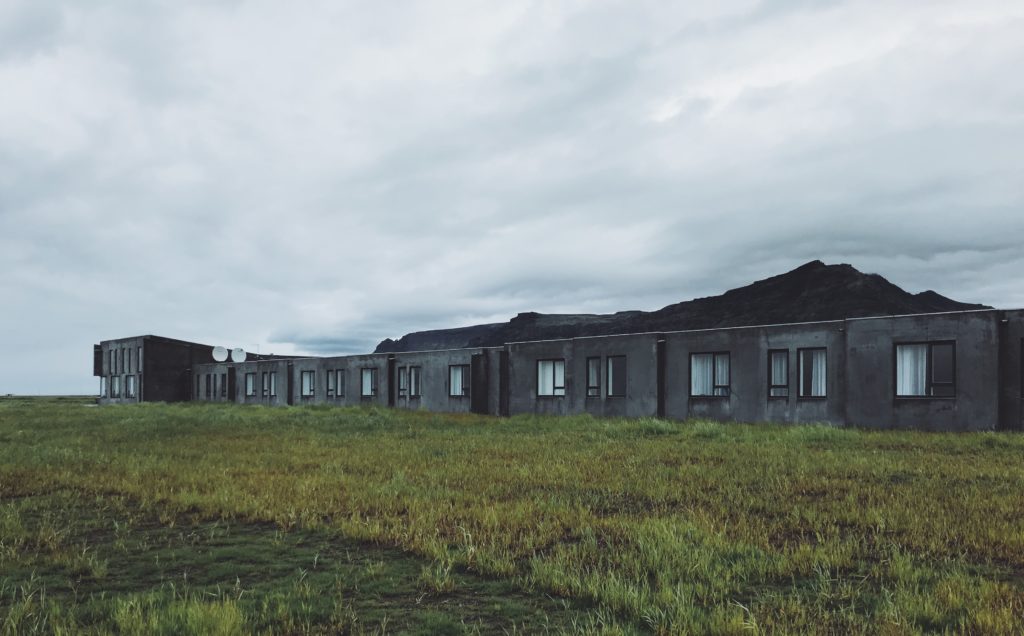
All the hotels we stayed at were clean and comfortable, although some, like the room at Kerlingarfjöll Mountain Resort, are pretty basic. I chose these hotels because they were close to the places we wanted to visit and in some cases, as with the Highland Center and Kerlingarfjöll Mountain Resort, they were the only option.

UMI Hotel, Iceland

Total hotel cost: $4,300

Cost of food in Iceland
Whether you’re grabbing a hotdog at the gas station or sitting down at a restaurant, food in Iceland will definitely cost more than you’re used to back home. Here’s a look at our average daily food expenditures.

Breakfast: $0 (thankfully the cost of breakfast is included in hotels)
Lunch: $50-70 for two
Dinner: $80-$120 for two

Here are some sample food costs to give you an idea of how much we were spending on individual items:
Icelandic hot dog: $4-5
French fries: $10-12
Hamburger: $20-25
Can of soda: $4-5
Fish ‘n chips from a food truck: $25
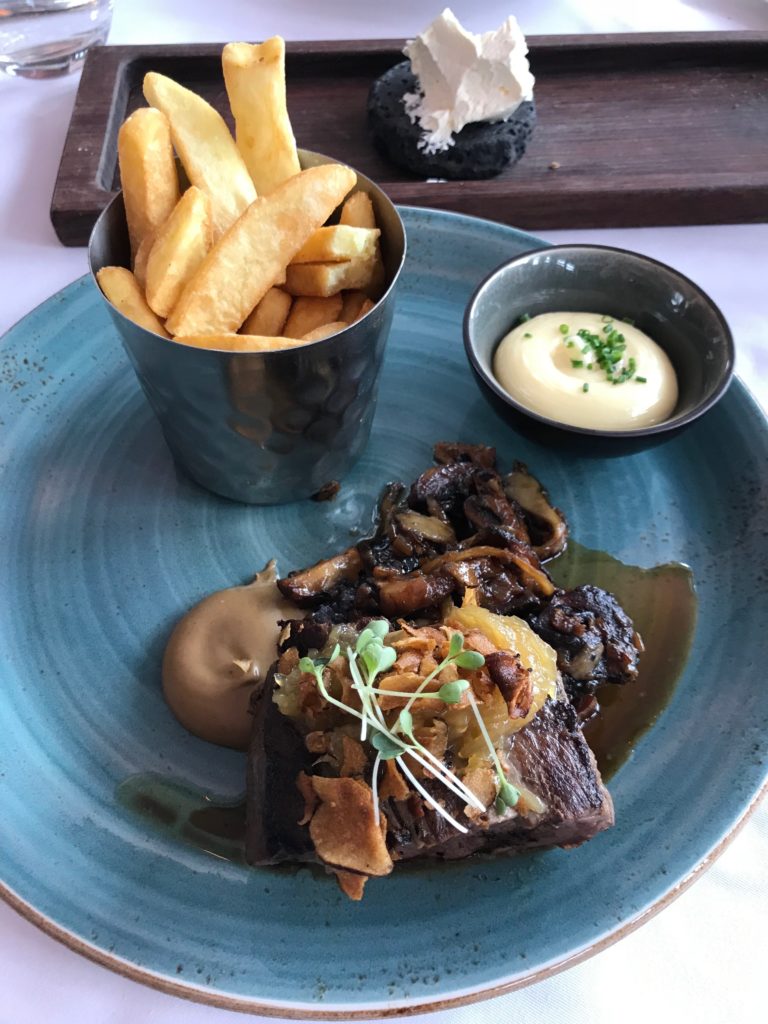
Lunch at the Blue Lagoon (steak) with a soda: $55

If you venture further away from civilization and head to a remote place like Kerlingarfjöll, expect food costs to go up considerably. Here’s what we were spending on food there:
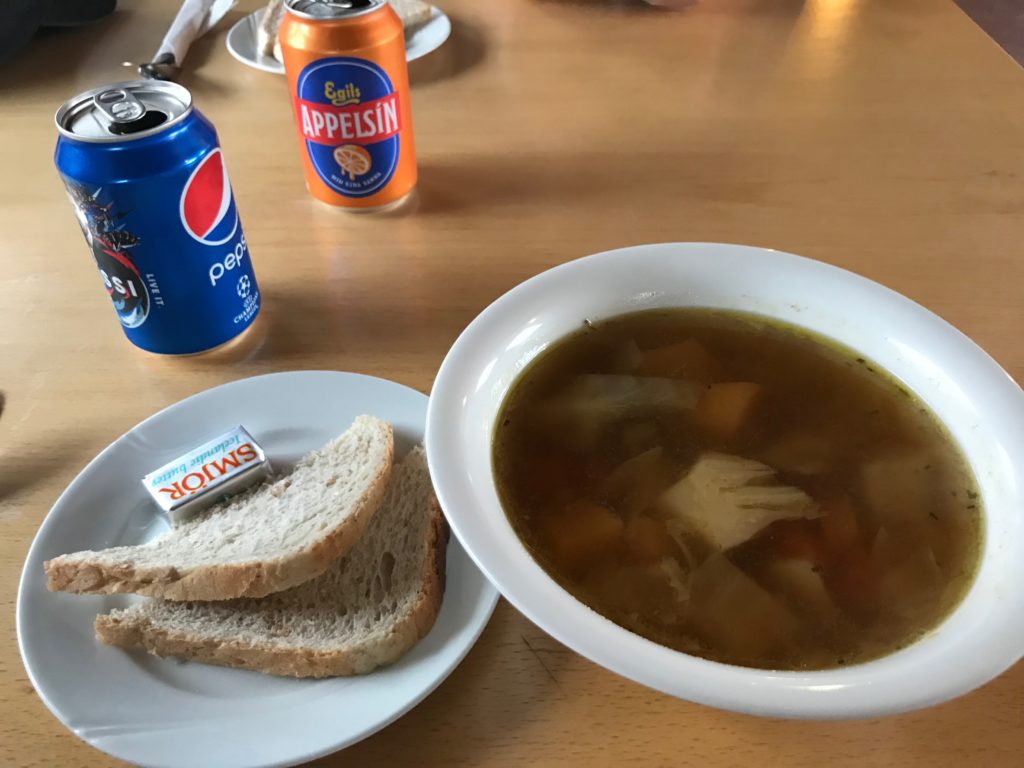
Bowl of lamb soup: $35
Piece of chocolate cake: $12
Ham and cheese sandwich: $16

Needless to say, $90 lunch and dinners were the norm there.

With the exception of a dinner at UMI Hotel, we did not splurge on fancy meals and instead chose to eat at the hotel (in places where that was the only option) or try smaller, family-run restaurants. If you’re planning to splurge on fine-dining in Reykjavik or other areas, increase your food budget considerably.

Lamb soup at Kerlingarfjöll Mountain Resort
In case you were wondering, this is what a $35 bowl of lamb soup looks like.

Total cost of food: $1,800 for two people

Cost of rental cars in Iceland:
The type of car you need to rent will largely depend on your itinerary. If you’re planning to drive the “F” (mountain) roads in summer, you absolutely need to rent an SUV and receive approval from your rental car agency.

In addition to the cost of the of the car rental, you’ll need to budget for rental insurance as well. In most countries, I rely on my American Express rental car coverage to fully insure the car but renting a car in Iceland is a little more complex, with sand and ash storms and river crossings. We opted to rent our car through Lotus Car Rental and paid extra for the Platinum package, which included:

  • $0 CDW deductible
  • Tire insurance (we damaged both front tires and did not pay anything out of pocket thanks to our insurance plan)
  • River crossing protection (highly recommended if you’re driving on F roads)
  • Sand and ash protection
  • Gravel protection

We rented a Subaru Forrester for our 2-week trip and it handled the F roads and river-crossings well.

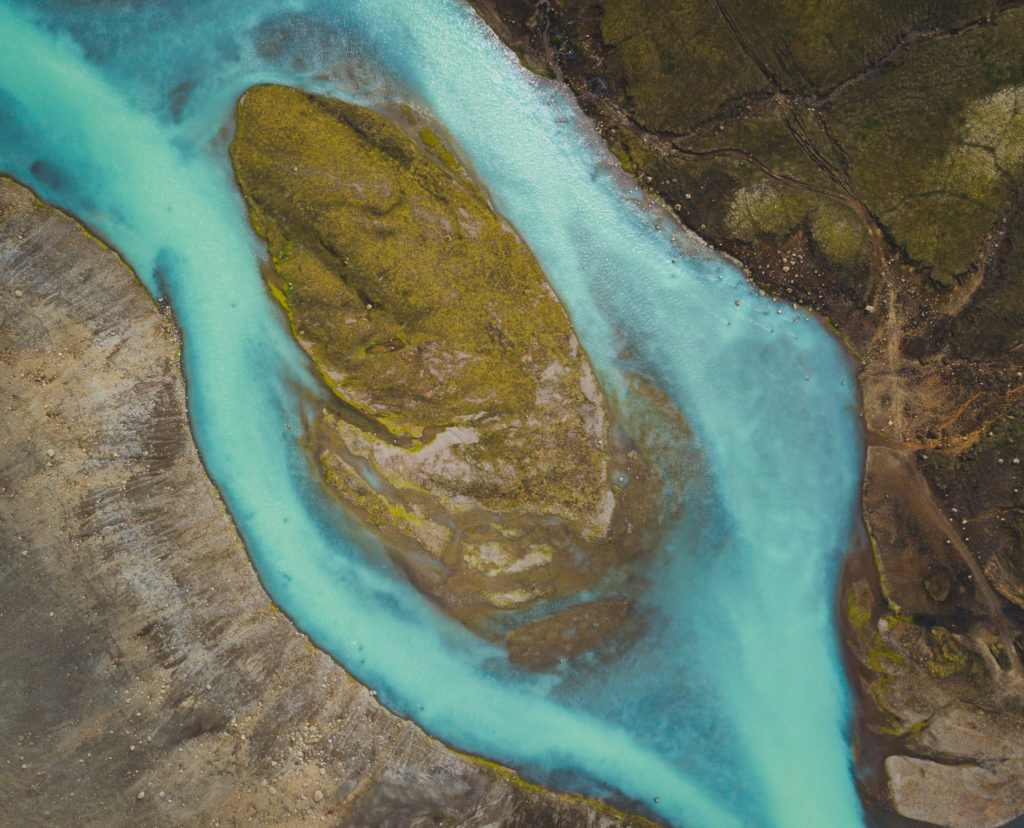
River in Iceland from above

Total car rental cost in Iceland: $2,681

Cost of gas in Iceland:

Gas in Iceland is outrageously expensive, averaging around $8 a gallon. Thankfully, our rental was a diesel and did ok on gas mileage but you definitely should plan on budgeting for the cost of gas in advance.

Total cost of gas in Iceland: $400

Airfare to get to Iceland:

Ok, I’m going to cheat a little on the cost of airfare (but bear with me). Over a year before my trip, I found a fantastic deal on business class tickets from Seattle to Paris on Air France, long before I decided that I wanted to visit Iceland. Once we made the decision to go to Iceland, I purchased tickets from Paris to Iceland via Icelandair on the outbound and WOW Air on the return.

Since most Americans don’t fly to Europe just to get to Reykjavik, I’m going to use the average Icelandair price from Seattle, which is $500 per person.

Total cost of airfare to Iceland: $1,000 for two

Other costs:

The only entry free we paid the entire time we were in Iceland was the LAVA Centre in Hvolsvöllur. A few additional things we spent money on: fees to use the restroom, bug hats and a few other miscellaneous items that I’m probably forgetting right now.

Other costs total: $100

Total Trip Cost
Total cost of visiting Iceland for two weeks, for two people = $10,100. Yes, you read that right: $10k for two people.

In case you’re wondering, I saved for this trip for a year and a half by automatically moving money from my checking account to my vacation savings fund. I definitely think the trip was worth the cost but I think next time I visit, I’ll try to save money on food.

Speaking of saving money, here are a few tips that will help you save on expenses while in Iceland:

  • Consider traveling with a group of friends. You’ll be able to split the cost of the car rental + gas with them, saving a pretty big chunk of change.
  • Camp: Even Airbnbs and basic guesthouses are fairly expensive in Iceland so camping will save you quite a bit of money. If you plan on camping in the highlands, make sure you bring (or rent) gear that will keep you warm.
  • Cook your own meals: If you shop at the grocery store and cook at your Airbnb or guesthouse, you’ll save a lot of money. Ideally, you should bring some packaged food from back home to supplement meat and fresh items from Iceland. Definitely bring a cooler from home because I did not see them for sale anywhere on our roadtrip
  • Hitchhike: This one is pretty extreme and not something that I’d try but it seems perfectly safe to do in Iceland. If you hitchhike, be prepared to stand outside for long periods in the rain and wind until someone picks you up. You’ll also need a lot of flexibility in your schedule.

[envira-gallery id="1431"]

Read more about Iceland on Away From the Office:
Two weeks in Iceland: Highlands, waterfalls and glaciers
21 things I wish I knew about Iceland before my trip
Is the DC-3 plane crash worth visiting?
56 photos that will make you want to travel to Iceland

Like this post? Please Pin it!

Budget breakdown for a two-week roadtrip through Iceland.Budget breakdown for a two-week roadtrip through Iceland.How much it really costs to visit Iceland for two weeksHow much it really costs to visit Iceland for two weeks

Disclosure: Some of the links above are affiliate links via Booking.com and GetYourGuide, meaning, at no extra cost to you, we will earn a commission if you click through and make a reservation.To view our full privacy policy and disclaimer click here.

Two-Week Iceland Itinerary: The Highlands, South Coast and Glacier Lagoon Ultimate Guide

Two-Week Iceland Itinerary
In late June/early July 2018, my husband and I went on a two-week road trip in Iceland, covering the Golden Circle, highlands, South Coast and the glacier lagoon. While we could’ve driven around the entire country on the Ring Road in two weeks, we opted to do less driving and spend a minimum of two days in each location, which proved wise. As I mentioned in a previous post, the weather in Iceland can be incredibly fickle.

Below is a list of all the places we visited on this trip, along with a map. If you want to visit waterfalls, glaciers and the mountains, use this two-week Iceland itinerary as your guide:

  • Keflavik
  • Blue Lagoon, Grindavík
  • Laugarvatn, with day trips to: Þingvellir National Park, Geysir and Gulfoss
  • Kerlingarfjöll
  • Hrauneyjar, with a day trip to Landmannalaugar
  • Hvolsvöllur, with day trips to: Vik, Seljalandsfoss, Skógafoss, Dyrhólaey, Reynisfjara and the Sólheimasandur plane crash
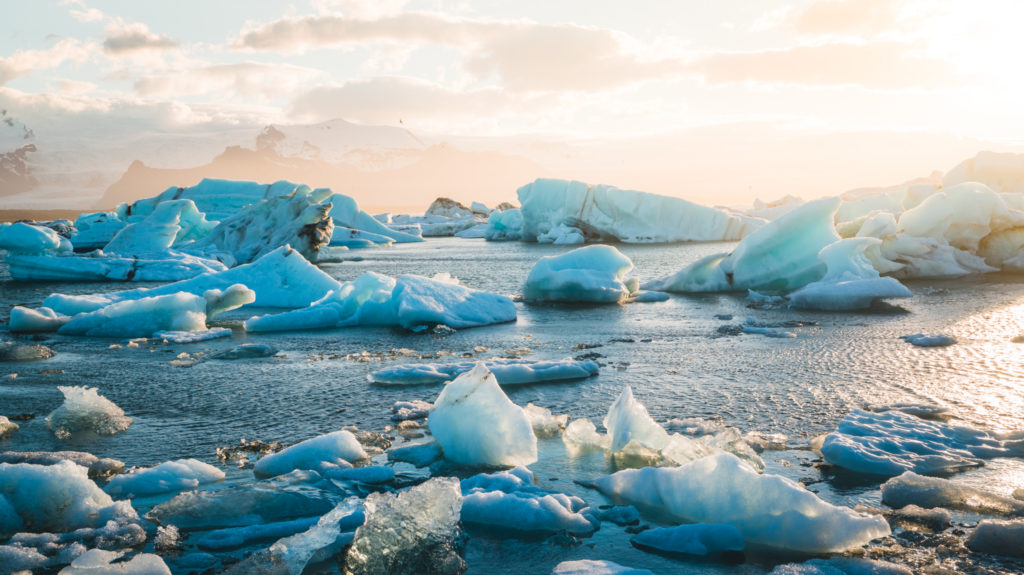
  • Höfn, with day trips to Diamond Beach and Jökulsárlón
  • Vestmannaeyjar

Related: Only have 1 week to explore Iceland? Use this article as your guide

Related article: The Ultimate Iceland Packing List for All Seasons

Arrival Day & The Blue Lagoon:
Hotel Jazz, Keflavik for arrival night
Hotel price:: $234
Rental car price: $2,700 for a Subaru Forrester  (included Premium Insurance package, which covers river crossings, sand and ash protection, etc)
Activities: Sleep (zzzz) and The Retreat Spa at the Blue Lagoon
Drive time from Hotel Jazz to the Blue Lagoon: 20 minutes
Drive time The Blue Lagoon to Laugarvatn: 1 hour, 35 minutes
Blue lagoon price: $235 per person

We arrived at 8pm and picked up our rental car from Lotus Car Rental, located just a short shuttle ride away from the airport and headed straight to the hotel to get some sleep. We stayed at Hotel Jazz on our first night and our last night due to it’s close location to the airport and it was relatively affordable compared to other options in Keflavik.

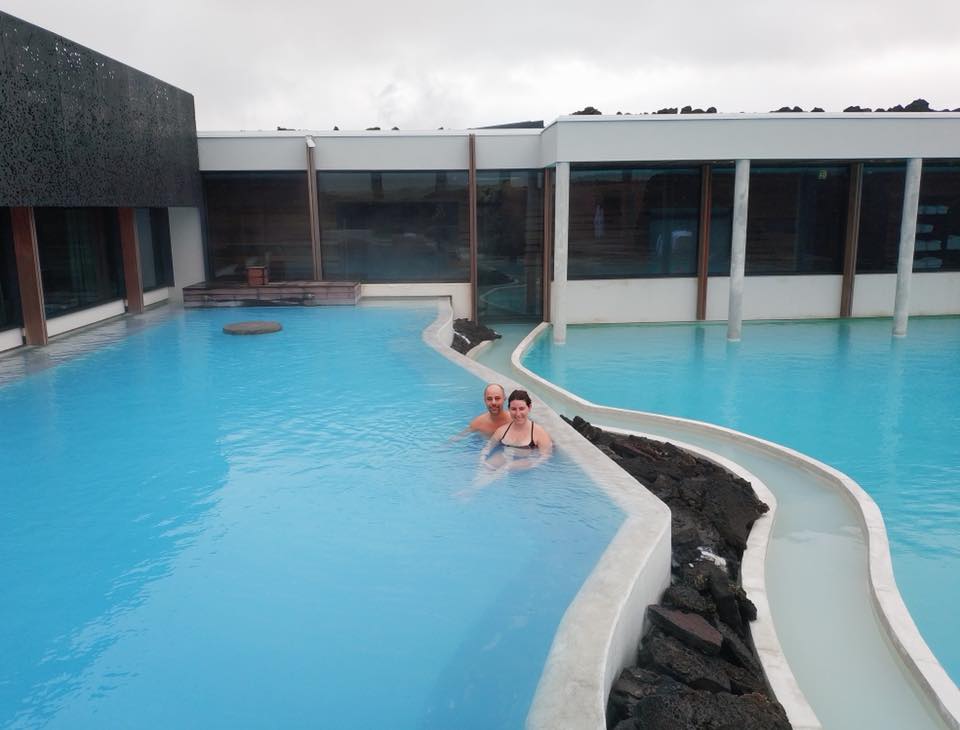
The next morning, we woke up early for our 8am reservation at the Retreat Spa at the Blue Lagoon, which is an exclusive area of the Blue Lagoon. For $235 per person, you get a separate entrance, private room with a shower, access to the spa’s retreat rooms (such as a fire room or water drop room), Blue Lagoon ritual and most importantly, access to the Retreat’s secluded lagoons, which was the primary reason for booking. The Retreat also offered several spa treatments but we opted to skip those in favor of spending more time inside the lagoon and the relaxation rooms.
Since the Retreat has a no-photo/phone policy (the staff can take your picture if you ask), I don’t have a ton of pictures from my experience but I highly recommend splurging if you can. I walked over to the regular section of the Blue Lagoon to see what it was like and it was insanely packed.

After our 4 hours were up, we ate lunch at the on-site restaurant, which was a little on the pricey side (as is all food in Iceland), but it was delicious.
Sidenote on food prices; I’m not including the prices because it was roughly the same every day. Breakfast was included in the cost of the accommodation, lunch was typically $50-60 for two (for hamburgers, fries and drinks) and dinner was typically $120. The exceptions were the days we ate gas station hotdogs for lunch and/or dinner, which averaged about $5.
The Retreat Spa, Blue Lagoon, Iceland

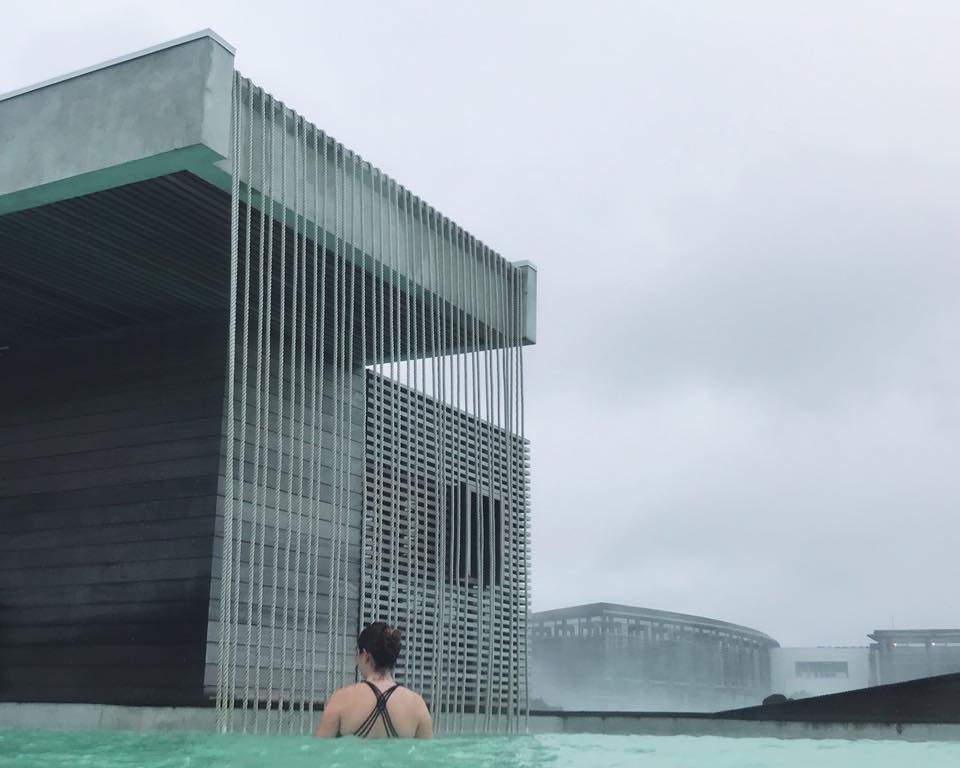
The Retreat Spa, Blue Lagoon, Iceland

Lunch at the Blue Lagoon, Iceland

After exploring the Blue Lagoon, it was time to drive to Laugarvatn, our base for exploring the Golden Circle. The drive is fairly short but fair warning: you’ll be so relaxed after The Blue Lagoon that you’ll probably be a little sleepy.

After check-in, we went on a walk but went to bed a little early due to jet lag.

Laugarvatn (The Golden Circle)
Hotel: Heradsskolinn Boutique Hostel in Laugarvatn for 2 nights
Hotel price: $173 per night, plus $20 service fee (double room with private bath)
Activities: Þingvellir National Park, Geysir, Gulfloss, Efstidalur II for ice cream (all free, minus the ice cream)
Food options: Quite a few restaurants to choose from in the Laugarvatn/Golden Circle area
Drive time from hotel to:

  • Þingvellir National Park: 35 minutes
  • Geysir: 25 minutes
  • Gullfoss: 33 minutes

We woke up to rain pounding on the window, which is pretty typical in Iceland. Thankfully, we were well-prepared with water-proof gear and set off to explore. Our first stop was Þingvellir (pronounced Thingvellir). In additional to featuring a gorgeous waterfall and canyons, Thingvellir plays an important part in Icelandic history and culture. Iceland was settled in 874 and founded in 930 and Thingvellir was the place were laws were made, workers looked for jobs and important banquets were held.

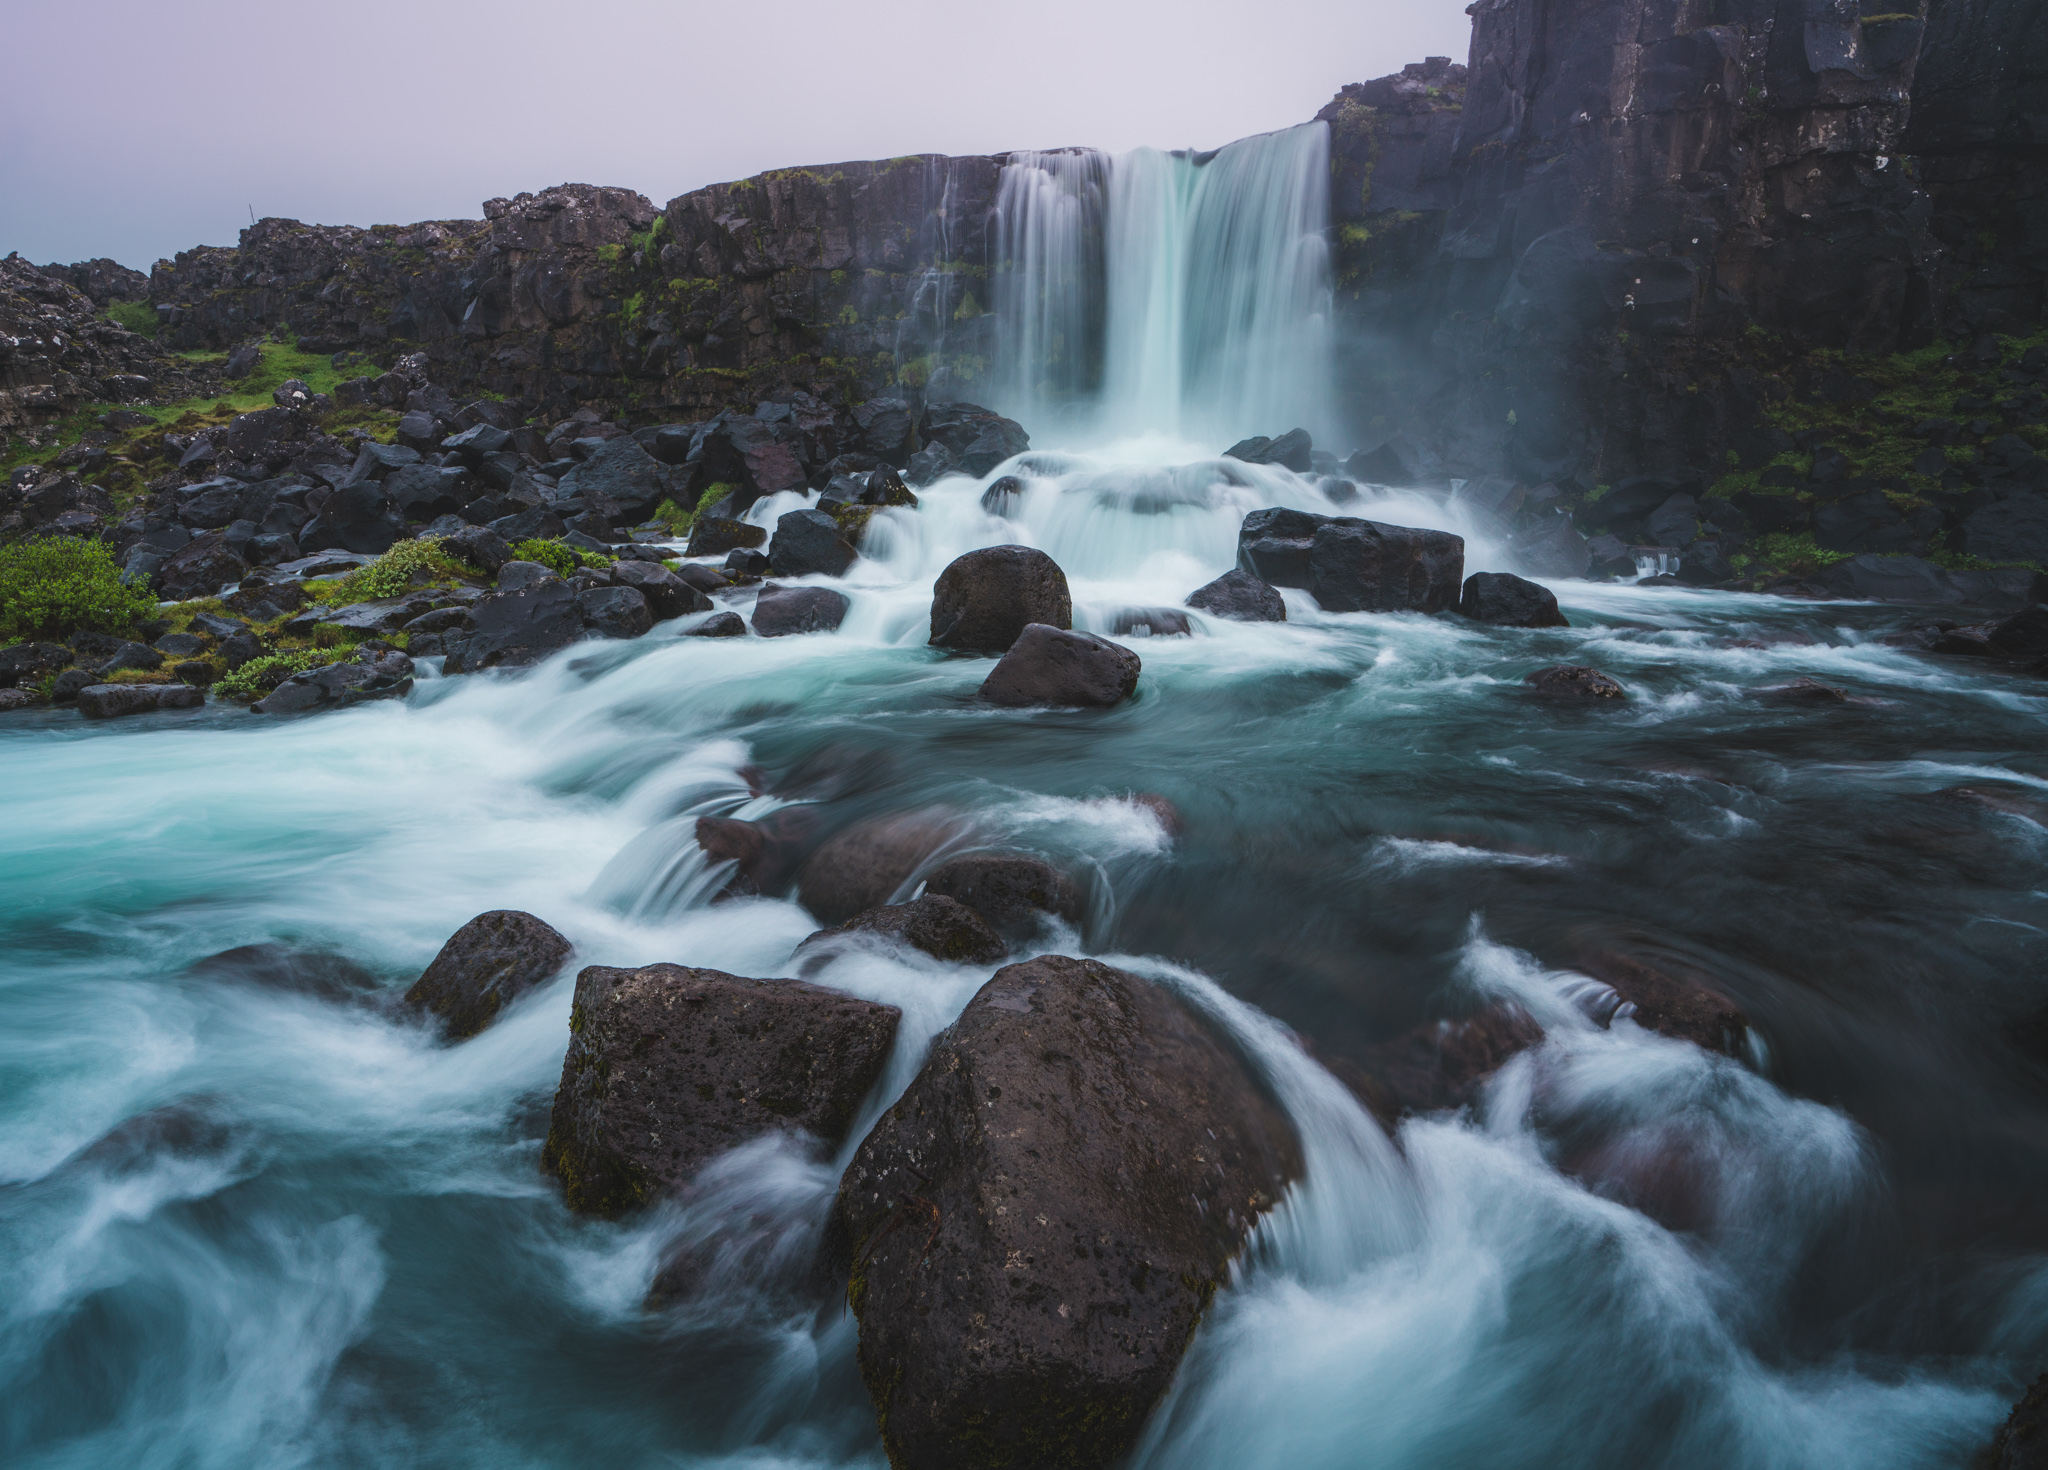
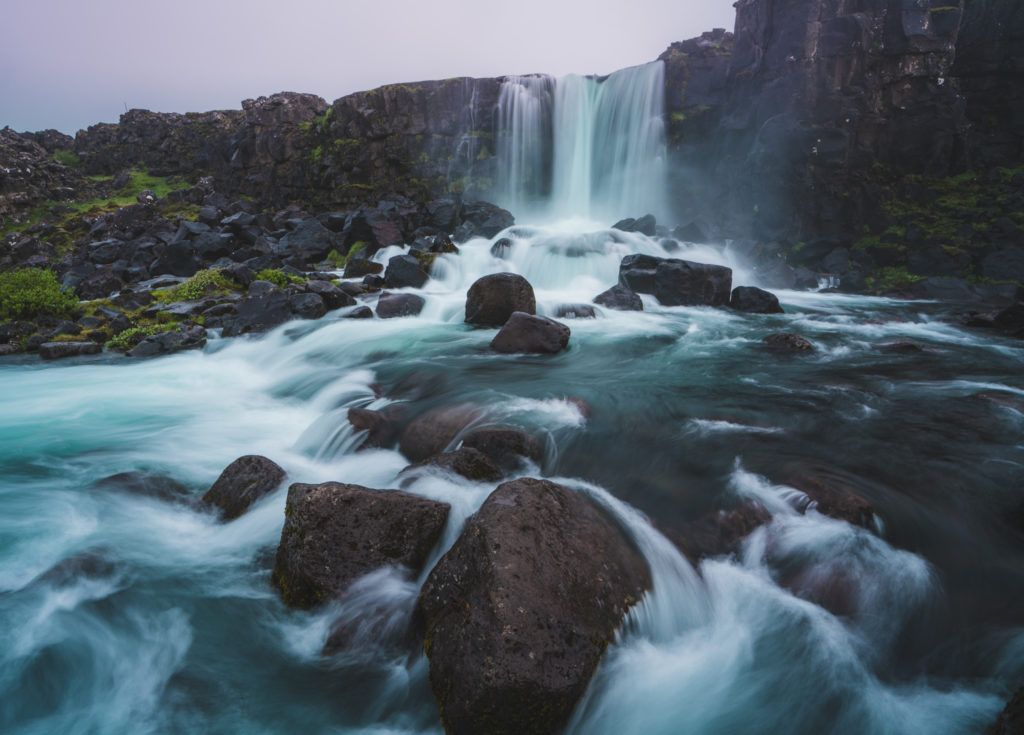
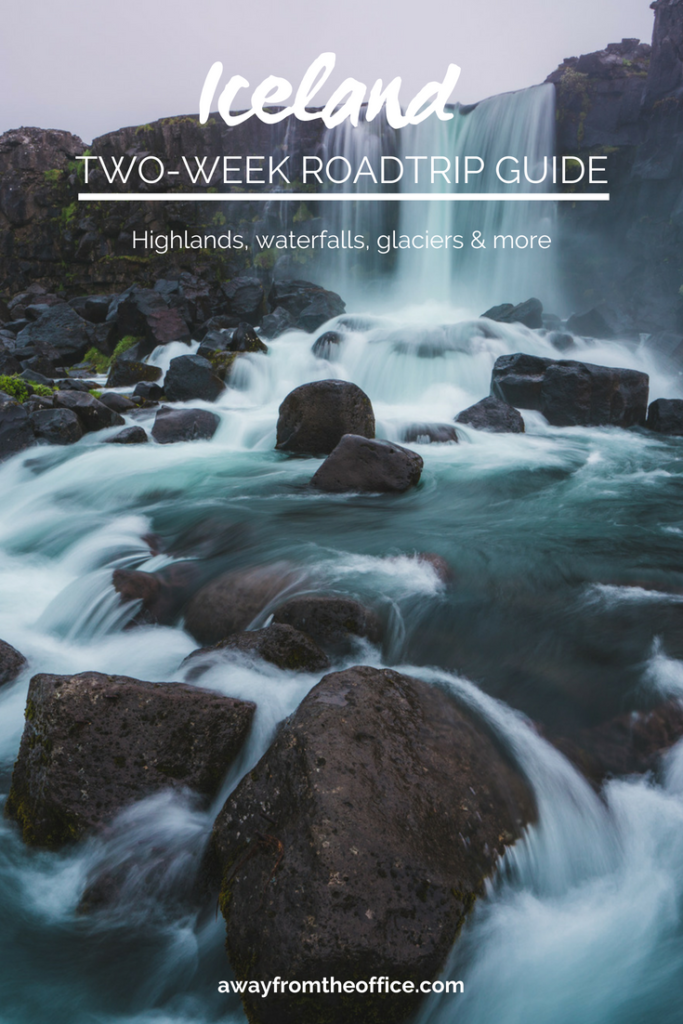
Our first stop was Thingvellir’s only waterfall, Öxarárfoss, which just requires a short hike to reach. During the day, the waterfall was packed with tourists everywhere so we didn’t get a good view. Our trick to enjoying the waterfall in peace in quiet? We returned at 11pm later that evening and had the entire place to ourselves. This is a common theme throughout Iceland. If you want to avoid the crowds, you need to visit places at weird times. Thankfully in the summer, it never truly gets dark, even after the sun sets.

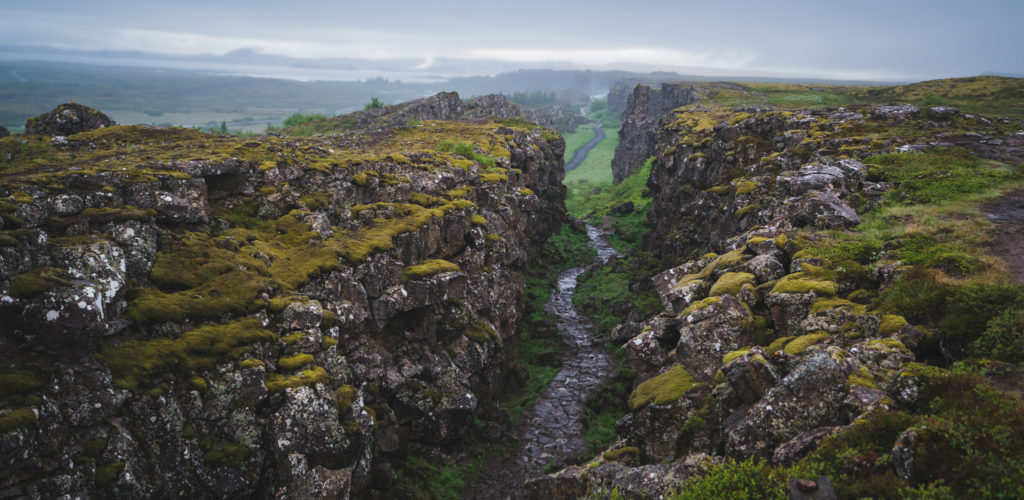
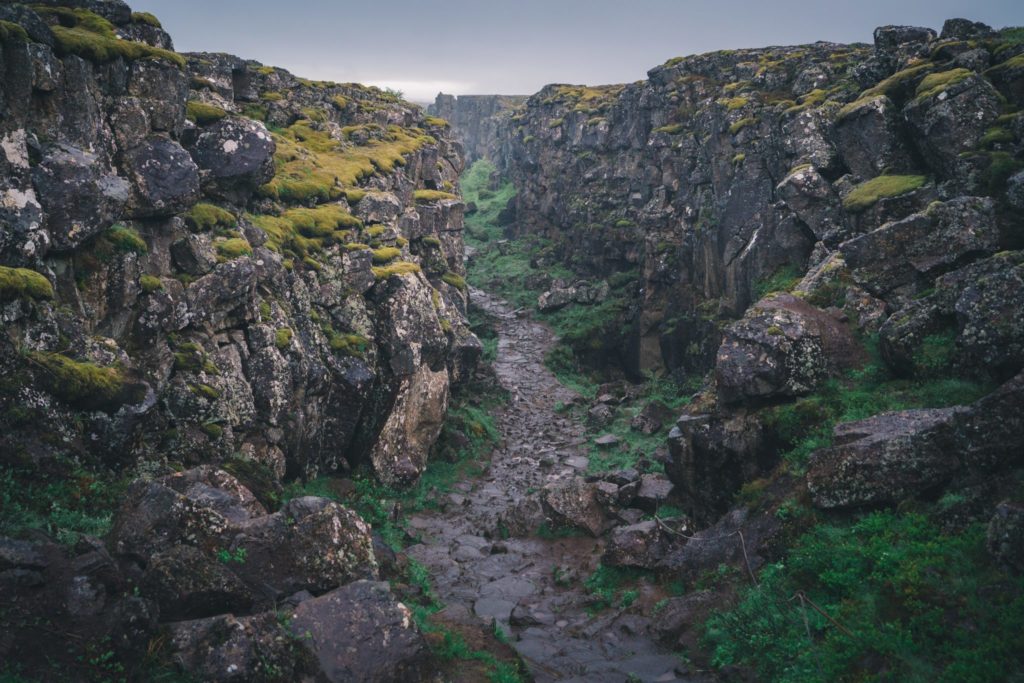
Other places we visited at Thingvellir included: Almannagja, the eastern boundary of the North American plate and Drekingarhylur, where women were drowned starting in the 16th century. We never made it to Thingvellir Church or Flosagjá, where you can snorkel between the North American and European plates.

Öxarárfoss, Thingvellir National Park, Iceland

Thingvellir National Park, Iceland

Thingvellor National Park, Iceland
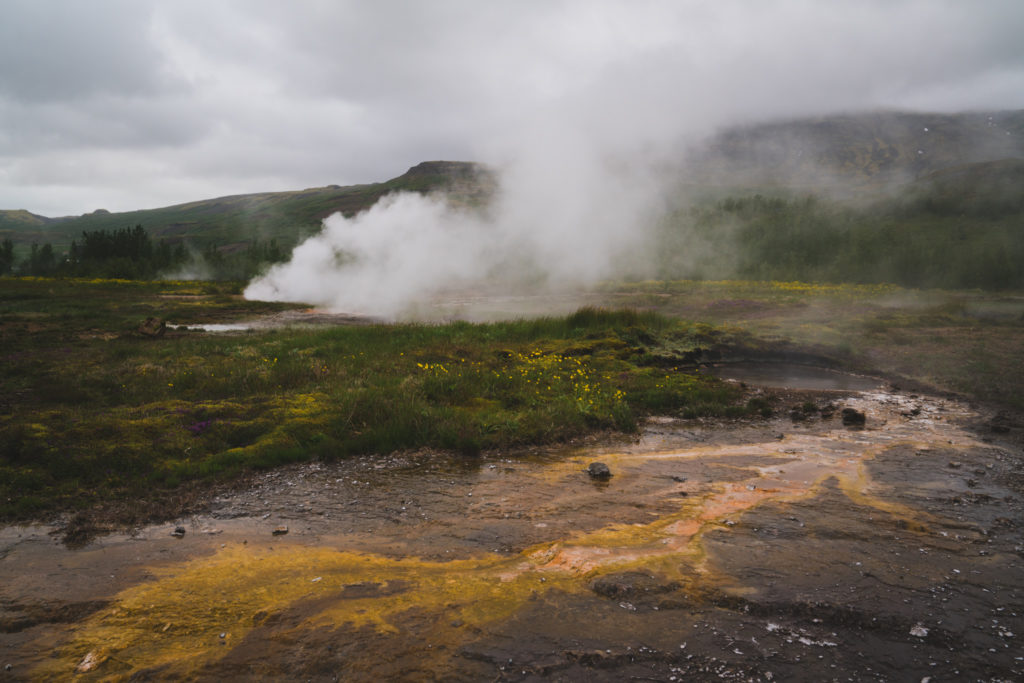
After hiking around Thingvellir, we drove to Geysir for some lunch and to explore the geothermal pools. Geysir has a rest stop with a couple of restaurants inside as well as a gas station. We spent around an hour hiking around the area before eating lunch and then heading to Gullfoss.

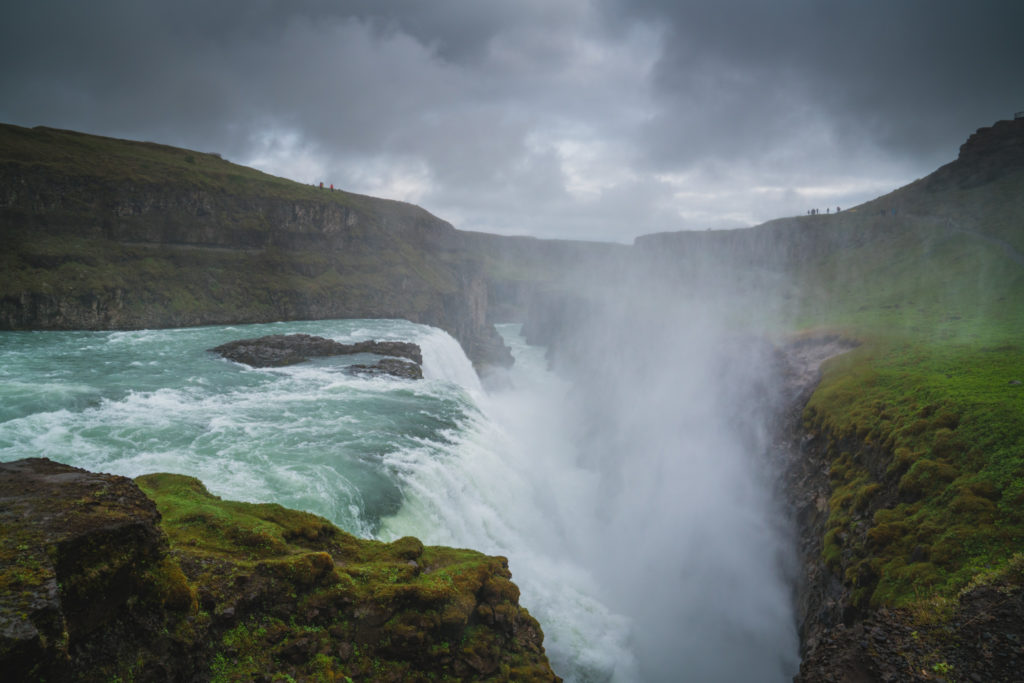
Even though we arrived at Gullfoss in the middle of the day, we lucked out and managed to time our visit outside of the bus tours so it was pretty quiet. It was raining while we were there but even if it wasn’t, the spray from Gullfoss is so powerful that you’ll get wet regardless.

Hiking around Geysir, Iceland

Geysir, Iceland

Gullfoss, iceland

Kerlingarfjöll (The Highlands)
Hotel: Kerlingarfjöll Mountain Resort, 2 nights
Hotel price: $285 per night (for hotel room with private bath)
Drive time from Laugarvatn to Kerlingarfjöll: 3 hours, with plenty of stops
Activities: Hiking around the Kerlingarfjöll area (free)
Food options: Only one restaurant at the hotel

After spending two days exploring the Golden Circle, we made our way towards Kerlingarfjöll, stopping multiple times to enjoy the scenery. It’s important to keep in mind that Road 35 turns into F-35 shortly after Gullfoss and you must have approval from your rental car agency to drive on this road. You also need to check the status of the road you’re driving on here. If the road is closed, do not drive on it under any circumstances.

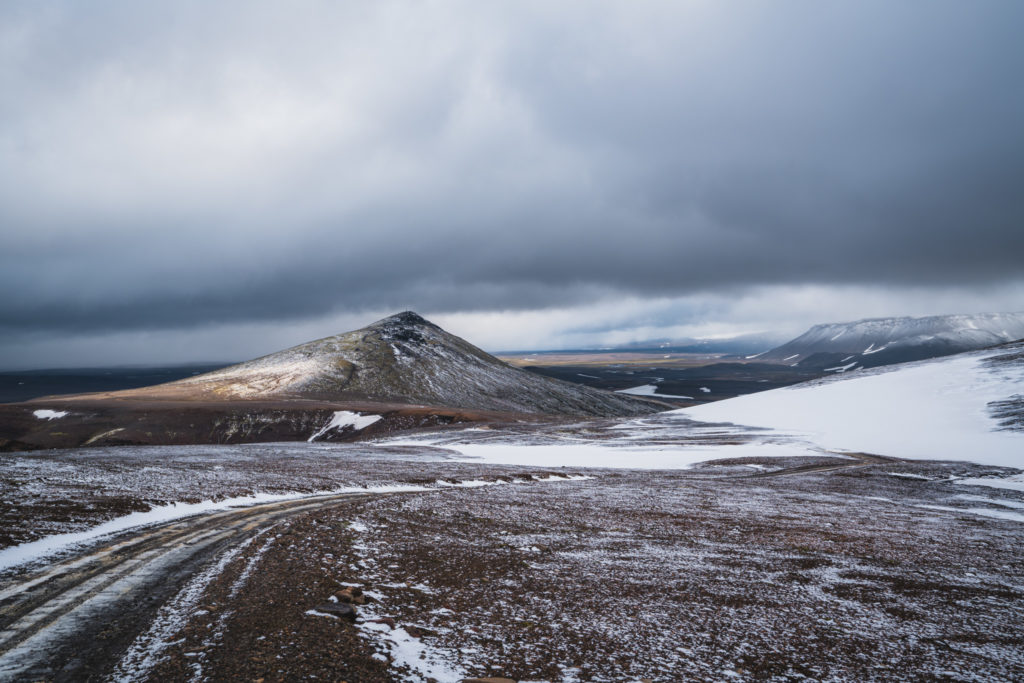
Near Kerlingarfjöll, Iceland

The road is a fairly standard gravel road and it’s pretty easy to drive, although it’s filled with a lot of potholes and we drove much slower than the speed limit. Keep in mind that you’ll usually be driving below the speed limit on F roads because they aren’t always in the greatest shape.


After turning on F-347 to head towards the resort, we came to our first river crossing of the trip. My husband is an experienced 4×4 off-road driver and we followed all of these safety tips before making the decision to cross, but it still nerve-wrecking. As we were measuring the depth of the river, a bus crossed, allowing us to see how deep the river is.

We rented a regular hotel room from Kerlingarfjöll, which was clean but fairly basic. The resort has an on-site restaurant although as a fair warning, the menu is pretty small and the food is even more expensive than the rest of Iceland. How expensive you ask? For one lunch, we purchased two sodas, two bowls of lamb soup, a piece of cake and a muffin and the total came to $90.

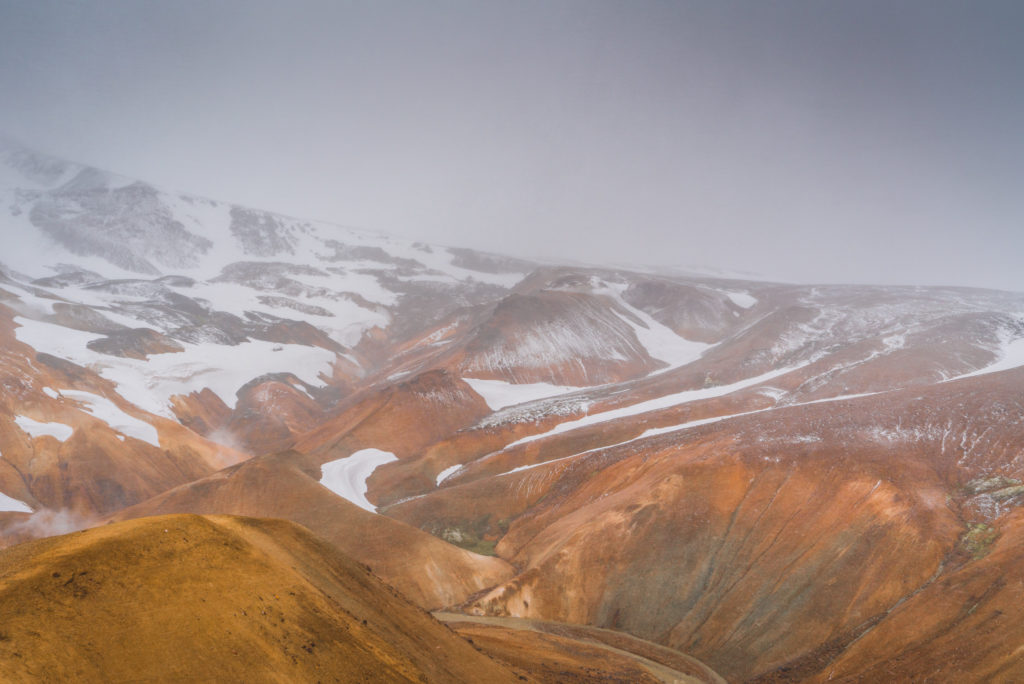
After checking in, we started hiking up a path near the hotel entrance. After hiking for 1.5 miles, the wind started to pick up and the weather changed quickly so we decided to turn around and head back. It was a wise decision, given that the winds eventually picked up to 50mph and that “moderate breeze” windstorm lasted for two days.

The next day, the wind was still gusting to 50mph and visibility deteriorated. Just behind the resort is a 4×4 road that takes you directly to the geothermal area in about 3 miles. We were hoping for better visibility up there but we couldn’t see anything. After finding the parking lot, we turned around and went back to the hotel.

The temperature continued to drop to around 25 F, with the wind chill around -15. At one point, there was a small break in the weather so we drove back to the geothermal area in an attempt to hike. Our attempt was foiled after the wind came back with such a force that I was worried we would be knocked off the trail. We got out of there asap.

Even though we couldn’t hike the geothermal area, we still enjoyed our summer blizzard in Iceland.

Kerlingarfjöll, Iceland

Kerlingarfjöll, Iceland

Kerlingarfjöll, Iceland

Landmannalaugar (The Highlands)
Hotel: The Highland Center, Hrauneyjar, 2 nights
Hotel price: $310 per night
Driving time from Kerlingarfjöll: 3 hours
Activities; Hiking around the Landmannalaugar area (free) and Háifoss waterfall
Food options; Only food is at the restaurant

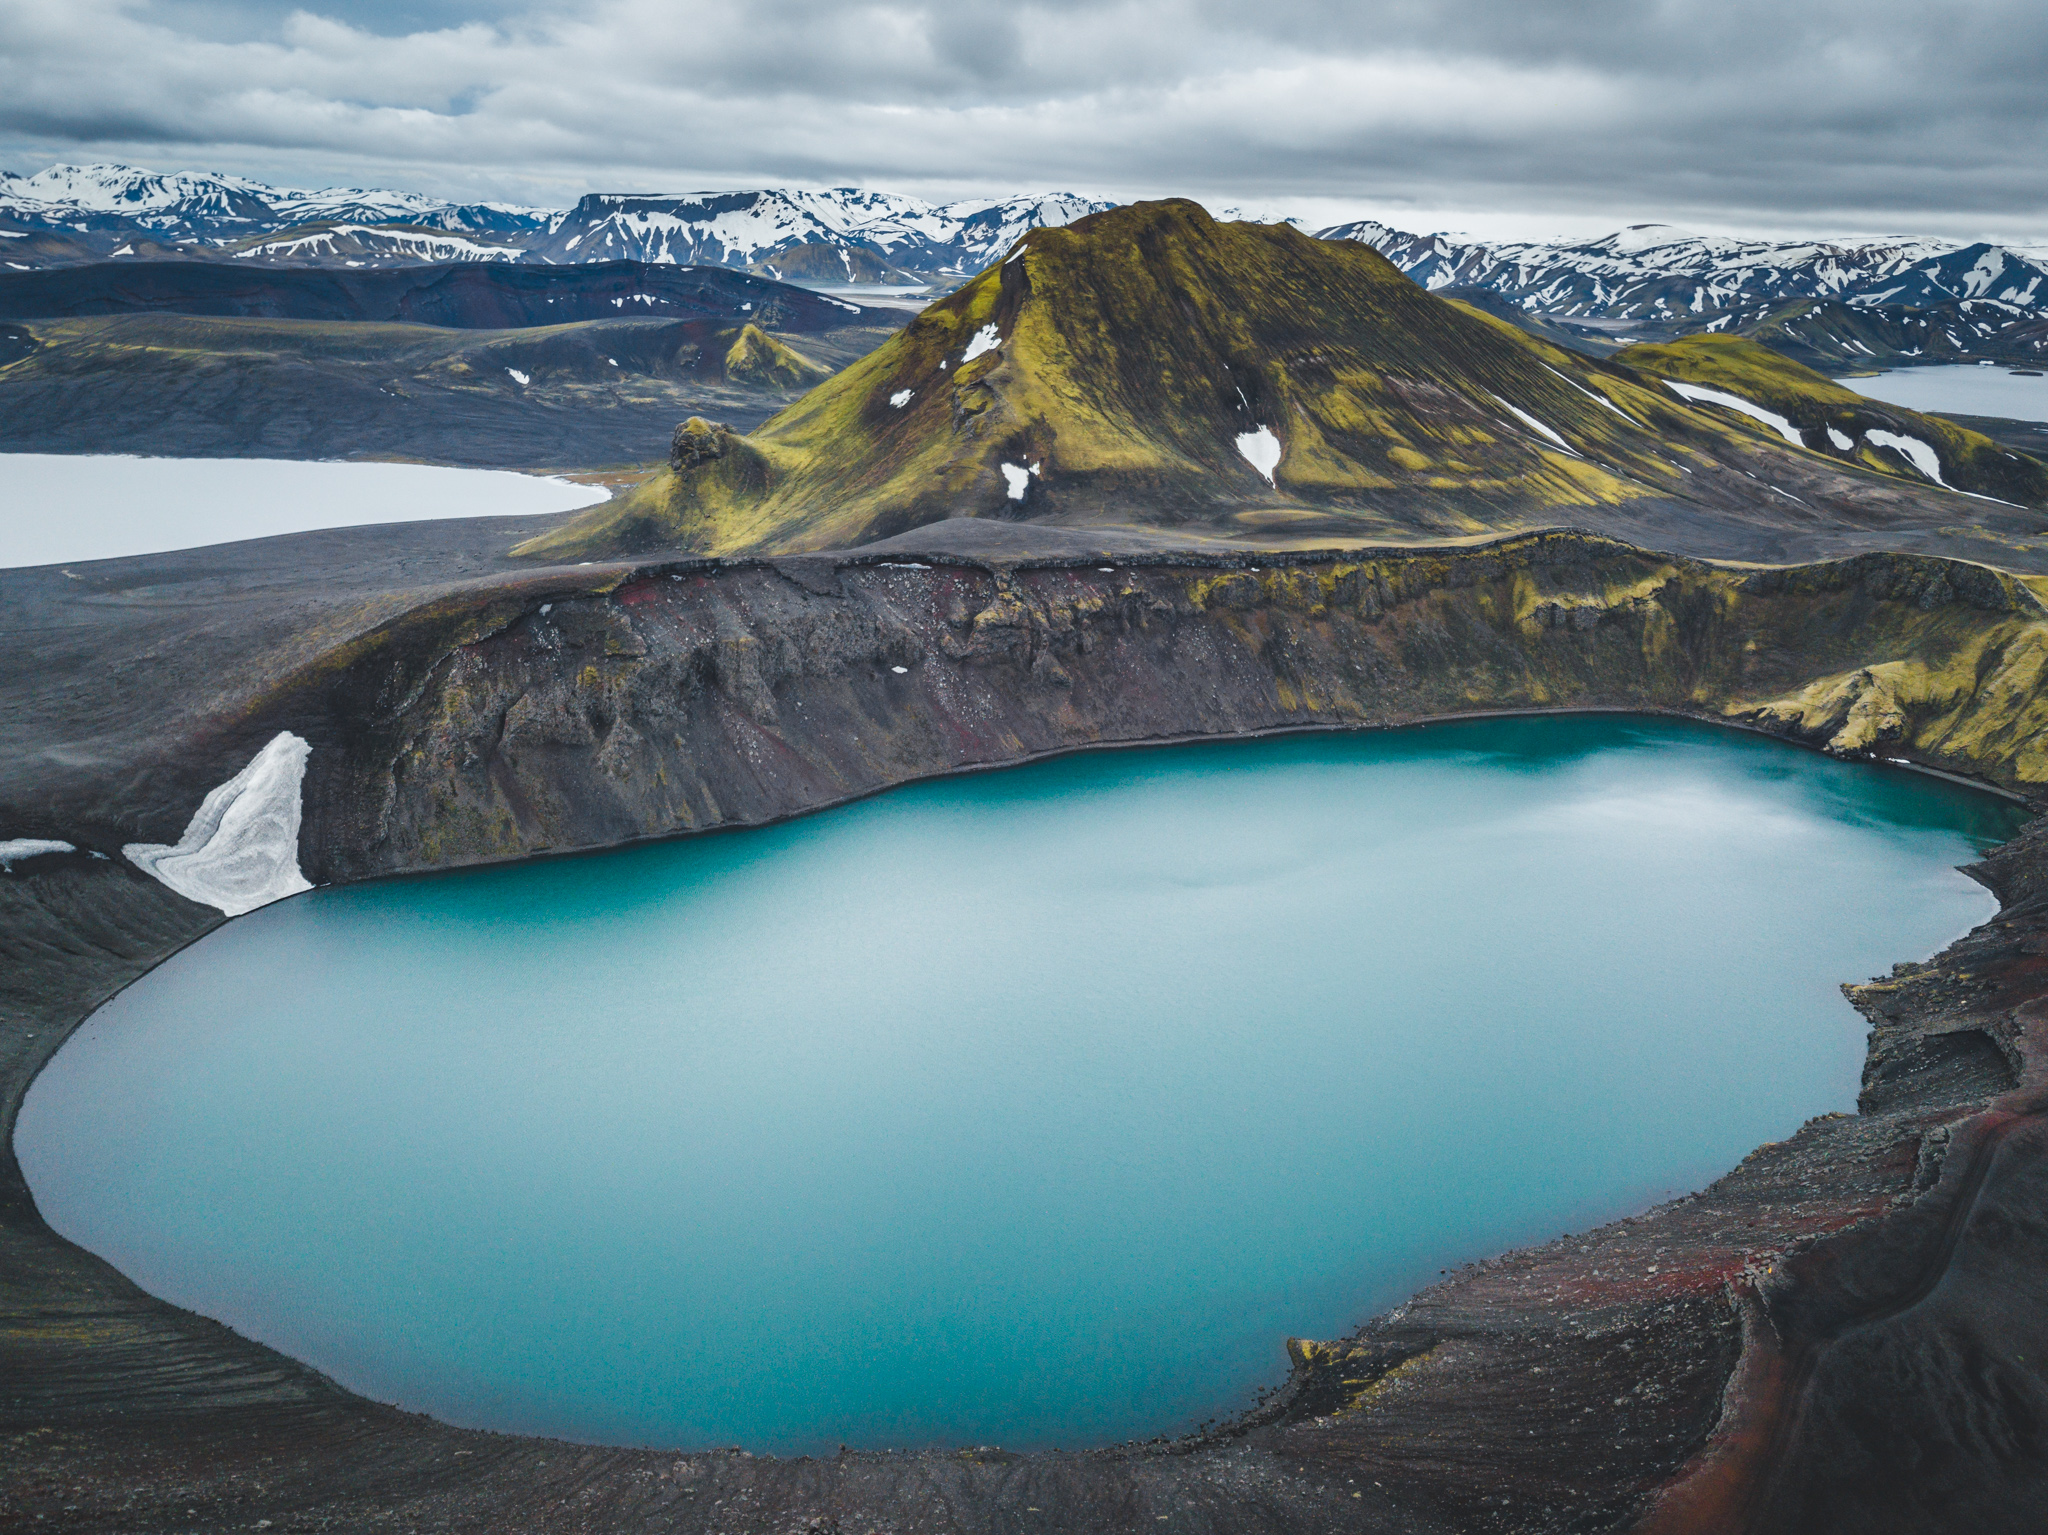
To get to The Highland Center, our base for the next two nights, we had to backtrack on F35 for a bit but we didn’t mind since the scenery is gorgeous. We also got stuck in the most adorable traffic jam, surrounded by hundreds of horses everywhere.

 We arrived at The Highland Center just in time for dinner so we relaxed in our room so that we could wake up early for our drive to Landmannalaugar.

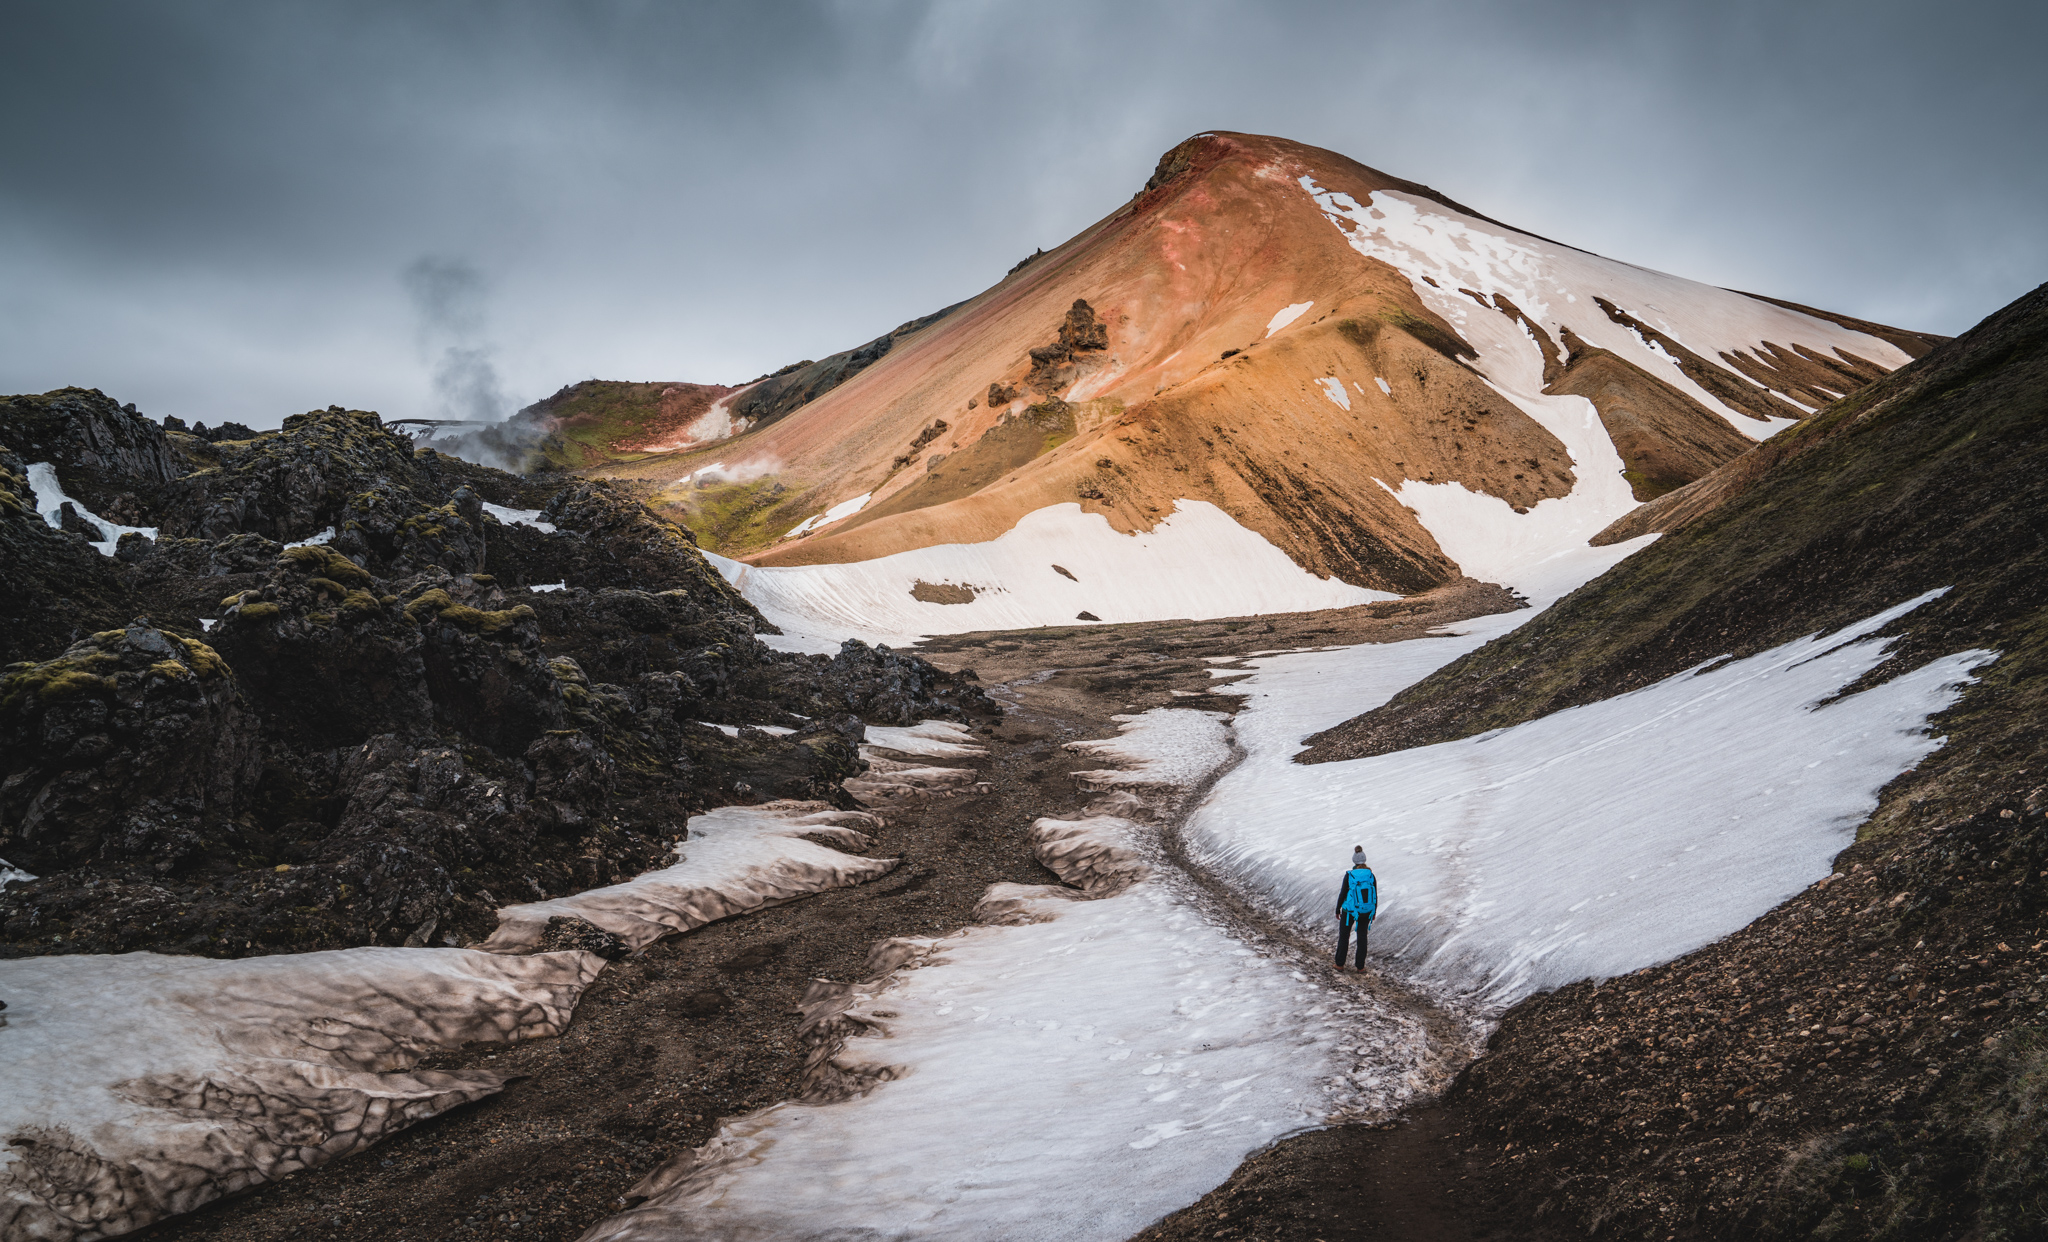
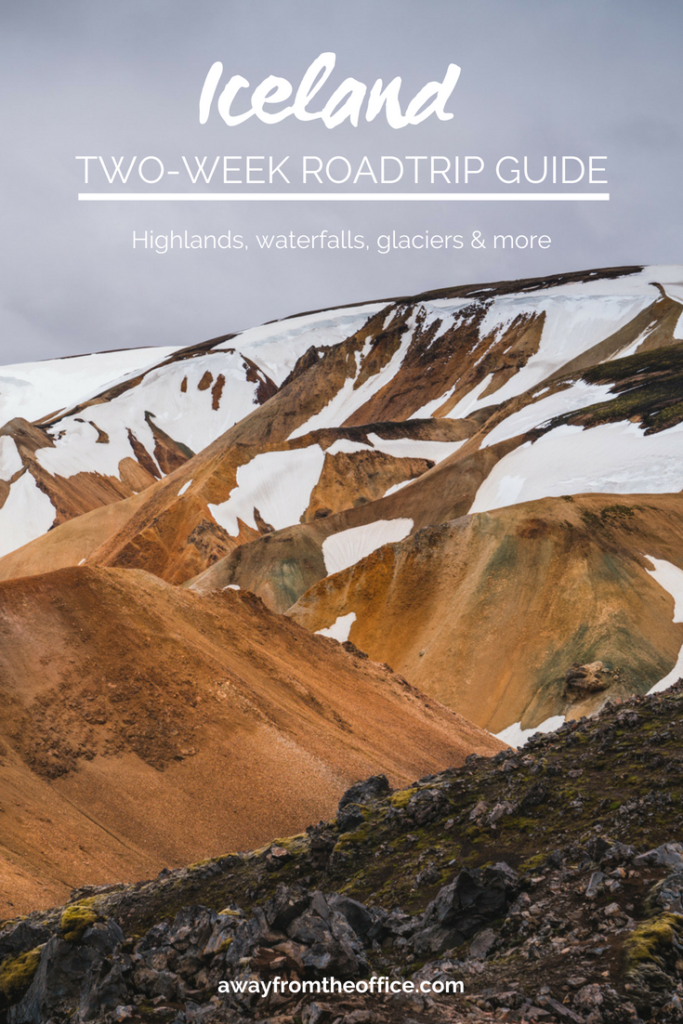
The drive from the hotel took Landmannalaugar took an hour on F26 and 208 but we made a couple fo stops along the way, including Ljótipollur Lake, which I highly recommend you stop at. Once at Landmannalaugar, we purchased a hiking map from the information desk and proceeded to do an easy 3-4 hour loop, which ended up taking us closer to 6 hours because I kept stopping to take so many photos.

One note: I chose to stay in a hotel an hour away but you can rent a cabin or camp at Landmannlaugar.

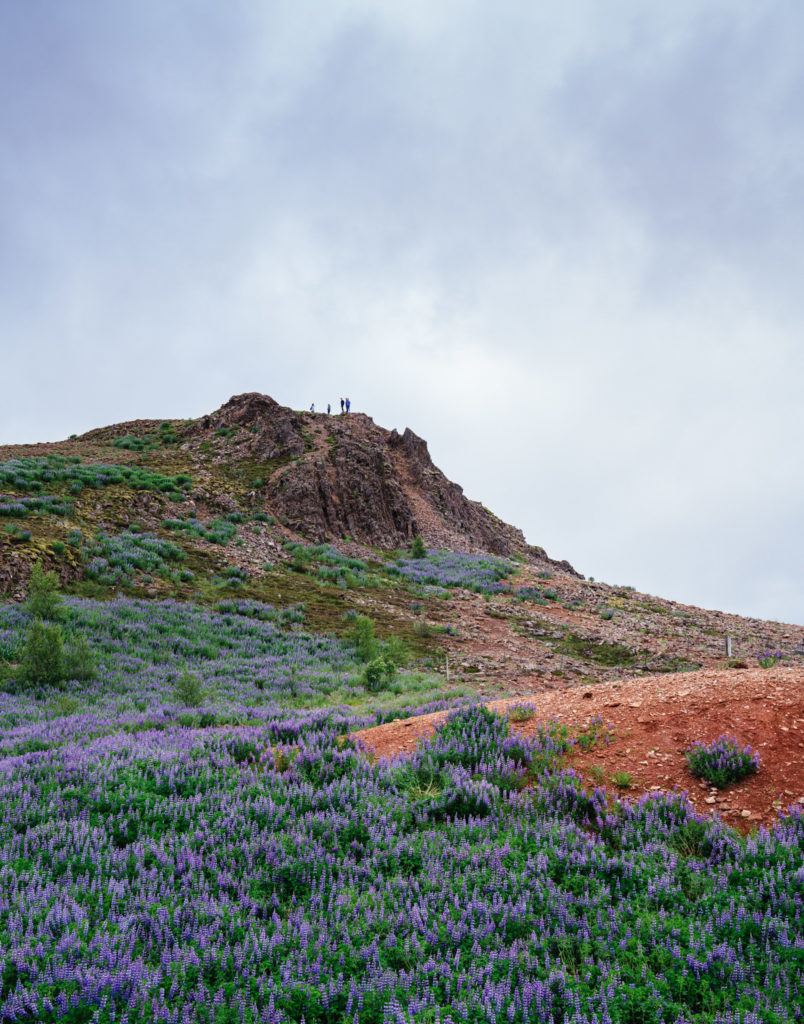
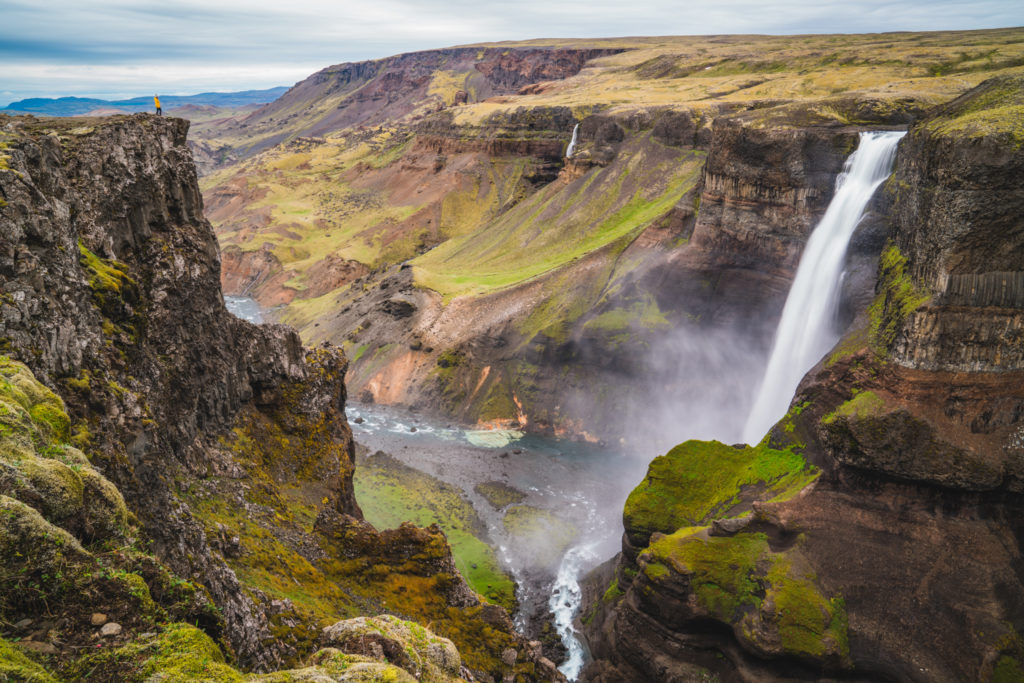
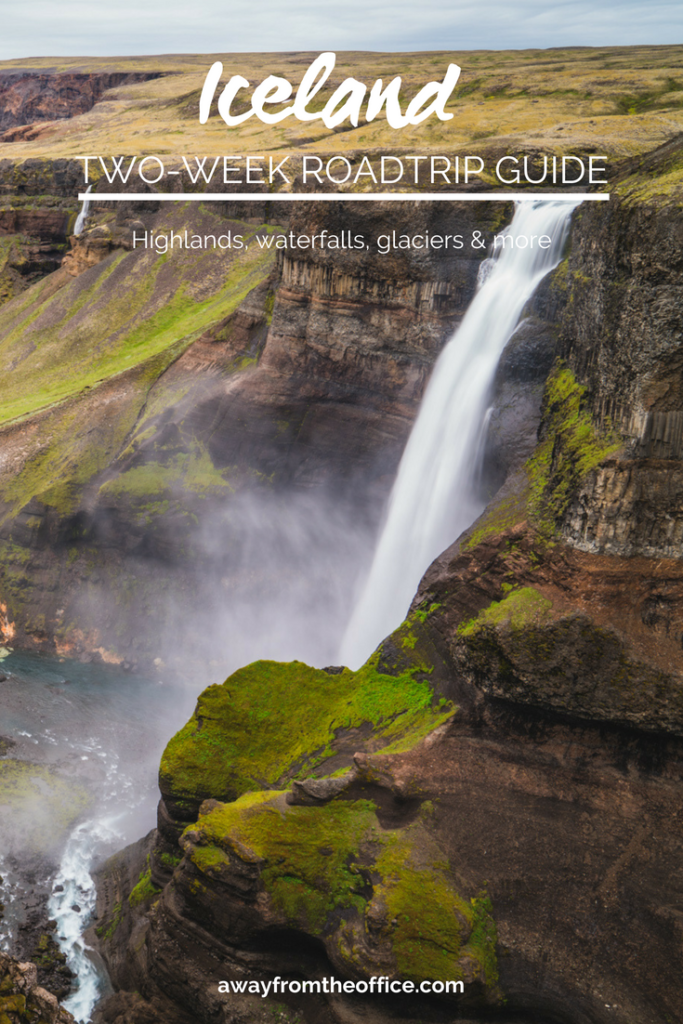
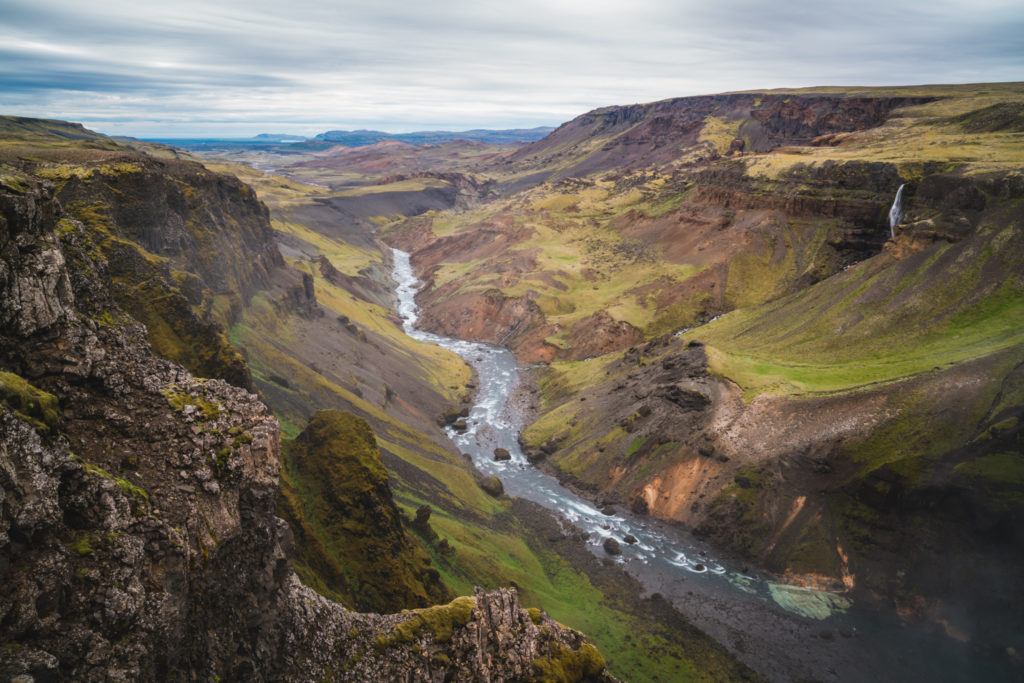
On our way to the South coast, we stopped by Háifoss waterfall, which was the least crowded waterfall we saw in all of Iceland. Definitely worth a visit if you’re not scared of heights, since it’s also the second tallest waterfall in Iceland.

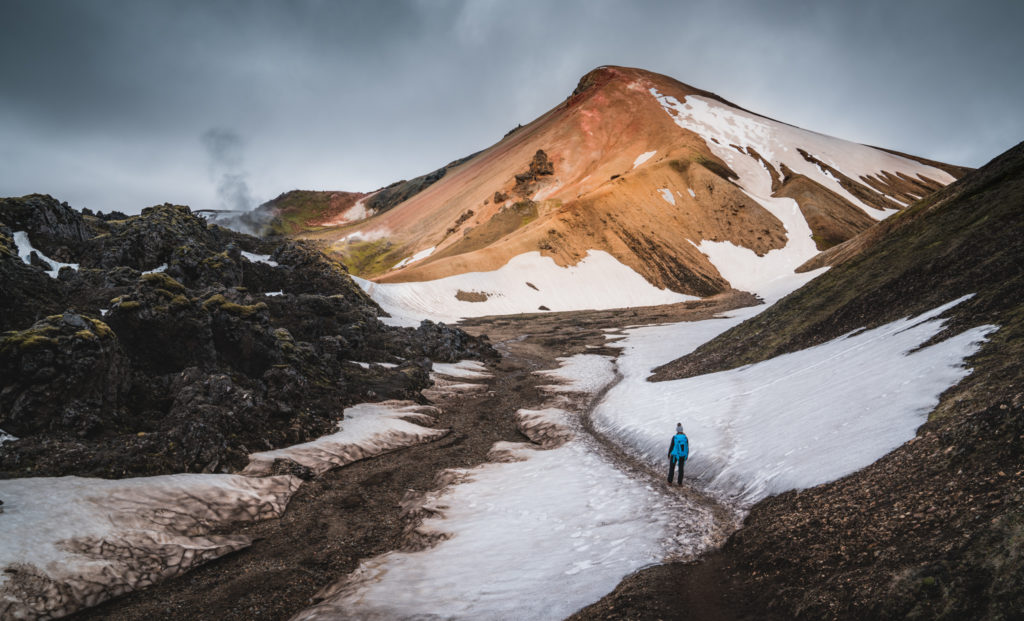
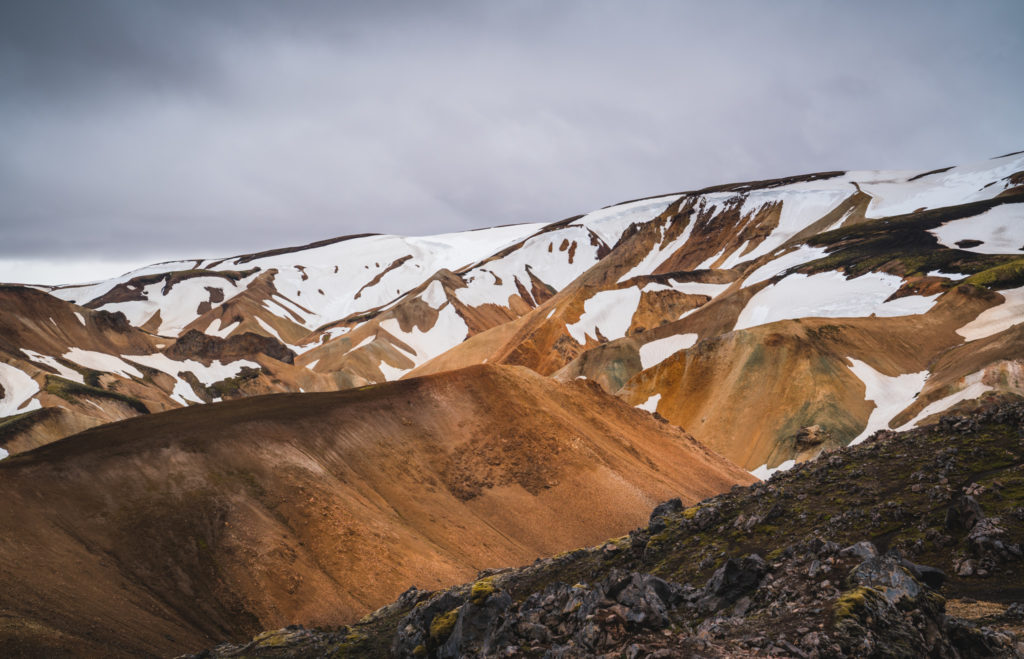
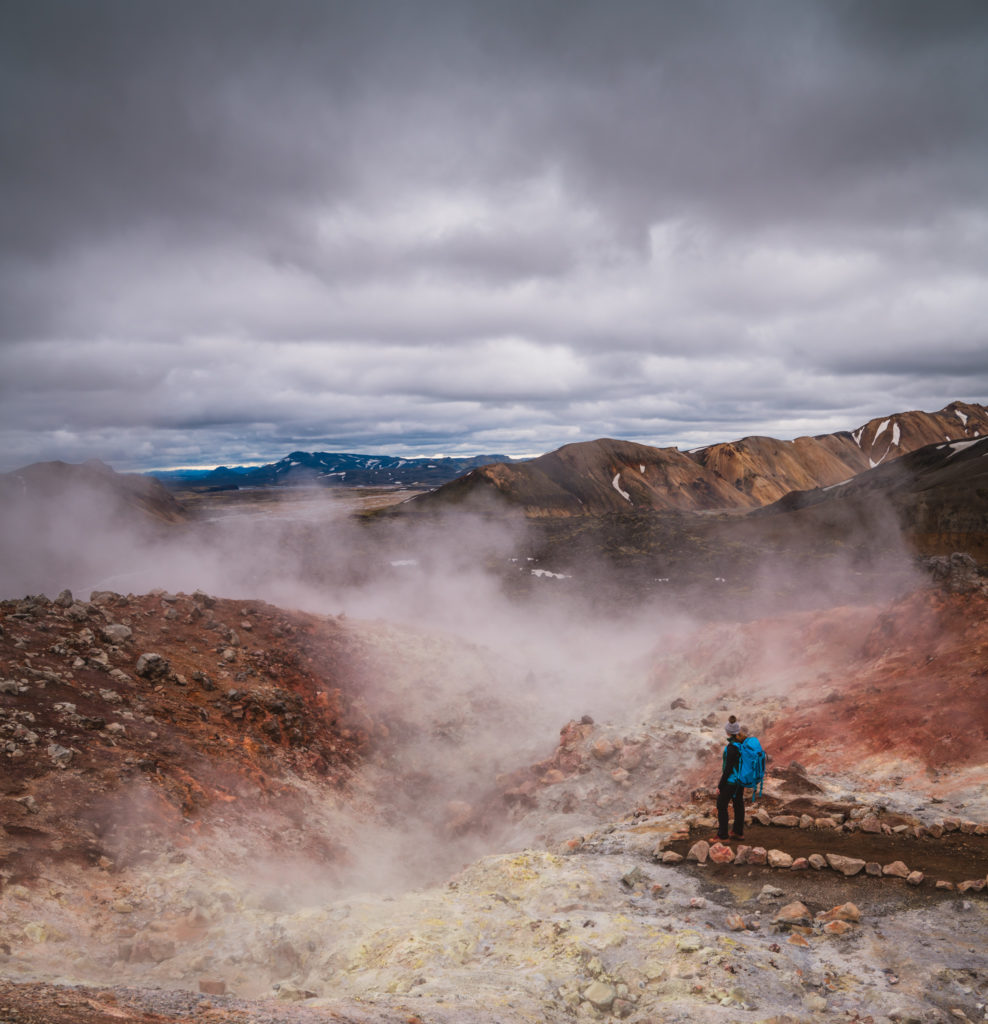
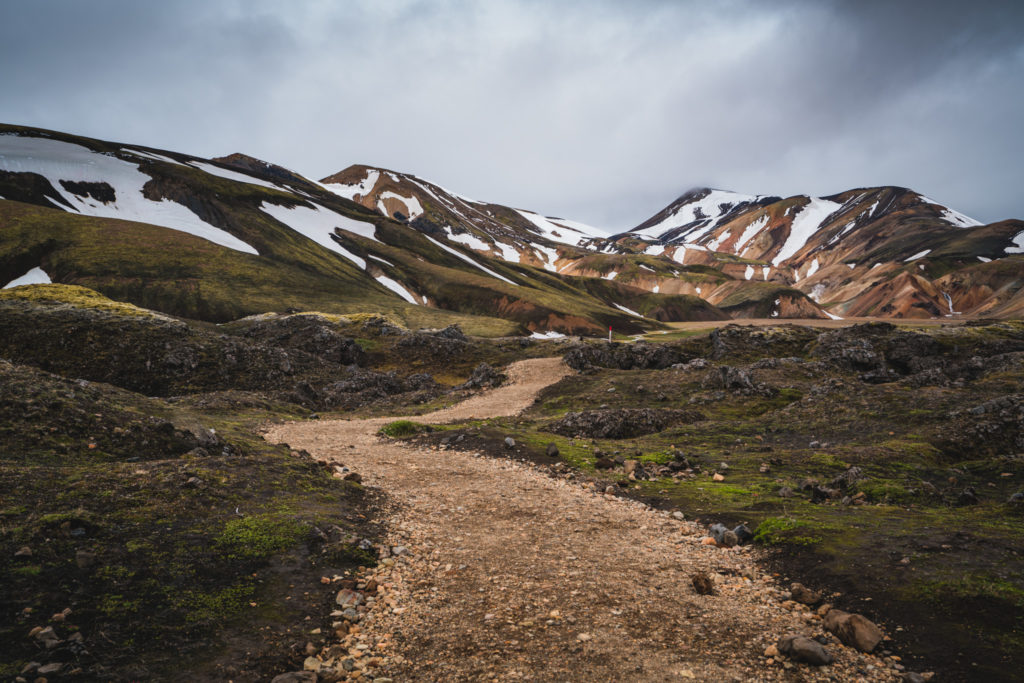
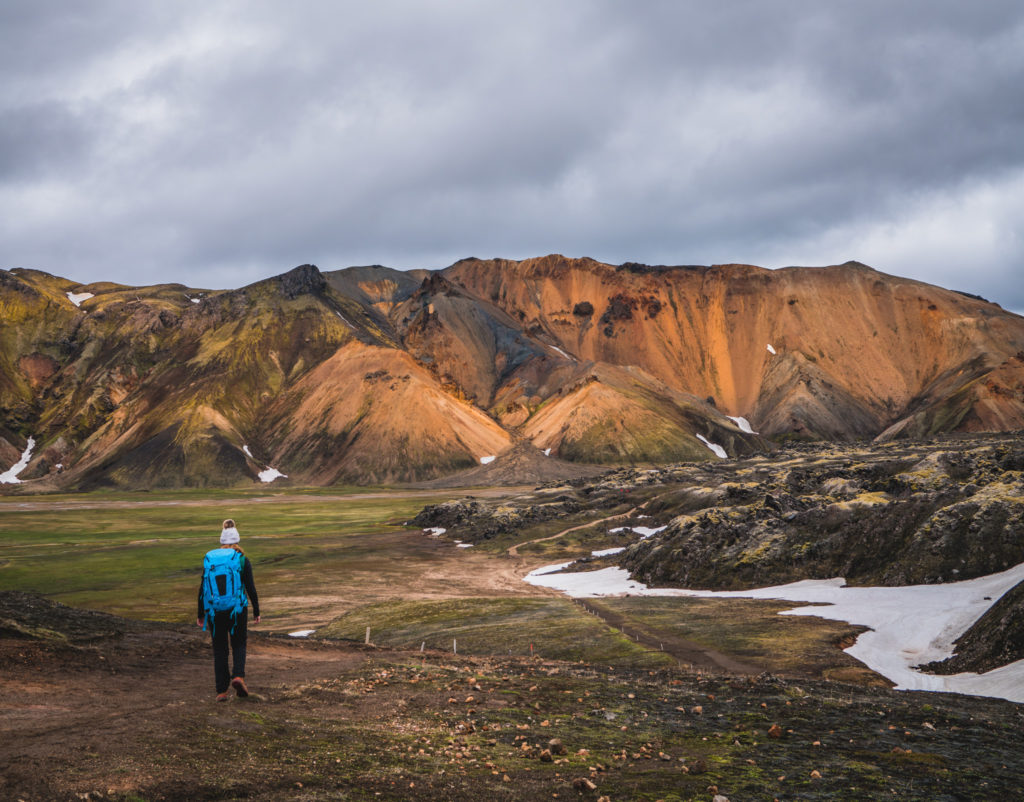
Hiking in Landmannalaugar, Iceland
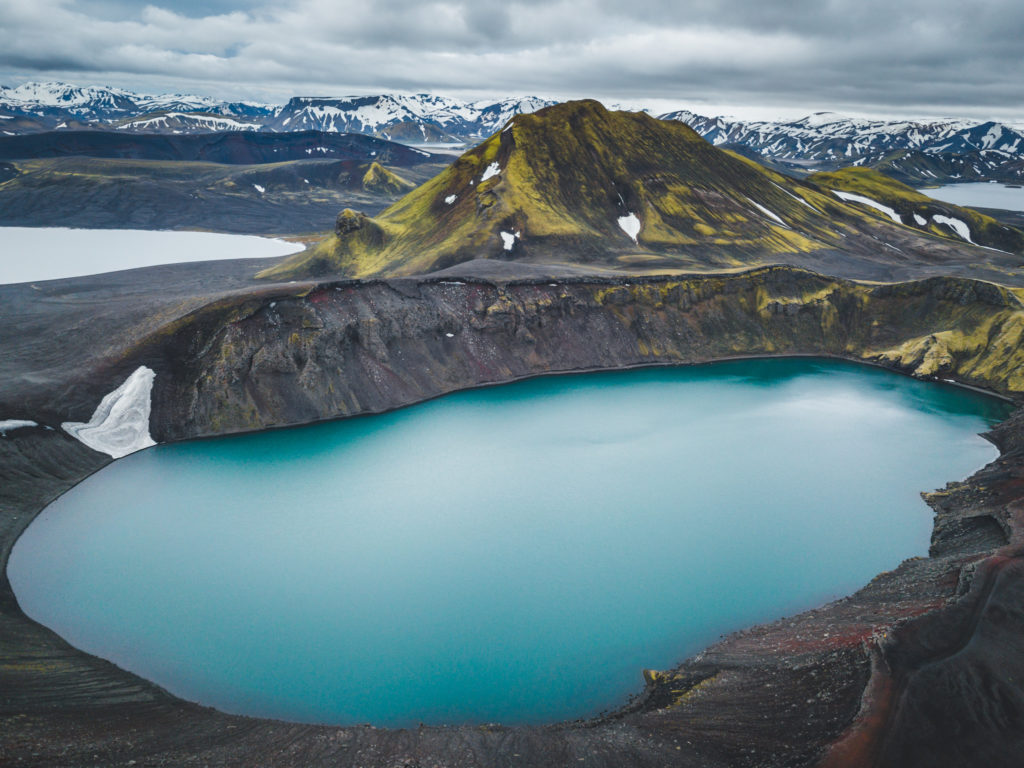
Ljótipollur lake, Iceland
Hiking around Landmannalaugar, Iceland
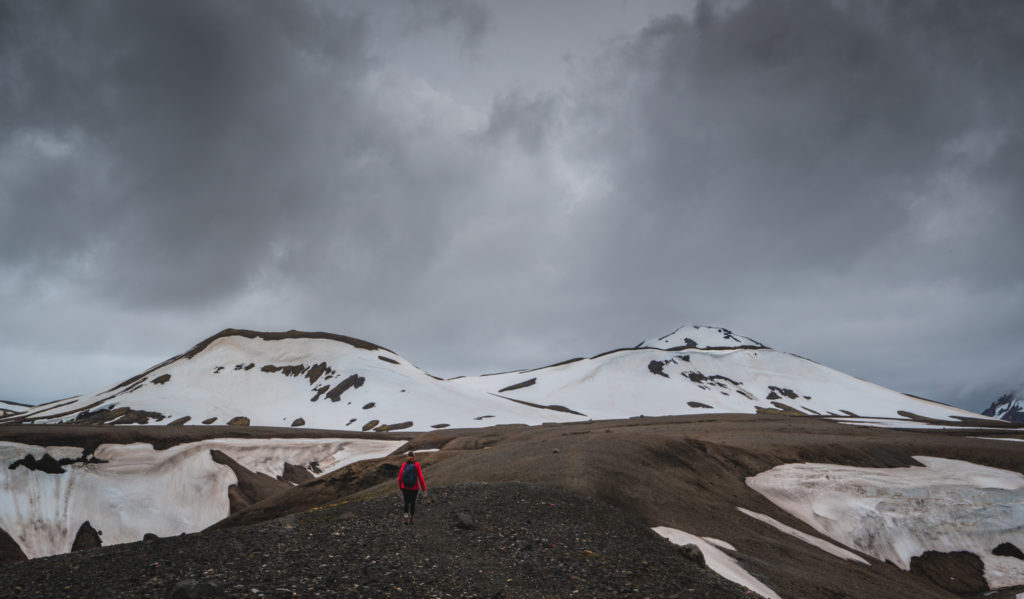
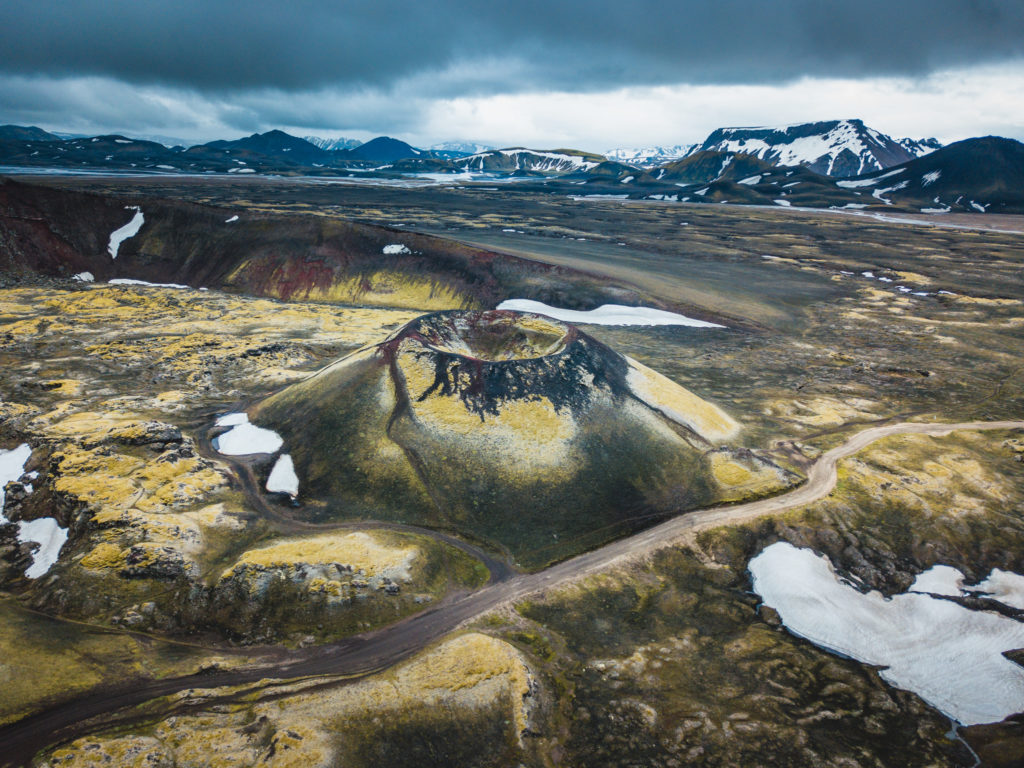
Inactive volcano near Landmannalaugar, Iceland
Haifoss waterfall, Iceland

South Coast 

Hotel: UMI Hotel, Hvolsvöllur, 3 nights
Hotel price: $400 per night
Driving time from the Highland Center: 2 hours
Activities; Waterfalls (Skógafoss, Seljalandsfoss, Gljufrabui), Sólheimasandur plane crash, Dyrhólaey (puffins and rock arch), Reynisfjara black sand beach, glaciers (Sólheimajökull and Mýrdalsjökull)

Food options: Delicious food at the hotel; several restaurant options in Vik (30 min away)

After two nights at the Highland Center, it was time to drive towards the South coast to explore waterfalls and black sand beaches. UMI Hotel was a bit of a splurge and it was so worth it. By far, the best breakfast spread in Iceland and an incredibly friendly owner.

The increase in tourist crowds was noticeable compared to the highlands. We spent our days exploring the waterfalls mentioned above, hiking in the area and relaxing. Unfortunately, we lost one full day of vacation dealing with tire issues. Thankfully, Lotus car rental brought a new car to our hotel so that we could continue our exploration.

If you’re here in the summer, I highly recommend you stay out late or visit the popular tourist attractions early in the morning.

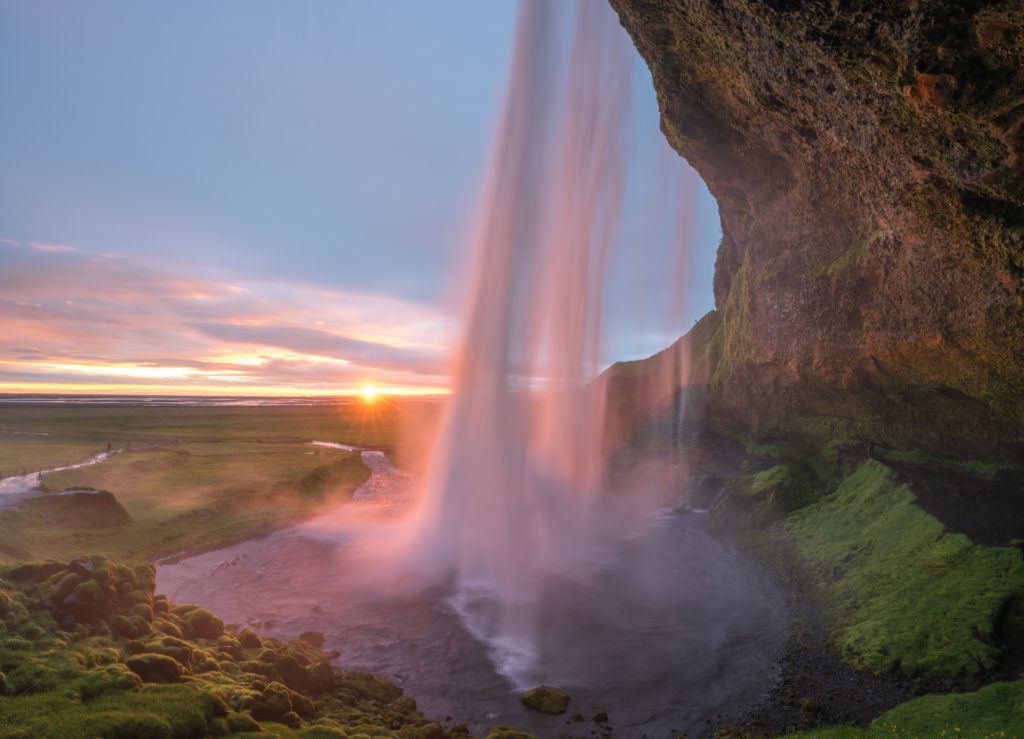
Seljalandsfoss waterfall, Iceland
Near Vik, Iceland

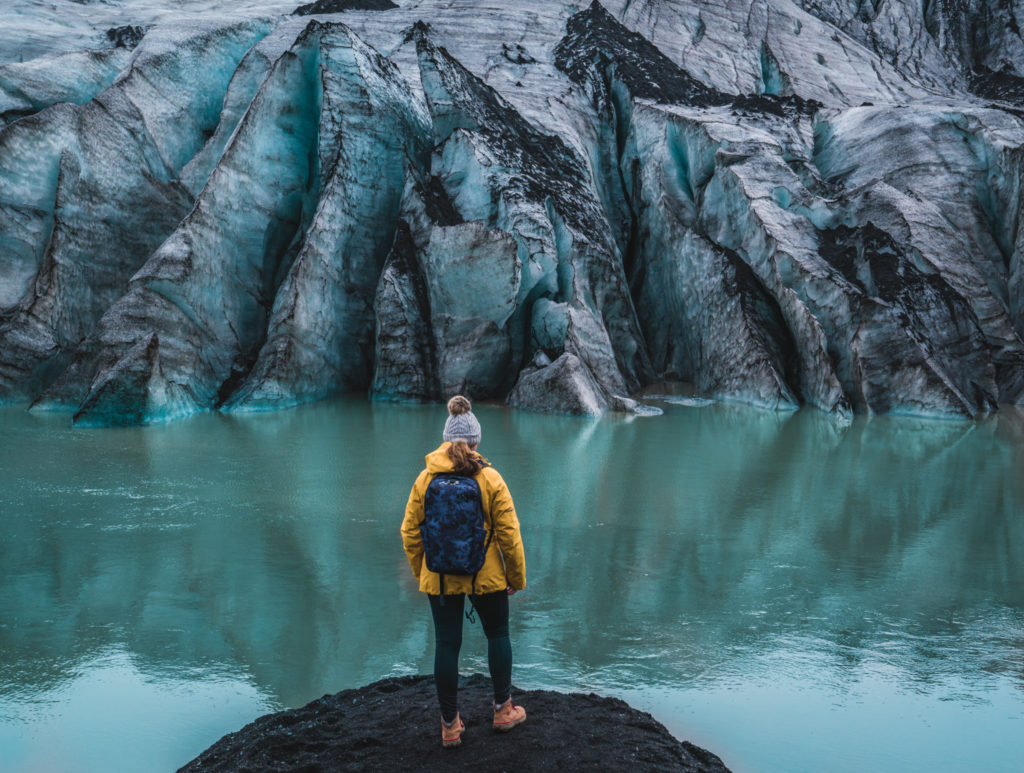
Sólheimajökull glacier, Iceland

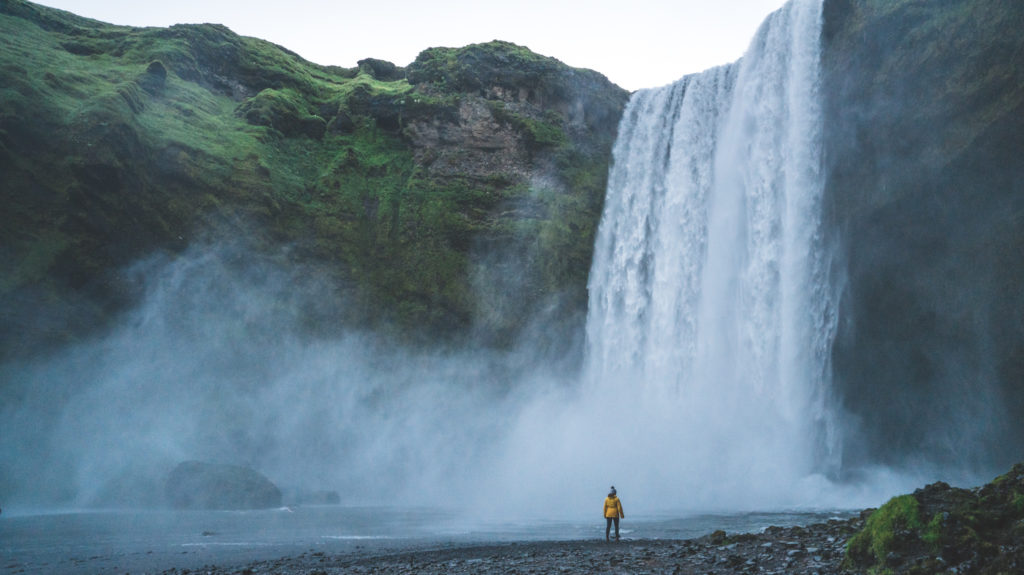
Skogafoss waterfall, Iceland

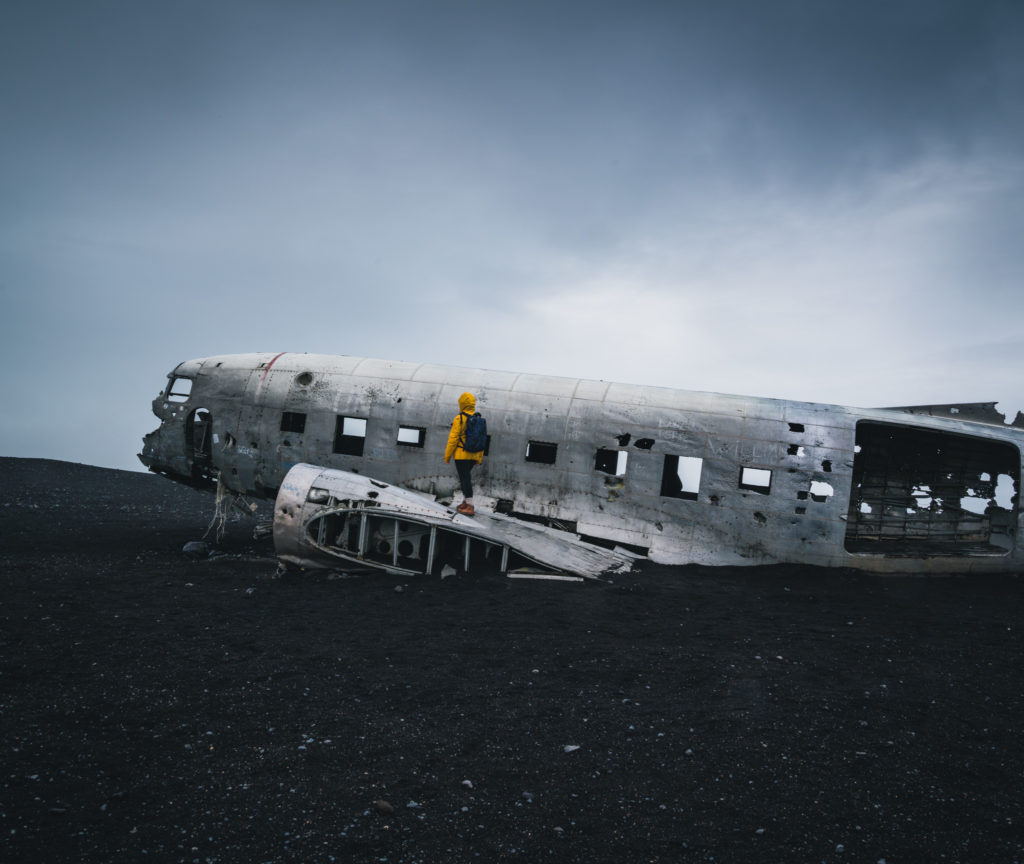
Sólheimasandur DC-3 Plane Crash

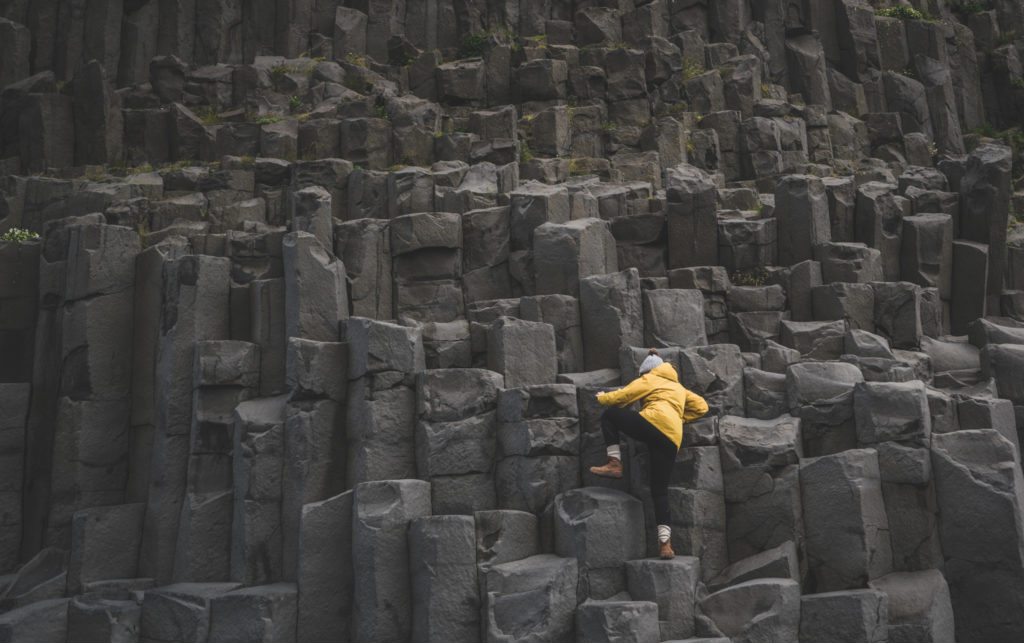
Reynisfjara basat columns, Iceland

Glacier Lagoon
Hotel: Hali Country Hotel, 2 nights
Hotel price: $340 per night
Driving time from UMI Hotel:  3 hours
Activities: Diamond Beach and Jökulsárlón Glacier Lagoon, with a stop at Fjaðrárgljúfur canyon on the way (free)
Food options: Only food in the immediate area is at the hotelWe stayed at Hali Country Hotel the next couple of nights, which is a 10 minute drive away from the glacier lagoon, the closest lodging I could find. On the way to the glacier lagoon, we stopped at Fjaðrárgljúfur canyon, which is now famous for being the filming location of a Justin Bieber music video. We spent some time walking along the canyon ridges before continuing our drive.The next day, we spent the entire time photography and admiring the glacier lagoon and diamond beach, two of my favorite locations in all of Iceland. We returned at 10pm and had the whole area to ourselves.Glacier Lagoon at sunset, Iceland
Diamond Beach, Iceland

Vestmannaeyjar

Hotel: Airbnb, 1 night
Hotel price: $300
Driving time glacier lagoon to Heimaey: 4 hours (includes 35 minute ferry crossing); note: You should book ferry tickets in advance here
Activities: Exploring the island (mainly watching puffins and hiking up a volcano)
Food options: Lots of food options on the island. Our favorite was the affordable Fiskibarinn
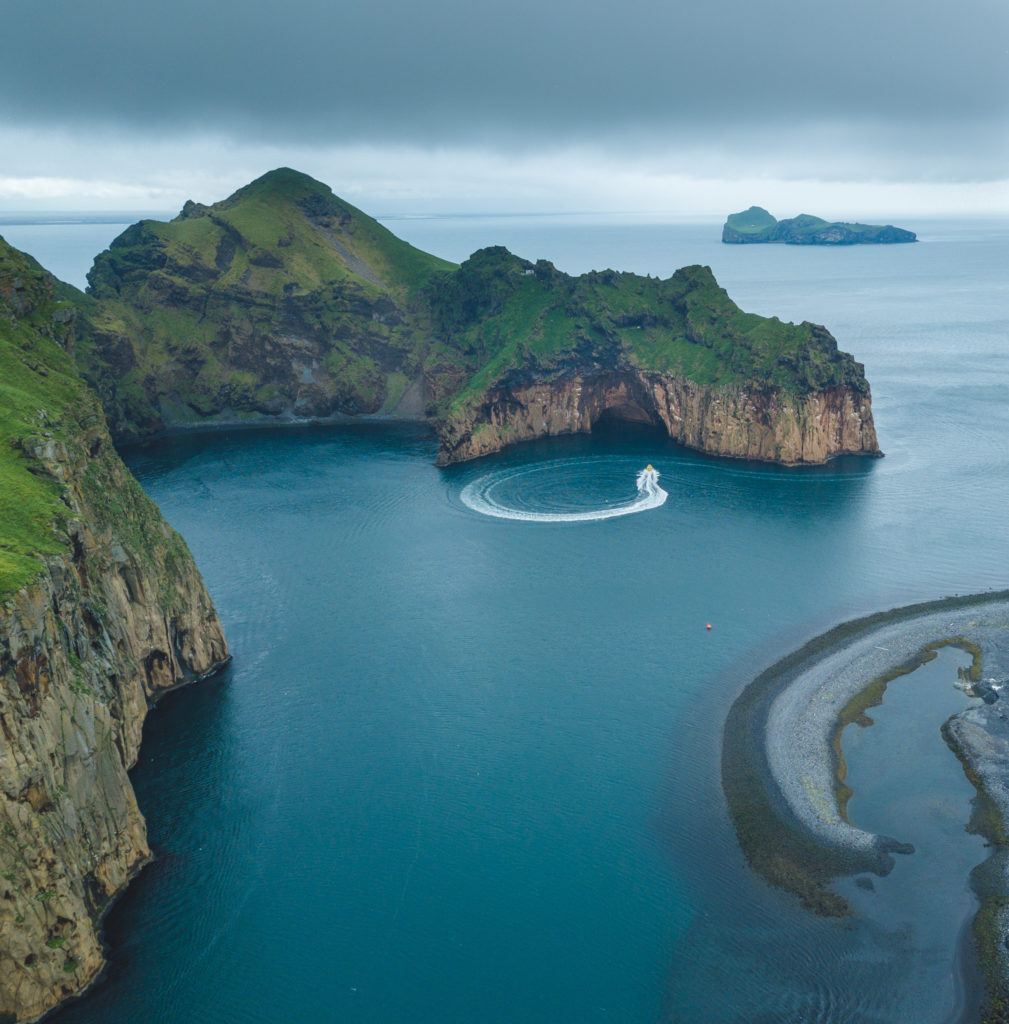
The island of Heimaey is worth visiting, even if it’s just a daytrip. While you don’t absolutely need a car on the island, I recommend bringing one if you’re visiting for a short time so that you can easily visit the puffin area (Storhofdi) and the volcanos. We had less than 24 hours on the island and felt like we saw all the main highlights, although we certainly could’ve stayed longer if we had more time.

Heimaey island from above

Keflavik
Hotel: Hotel Jazz, Keflavik for 1 night
Hotel price: $230
Activities: None, other than packing up our stuff and eating dinner
Food options: Quite a few in Keflavik

Since we had to be at the airport at 5am, I opted to stay at Hotel Jazz again in Keflavik.

I hope that you find our two-week Iceland itinerary useful. Please keep in mind that this itinerary is only useful in the summer months since the highland roads close during the other seasons.

Disclosure: Some of the links above are affiliate links via Booking.com and GetYourGuide, meaning, at no extra cost to you, we will earn a commission if you click through and make a reservation.To view our full privacy policy and disclaimer click here.

Like this post? Please Pin it!
Two-Week Iceland Itinerary: Your Ultimate Guide Two-Week Iceland Roadtrip ItineraryTwo-Week Iceland Itinerary: Your Ultimate GuideTwo-week Iceland Roadtrip ItineraryTwo-Week Iceland Itinerary: Your Ultimate GuideTwo-week Iceland Roadtrip Itinerary

Related Iceland articles on Away From the Office:
Iceland trip cost: How much I spent on a two-week roadtrip
56 photos that will make you want to travel to Iceland
21 things I wish I knew about Iceland before my trip

56 Photos That Will Make You Want to Travel to Iceland

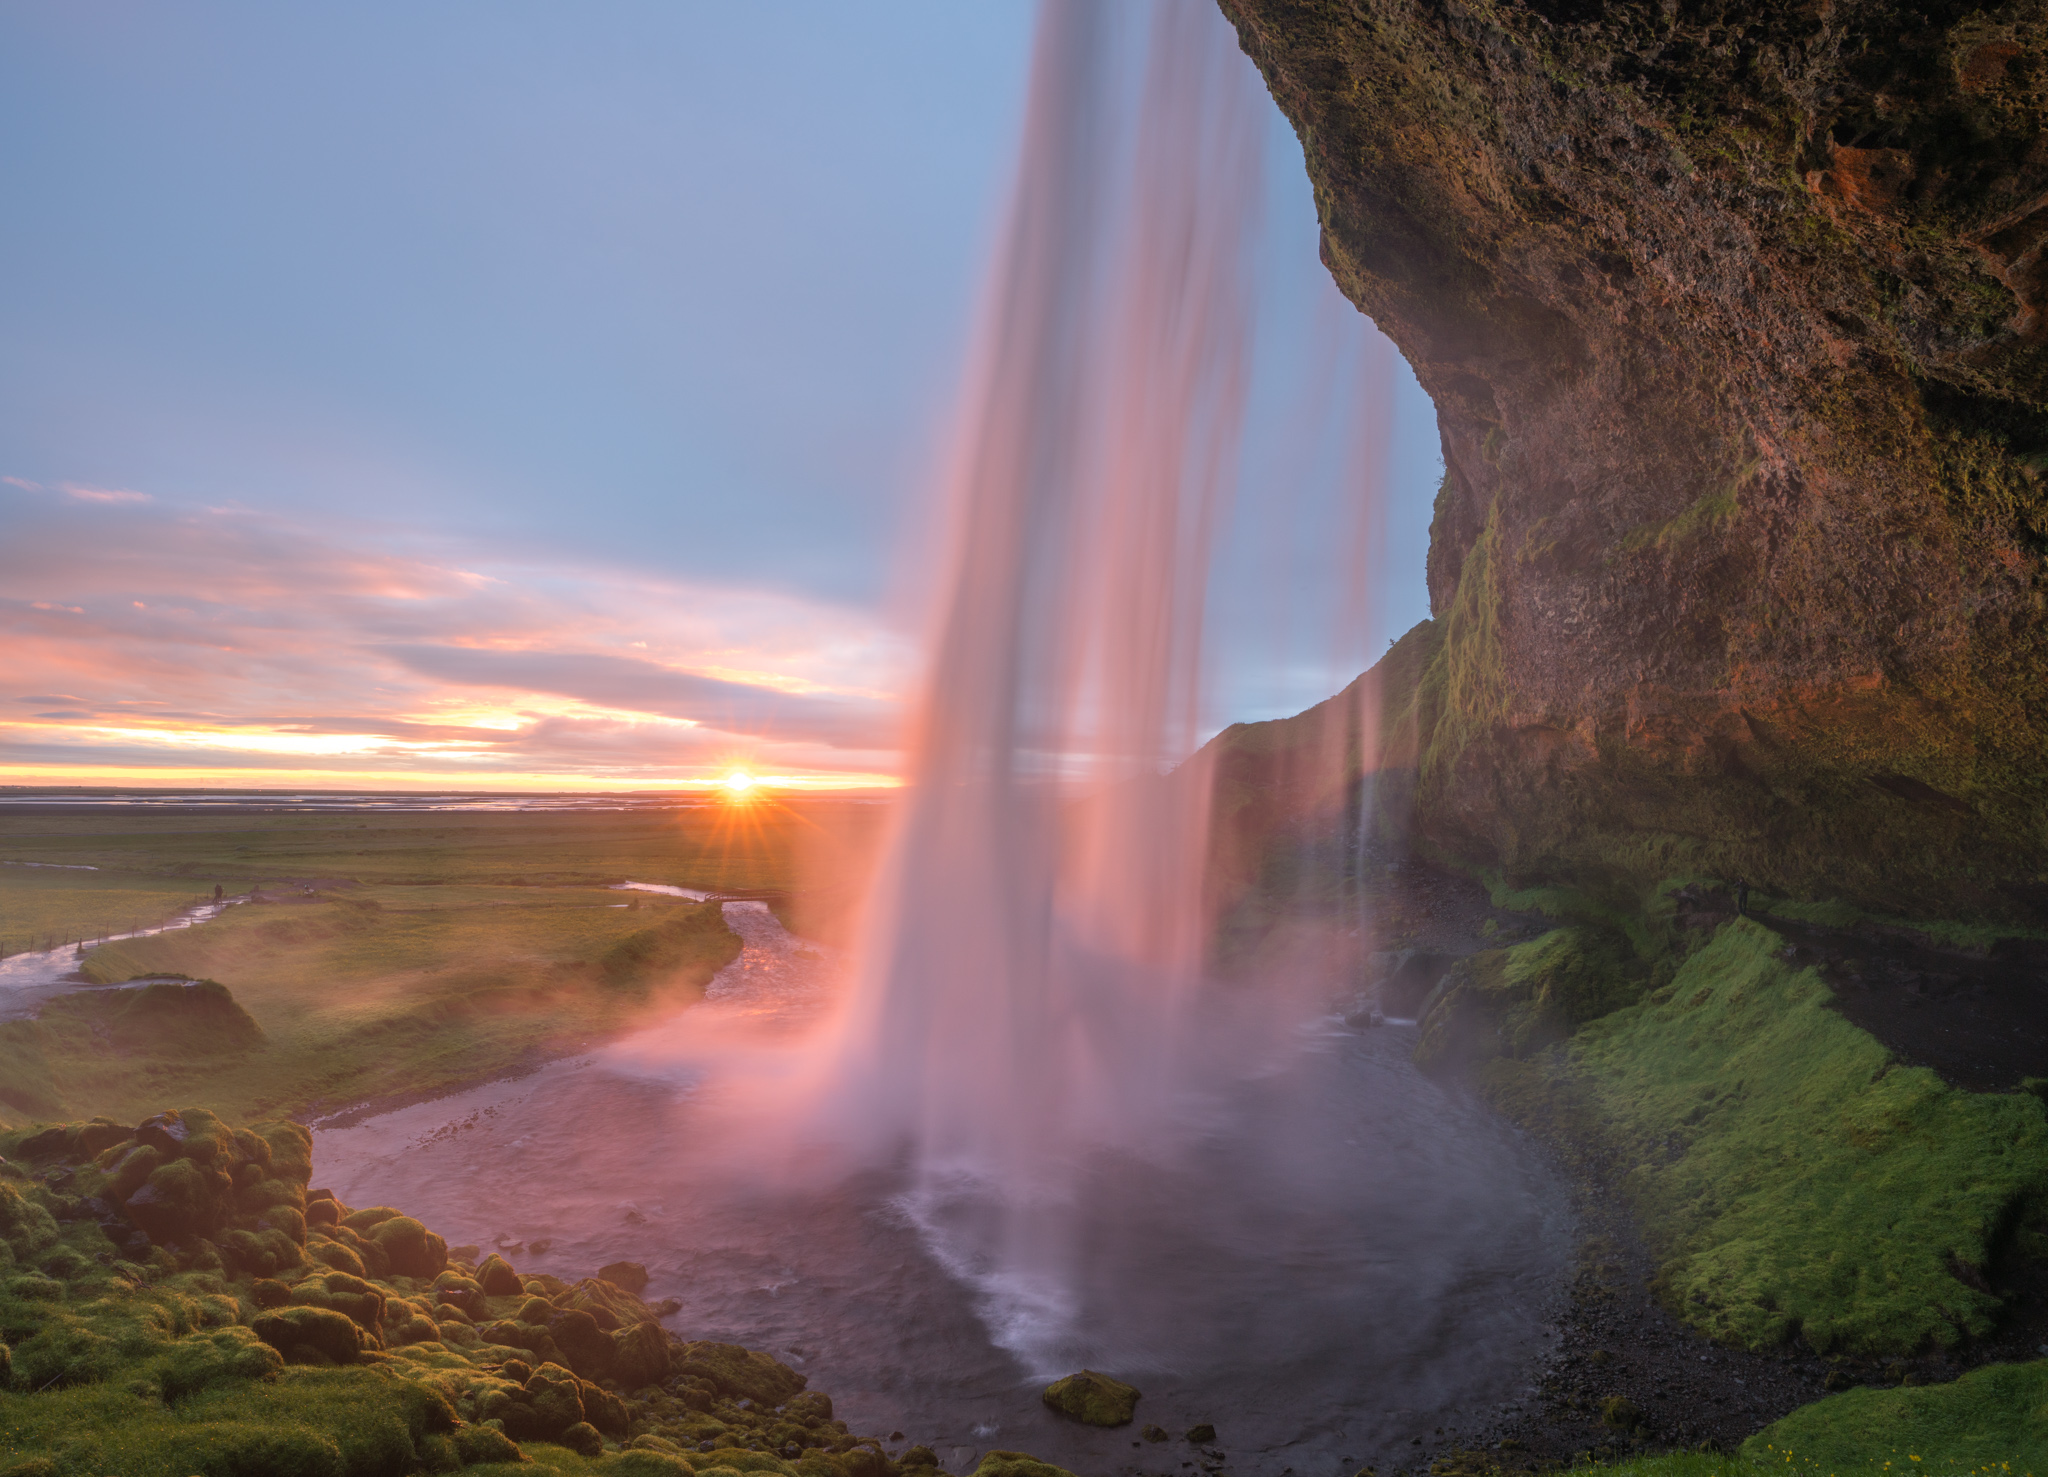
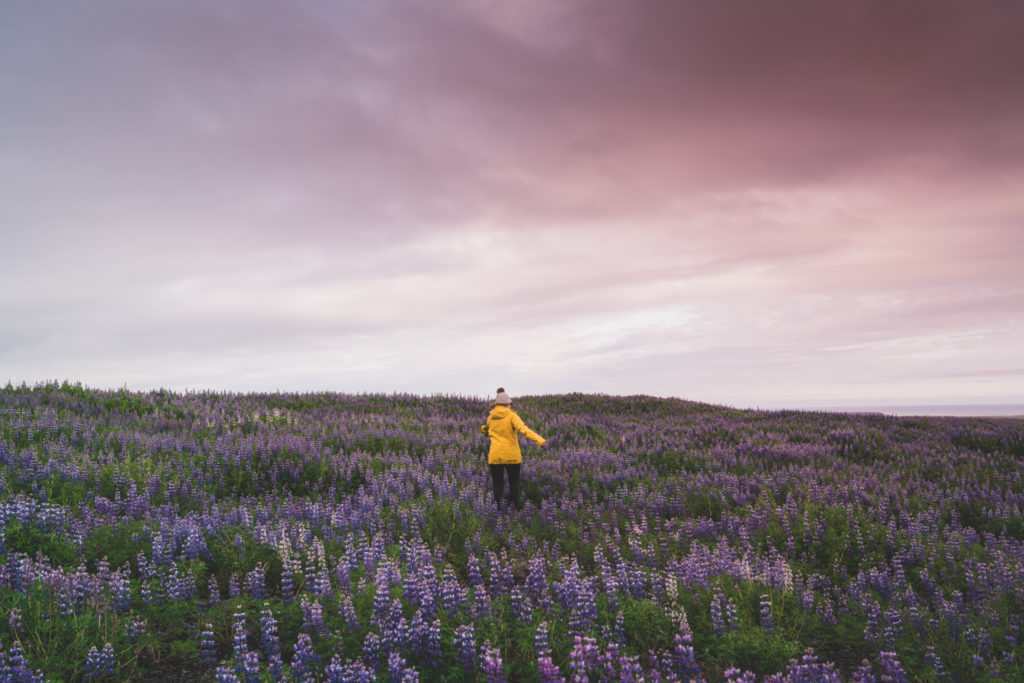
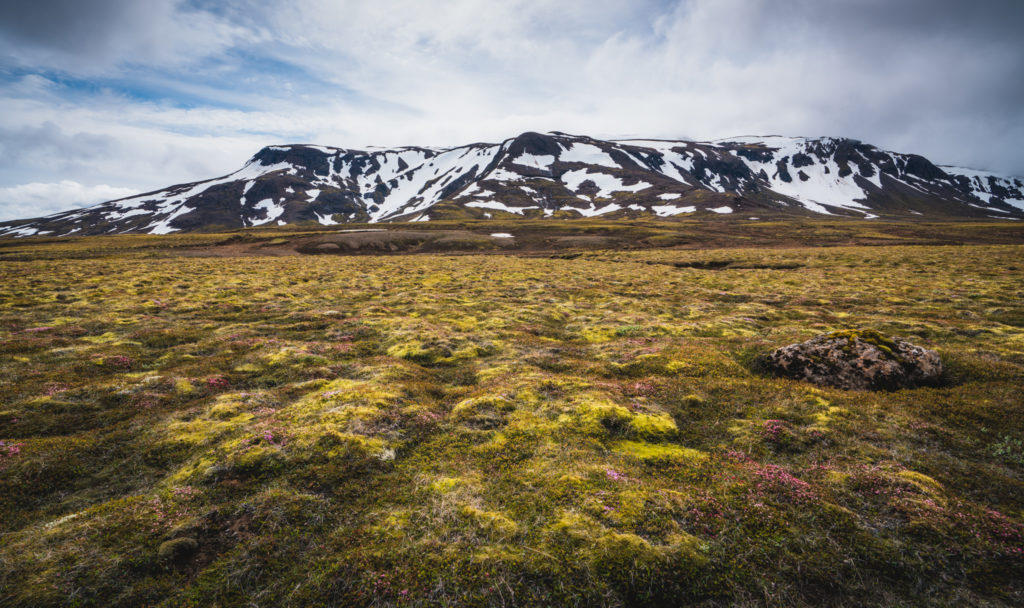
I spent two weeks in Iceland at the end of June and beginning of July, visiting areas like the Golden Circle, Kerlingarfjöll, Landmannalaugar, Háifoss, Seljalandsfoss, Skógafoss, Vik, Westmann Islands and Jökulsárlón.

The diversity of scenery was incredible and I look forward to making a return visit someday. I plan on writing a detailed guide to my two-week itinerary, but in the meantime, I hope these photos will inspire you to plan a trip to this breathtaking country.

[envira-gallery id=”1431″]

%CODE12%

Disclosure: Some of the links above are affiliate links, meaning, at no extra cost to you, we will earn a commission if you click through and make a purchase. To view our full privacy policy and disclaimer click here.

Like this post? Please Pin it!

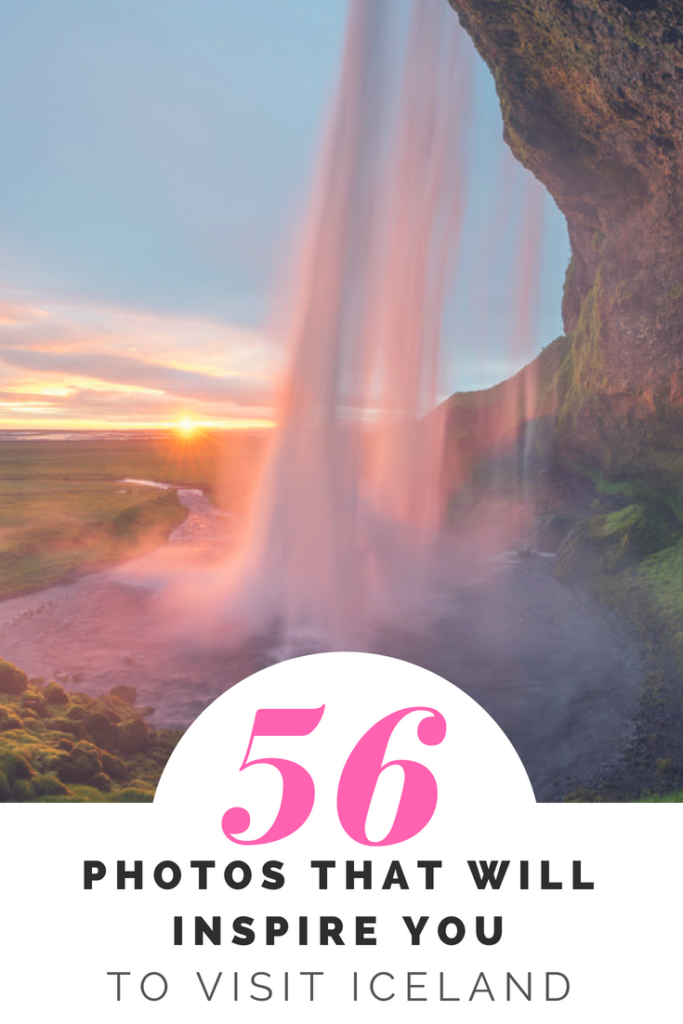
56 Photos That Will Make You Want to Visit Iceland

21 Things I Wish I Knew About Iceland Before My Trip

When I was a kid, I was obsessed with National Geographic (and I still am), and I would wait anxiously for my new issue to arrive each month. As I flipped through the glossy magazine, I was forming my future travel list: Isle of Skye, Scotland (check), Bhutan (check), Ireland (check) and Iceland. I finally decided to stop putting off my visit and head to Iceland this year. Despite the crowds, the expense and the weather, my husband and I had an amazing time in this small country filled with jaw-dropping scenery.

There are a few things that I wish I knew in advance, as well as some things I thankfully discovered before my trip. Hopefully these will help you out. Oh, and all prices below are in in $USD.

Iceland is popular: I think everyone knows that Iceland is one of the world’s hottest destinations but did you know that it’s now the #3 European destination behind London and Paris? Even the “off-season” is popular nowadays, with a lot of companies offering ice cave and aurora tours. If you’re visiting in the summer, the most popular tourist sites will be a madhouse during the day. To avoid the crowds, rent a car and spend some time outside of Reykjavik so that you have flexibility to visit at off hours (like 1am in the summer).

Renting an SUV is worth the cost: Research your car rental options carefully. If you plan to drive on an “F” roads (more on that below), you will need to check with your car rental company to ensure the SUV you’re renting is approved for “F” roads. When I was researching rental cars, I noticed a lot of smaller, cross-over style SUVs were not approved for these gravel mountain roads.

Even if you don’t plan on driving to the highlands, I still recommend an SUV because a lot of regular roads were gravel, pot-holed nightmares. The road up to Háifoss is one example. We saw a car make it but they were struggling and it did not look fun.

An SUV is definitely more expensive than a car but I think it’s worth the added cost.

Related: Renting a Car in Iceland: A Heroic Tale of Survival >

Research the route you’re going to take in advance, especially if it involves “F” roads: You absolutely must research the “F” roads you’re planning to take in advance so that you can determine if you’re comfortable with the obstacles on the road. Many “F” roads involve river crossings (yes, as in driving your vehicle through water) and some “F” road river crossings are more difficult than others.

For example, I wanted to visit Landmannalaugar and I knew there were multiple “F” roads that would get me there. When planning my trip, I discovered that F208 from the south isn’t typically open at the end of June and even it was, it involves several serious river crossings. We ended up taking F208 and F224 from the north and discovered that while there is a river crossing, it’s at the end of the road and there’s a parking lot near the river with pedestrian footbridges.

Once you’re in Iceland, you’ll need to pay very close attention to the road conditions. This site will be your best friend while you’re there.

Again, don’t consider a road trip without researching your routes carefully.

Rental car insurance is a lot more complicated: When I rent a car overseas, I typically charge the car rental to my American Express, which has an associated car rental policy. When you’re visiting Iceland, you’ll need to research car rental insurance options very quickly. Beyond the basic CDW (Collision Damage Waiver), most car rental companies offer Theft Protection, Gravel Protection, Tire Insurance, Sand and Ash Protection and sometimes, River Insurance.

This probably sounds like a giant rip-off to you but I promise you that Iceland, with its extreme weather, can definitely do major damage to your car and the last thing you want when ending your vacation is to be stuck with an outrageous repair bill.

We rented with Lotus Car Rental, primarily because they offered a “Platinum Insurance Plan” with all the above items bundled together. After developing two sidewell bulges on the front tires, I’m thankful we purchased the Platinum Package. Since we couldn’t find a repair shop with the tires we needed, Lotus Car Rental drove a replacement SUV out to our hotel in Vik.

Driving off-road is illegal: Due to Iceland’s sensitive environment, you must stay on marked roads and trails. Driving off-road is illegal and will result in huge fines.

Food is really expensive, although breakfast is typically “free”: I knew that food in Iceland would be expensive but it’s still shocking how pricey it is when it’s time to hand over your credit card. Here are some sample prices for our meals in Iceland (and no, we weren’t splurging on luxury food):

  • Can of soda: $4-5
  • Lunch at our highland hotel: $90 (this included two sodas, two bowls of lamb soup and two desserts)
  • Fish and chips from a food truck: $40
  • Dinner at a local, regular restaurant: $70-$100
  • Hamburger and french fries: $30
  • Icelandic hot dog: $4-5 (I thought these were delicious and a bargain)

If you want to save money, I recommend grocery shopping and cooking some of your own food. Next time I go to Iceland, I will likely bring some food from home in order to save money.

The blue lagoon is worth visiting (but it will cost you): While researching Iceland, almost every article and blog I read said to skip the Blue Lagoon because it’s overpriced and crowded. A few blogs suggested less crowded thermal pools in Mývatn but we weren’t planning to head that far up north.

I discovered a unique experience at the Blue Lagoon called The Retreat Spa. And just to warn you in advance: it’s pricey at $265 per person for 4 hours. Even though there’s a hefty price tag attached to the experience, I think it’s worth the cost since we had the lagoons to ourselves, had a private changing/shower room and enjoyed the spa’s relaxation rooms. I was curious what the regular Blue Lagoon was like so I headed in that direction for a few minutes and just like I thought, it was really loud and crowded.

The Retreat Spa, Blue Lagoon, Iceland
The Retreat Spa, Blue Lagoon

A lot of the information online is outdated or not accurate: There’s a lot of old, outdated information online about Iceland so make sure you’re looking at current info. For example, a lot of articles mentioned driving right up to the Sólheimasandur DC-3 plane crash. The road was closed a couple of years ago and reaching the plane crash requires a 4km walk in each direction.

Reserve in advance: I can’t speak to tours since we didn’t take any but you definitely need to reserve your car, hotel and anything else with limited space, such as a ferry, far in advance. I procrastinated a bit when planning my June/July 2018 visit (as in I didn’t start booking things until March) and several hotels were sold out on the days I wanted to reserve and trying to find an open space on the car ferry to Vestmannaeyjar was challenging.

Iceland is not a country that you want to show up without any reservations at all.

You’ll need warm clothes, even in summer: Trust me when I say that you need to bring warm, waterproof clothing with you to Iceland, even in the middle of summer. During my visit to Kerlingarfjöll in late June, I experienced 50 mph winds and 25 degree temperatures, with a windchill down to -15. Icelandic weather is extreme.

I would focus on packing clothing that can be layered so that you can adjust your clothing as needed. Since the temperature can change rapidly, bring your warmer layers with you when you’re out exploring. Here’s the clothing that I would recommend packaging for a summer visit (adjust the amount of clothing needed for the duration of your visit):

  • Waterproof pants: It rains a lot in Iceland so these will come in handy. They were also useful as a wind barrier on those extremely windy days. I highly recommend the Columbia Storm Surge Pants, which easily slip over your regular pants.
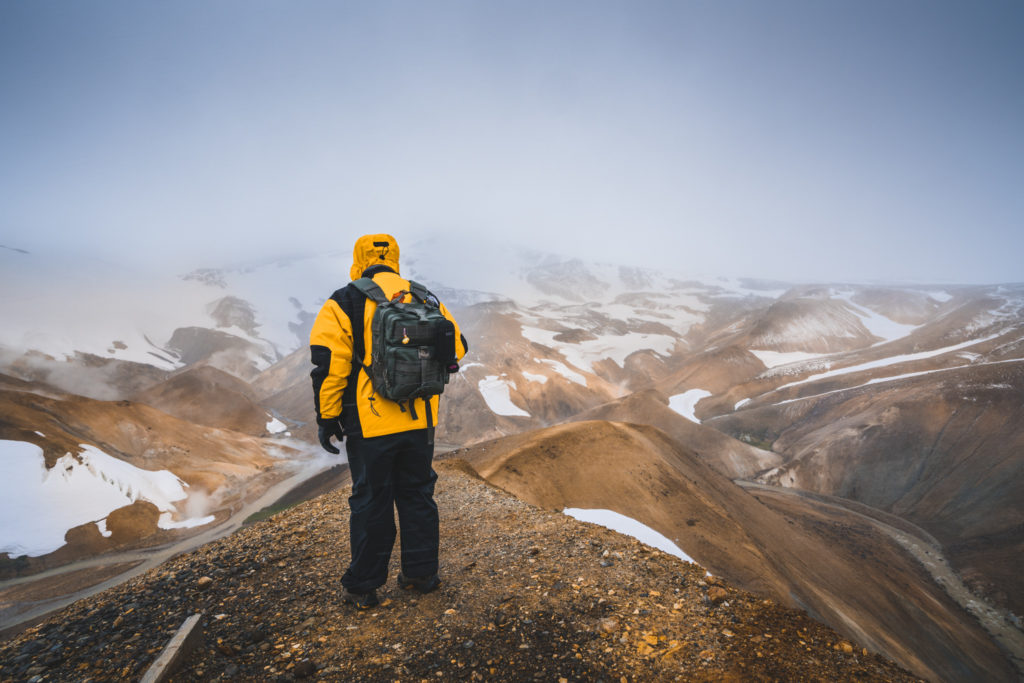
  • Waterproof outer shell: You’ll want a heavy duty waterproof shell that’s also windproof. Don’t bother with a light rain jacket. I brought my Patagonia Piolet Jacket with me, which worked well. And as a bonus, it’s bright yellow, which worked nicely in photos.
  • Waterproof hiking boots: I had waterproof hiking boots and my husband didn’t. Guess which one of us had warm, happy feet at the end of the day and which person didn’t? If you buy new boots before your trip, make sure to break them in. I spend a lot of time hiking on my travels and at home in the PNW and I swear by these Danner boots.
  • Gloves and/or mittens: These should be waterproof and windproof. I use Vallerret photography gloves, which probably aren’t of interest to people who aren’t photographers.
  • Warm socks: These LL Bean socks are the comfiest, coziest socks I’ve ever worn. I used them on the majority of my hikes and my feet were nice and warm.
  • Hat: You’ll need to keep your head warm with an insulated hat. This Ugg hat worked well and it’s really cute.
  • Short and long sleeve tops: I only brought one short-sleeve top and it was never warm enough to wear outside. I brought 3 long-sleeve tops with varying levels of warmth, ranging from a thin, tissue-like long-sleeve tee to this UnderArmour thermal top. A lot of people swear by wool sweaters but I’m very sensitive to wool and tend not to wear it.
  • Hiking pants and fleece-lined leggings: I purchased some inexpensive fleece-lined legging to wear under my hiking pants, which kept my legs warm.
  • Fleece: I recommend a fleece layer over your long-sleeve top. I really like Patagonia’s Better Sweater fleece.
  • Insulated jacket: Yes, this is another layer but combining it with a fleece and a base layer will keep you nice and toasty. I’m a huge fan of the Patagonia Nano Puff jacket. It’s lightweight, which makes it easy to layer and easy to pack.

You won’t see darkness in the summer (and in winter, you may not see daylight): If you visit in June or early July, the sun will “set” sometime around 11:30 or so and the sky will darken slightly but it won’t actually get dark. If you’re into photography, this means you’ll have a whole night’s worth of golden hour. If you’re sensitive to light, you’ll definitely want to bring an eyemask since most hotels didn’t have black-out curtains.

The bugs in some areas are awful: When the sun came out, so did the bug swarms. While the bugs didn’t seem to to bite, they kept flying into our faces. We eventually purchased a couple of bug hats at a gas station but I recommend bringing something like this with you.

Get some change for public restrooms: Most articles often mention that Iceland is mostly a cash-less society and while I found credit cards were accepted almost everywhere, there were a few restrooms that didn’t have credit card machines. A plus to carrying loose change? Iceland’s coins are the cutest coins I’ve ever seen. I brought some home as souvenirs.

Things move a little slower than you’re used to back home: Iceland is definitely on “island time.” When locals say they’ll meet you somewhere at 10am, what they really mean is that they’ll meet you between 10:30 – 11:30am. Maybe they’re more punctual in Reykjavik? In the rural areas, they definitely take their time so plan accordingly.

When in doubt, fill up your gas tank: If you’re venturing into the highlands, you could drive for hours and not see a gas station. Yeah, it’s a boring chore but you know what’s even more boring? Being stranded in the middle of nowhere because you ran out of gas.

You will need a chip-and-pin credit card to purchase gas: Speaking of purchasing gas, you will need a chip-and-pin credit card to purchase gas at most service station. This was a huge surprise to me the first time I went to Iceland. Since I have no idea what the pin number is on my credit cards, I had to use my debit card for all of our gas purchases.

You’ll want to pull over every 5 minutes to take a photo: Iceland is one of the most beautiful countries I’ve ever visited. The scenery is constantly changing so you’ll want to pull over constantly to take pictures, annoying the crap out of the person driving. If you pull over, make sure it’s safe to do so and don’t stop in the middle of the road (yes, we saw some people doing that).

Icelandic hot dogs are amazing: Remember how I talked about how food is so expensive? Priced between $4-5, Icelandic hotdogs feel like a bargain and they’re pretty tasty too. You’ll find them at almost every gas station and near most of the tourist sites.

And speaking of things to eat, always carry a supply of food and water with you: Make sure you have a meal’s worth fo snacks with you as well as water in the car in case a storm arrives suddenly and you have to wait it out. As I mentioned above, we experienced 50mph winds in the middle of summer and the weather forecast called it a “moderate breeze.” I’d hate to see what a “severe breeze” looks like.

Bring all of your travel essentials with you to Iceland: If you forget toothpaste or your gloves, you can definitely purchase them once you arrive but you’ll be paying way more than you would back home.

Driving takes a lot longer than you would think: Iceland certainly doesn’t look very big on a map. By comparison, Texas is about 7 times the size of Iceland and the entire Houston metropolitan area fits inside the entire country. While the country looks fairly small, driving distances are longer than you’d think. The main highway around Iceland, the Ring Road, is only one lane in each direction and is often prone to slowdowns during particularly busy periods. Beyond the Ring Road, a lot of smaller roads are gravel and you’ll likely have to drive slower than the stated speed limit to avoid bouncing around in all the potholes.

If you’ve visited Iceland on a previous tip, what are some of the things you wish you had known?

[envira-gallery id="1431"]

Like this post? Please Pin It!

21 Things I Wish I Knew Before Visiting Iceland 21 Things I Wish I Knew Before My Trip to Iceland

Disclosure: Some of the links above are affiliate links, meaning, at no extra cost to you we will earn a commission if you click through and make a purchase. I only include products that I have purchased myself. To view our full privacy policy and disclaimer click here.

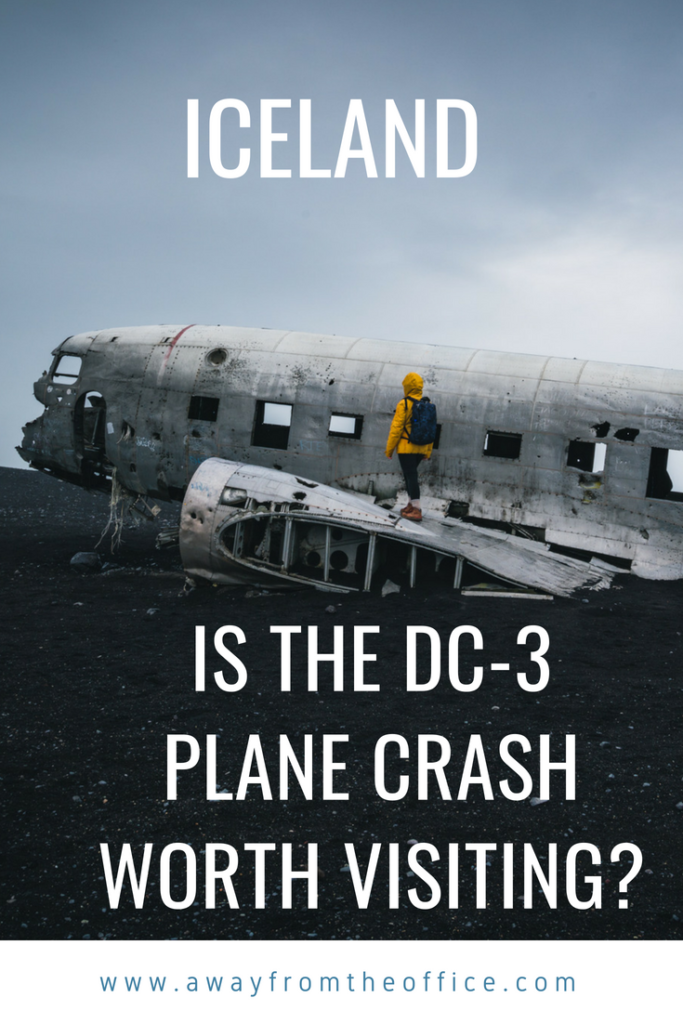
Sólheimasandur DC-3 Plane Crash in Iceland: Is it Worth Visiting?

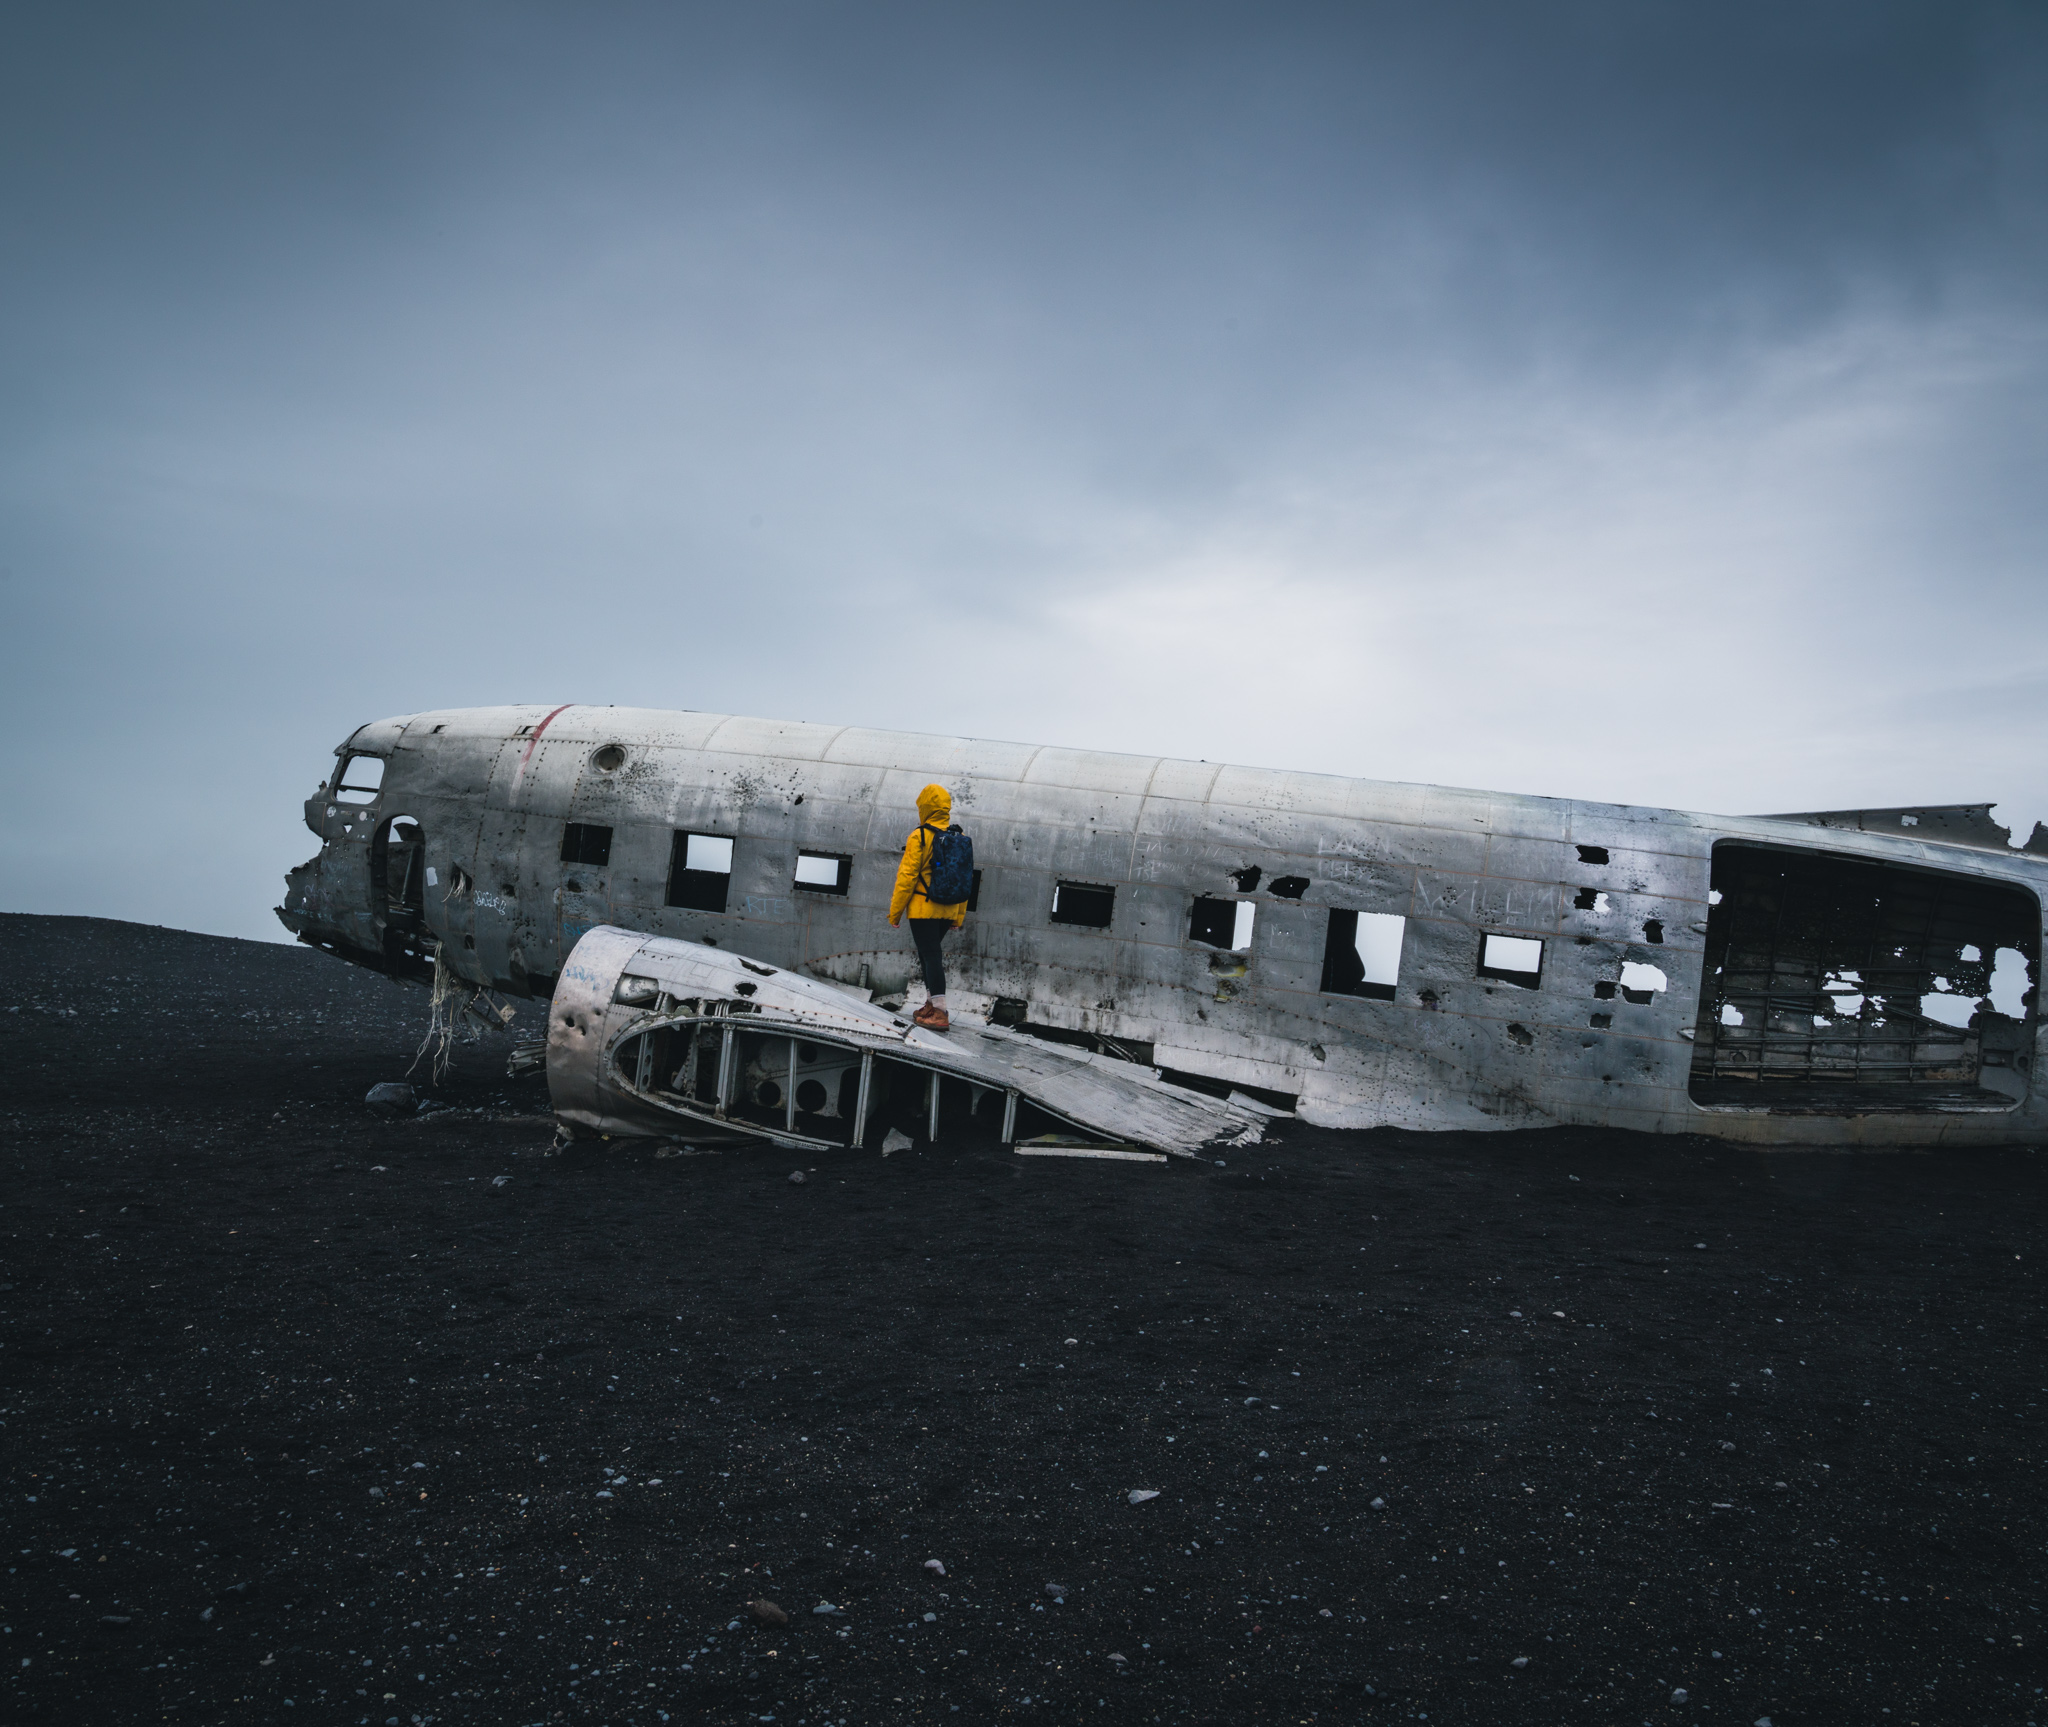
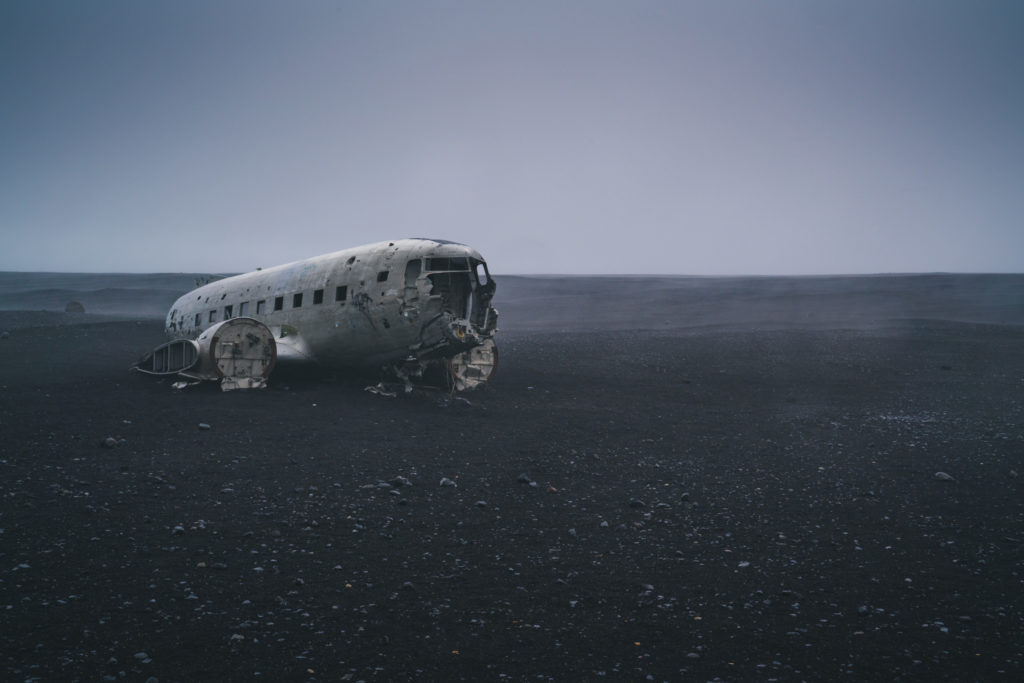
Sólheimasandur DC-3 Plane Crash

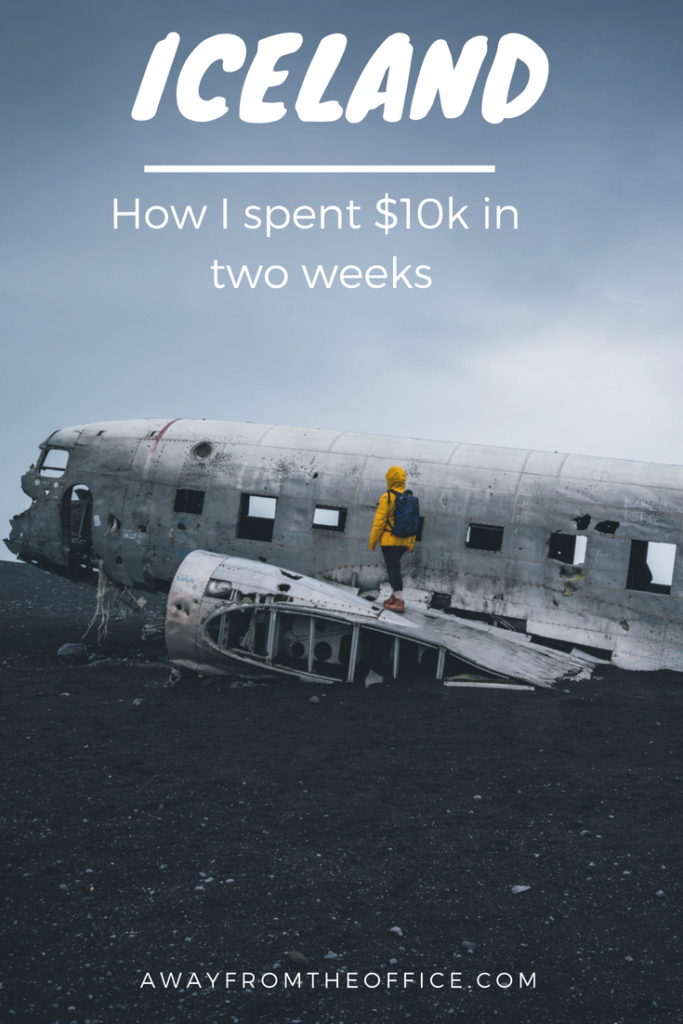
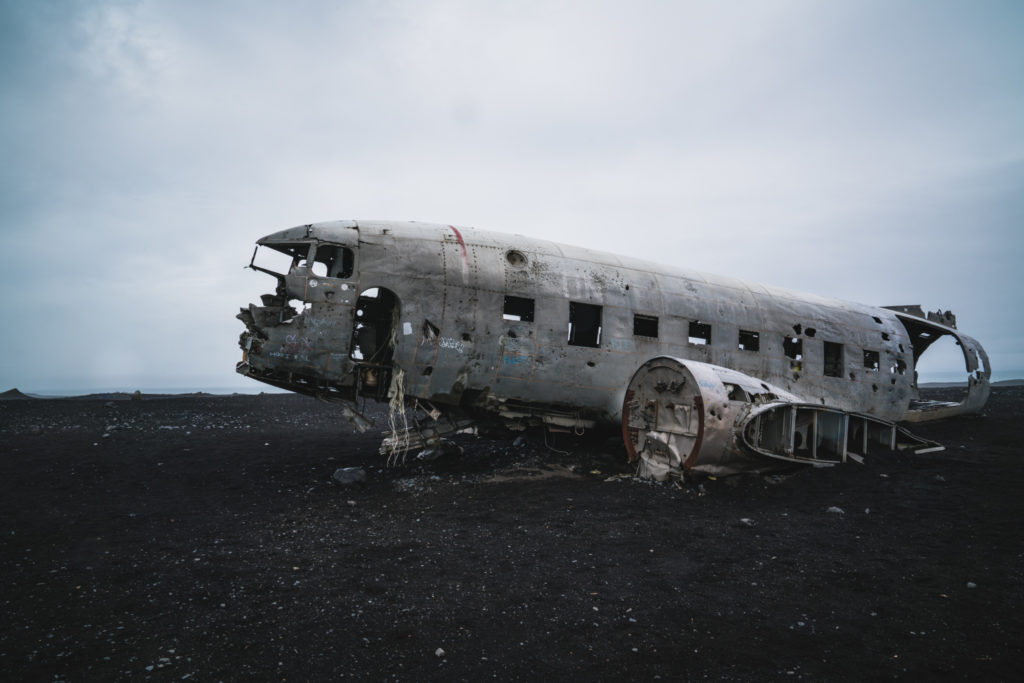
If you’ve looked seen any Instagram photos from Iceland, you’ve probably come across the ruins of an abandoned plane on black sand. The plane belonged to the United States Navy and when it crashed on the black sand beach in 1973, the crew was able to get out and they survived. Turns out the pilot accidentally switched to the wrong fuel tank. D’oh. For some reason, the wreckage was never cleaned up back in the day.

How To Find the DC-3 Crash Site
The DC-3 is located in southern Iceland, approximately 20 minutes west of Vik. Google Maps directions to the parking lot are located here.

Once you arrive at the parking lot, it’s a 4km walk to the plane, which takes approximately 1 hour there and 1 hour on the return. As long as you stay on the path, you can’t miss it. And if you arrive in the middle of the day, you’ll see a lot of other tourists on the path.

Sólheimasandur DC-3 Airplane Crash, Iceland

So, Is it Worth Visiting?
Whether it’s worth a visit depends on a few factors, like how much time you have in Iceland and your tolerance level for boring, mind-numbing walks in cold, windy weather. My husband thought the walk to the crash site was pure torture and while I didn’t enjoy the walk, I thought it was worth it in the end. I’ll break it down a bit more so that you can decide if it’s worth visiting.

Time commitment: As I mentioned above, it’s about an hour out and an hour back, plus time spent at the plane taking photos. At minimum, you’ll need at least 2 and a half hours for your visit. If there’s a huge crowd and you’re patiently waiting to get a photo of the plane without people or you’re waiting in line to pose with the plane, you’ll definitely be spending over 30 minutes there. I suppose you could cut down on the time by putting on some running shoes, although keep in mind the path is very rocky and it doesn’t seem great for running.

I was ok with the time commitment involved since we had 2 weeks in Iceland and planned to stay in the Vik area for 3 days. If you only have a single day in southern Iceland and you need to cut something from your itinerary, I would cut this in favor of visiting more accessible locations in the area.

The walk itself: I love hiking and I routinely hike for 8+ hours back home in the PNW. One thing that keeps me going is the change in scenery and change in elevation. On this walk (I refuse to call it a hike), you won’t have either. The plane is located on a black sandy beach, with nothing else to look at. It was a rainy, foggy day when I went so maybe if you go on a clear day, you could see mountains to your left or right?

If you’ve ever read a book called The Road, the walk reminds me of the beach scenes towards the end. In fact, my husband referred to the walk as “the apocalypse” walk since we stared at the same black, gravel trail for an hour and couldn’t see anything ahead of us or behind us due to the fog.

Also keep in mind that there are no restrooms on this trail and there’s no privacy. I used the restroom on the trail and thankfully a break in people traffic + fog ensured a little privacy but I wouldn’t count on it. If you go to the bathroom in the wilderness, make sure to pack it back out (leave no trace).

The plane (and the crowds): It’s not every day that you get to see crumbling plane wreckage on a black sand beach, which looks like something out of a sci-fi movie. If you go at any reasonable hour, do not expect to have the plane wreckage to yourself. We visited in some of the crappiest weather you could imagine (wind, rain, fog) in the middle of a summer day and there were a ton of people. The key is to be patient and eventually there will be a break in people trickling in and you’ll perhaps get lucky and have the place to yourself for 5 minutes. If you’re visiting in the summer, you can go in the middle of the night since it never gets truly dark.

The verdict: The DC-3 plane wreck gets a ‘yes’ (with reservations) from me and a ‘no’ from my husband. He rated this as the worst thing we did in Iceland due to the mind-numbing boringness of the hike. I’m also sure the constant rain and wind didn’t help things either.

Sólheimasandur DC-3 Airplane Crash, Iceland

Be prepared: Like anywhere else in Iceland, the weather conditions can change rapidly. When I was there at the end of June/early July, the weather changed from warm and sunny to freezing and back to sunny again multiple times. You don’t want to get stuck out in the middle of nowhere and get soaked by an unexpected rainstorm. Here’s what I suggest brining:

  • Backpack (to put all your stuff in)
  • Water and snacks (snacking might help cut the boredom of the walk)
  • Phone + portable charger. You don’t want to get all the way there and discover you can’t take pics due to a dead battery
  • Camera (optional)
  • Waterproof rain jacket
  • Insulating layer, such as fleece, in case it gets cold
  • Waterproof pants (in case it rains or the wind picks up)
  • Hat + gloves/mittens
  • Sunscreen (there is no shade)
  • Wipes in case you need to go to the restroom (plus a bag to pack it out)
  • Comfortable shoes. This is not a technical hike but the gravel/rocks would be uncomfortable in open toe shoes
  • Audiobook/music, if you’re traveling solo and you get bored easily
  • Sunglasses (you never know, the sun might come out)

Disclosure: Some of the links above are affiliate links, meaning, at no extra cost to you, we will earn a commission if you click through and make a purchase. To view our full privacy policy and disclaimer click here.

Like this post? Please Pin It!
DC-3 Plane Crash, Iceland

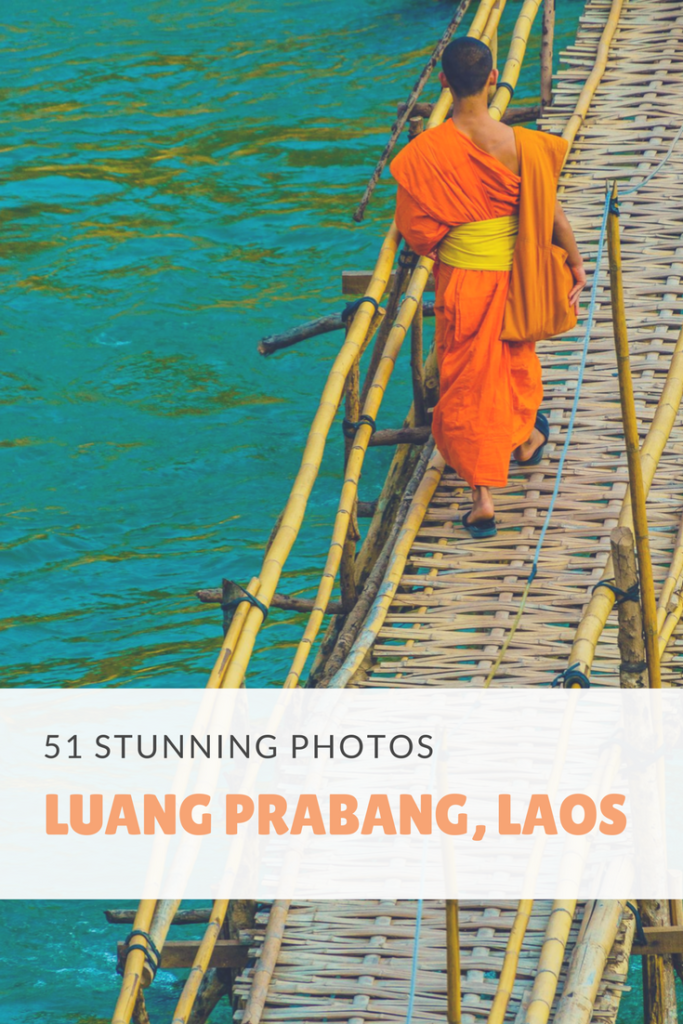
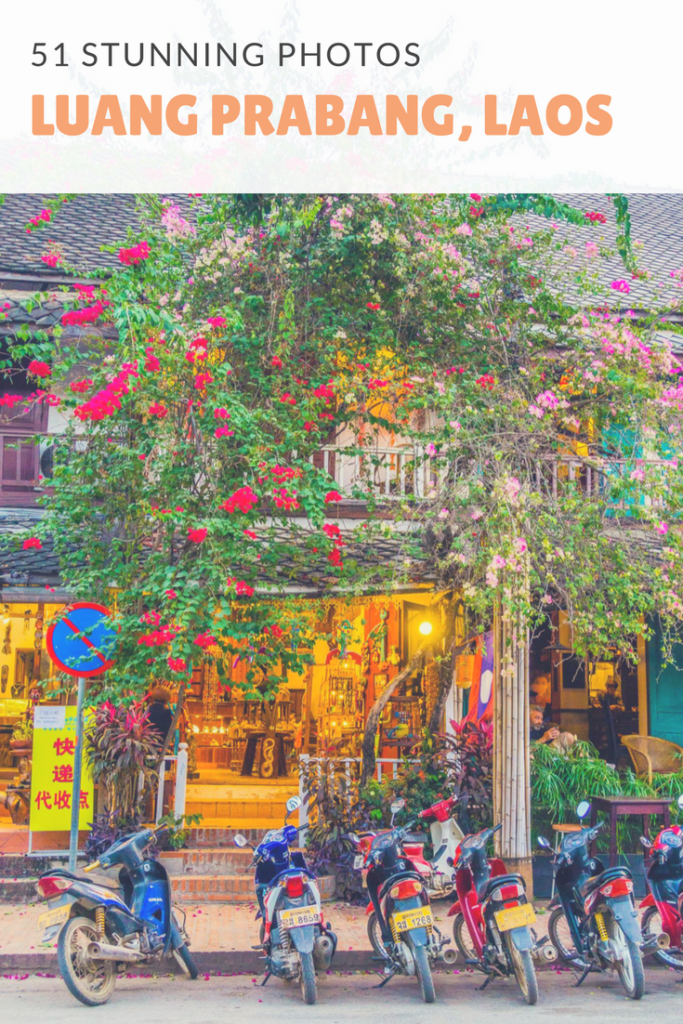
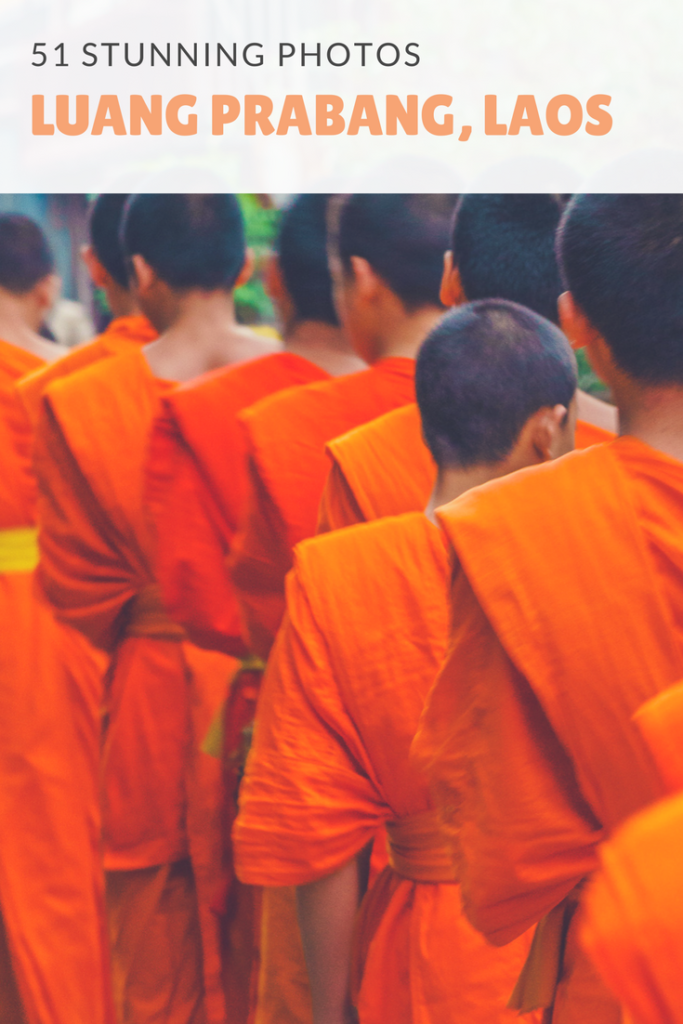
51 Photos That Will Make You Want to Visit Luang Prabang, Laos Right Now


51 Photos That Will Make You Want to Visit Luang, Prabang, Laos, Immediately

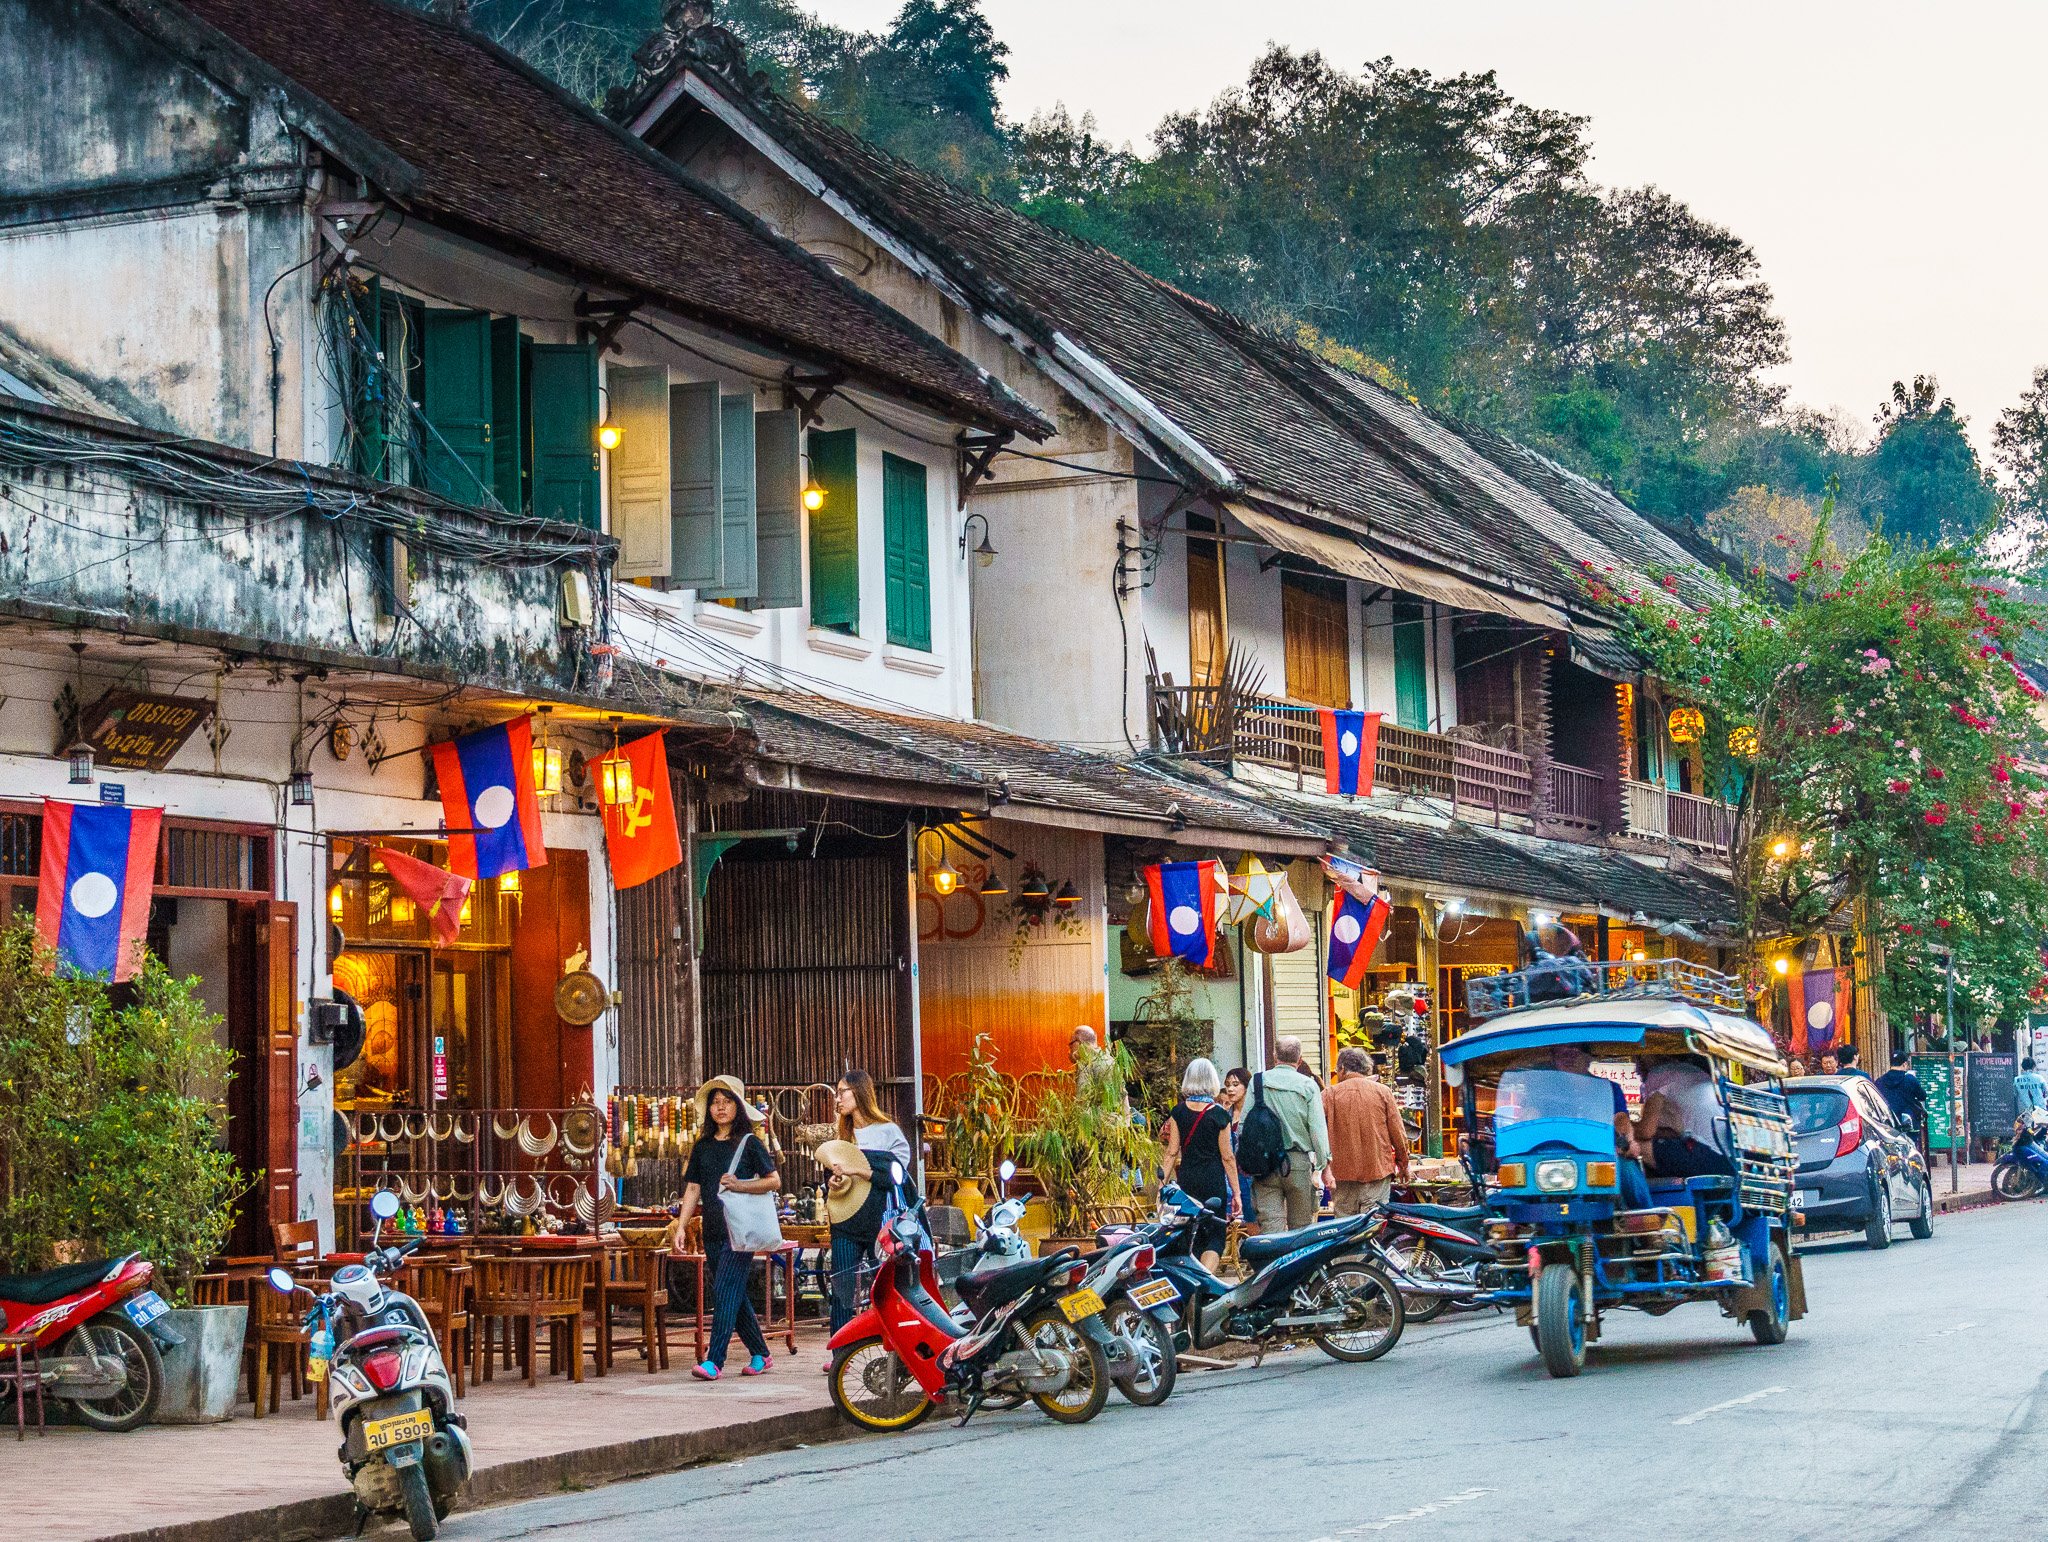
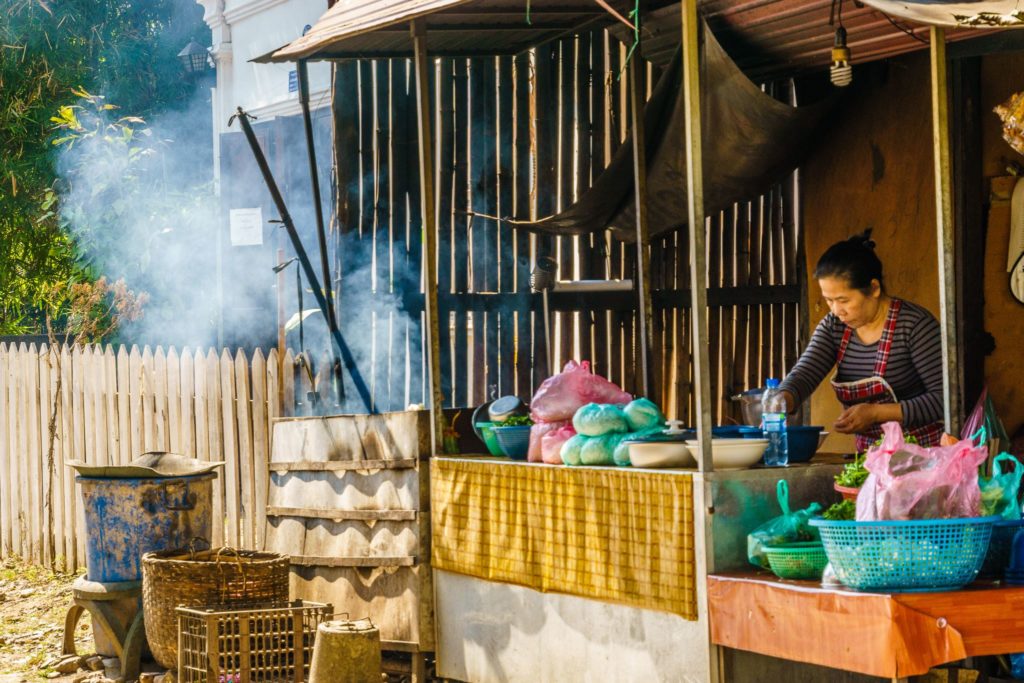
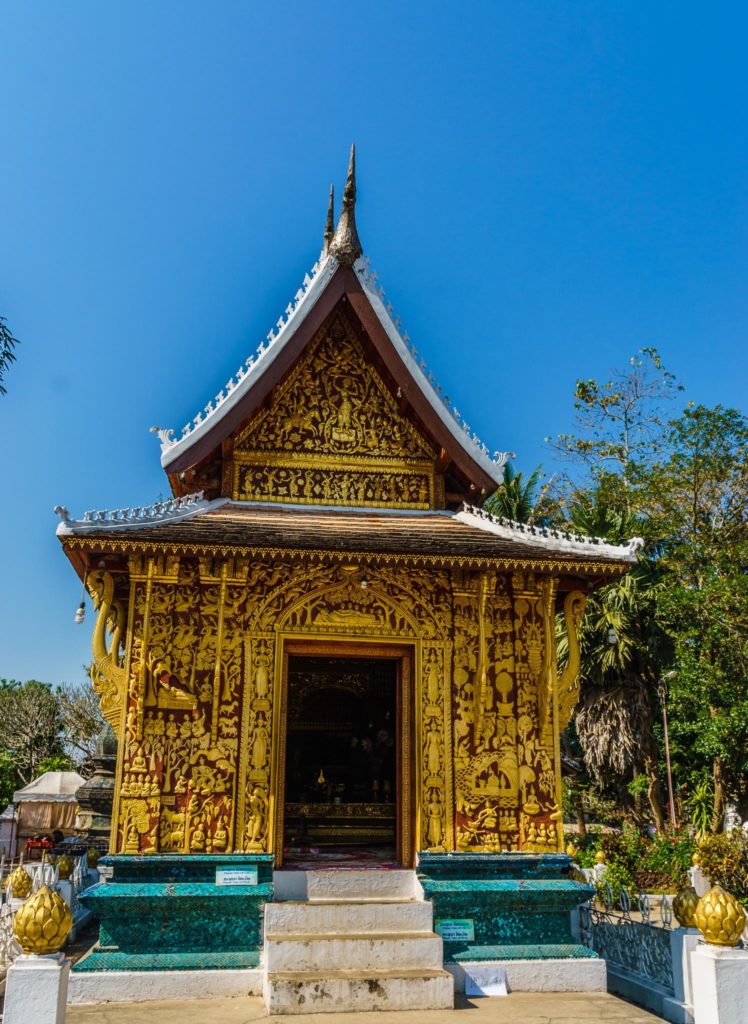
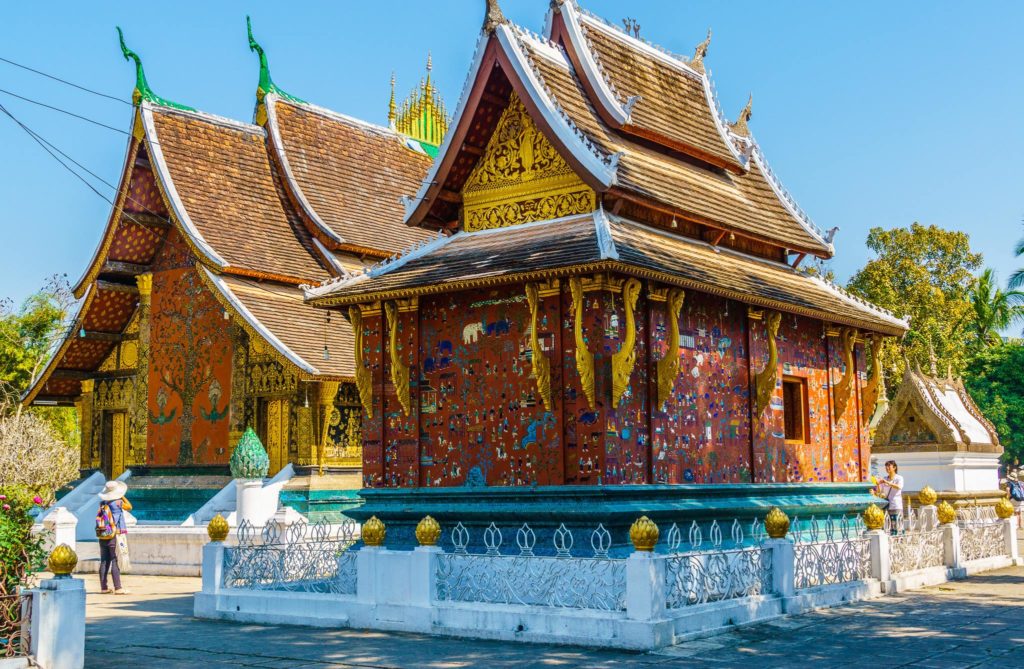
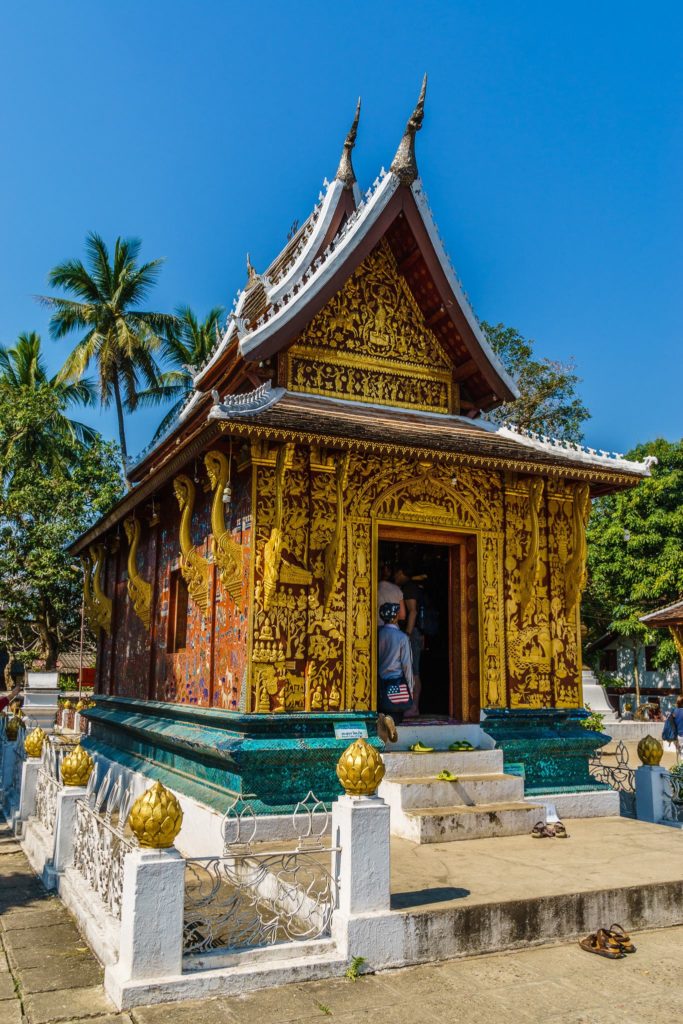
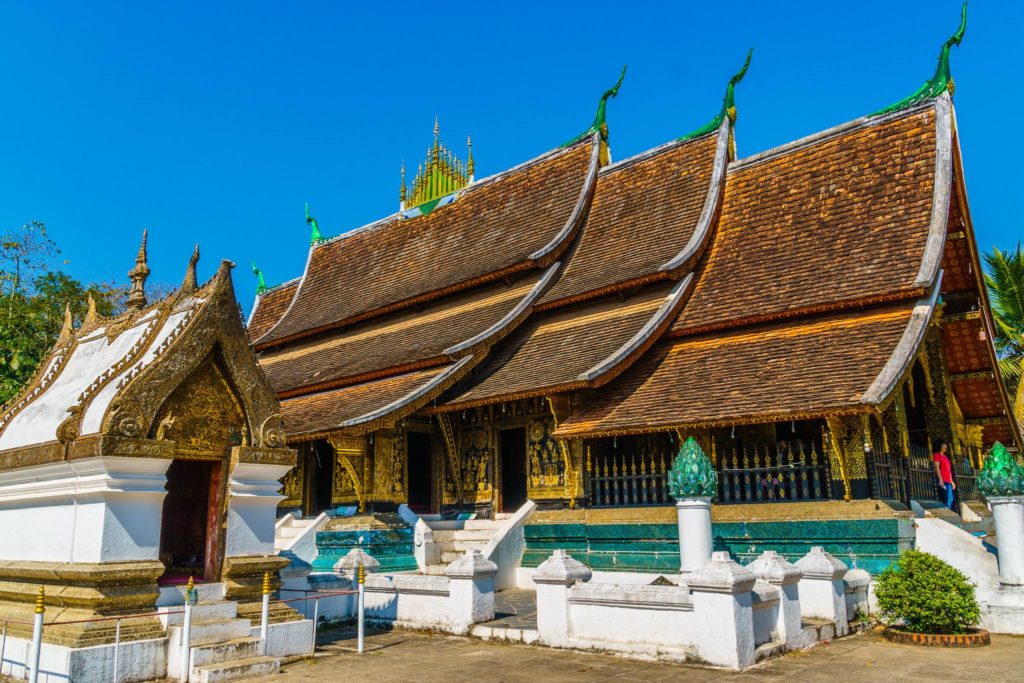
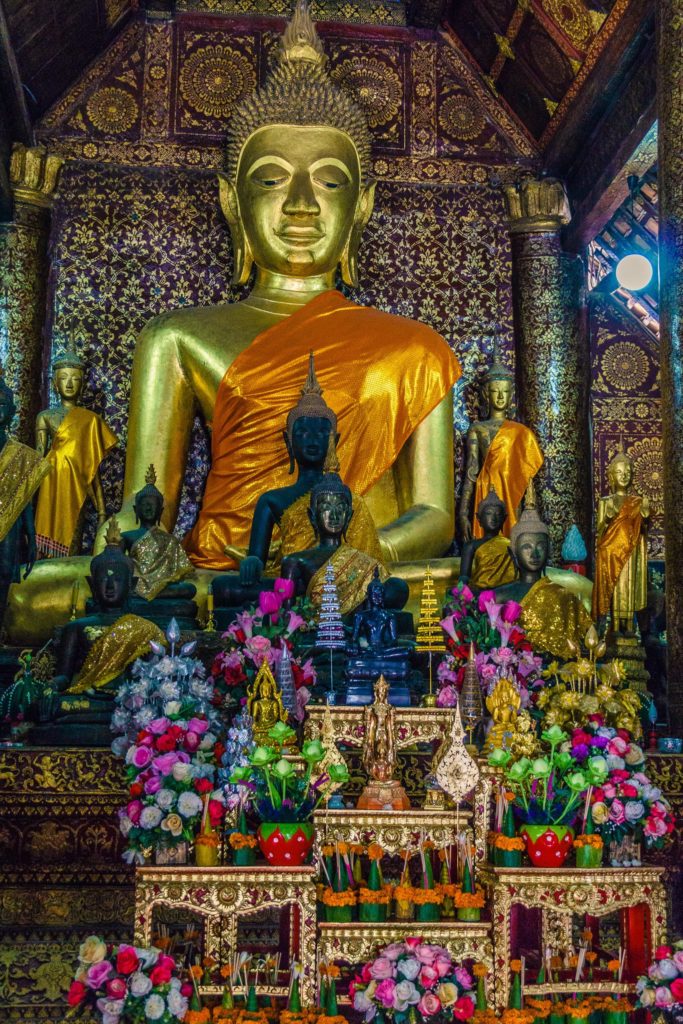
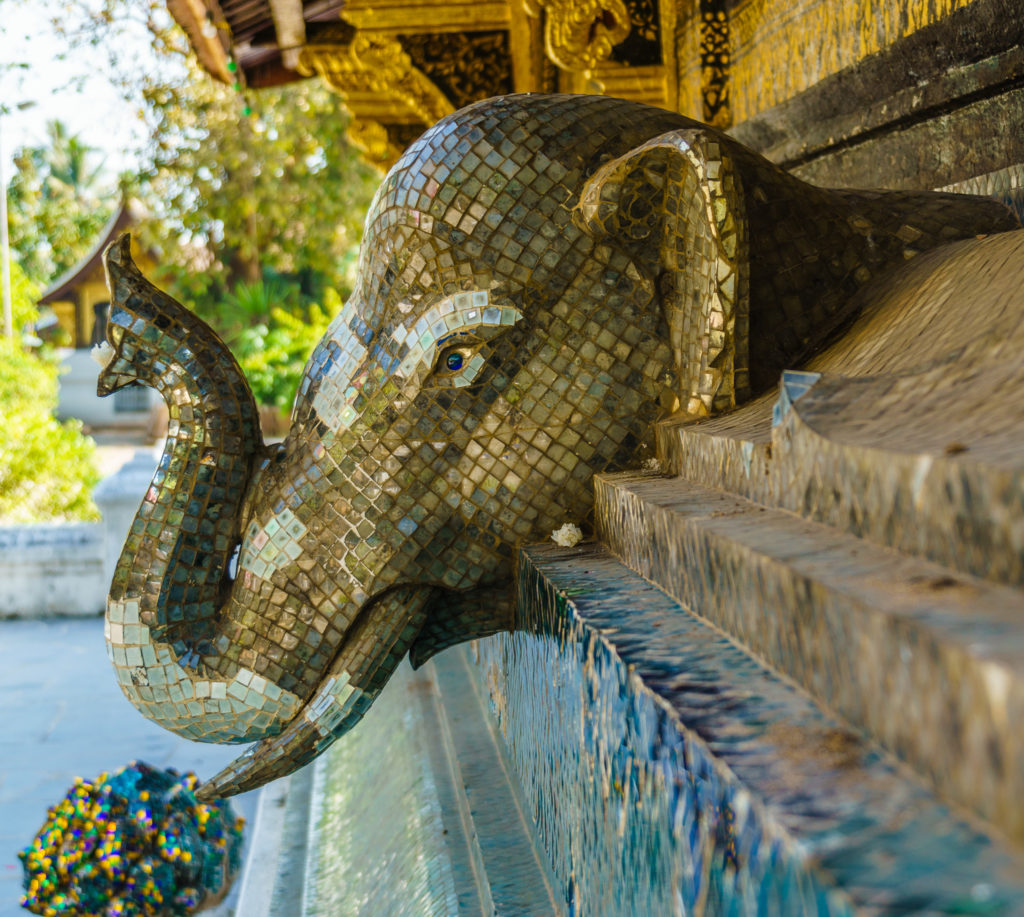
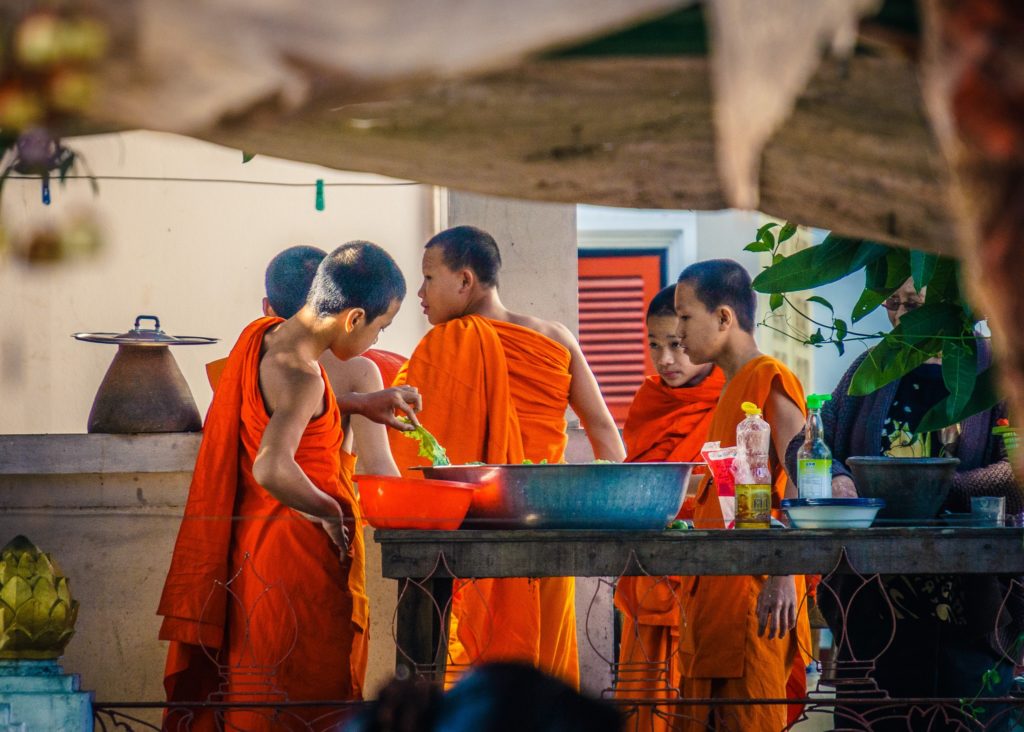
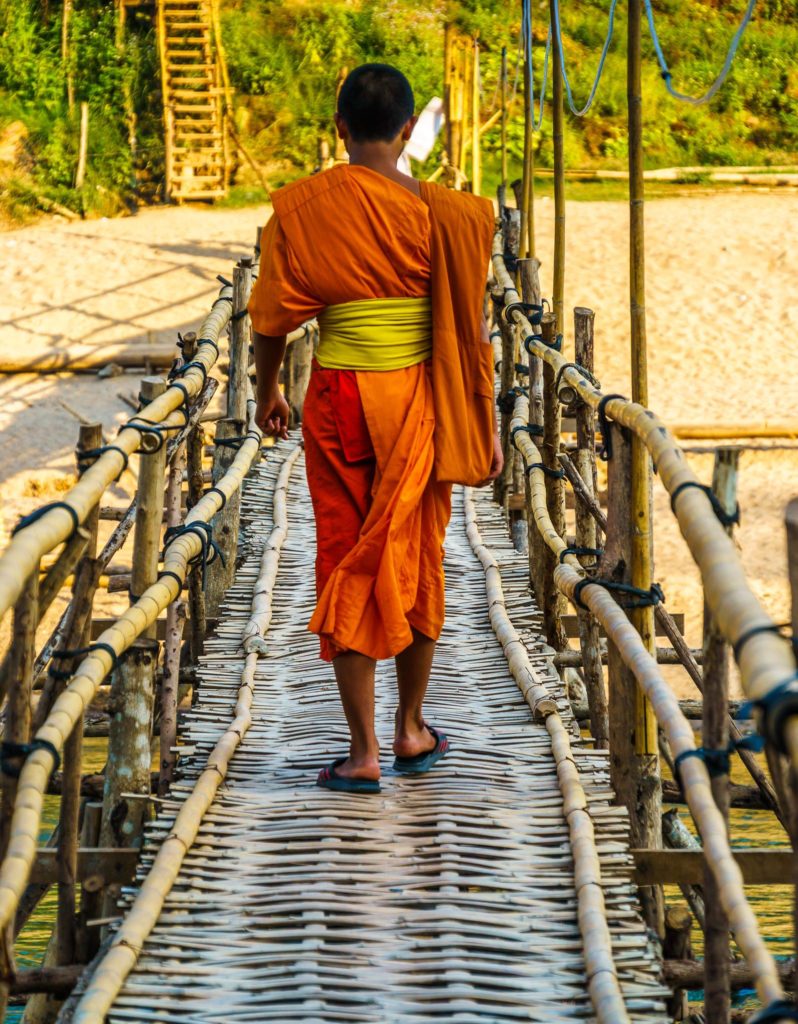
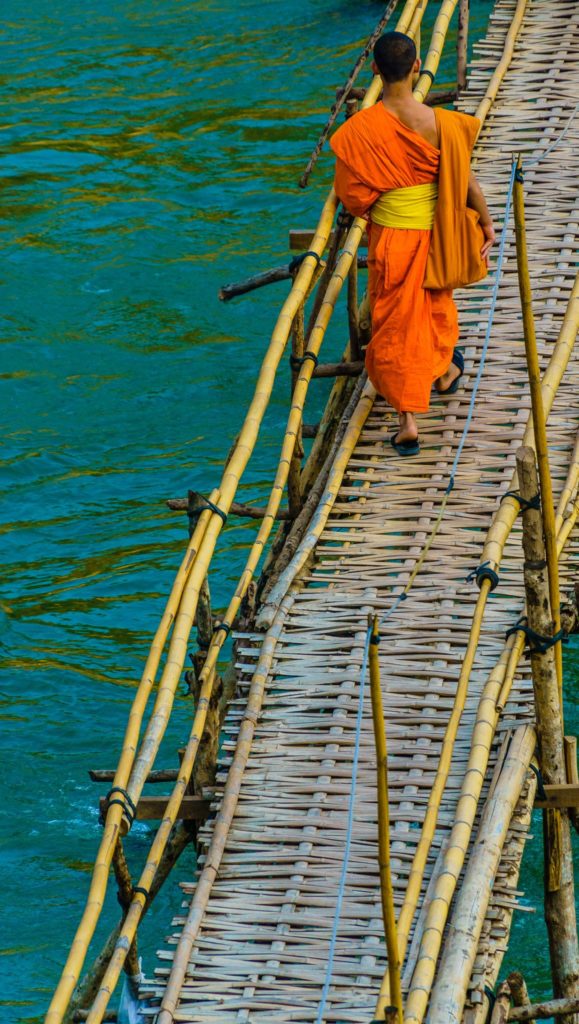
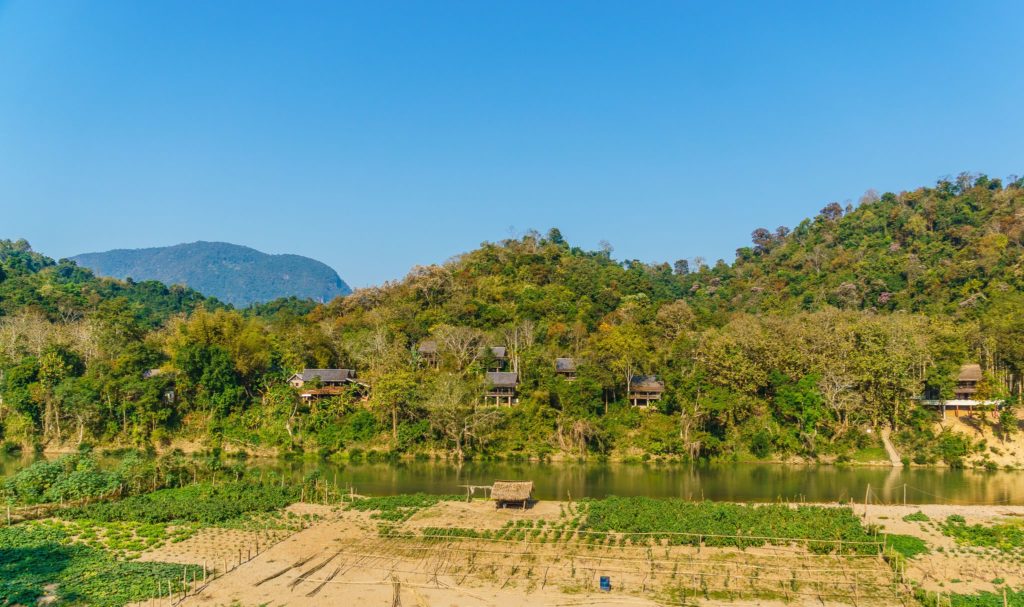
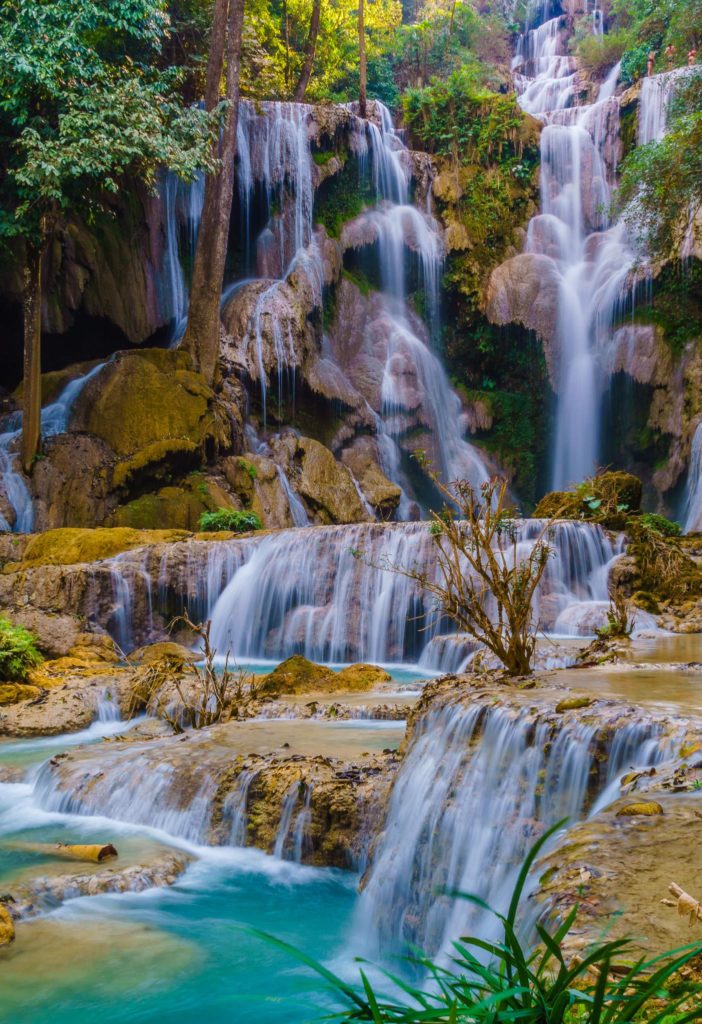
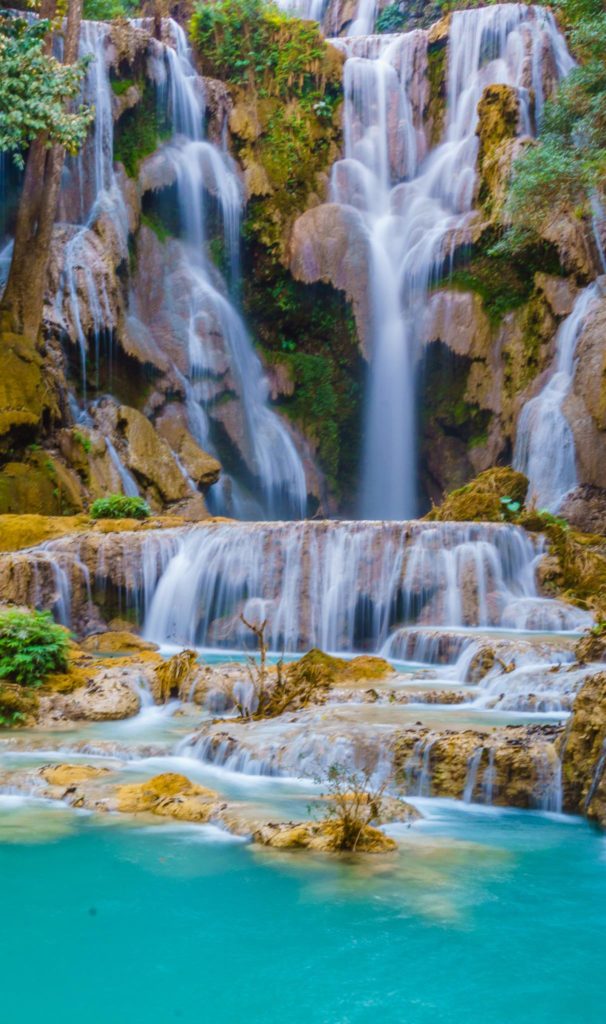
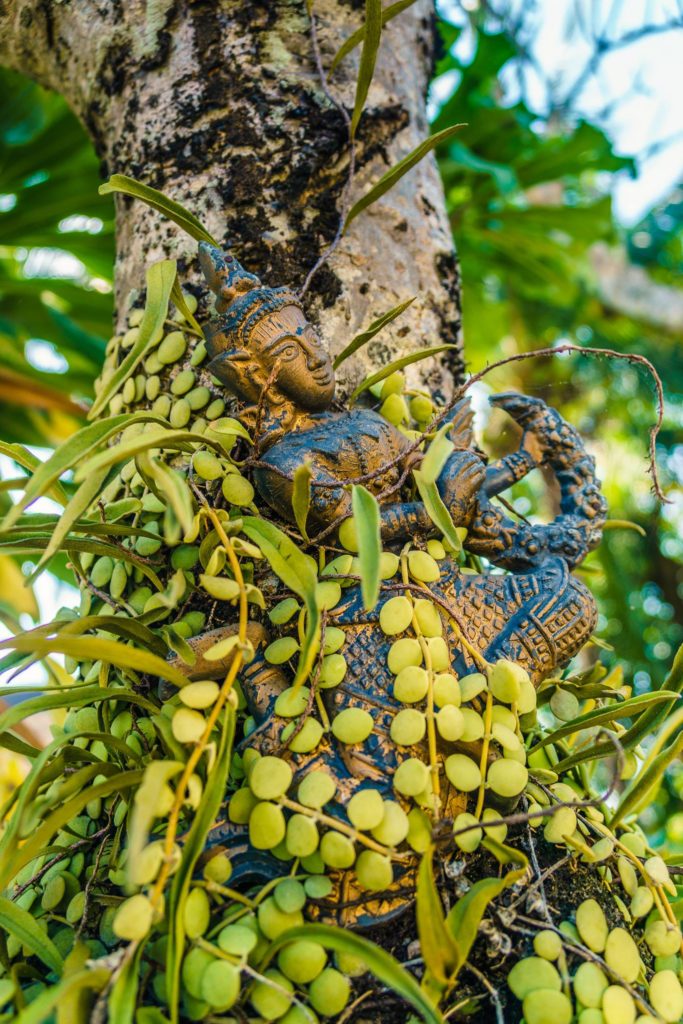
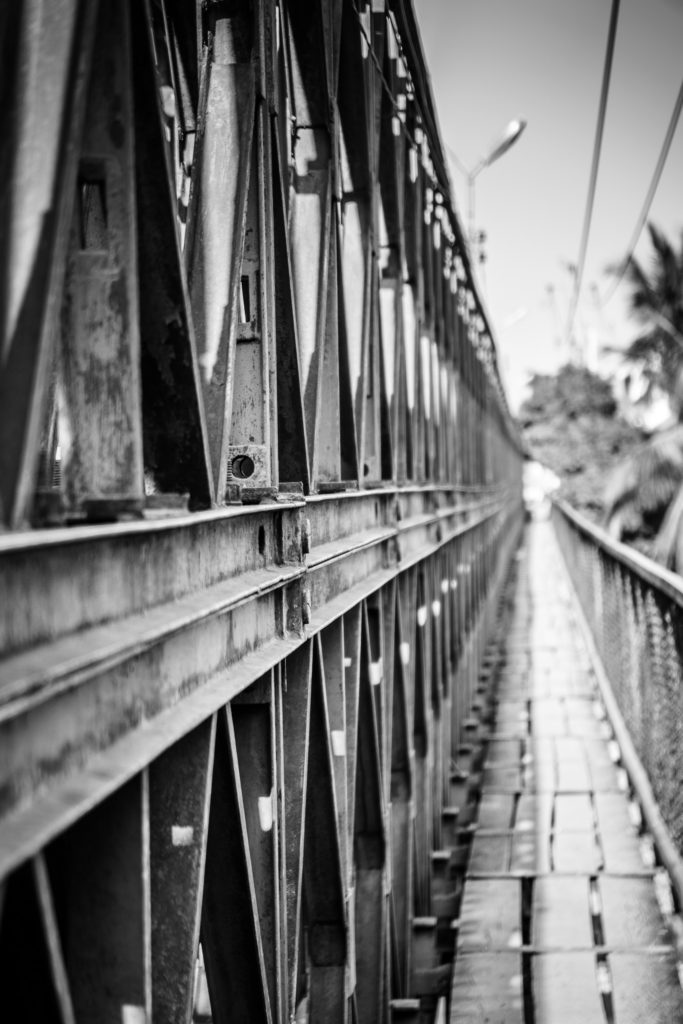
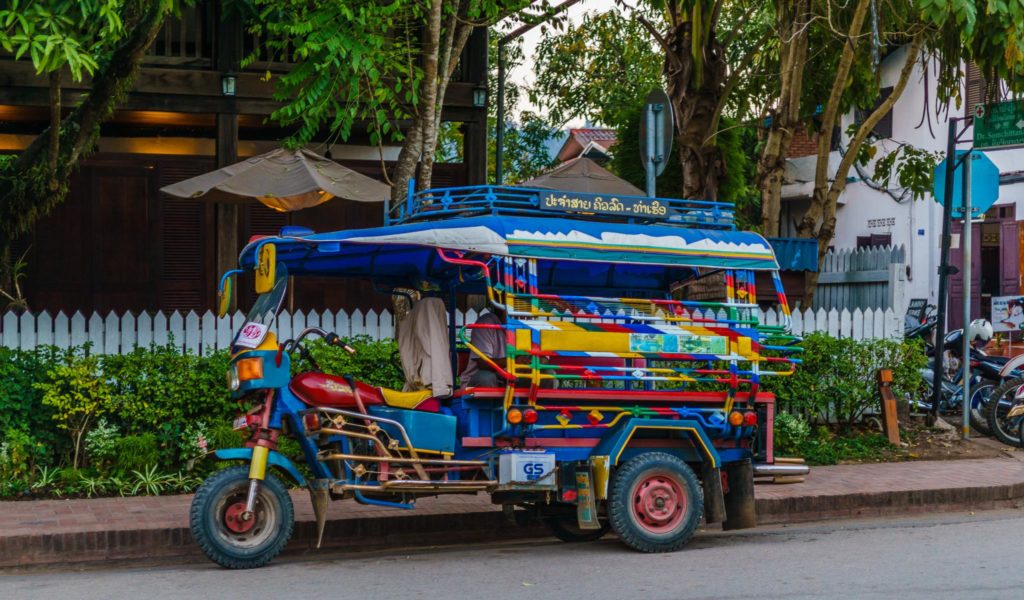
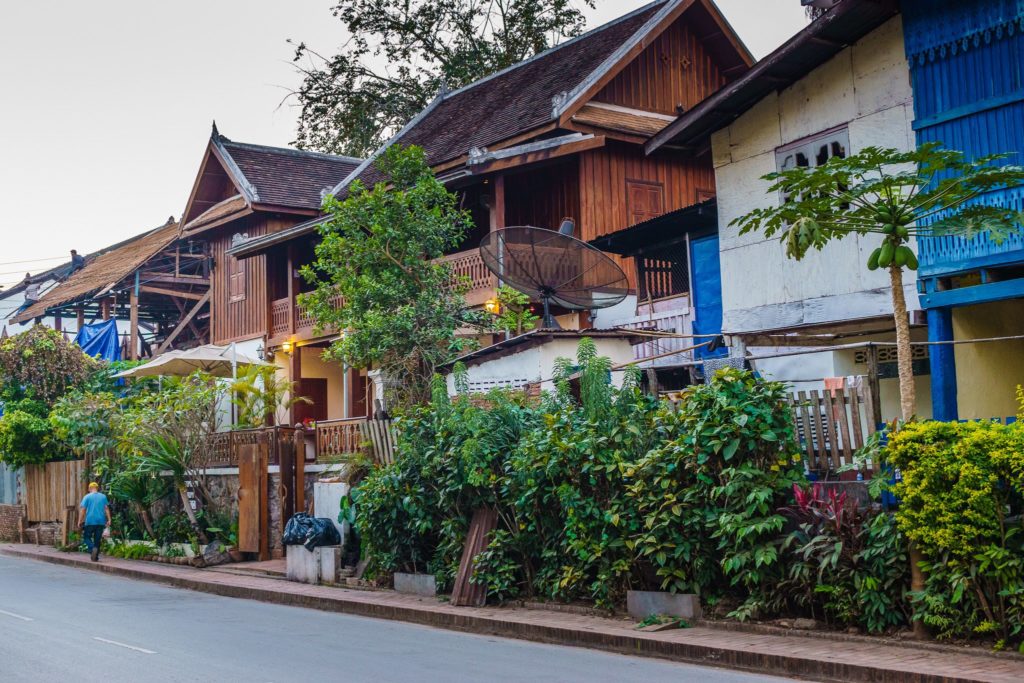
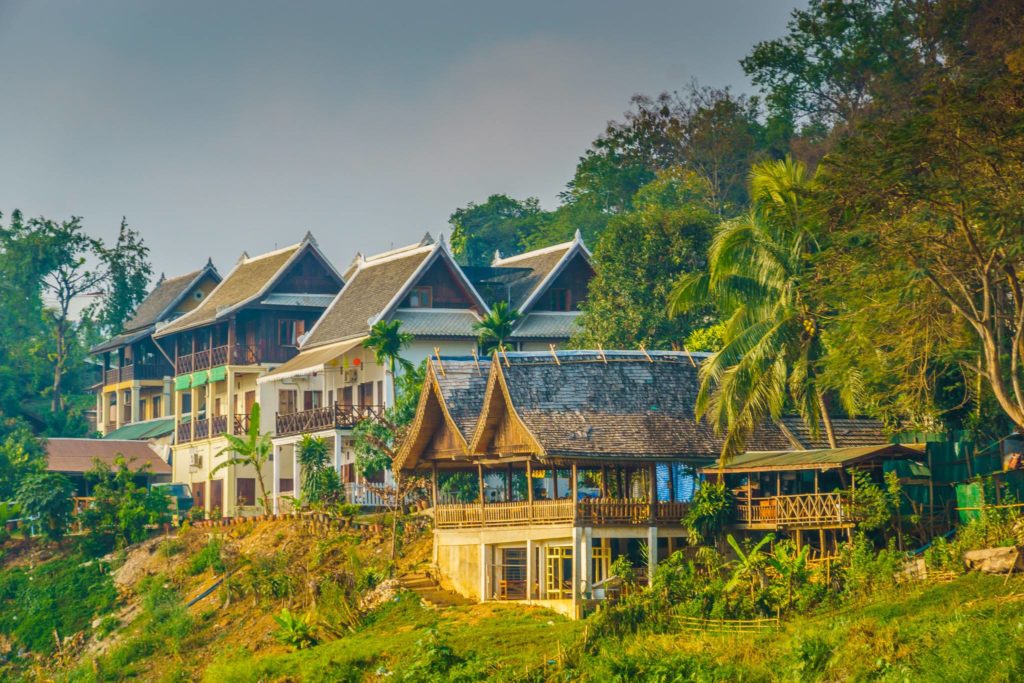
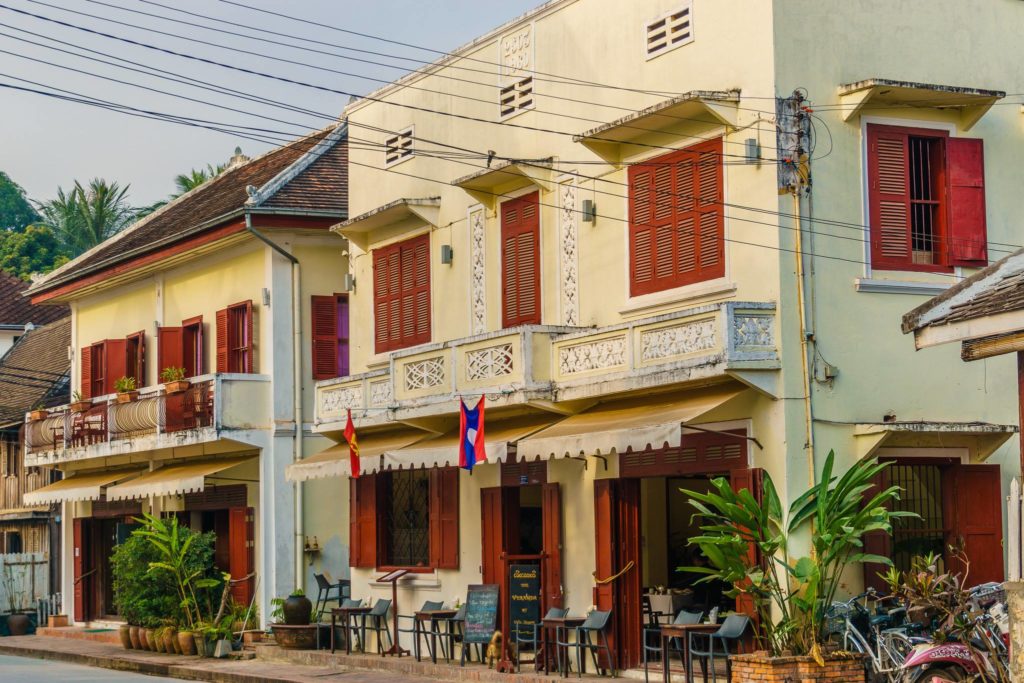
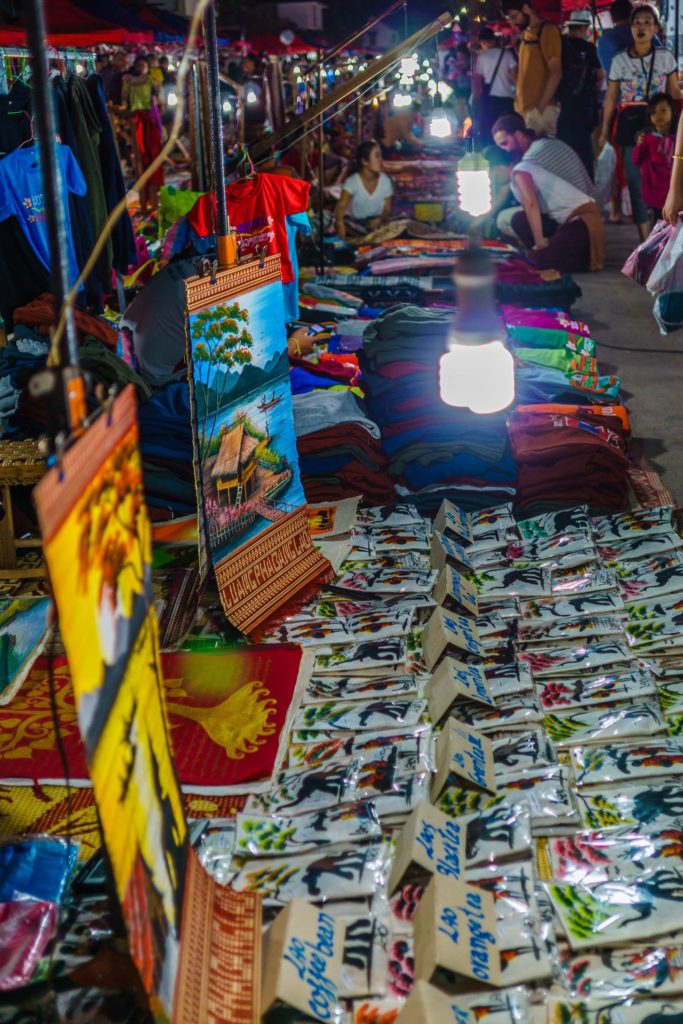
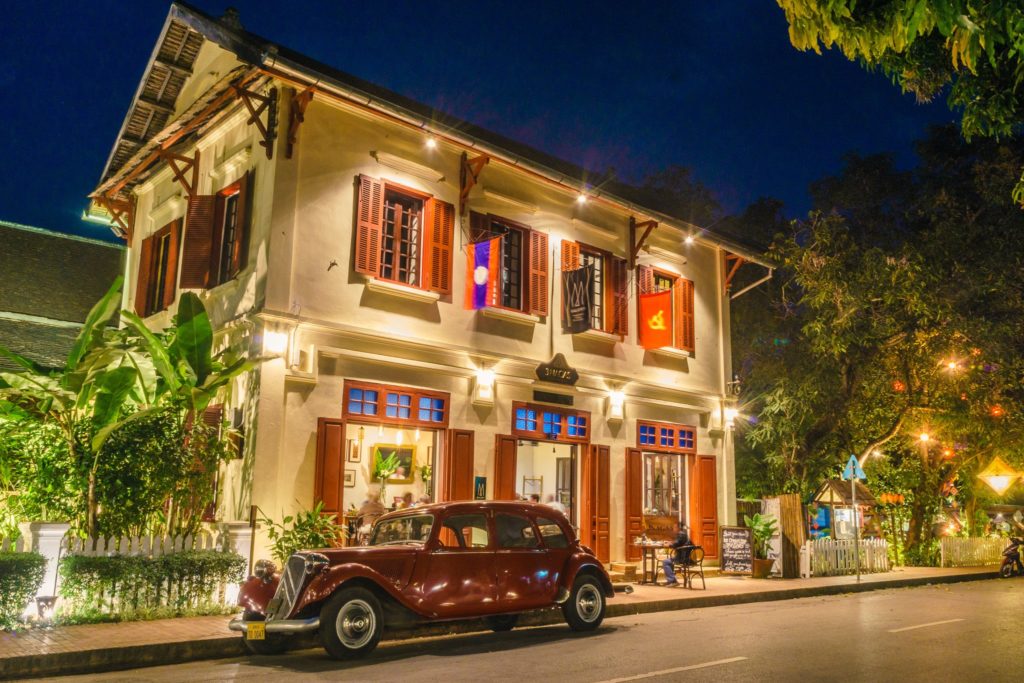
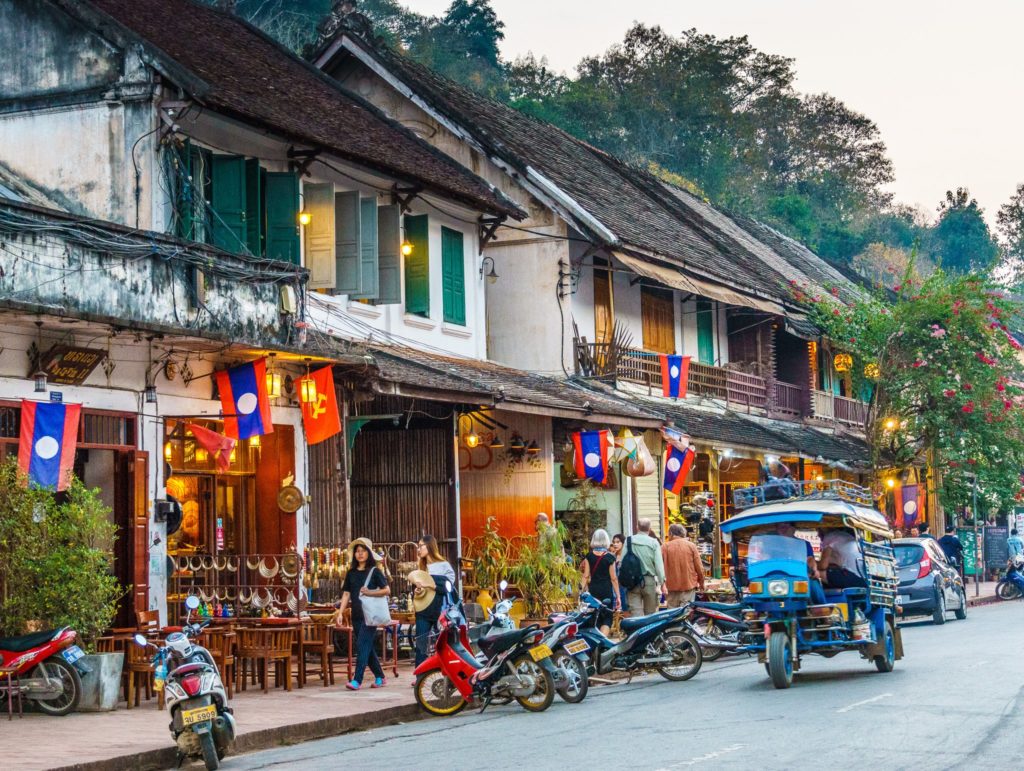
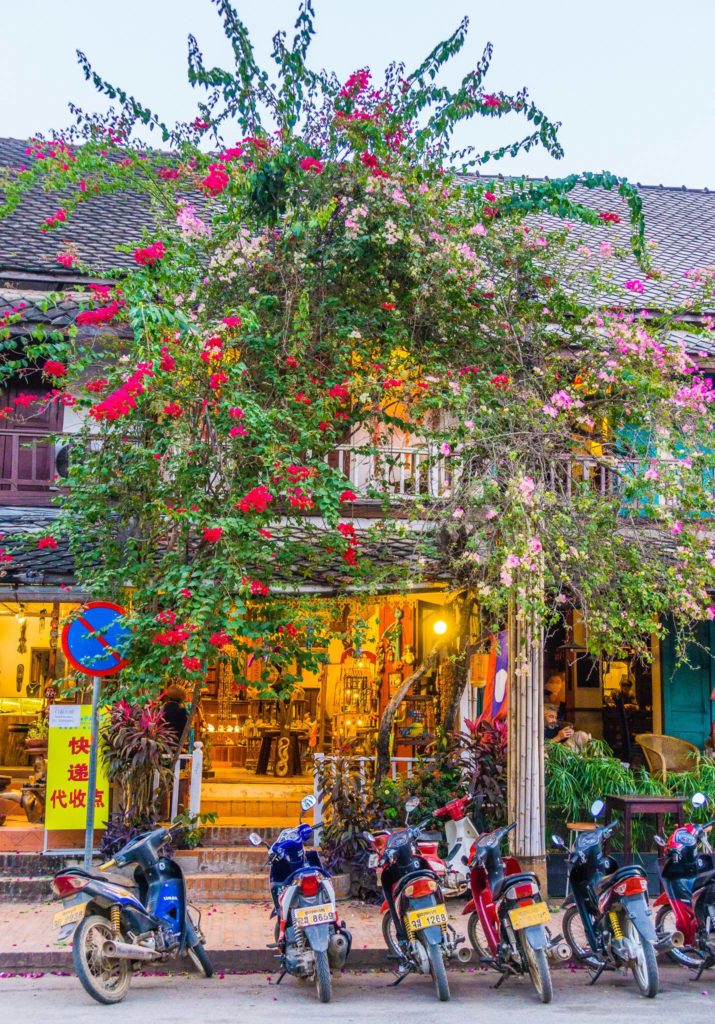
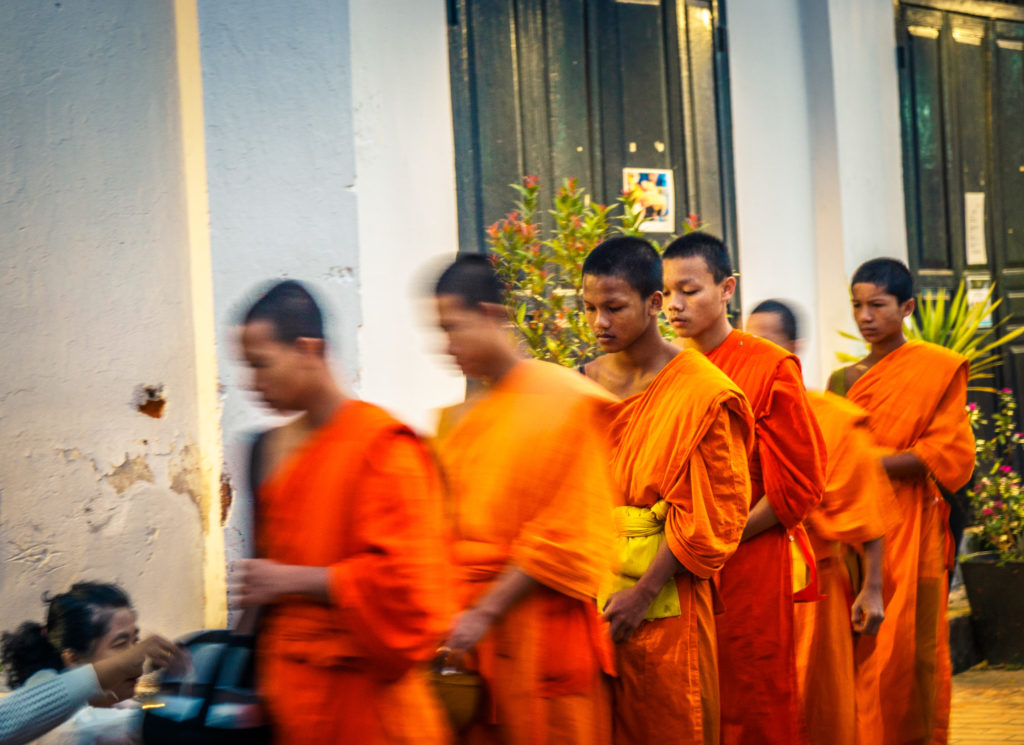
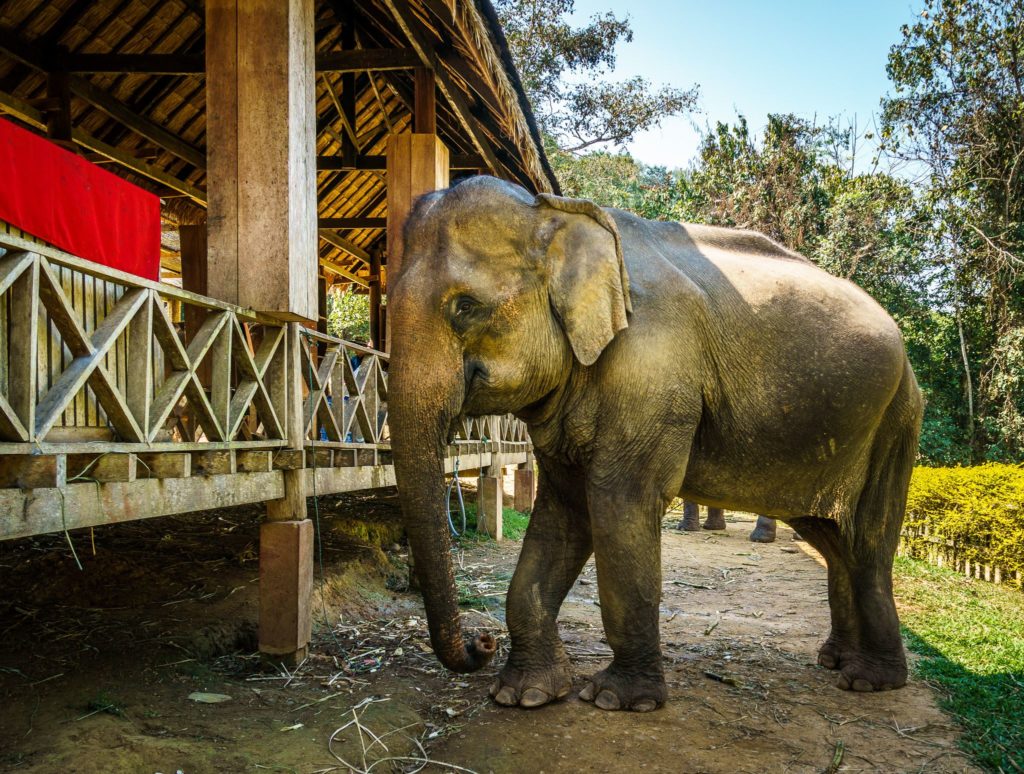
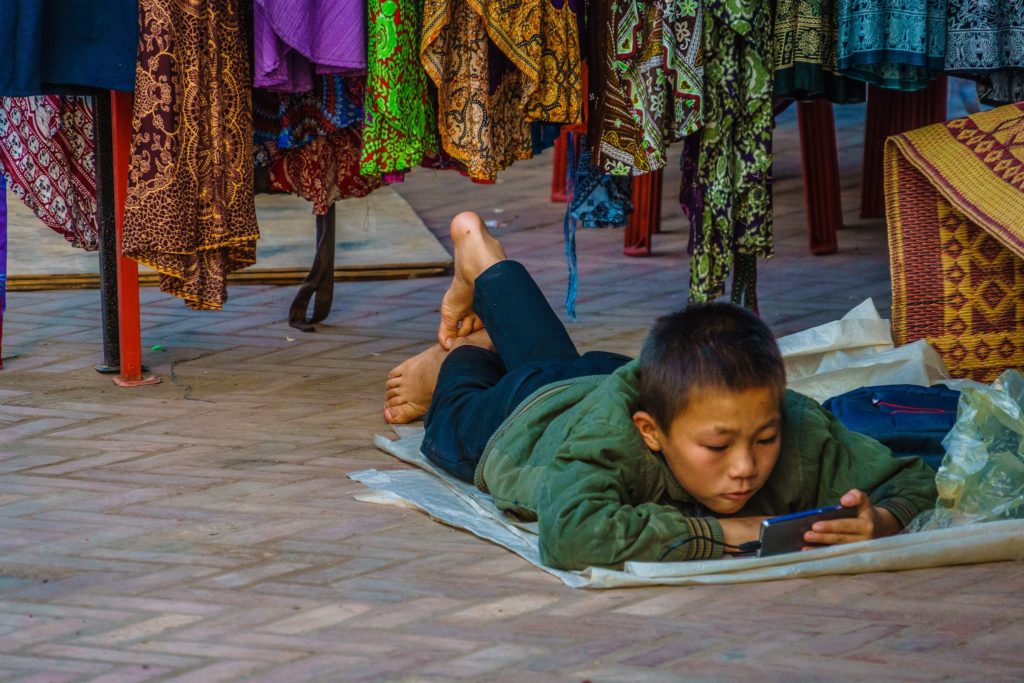
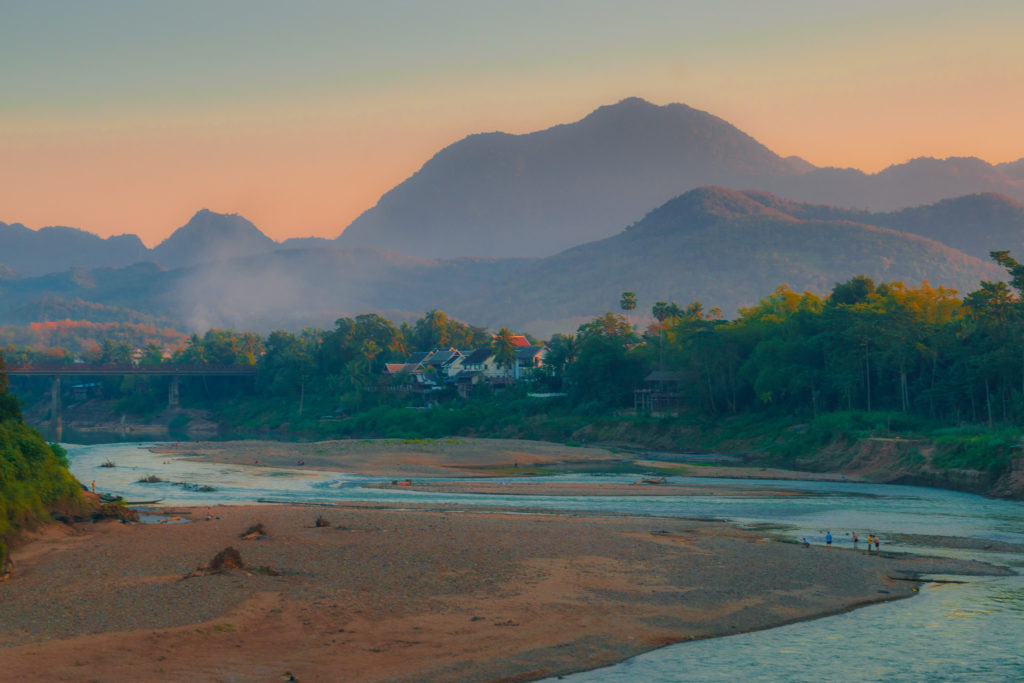
In early February, I spent just a little over 48 hours in the adorable town of Luang Prabang, Laos. Luang Prabang was the last stop on my two-week Asia adventure, which included Bhutan and Bangkok. Before visiting, I read quite a few blogs with varied opinions on Luang Prabang, ranging from “omg, it’s the cutest town ever” to “it’s tourist hell.”

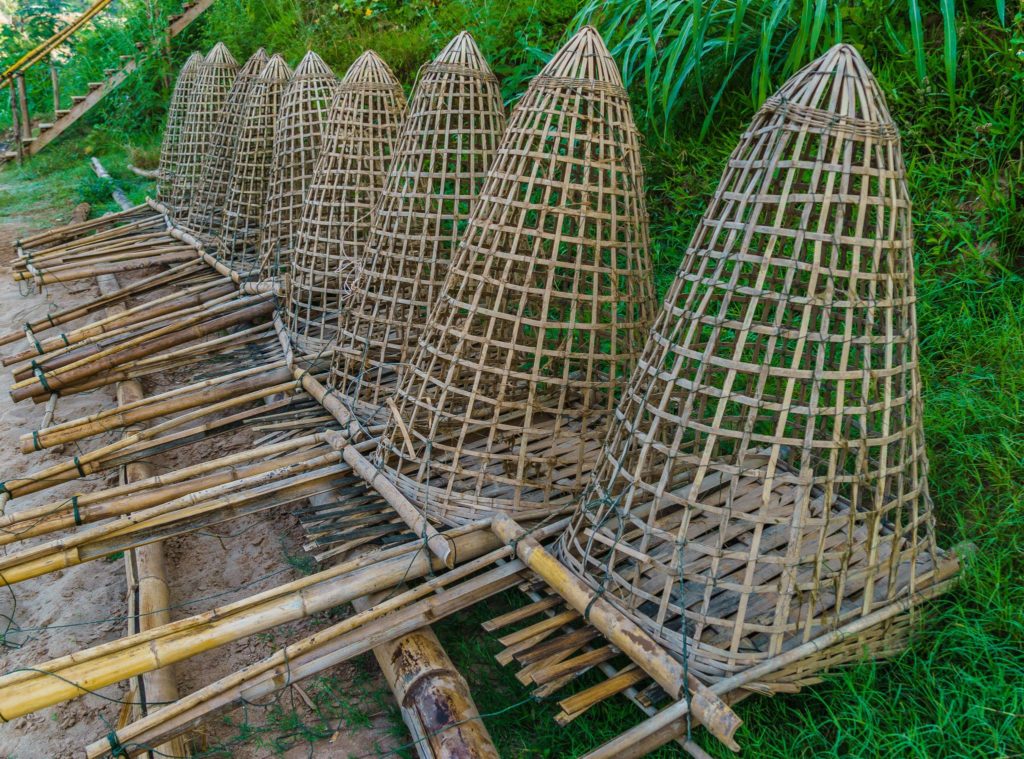
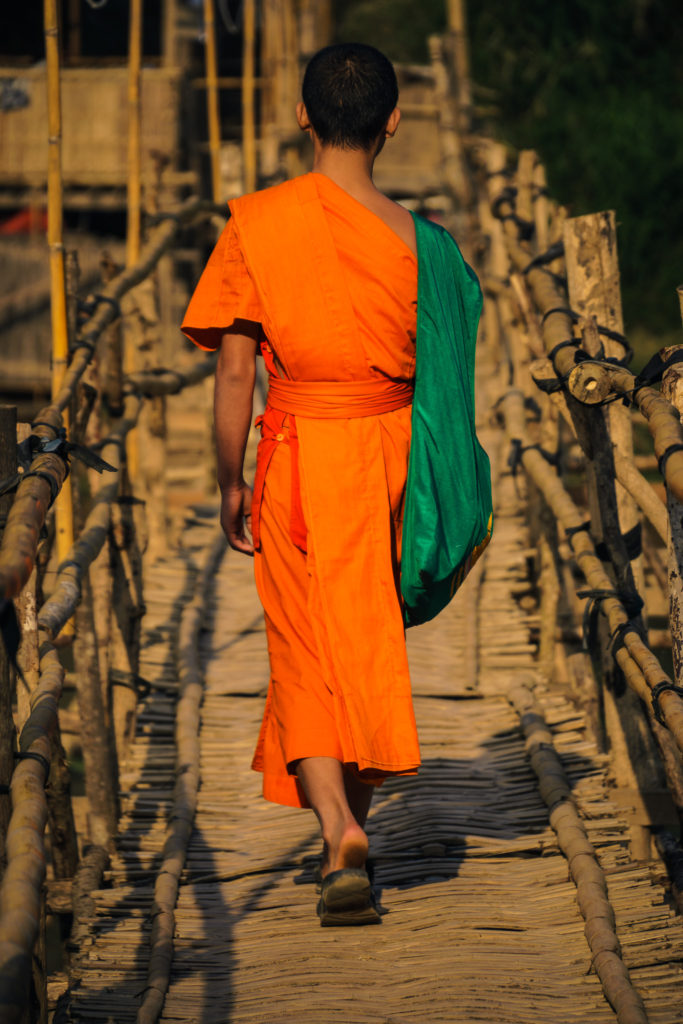
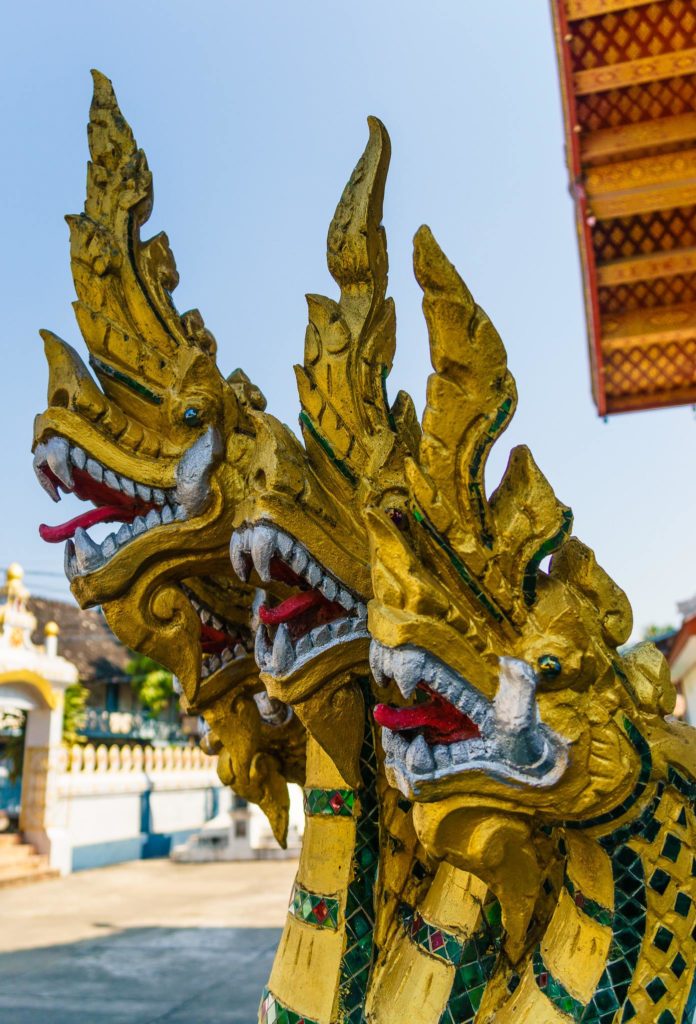
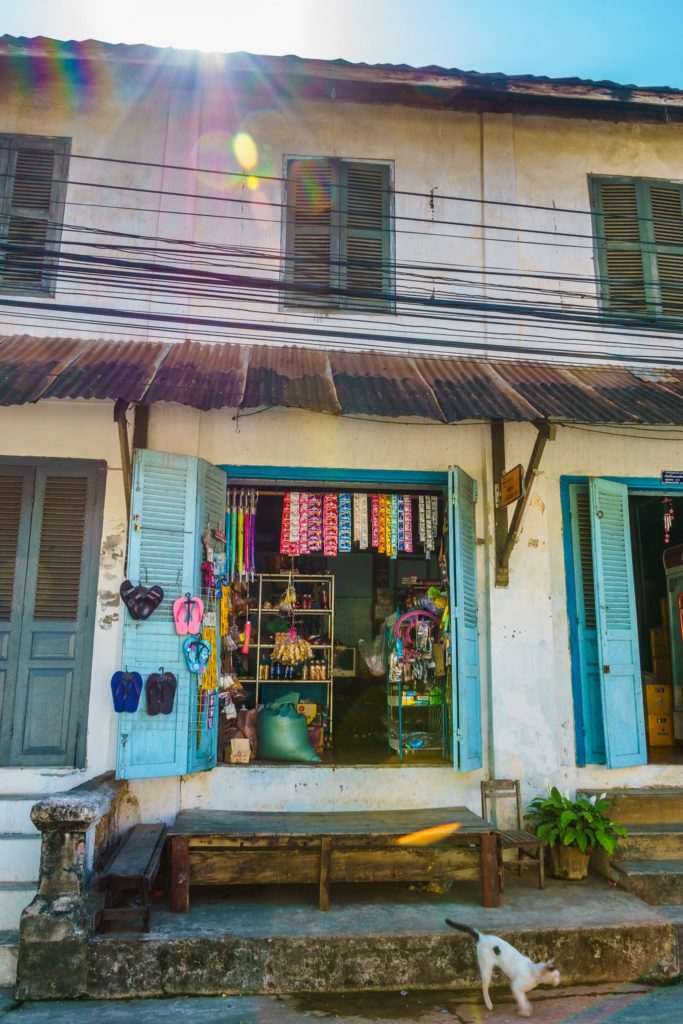
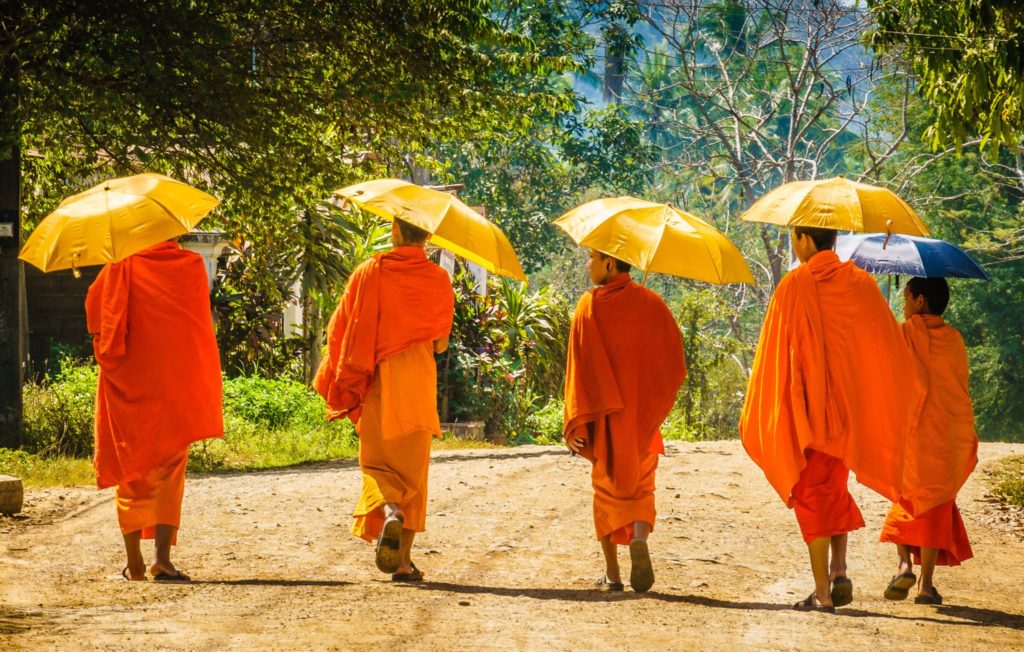
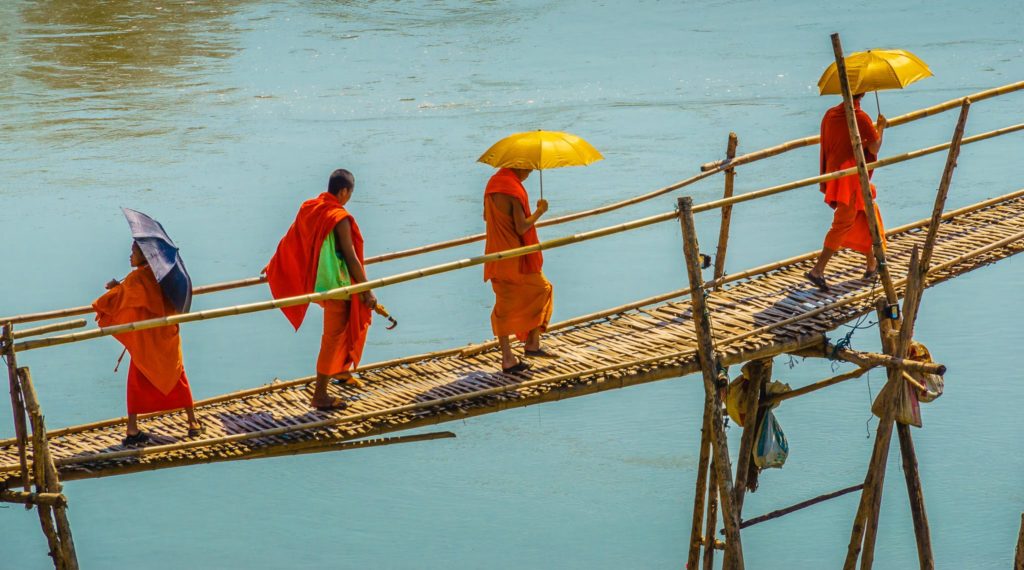
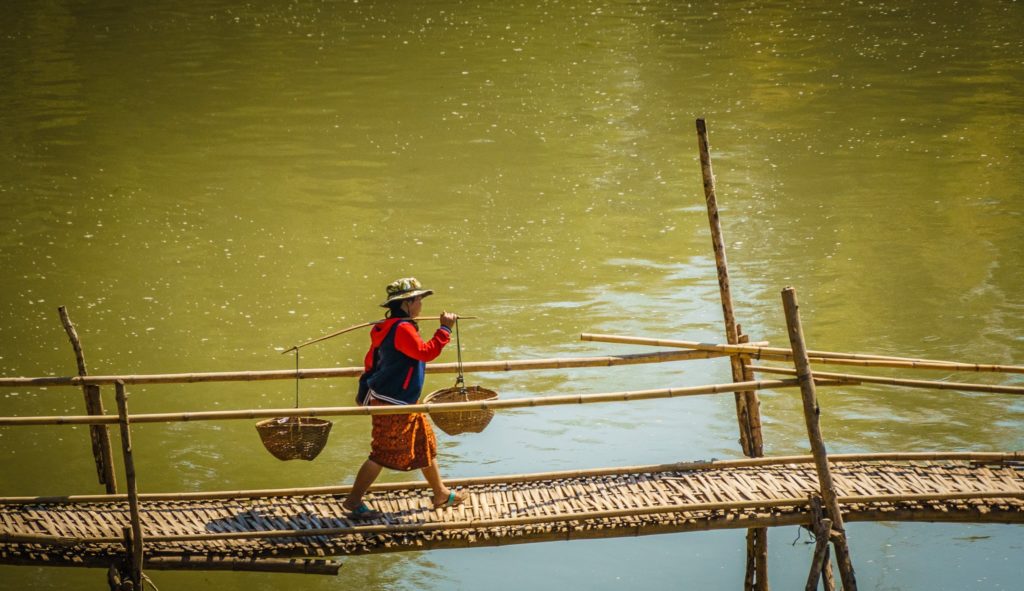
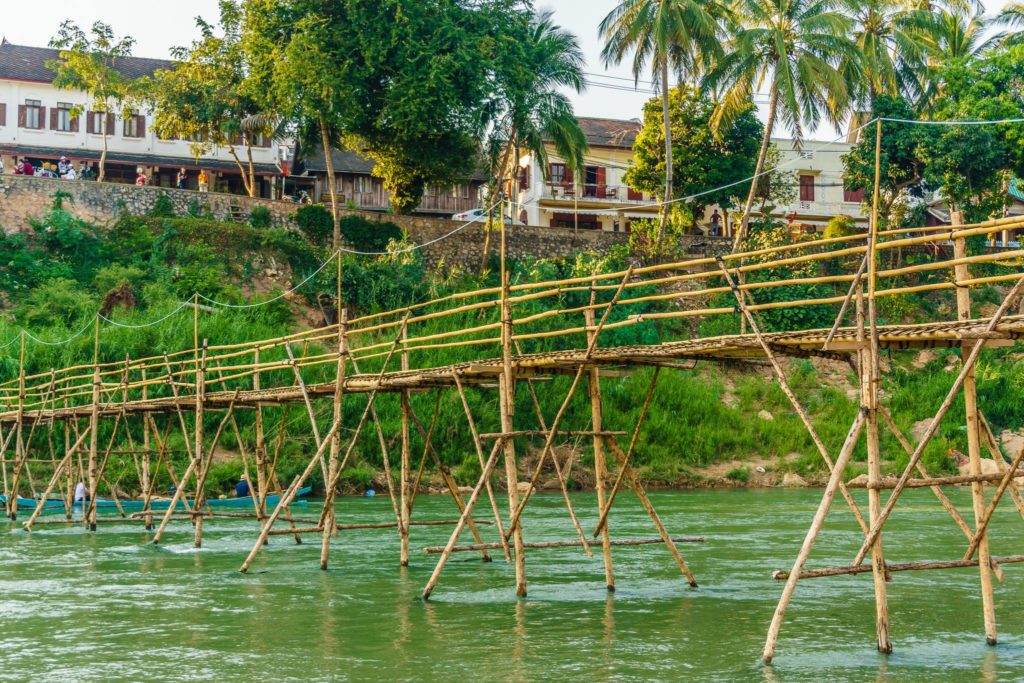
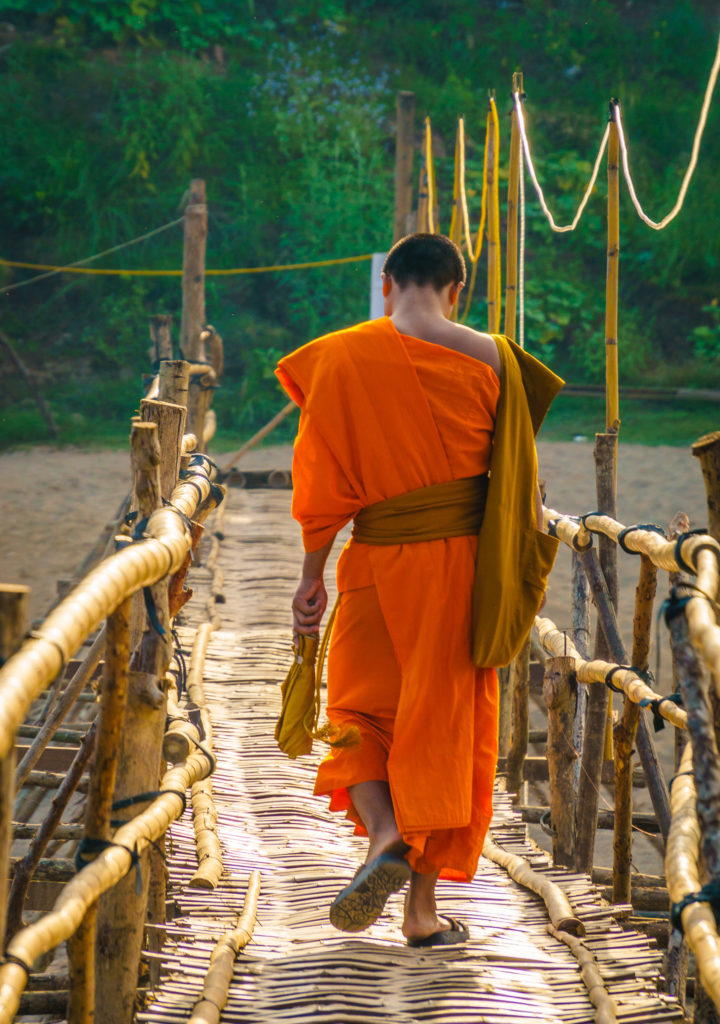
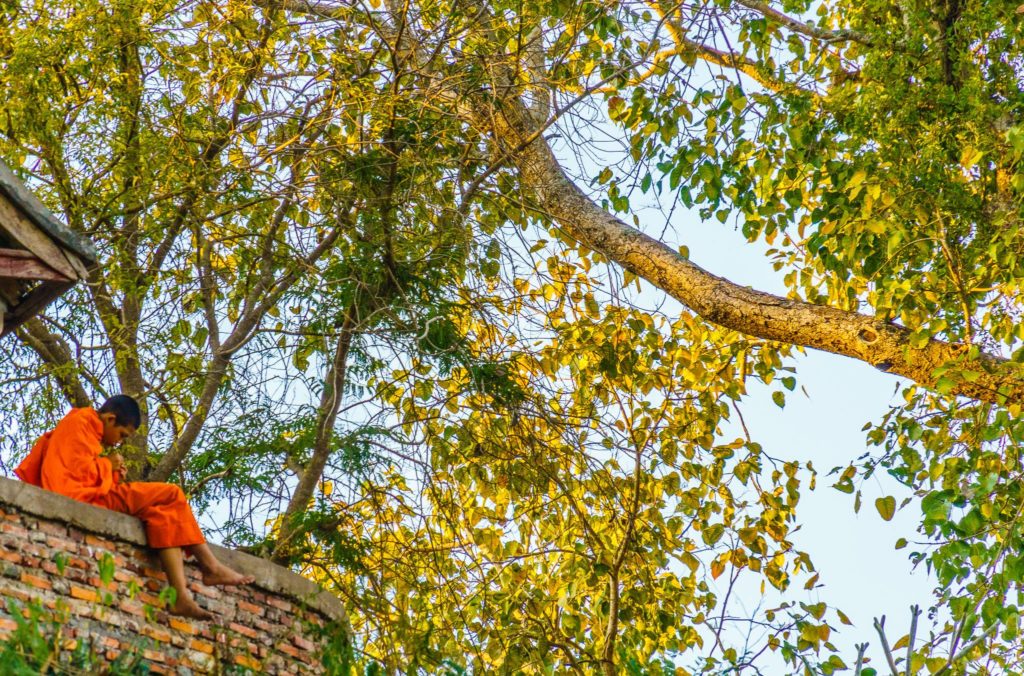
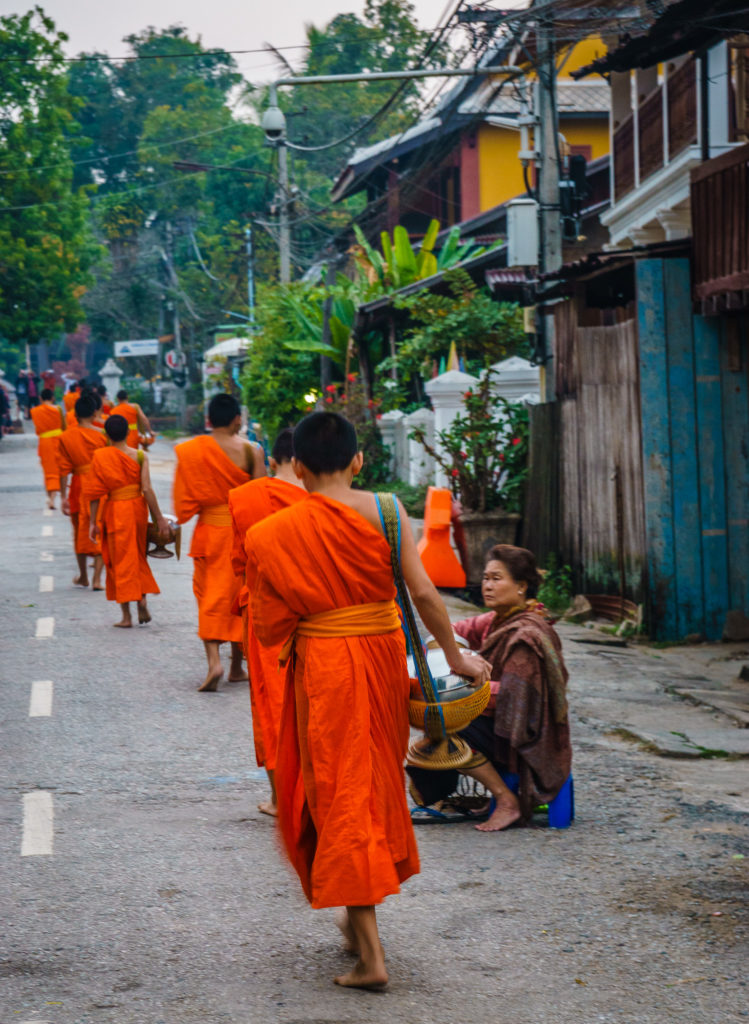
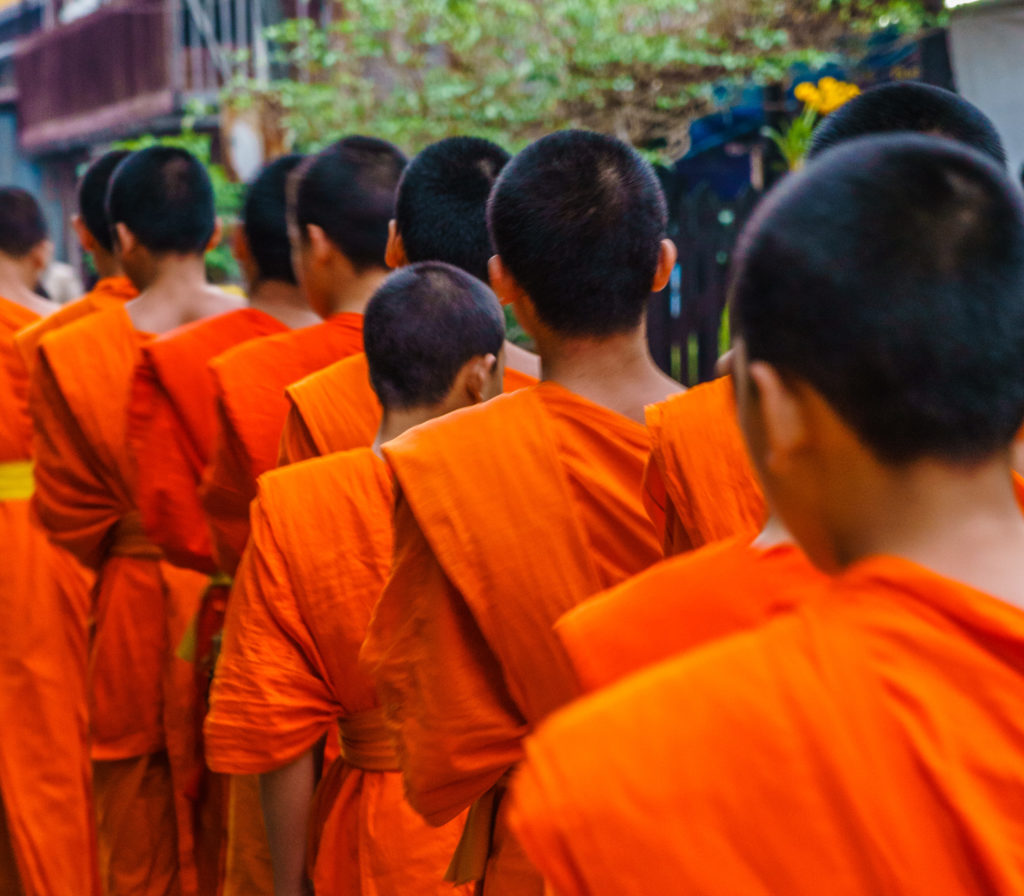
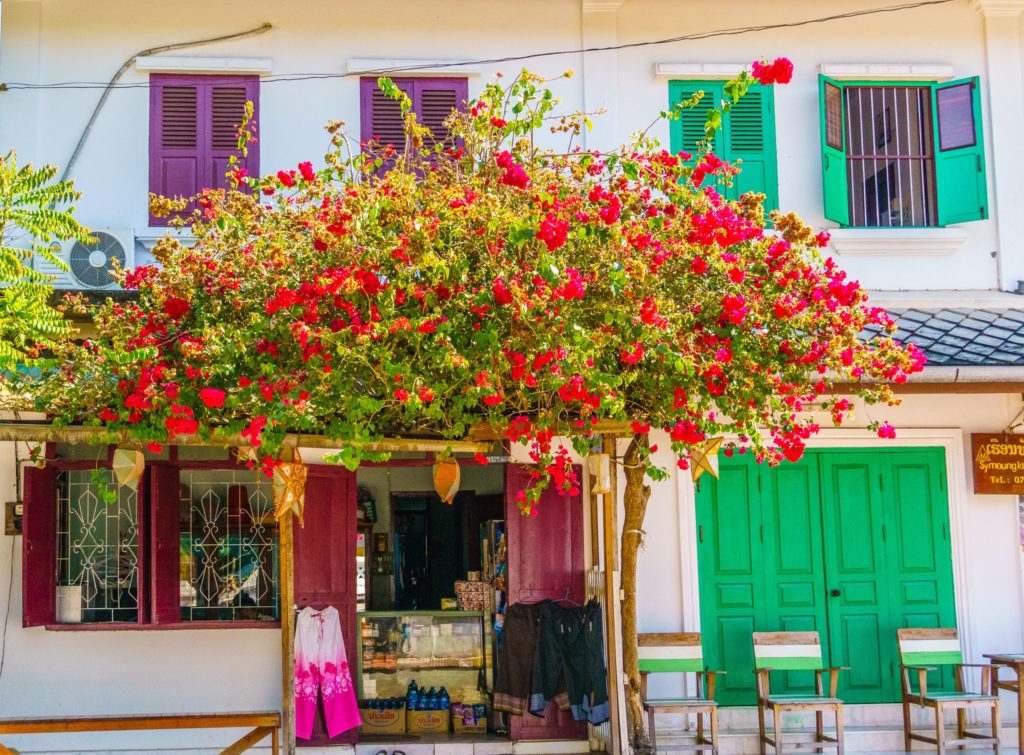
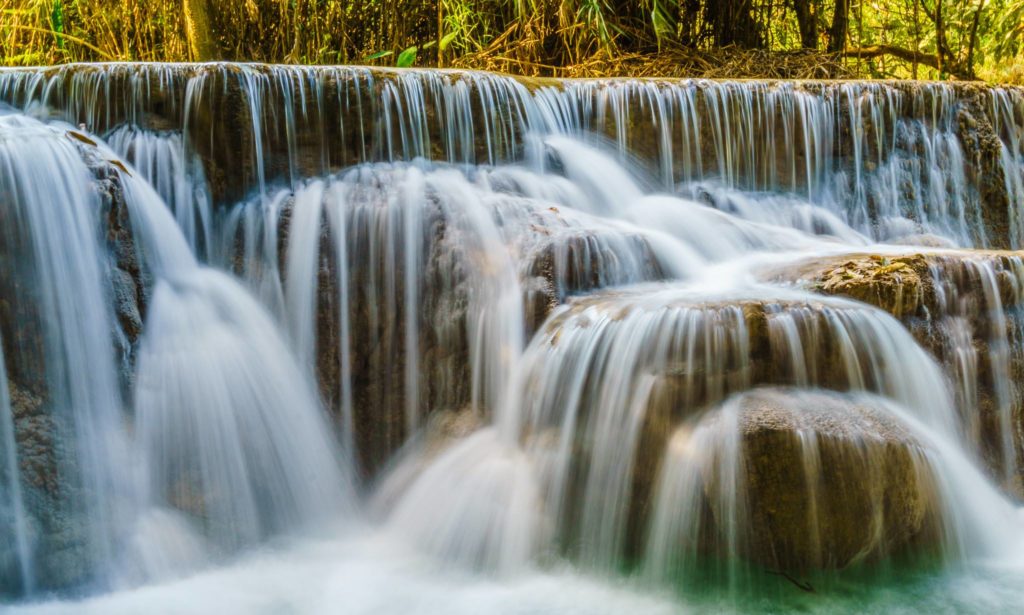
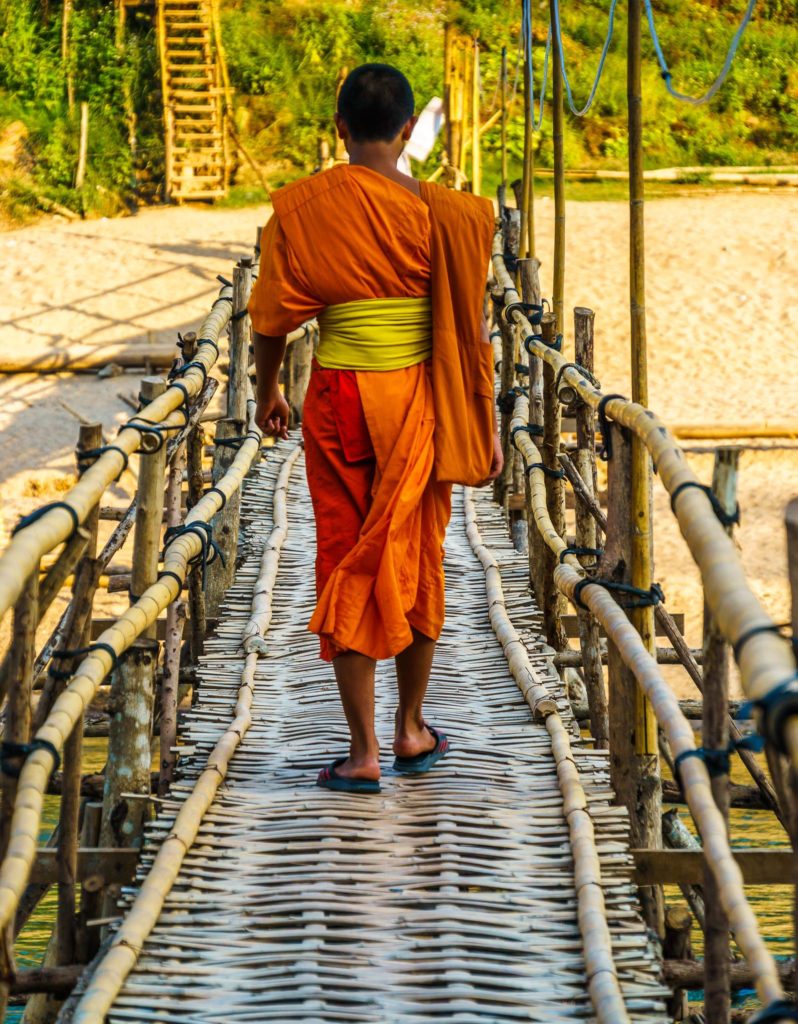
I’m happy to report that I loved my time in Luang Prabang and wish I had a couple more days to spend here. Yes, it’s a small town and you can see most of the attractions in a couple of days. However, the entire town has a chill, laid-back vibe and you’ll definitely want to slow down here. From watching monks cross the bamboo bridge to the luxurious spas, there’s plenty here to occupy your time.

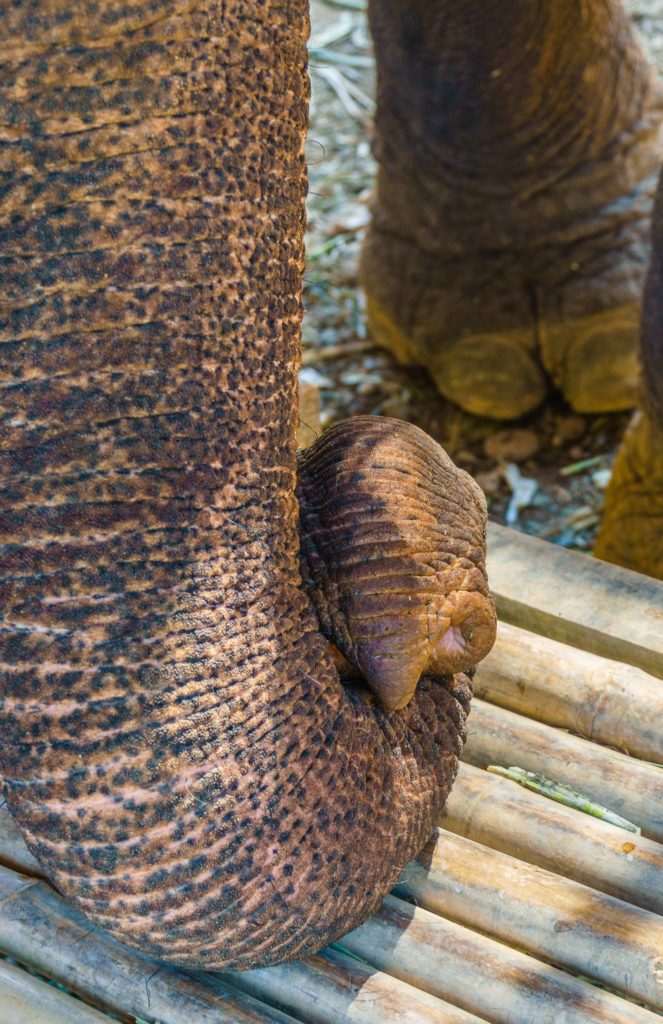
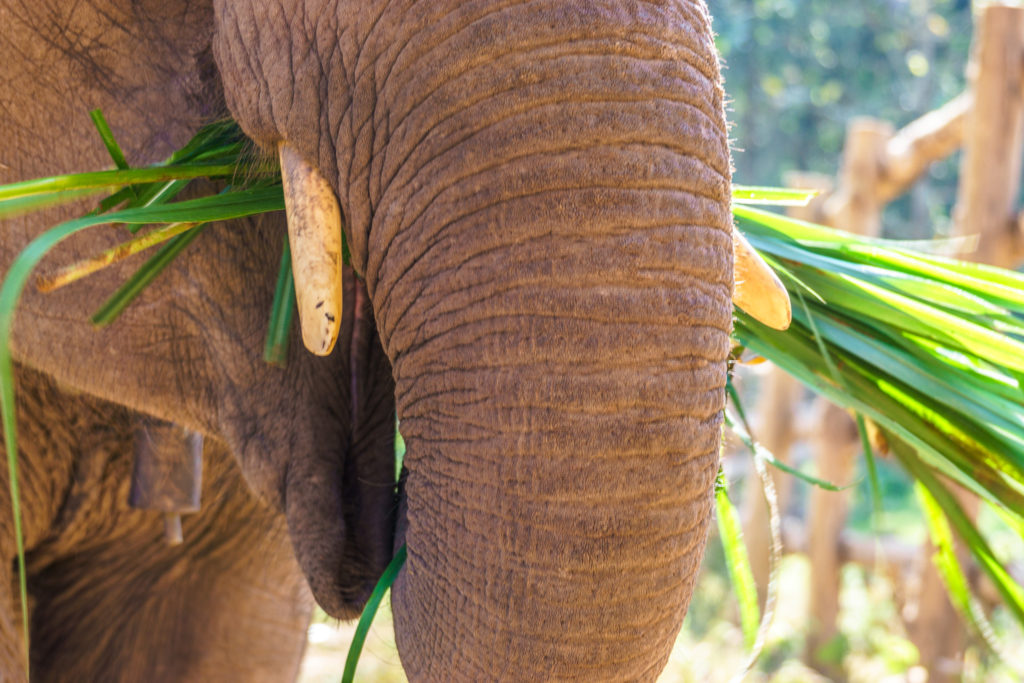
I’ll be writing an itinerary guide shortly, but in the meantime, here are some photos that will make you want to book at trip to Luang Prabang ASAP.

The 51 number of photos that will make you want to visit


Like this post? Please Pin It!
51 Photos That Will Make You Want to Visit Luang, Prabang, Laos, Immediately

51 Photos That Will Make You Want to Visit Luang, Prabang, Laos, Immediately