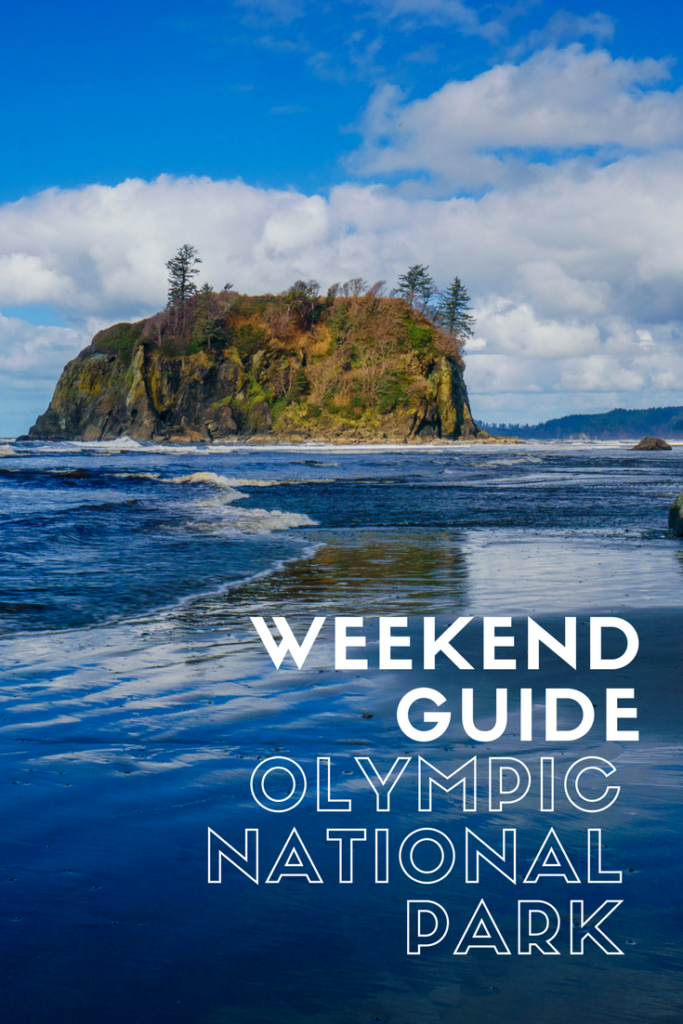
Olympic National Park: A Weekend Road Trip

How to spend 48 hours in Olympic National Park, Washington, USA

As I mentioned in a previous post, I spent last weekend hiking and photographing the wild, rugged beauty of Olympic National Park. If you want recommendations on what to see and where to stay, I highly recommend checking it out. In this post, I’m going to give you a general idea of how I spent my weekend.

You can spend several days exploring Olympic National Park and not get bored but since I’m a weekend warrior and I don’t live that far away, I decided to make a quick weekend visit.
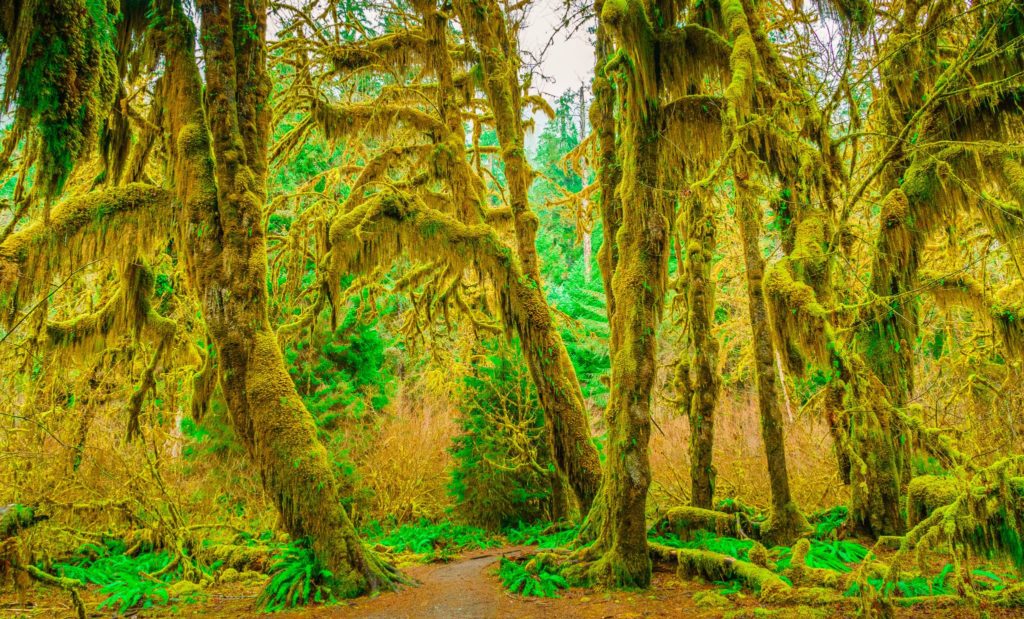
Hoh Rain Forest, Olympic National Park

I was thinking about heading to the park for a solo adventure but decided to invite along my friend, Robyn, since she’s also into hiking and photography. If I know in advance that I want to set aside dedicated amounts of time to shoot a particular scene, it can be a pain in the ass to travel with friends who aren’t into photography. I totally get it. There are only so many hours you can spend staring at the same damn tree. For the record, we spent at least an a hour and a half photographing a single tree (it was a really old, beautiful tree but still. Most people don’t want to deal with that).

As I go through this itinerary, keep in mind that a lot of time was spent at each destination looking for the best spot to set up our tripods, actually taking the photo, etc. If you just want to hike and take a couple of snaps with your camera phone, you can certainly move faster than this.

Friday: Day 1

We left the Seattle area around 2 pm on a Friday so naturally, we got stuck in hellish traffic. On a normal day without traffic, it takes around 3 hours to drive from Seattle to Kalaloch Lodge on the southwestern end of Olympic National Park. Since the Seattle area has major traffic jams almost all the time and it was raining (you’d think we would know how to drive in the rain by now), it took closer to 4 and a half hours to get there.

I recommend either leaving the Seattle area when it’s not rush hour. Or bring a friend with you so that you can at least use the carpool lane. Hmm, maybe that’s the real reason that I invited Robyn along after all.

Once you drive past Olympia and you turn off towards the 101, you’re pretty much in the middle of nowhere. There are still plenty of gas stations so you don’t need to worry about that.

We stopped for gas in a tiny town called McCleary, a town of around 1,600 residents and home to the famous McCleary Bear Festival. When we saw the sign about the festival, we were thinking that it would be a cute festival to celebrate bears. Who doesn’t like bears? Robyn decided to research the bear festival in more detail and sadly, it appears there is some bear-eating involved. A detail that we wish we didn’t know.

We finally arrived at the Kalaloch Lodge around 7pm and checked into our room. The dining room at Kalaloch closes at 8pm so we decided to eat dinner right away. I had a pretty tasty hamburger with french fries and Robyn had a chicken burger. If you’re into more upscale dishes, like scallops in a lemon cream sauce, they definitely have that too. If you don’t arrive before the dining room closes, you’re on your own since the lodge is remote and there aren’t any restaurants nearby.
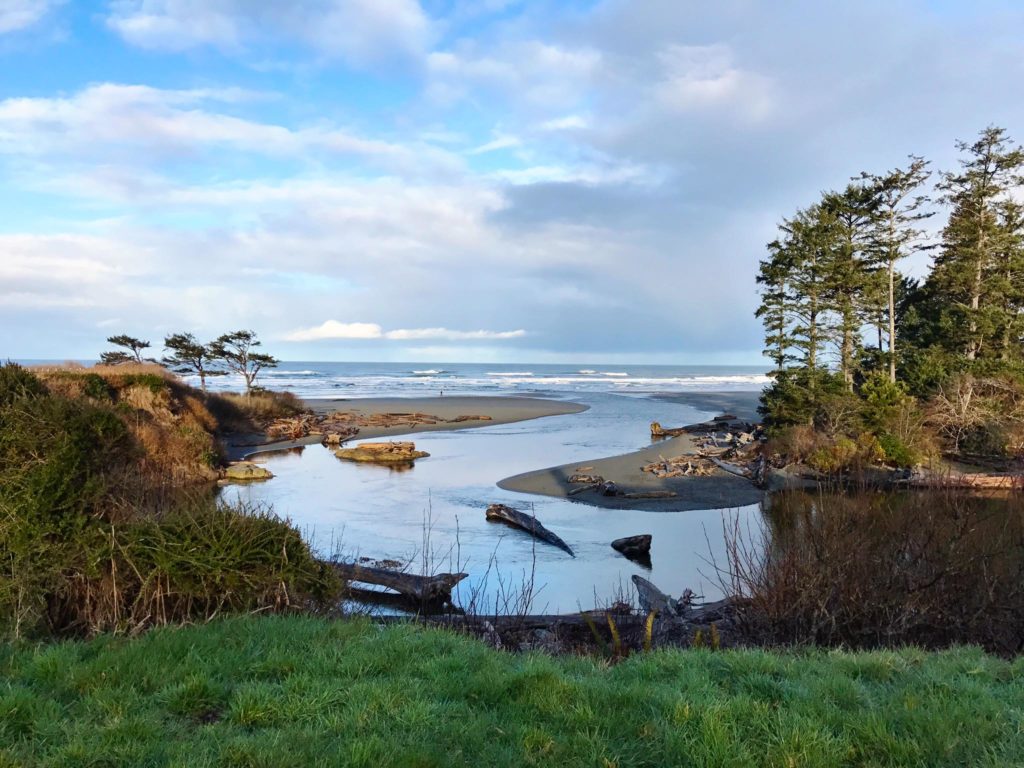
The view from Kalaloch Lodge in Olympic National Park

We didn’t really do anything on Friday night since it was dark by the time we were done eating and still pouring outside.

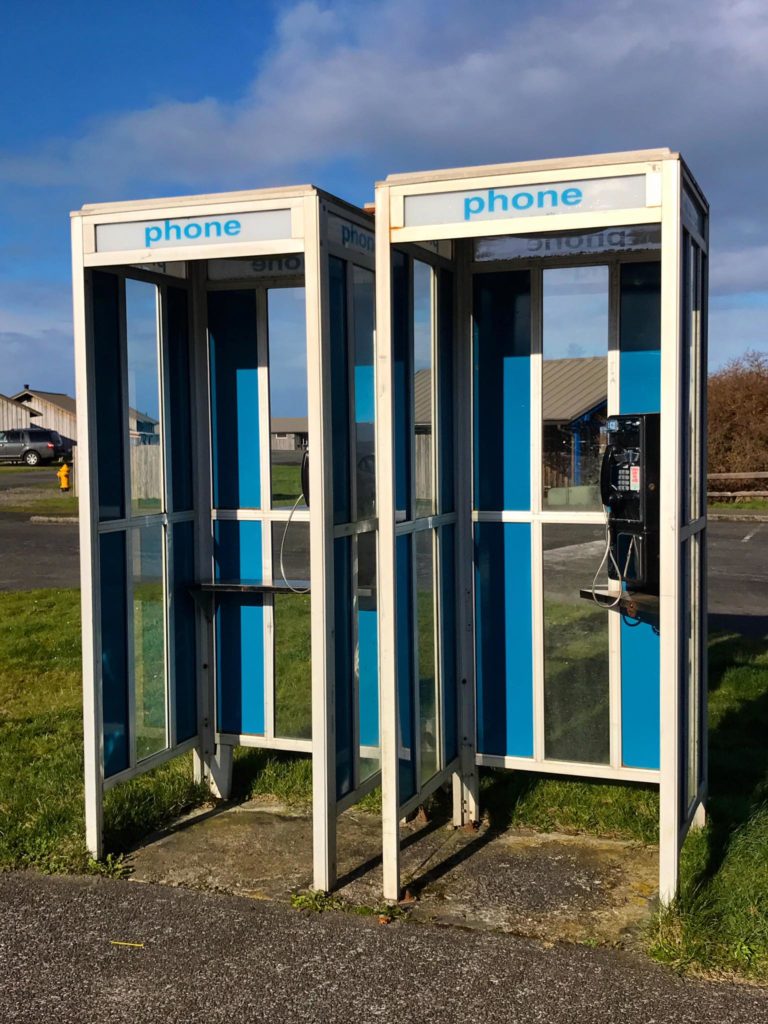
One thing to note about Kalaloch Lodge is that Internet access is not available, nor are TVs. Cell phone coverage is also very limited so the hotel has payphones outside in case you need to call someone. Who the hell has coins nowadays to make a payphone call, anyway?

%CODE3%

Saturday: Day 3

On Saturday, we woke up to light rain, which was a huge improvement over the downpour from the previous night, especially since we would be spending the day outside with our camera gear.

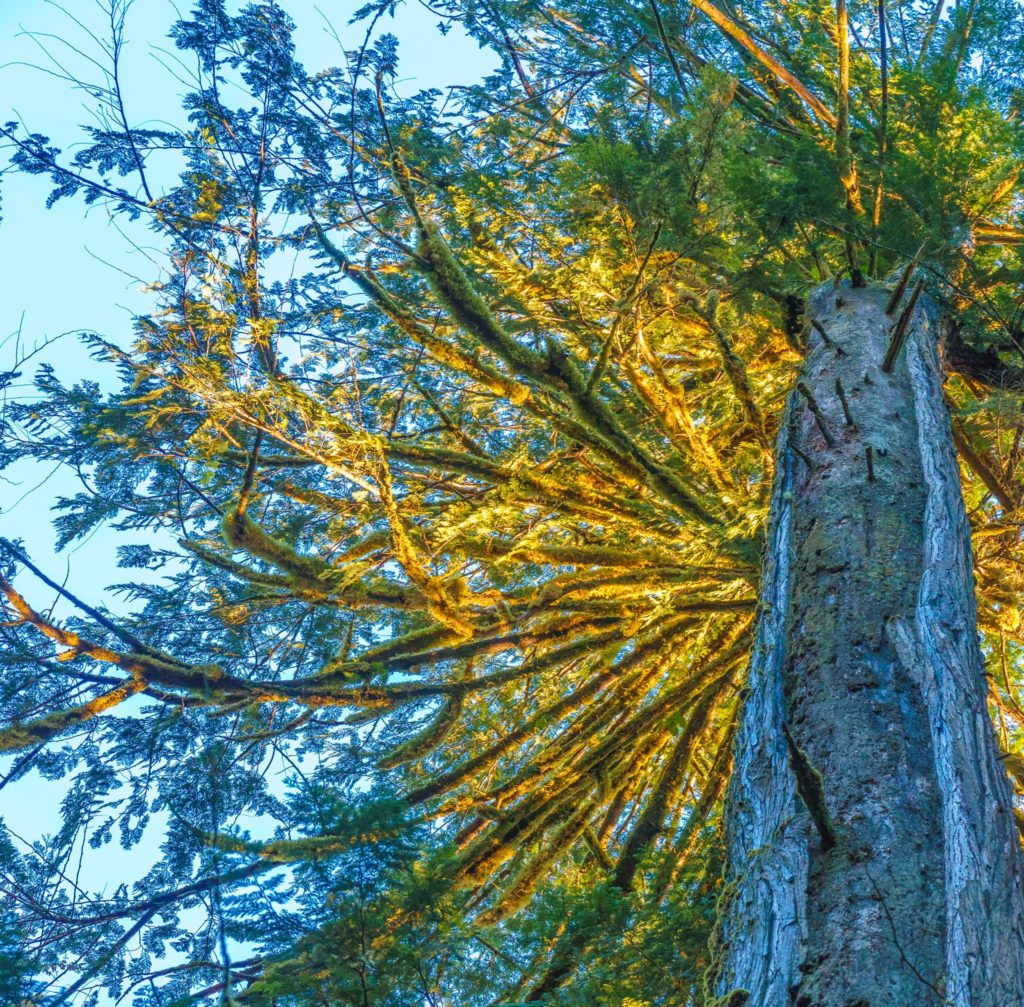
As we headed towards the Hoh Rain Forest on 101-N, we came across a sign for a giant Sitka spruce so pulled off the road to check it out. The tree was located right next to the parking lot and for the next hour and a half, we spent our time taking photos of the impressive tree. If you’re not a photography nut, your visit will probably be no more than 10 minutes. I don’t have exact coordinates for the trip but there was a well-marked sign off 101-N heading towards Hoh Rain Forest.

After spending some quality time with the tree, we turned north again and headed to Ruby Beach.

One of the nicest features of Ruby Beach is that it’s a 1/2 mile of hiking roundtrip to get from the parking lot down to the beach, making it accessible for kids and those with mobility issues. The beaches in Olympic Park aren’t for sunbathing. Think tidepools filled with ocean critters, awesome sunsets and wildlife spotting (eagles, otters, whales).
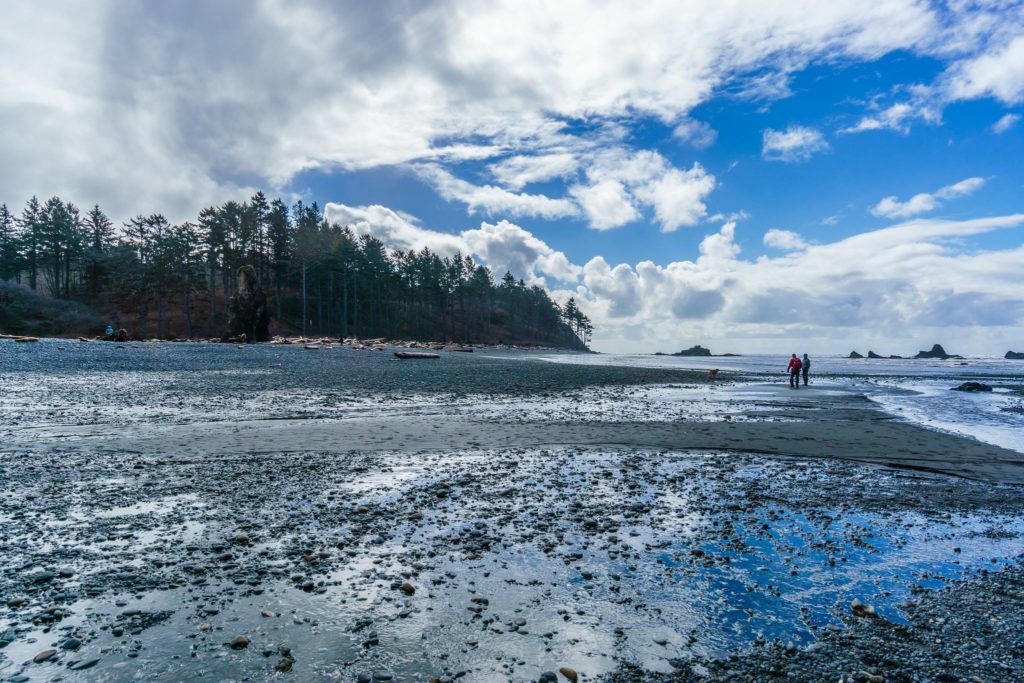
Ruby Beach at Olympic National Park

We were thrilled to see the sun as we pulled into the parking lot, especially since the weather was in the low 40s. Once we got down to the beach, we set up our tripods and started taking pictures. The weather was insane, with a lot of wind and frequent hail showers, followed by sun, followed by more rain and hail showers. Not the most camera-friendly weather but we made it work.
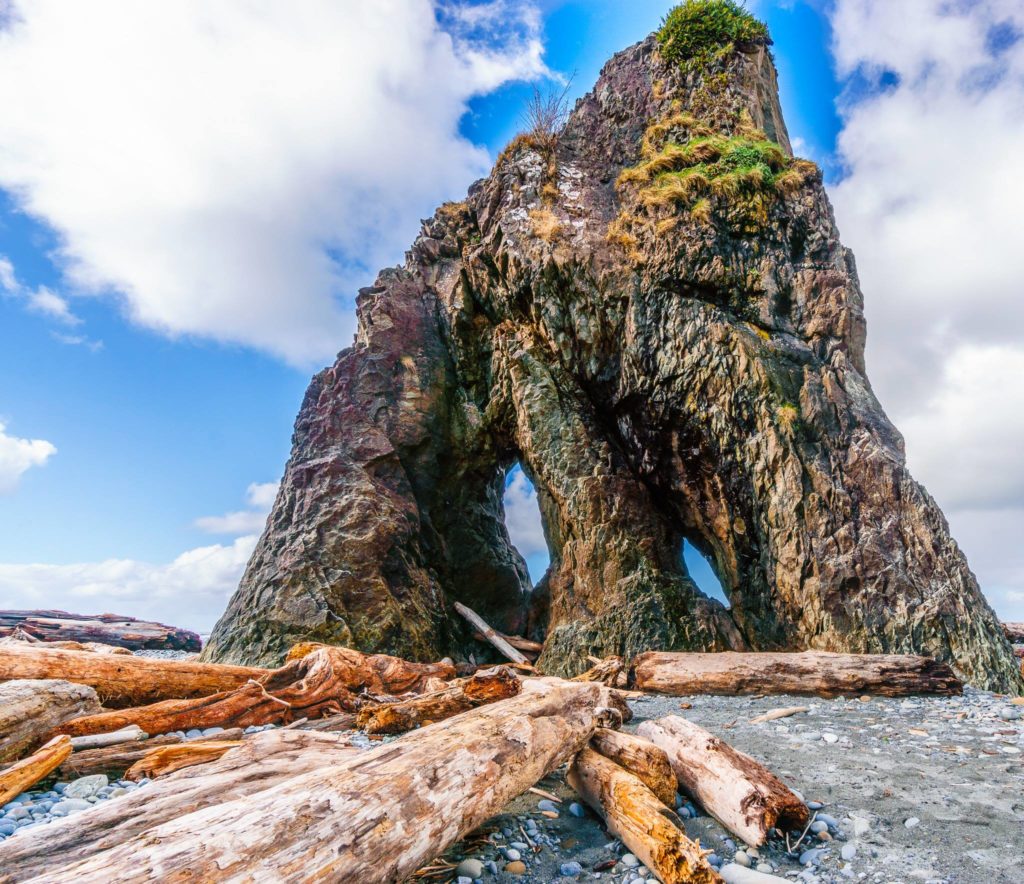
Ruby Beach at Olympic National Park

Make sure you pay attention to the tide when you’re at Ruby Beach, especially if you’re interested in exploring the tide pools. We were there as the tide was coming in. I made the mistake of not paying close attention to the tide and ended up with boots full of freezing ocean water. Let’s just say that it’s not an experience that I wish to repeat.
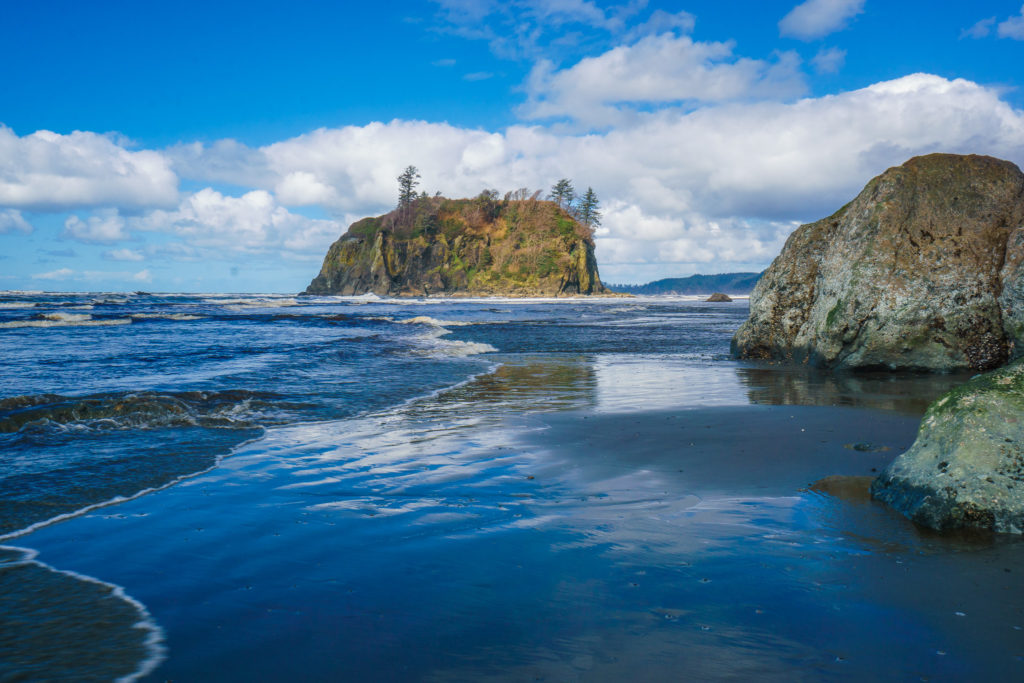
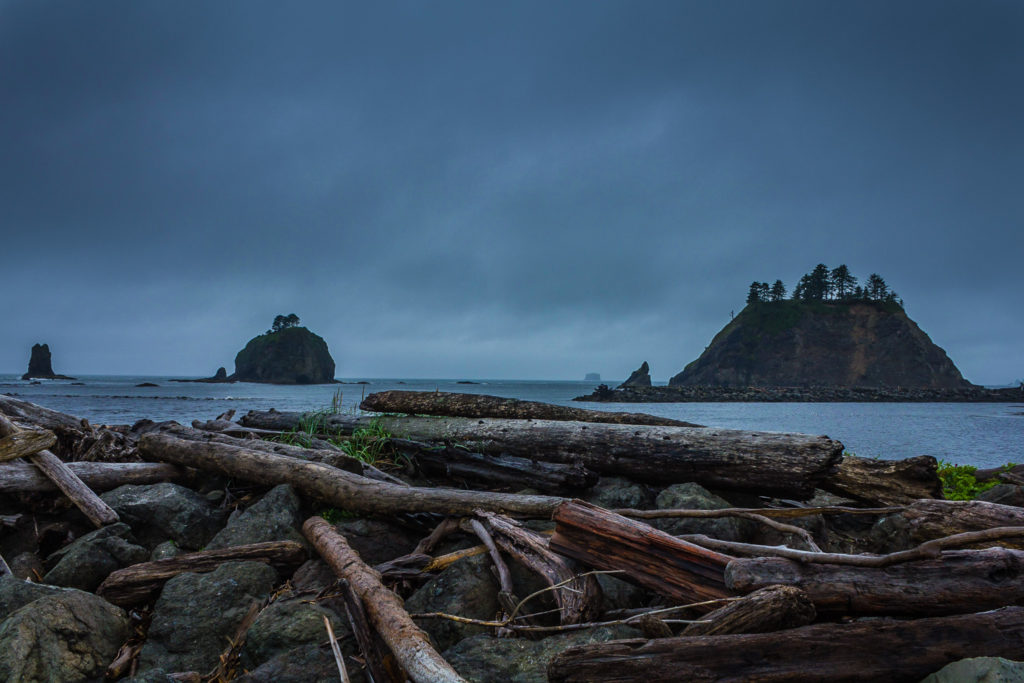
Ruby Beach Olympic National Park

If you’re a photographer, the ideal time to be at Ruby Beach is sunset but since we had limited time, we spent our sunset time at Lake Quinault.

Ruby Beach is also pretty close to Kalaloch Lodge (around 10 minutes) so I almost went back to grab a change of socks. I didn’t want to waste time driving back to the hotel so we proceeded to Hoh Rain Forest, wet socks and all.

Driving to the Hoh Rain Forest from Ruby Beach took around an hour. There’s a well-marked sign leading visitors to the Hoh Rain Forest Visitors Center. Once you turn off 101, you’ll drive for 12 miles before arriving at the Visitor’s Center. On the way, you’ll pass an adventure store, which sells hiking gear as well as a tiny coffee shop.

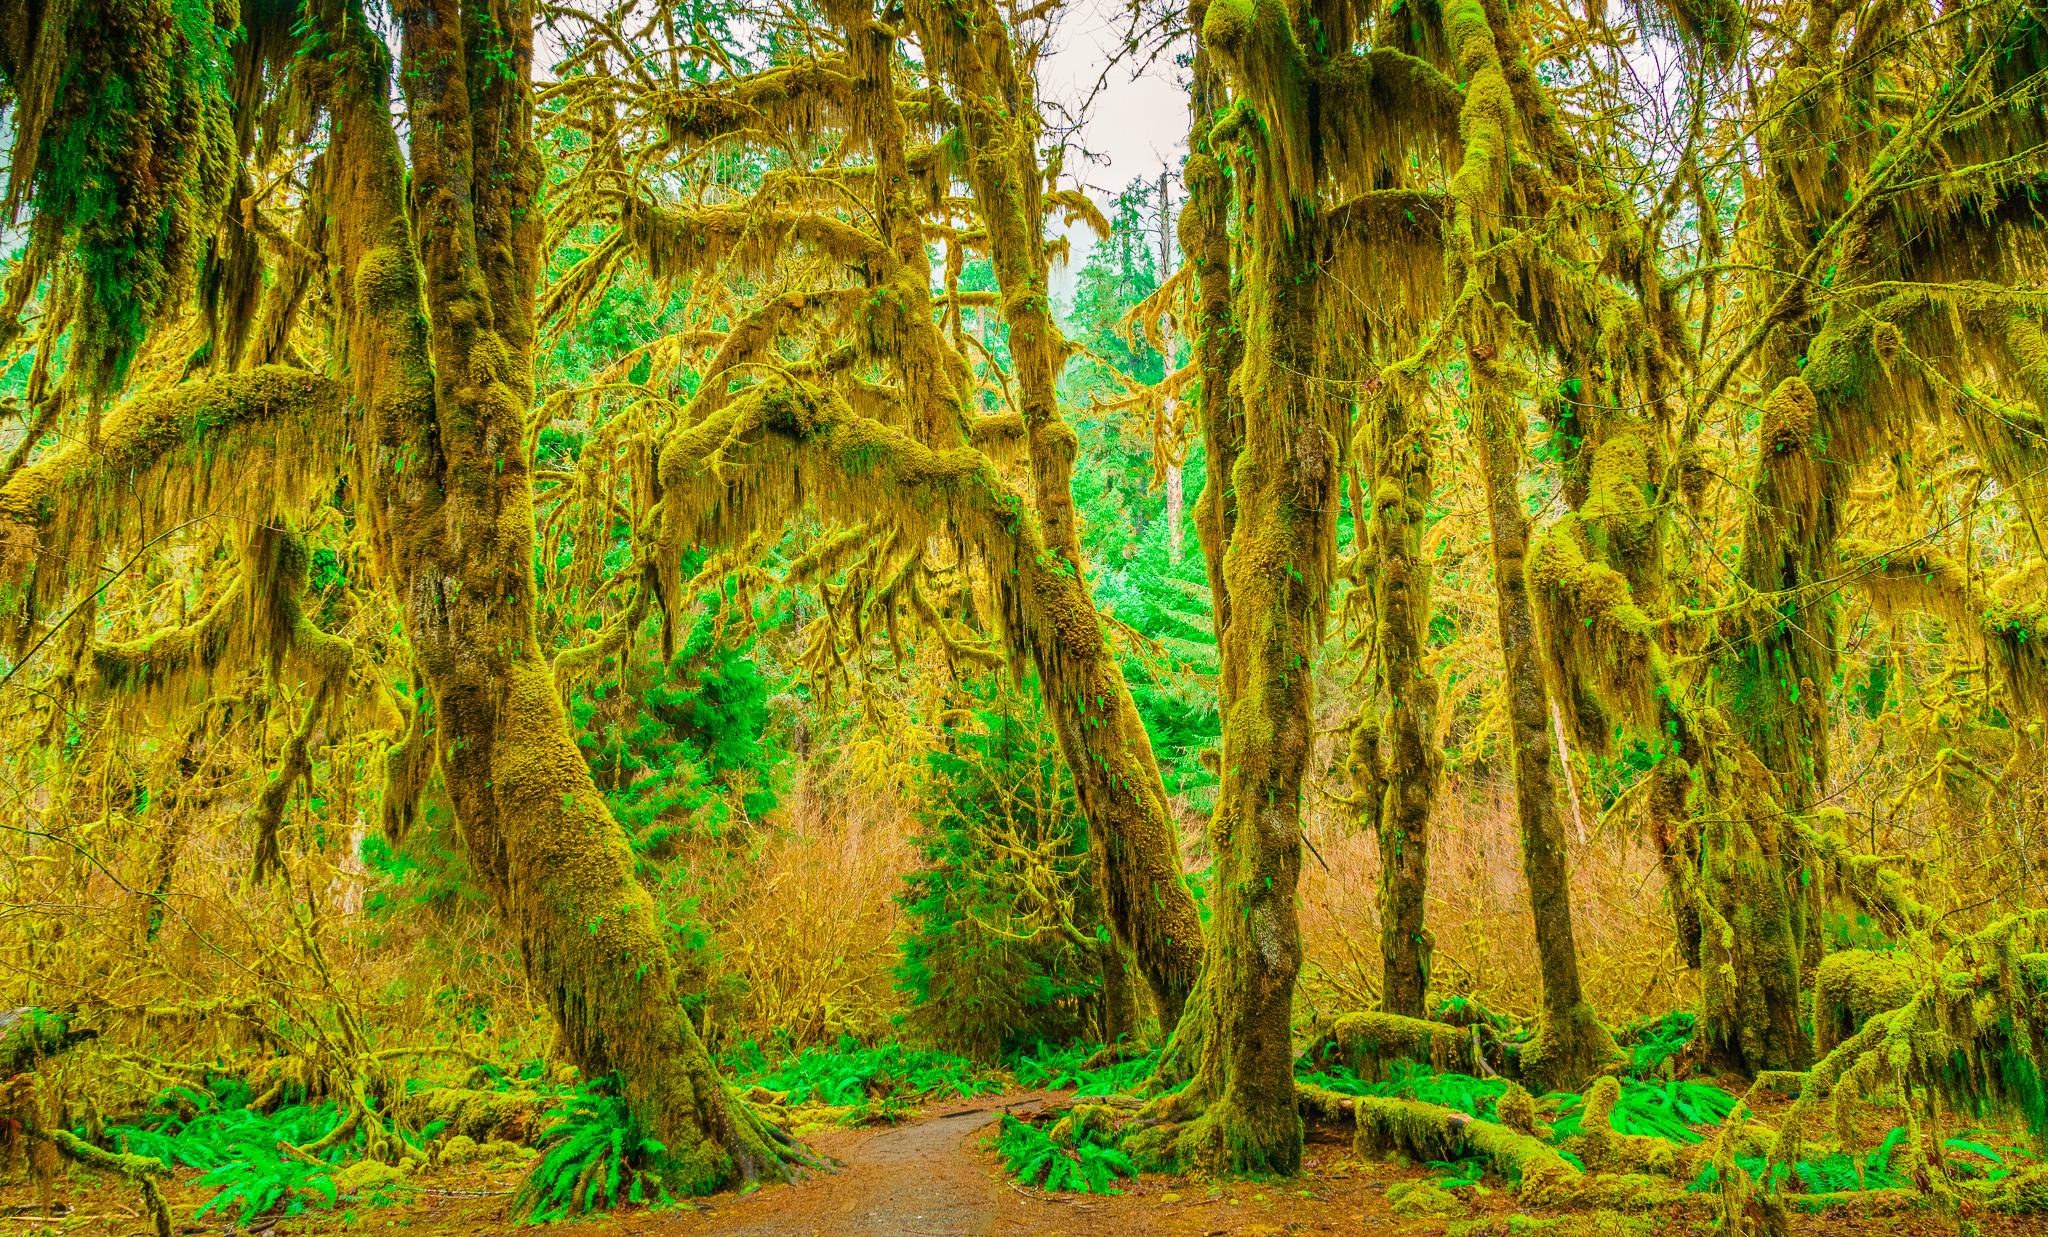
Hoh Rain Forest, Olympic National Park

Once we arrived, we headed straight for the Hall of Mosses Trail, which is an easy hike at only 0.8 miles roundtrip. There are a couple of additional hiking trails in the area, such as the Hoh River Trail (17.3 miles) and the Spruce Nature Trail (1.2 miles). We stuck to the Hall of Mosses trail since there are plenty of gorgeous and moss-y areas to photograph.
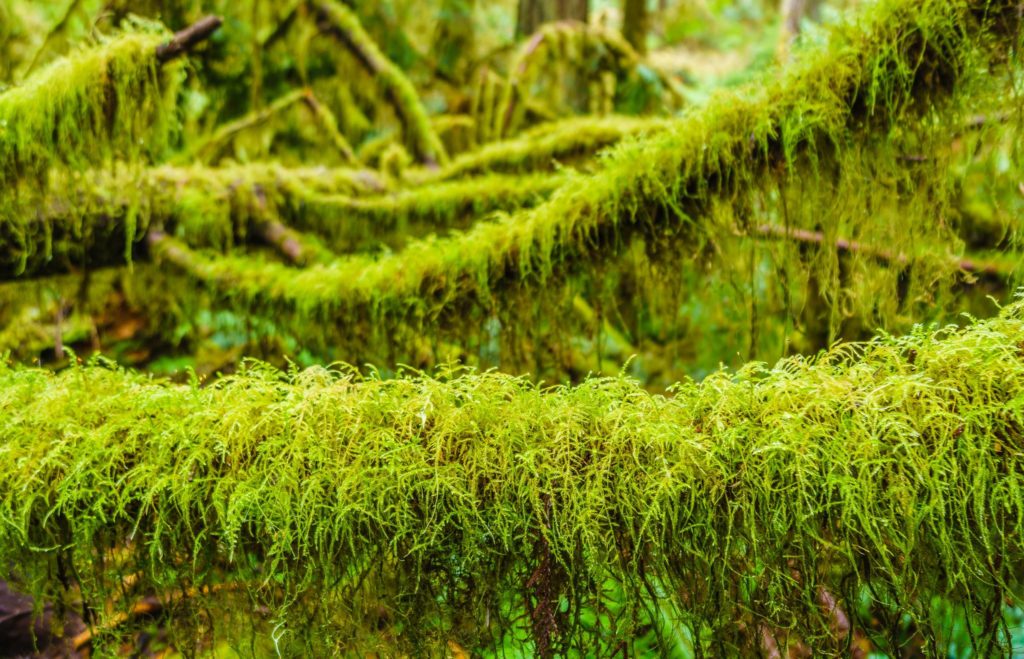
And as the name implies, Hoh Rain Forest is pretty wet most of the year so you’ll need to wear appropriate rain gear. The area typically gets 12 to 14 feet of precipitation each year, resulting in a lush, green canopy of moss and trees. It was actually a little difficult to photograph this area due to the constantly changing weather conditions. Within a 10-minute span, we went from overcast to sunny to hail storm.
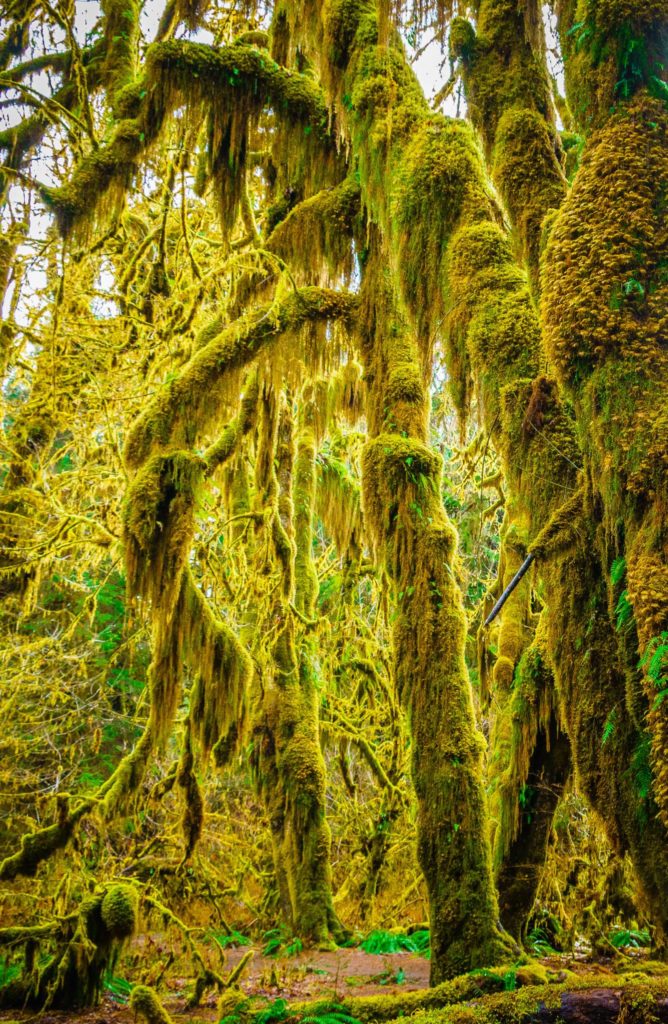
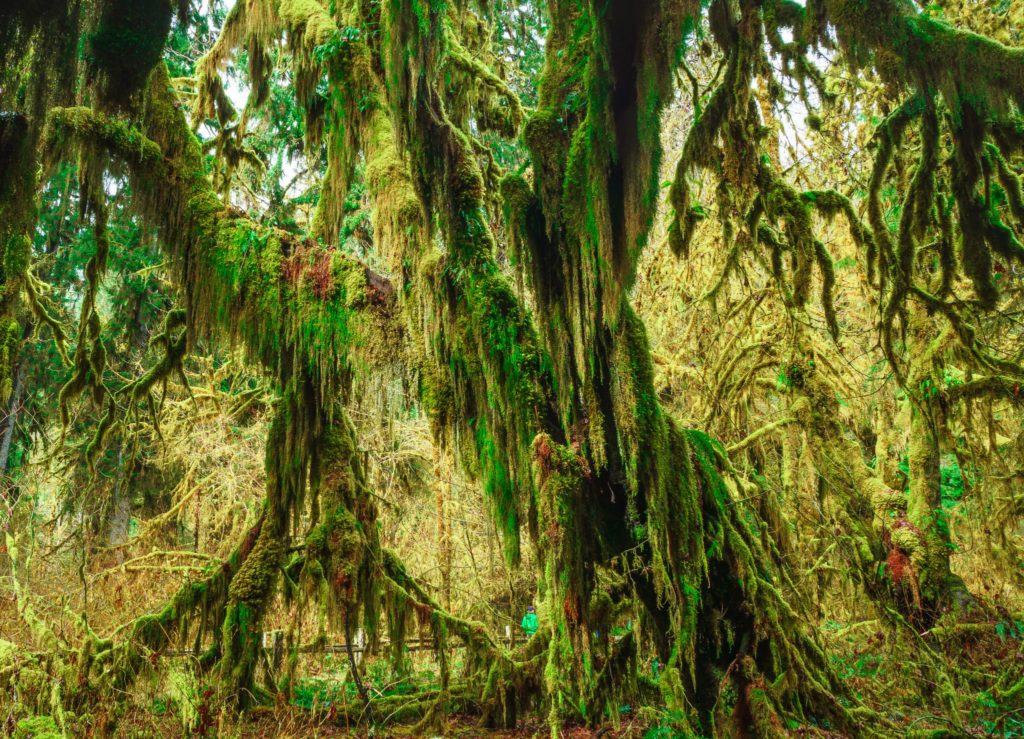
Hall of Moses, Hoh Rain Forest, Olympic National park

After a couple of hours photographing the rain forest, we made our way back to the parking lot. My feet, while not entirely comfortable, were doing ok for the bulk of the hike, until a big hail storm came through at the end at the temperature dropped. My feet turned numb quickly and walking back to the car was a challenge. Thankfully, I was able to purchase new socks at the adventure store about 10 miles away.
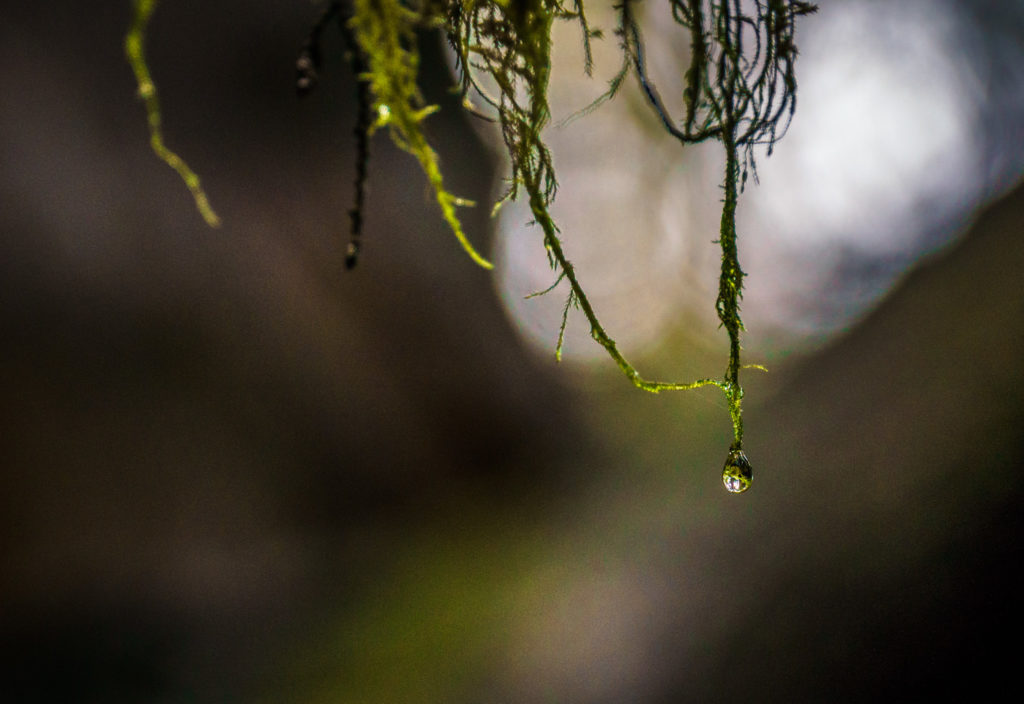
Moss, Olympic National Park

On our way out of the park, we spotted a herd of Roosevelt Elk. The females didn’t mind the fact that we pulled up beside them to take pictures but the males ran away pretty fast.
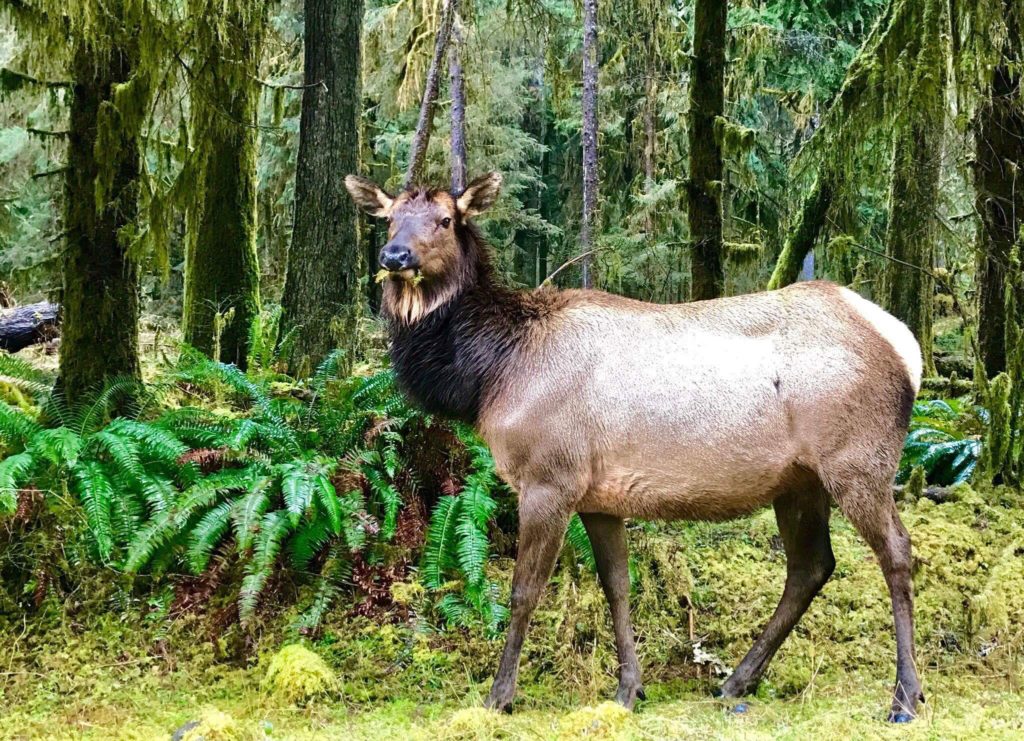
Roosevelt Elk in Olympic National Park

It took us an hour and a half to drive from Hoh Rain Forest down to the Lake Quinault area. Our first stop in the area was to the Rain Forest Nature Trail, where we had a forest of giant trees to ourselves. Once we finished with this hike, we made our way over to the lodge and down to the lake to photograph sunset. It was my first time visiting Lake Quinauilt Loge and from the outside, it’s very quaint. The lodge was built in 1926 and was fashioned after Old Faithful Inn at Yellowstone. President Franklin D. Roosevelt visited the area in 1937 and supposedly liked it so much that he declared the area a national park.
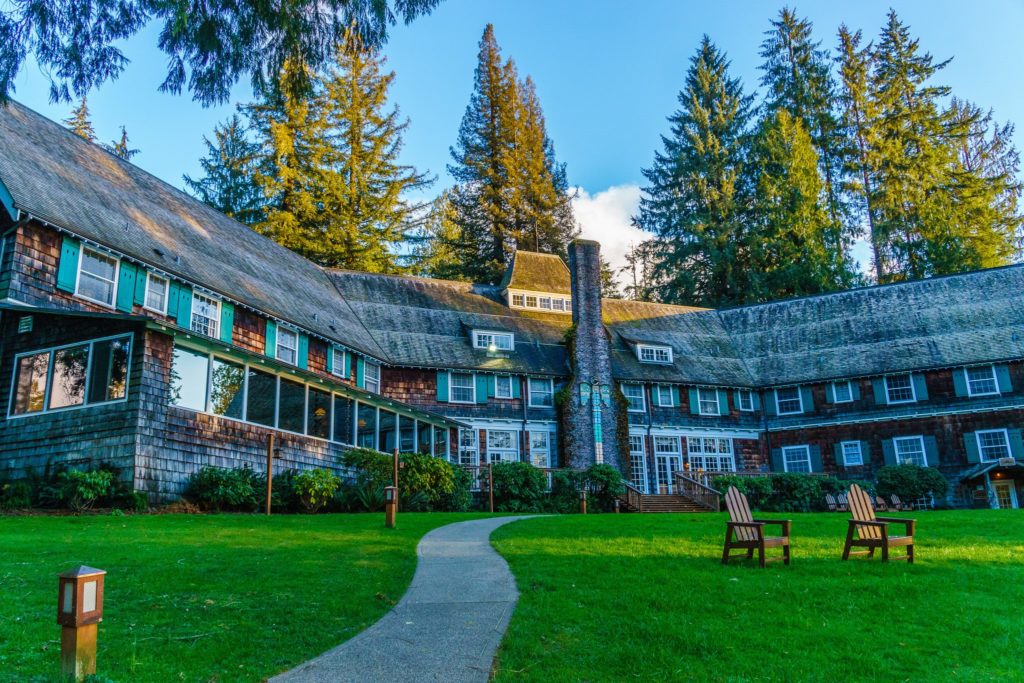
Lake Quinault Lodge, Olympic National Park

We packed up our gear after sunset around 8pm, at which point the restaurants at both Lake Quinauilt Lodge and Kalaloch Lodge were closed. We figured that we might be eating funions and pop tarts for dinner but thankfully, there was a pizza joint in Amanda Park that was still open. After downing a very unhealthy meal of cheese pizza, french fries and a root beer, we made our way back to Kalaloch and discovered that the hotel was fully booked, which kind of surprised me since March is very much off-season.
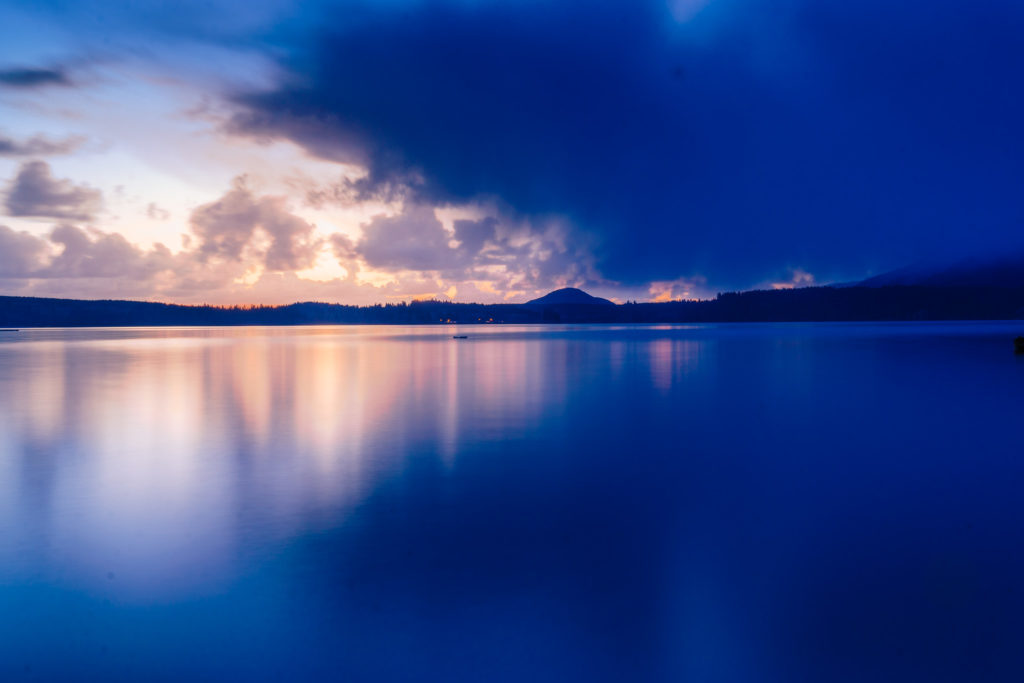
Lake Quinault Sunset: Olympic National Park

Day 3: Sunday

As you can see from the map above, Friday involved a whole lot of driving. We ate breakfast at Kalaloch Lodge (the oatmeal is yummy, btw) and headed north towards Cape Flattery, which is the northwestern most point in the continental U.S. Cape Flattery is located on Makah land so make sure to buy a pass once you arrive in the town of Neah Bay. Once in the town of Neah Bay, you’ll continue on a windy road for another 8 miles to get to the parking lot.

The hike out to Cape Flattery is easy but be aware that it’s pretty muddy. I saw some ladies wearing nice shoes and scarves and I was wondering what they were thinking. There are also elevated boardwalks in portions of the trail and they’re very slippery. I know this because I tried to move over to the side to let some folks pass and I wiped out. I ended up with a bruised butt but my camera was ok. Once you arrive at the Cape Flattery lookout, there’s not much to do other than admire the views and wave hi to Canada, located just across the water.

After finishing at Cape Flattery, we almost headed to Shi Shi beach, which I’ve heard is incredible but we opted out because it was already 1:30 by the time we finished our hike and we still had a long drive back to Seattle, with a stop at the waterfalls.
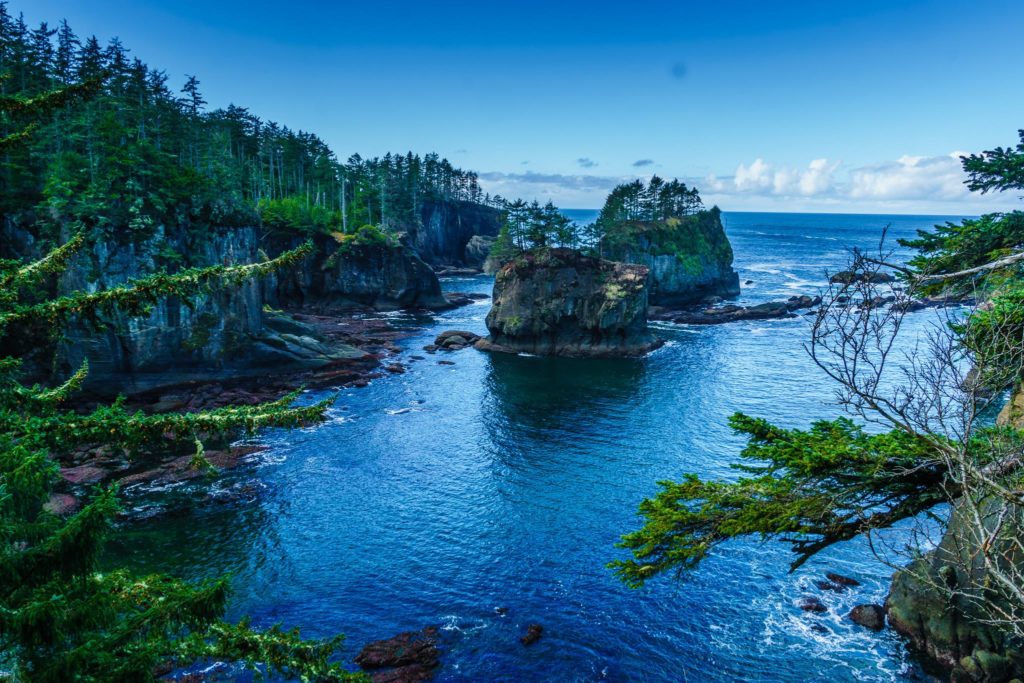
Cape Flattery, Olympic National Park

We had originally planned to stop at Sol Duc Falls but discovered it was closed once we got there. We didn’t sweat it too much since we had a backup waterfall in mind. We continued east on Highway 101, winding our way around Lake Crescent. You’ll want to take this drive slowly in order to enjoy it.
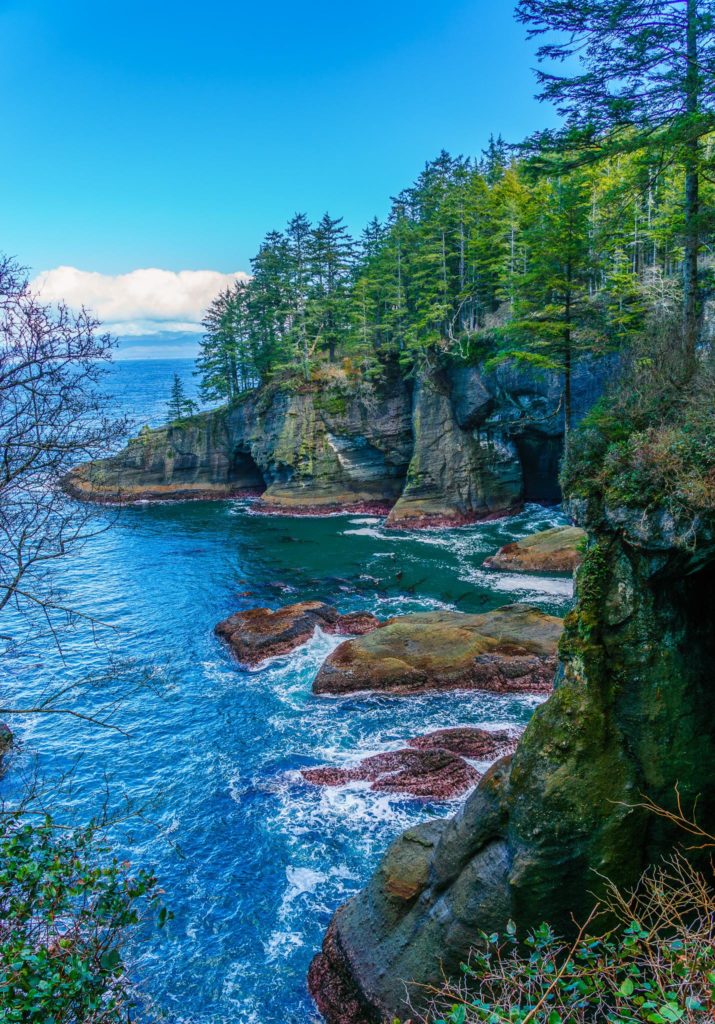
Cape Flattery, Neah Bay, WA

We finally reached the sign for Lake Crescent Lodge and parked in the lot designated for Marymere Falls, which is another easy, family-friendly hiking, clocking in at 1.8 miles roundtrip. While the falls are definitely the highlight, stop to spend time admiring the unique, moss-y trees and the wooden bridges. Oh, and prepared to get very wet.
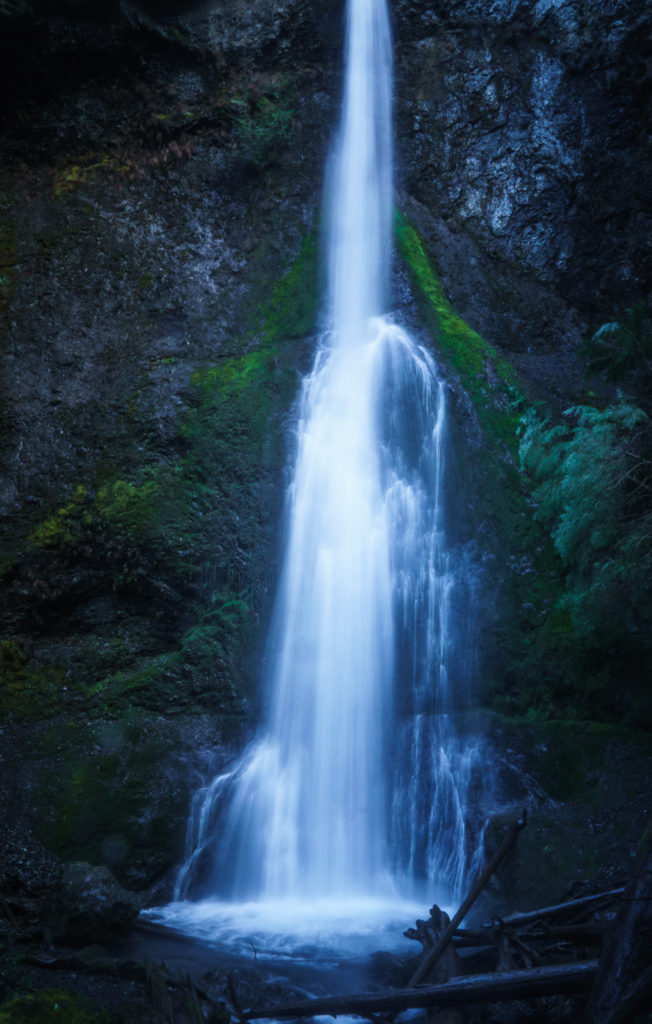
Marymere Falls, Olympic National Park

I never knew how challenging shooting a raging waterfall was until I visited Marymere. Thankfully, Robyn had some tricks up her sleeve, which involved covering my camera with my rain jacket and turning it around on the tripod really fast to take the shot. I could only get a single shot off before my lens was covered in water droplets. And being near the water, it very cold and my hands quickly became numb. Next time, I need to bring thinner gloves so I can actually operate my camera while wearing them.
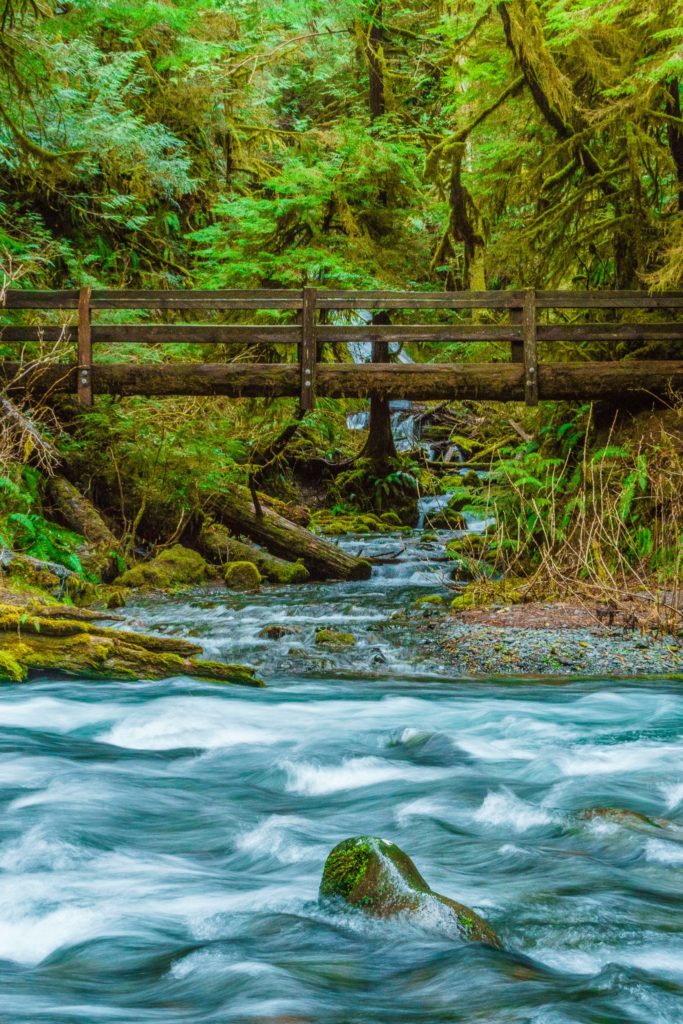
Water near Marymere Falls, Olympic National Park

After visiting the waterfalls, we began the long drive back to Bainbridge Island, where we took the ferry back across to Seattle.

Here’s a roundup of the photography gear that I brought with me:

%CODE4%
Things You Need to Know Before You Visit Olympic National Park

Hoh Rain Forest, Olympic National Park

Olympic National Park is one of the most beautiful places in the U.S. (if not the world) and I’m fortunate to live only a few hours away by car. From snow-capped mountains to rugged, wild beaches to lush rainforest, the park will take your breath away.

If you love the outdoors, you need to plan a trip to Olympic National Park immediately and I’ve included some tips to help you plan your trip.

When to Visit
Olympic National Park is a year-round destination and when to visit really depends on the type of experience you’re after.

Moss, Olympic National Park

July through September are by far the most popular months to visit, with 60% of all visits occurring in this timeframe. You’ll have less rain and sunnier weather, but you’ll need to book your accommodation well in advance. Another advantage of visiting in the summer is the amount of daylight. In June, the sun rises around 5am and sets around 9:30pm, giving you extra time to hike and explore the outdoors.
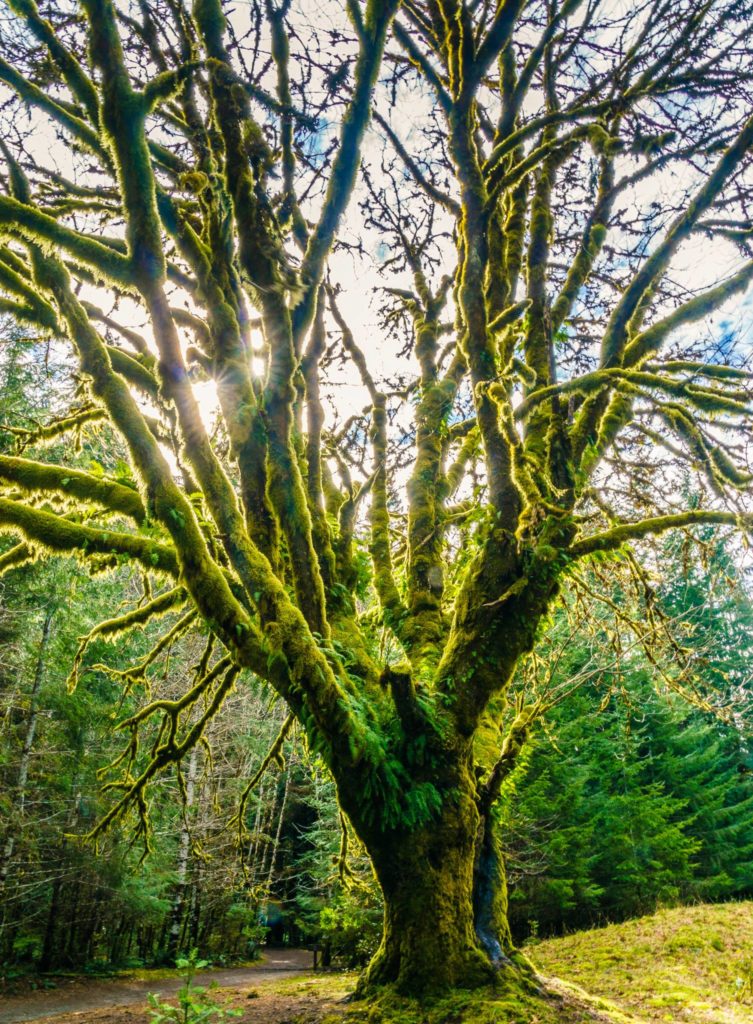
Tree near Lake Crescent Lodge in Olympic National Park

The summer also allows you to view mountain wildflowers, which can often reach their peak in late June or early July, depending on the whether. One downside to the summer, aside from the large amount of visitors, is that the waterfalls won’t be as full due to the lack of rainfall.

Temperatures range from the mid 40s in the evening to the upper 70s during the day. Even though precipitation is lowest in the summer, you should still be prepared with rain gear since the weather is so variable on the peninsula.

If you want to be surrounded by gorgeous golden and red foliage, visit in the fall. The fall is the start of the rainy season, which typically begins in mid October, with snow falling in the mountains around that time. Temperatures can range anywhere from the 30s to the upper 60s. If you plan on hiking in the high country, stay up to date on the weather forecasts so that you don’t get in a snowstorm unexpectedly.

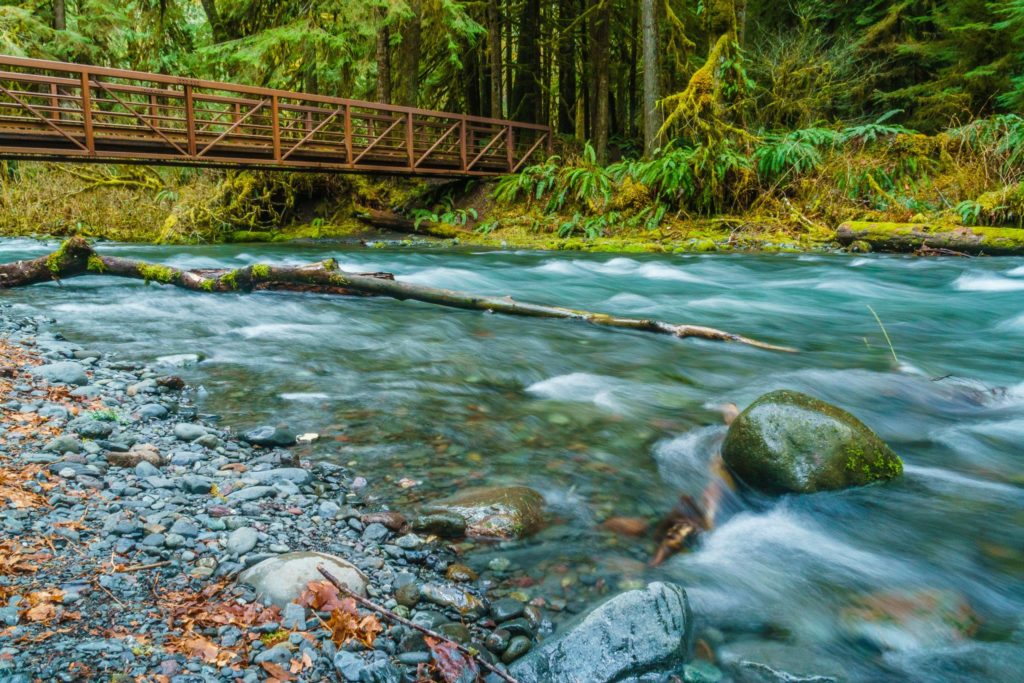
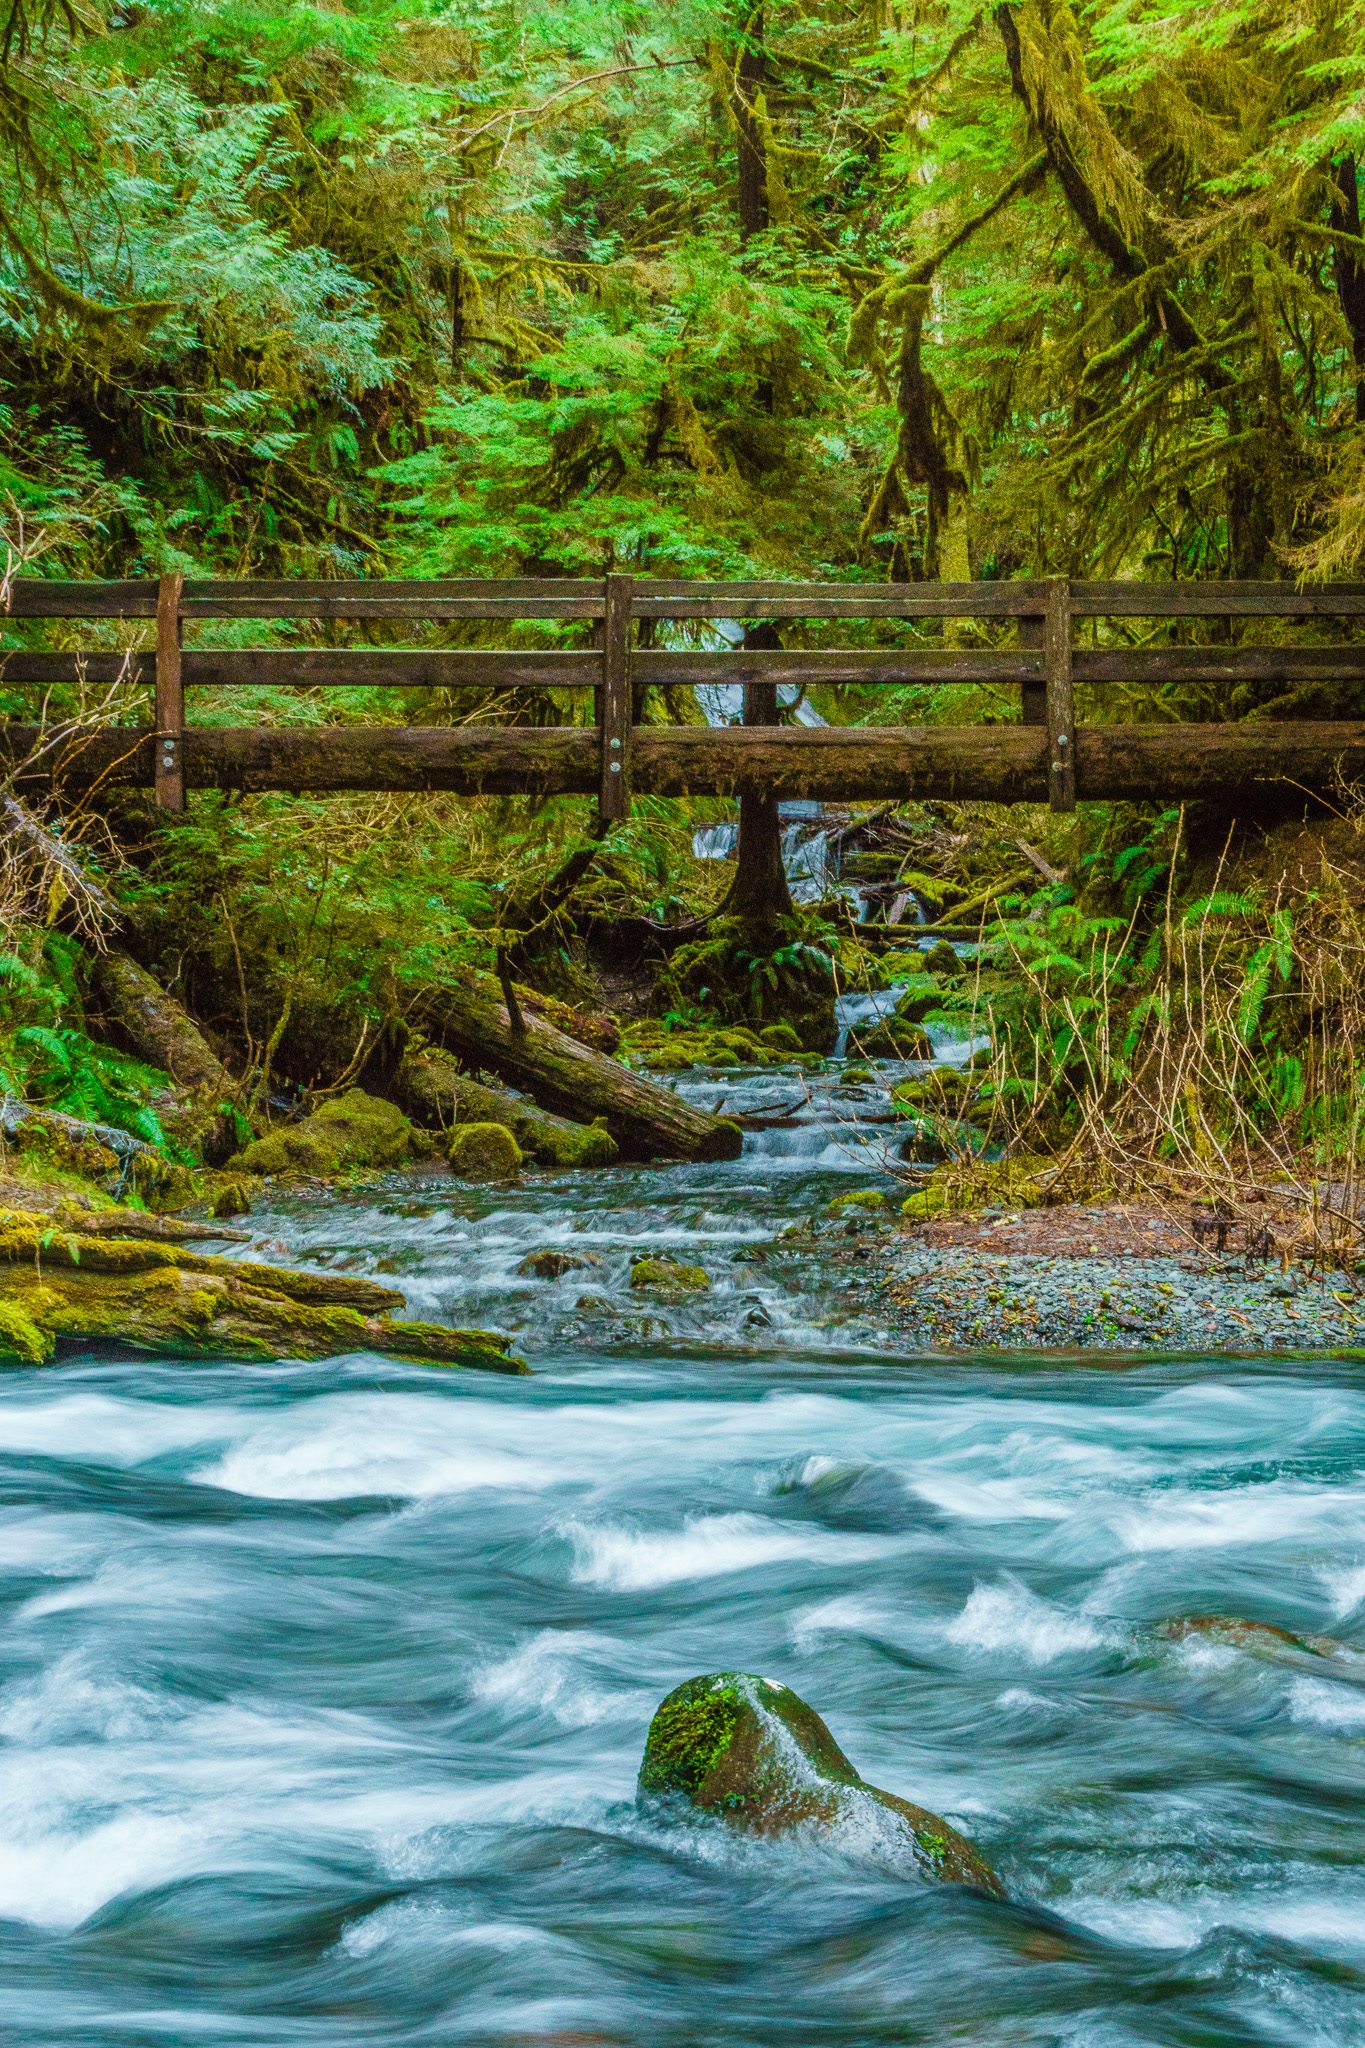
Bridge near Marymere Falls, Lake Crescent, Olympic National Park

If you want peace and quiet and don’t mind chilly temperatures, the winter is a fantastic time to visit. Stay on the coast if you’d like to experience a raging winter storm with large swells. If you’re interested in snow activities, head up to Hurricane Ridge for snowshoeing, skiing and tubing. Hurricane Ridge Road is open Friday through Sunday in the winter but a sudden blizzard can close the road at any time so make sure to check out the current road conditions before you go. Some of the National Park lodges also completely or partially close in the winter so make sure you book lodging in advance.

Tree in Olympic National Park

Spring weather in the park is very unpredictable but I can safely say that you will get rained on. I was just in Olympic National Park over the weekend and I experienced rain, sunshine and hail, sometimes within the span of 15 minutes. Spring is quieter than summer and the rainforest is incredibly lush and the waterfalls are flowing this time of year.

What to See
Olympic National Park is huge. To give you some context, the park is 1,442 square miles in size, making it larger than Rhode Island and twice as large as Great Smoky Mountain National Park.

A single road (Highway 101) circumnavigates the entire park. Keep in mind that it may take a little longer to drive on 101 than what Google Maps estimates. Parts of 101 are incredibly windy and since it’s only one lane in each direction, you may get stuck behind other cars, especially in the summer.

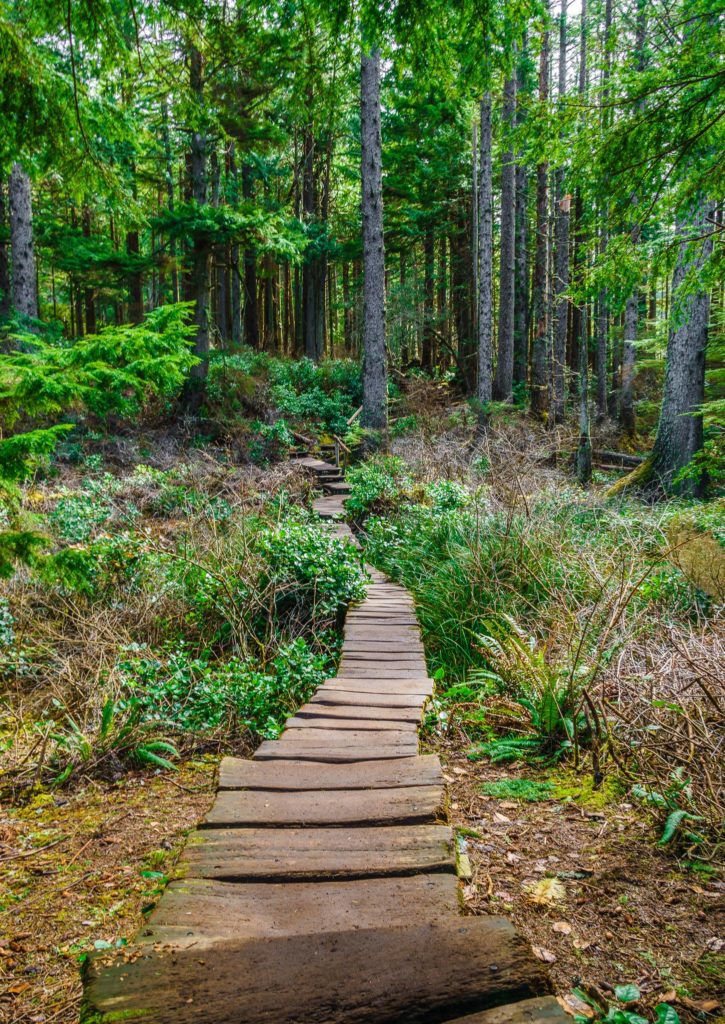
Board walk at Cape Flattery, Neah Bay, WA

Here are some of my favorite parts of Olympic National Park:

Hurricane Ridge
Located 17 miles from Port Angeles, Hurricane Ridge features spectacular mountain vistas and can be visited year-round. This area was named for the 75-mile-an-hour winds that often blow here in winter. It’s also a spectacular area to spot wildlife (visiting in the morning increases your chances of spotting wild animals). If you’re into camping, the nearest campground is Heart O’ The Hills, located 12 miles away.

Hoh Rain Forest
As the name implies, Hoh Rain Forest receives over 134 inches of rain annually. All that precipitation makes the forest lush, with moss hanging from the trees. One of the best and easiest ways to experience the beauty of the rain forest is to visit the Hall of Mosses Trail near the Hoh Rain Forest Visitor Center.

Hall of Moses, Hoh Rain Forest, Olympic National park


Hall of Moses, Hoh Rain Forest, Olympic National Park

Sol Duc Falls
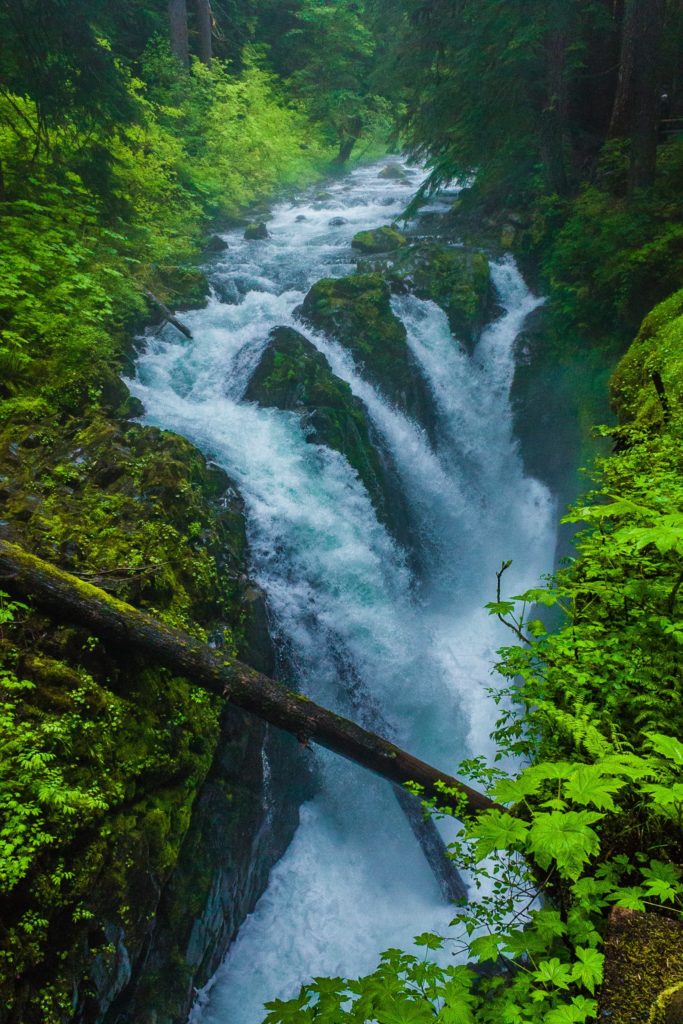
Sol Duc Falls is considered by some to be the prettiest waterfalls in Olympic National Park. Since the hike is only 0.8 miles longer, hikers of all abilities and ages can enjoy the view. Also located in the area are the Sol Duc Hot Springs, which I’ve heard are nice but I have not had a chance to personally visit.

Sol Duc Falls: Olympic National Park

The Beaches
Olympic National Park features over 73-miles of coastline so you have a lot of options to choose from, ranging from sandy beaches to cliff-side beaches. Almost of the beaches feature wave-beaten seastacks and tide pools teaming with wildlife (make sure to bring a tide chart!).

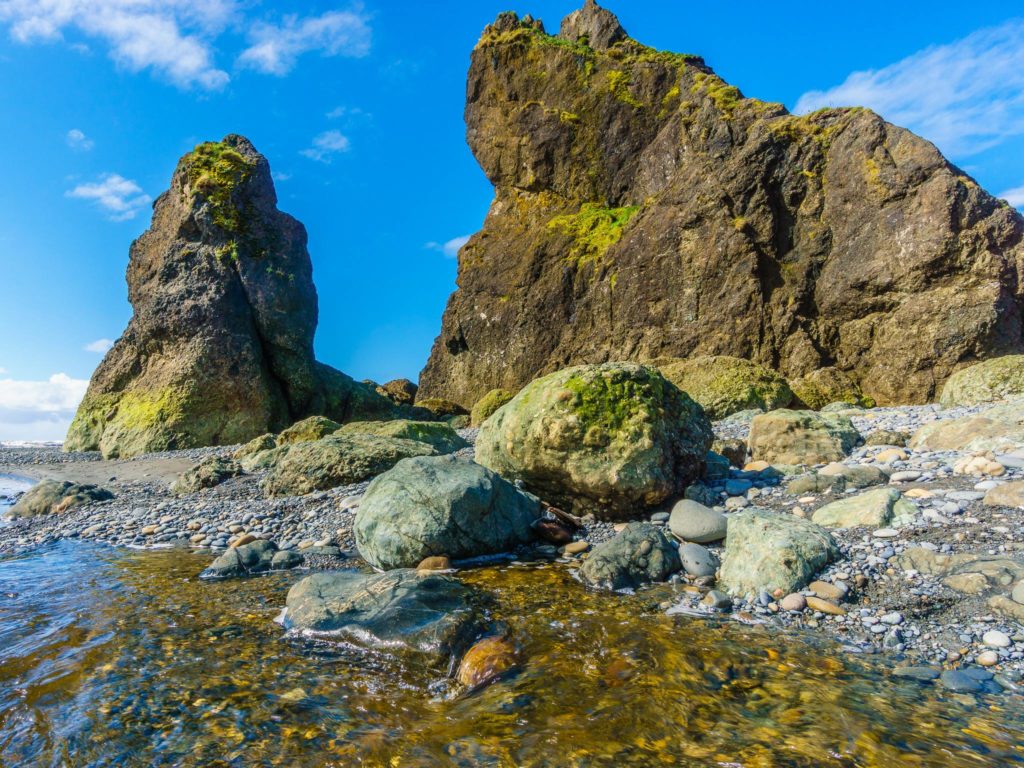
Sea stacks at Ruby Beach, Olympic National Park

At the southern end of the park’s coastline, you can visit Kalaloch, Beach 1-4 and Ruby Beach. You can stay overnight at Kalaloch Lodge, which features ocean-front cabins at a fairly inexpensive price point.

Ruby Beach at Olympic National Park
Ruby Beach Olympic National Park

Further north, you’ll find beaches in the Ozette area, with trails leading to Sand Point and Cape Alva. Mora and Rialto beach are a little less remote, located an hour’s drive west of Port Angeles.

Ruby Beach at Olympic National Park

Quinault Rain Forest
Even if you’re planning stop visit  Hoh Rain Forest, Quinault is still worth a visit to see some of the world’s largest trees, including a Sitka spruce, which is 191 feet tall and 1,000 years old. This area is also home to another national park lodge with stunning views over Lake Quinault (I also think it’s the cutest national park lodge). Make sure to keep your eyes peeled for Roosevelt elk.

Lake Quinault Lodge, Olympic National Park
Lake Quinault Sunset: Olympic National Park

Lake Crescent
Lake Crescent is a stunning area, featuring a glacially-carved lake and the nearby Marymere Falls. While the lake looks inviting, the water is approximately 45 degrees year-round.

Marymere Falls, Olympic National Park

Cape Flattery
While it’s not part of Olympic National Park, you should still make an effort to visit Cape Flattery, the northwestern most point in the continental United States. The Cape is located on Makah Native American land and once at the parking lot, you’ll hike for 0.75 to get to jaw-dropping views.

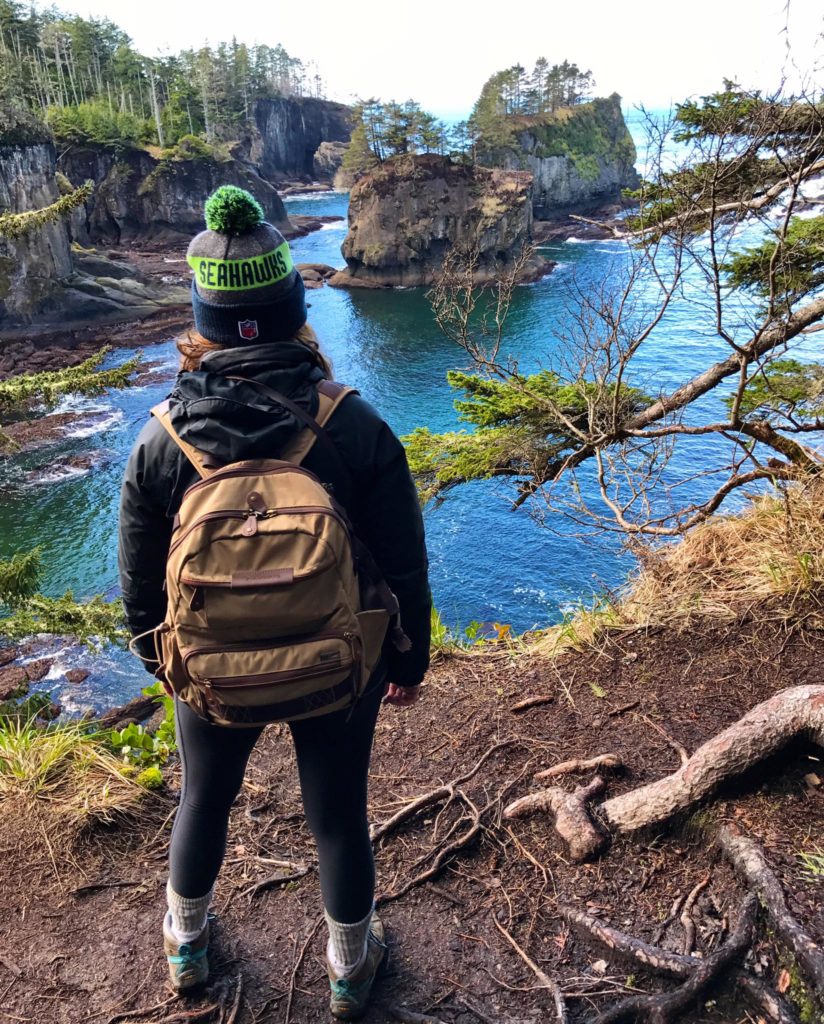
The View From Cape Flattery in Neah Bay
Cape Flattery, Neah Bay
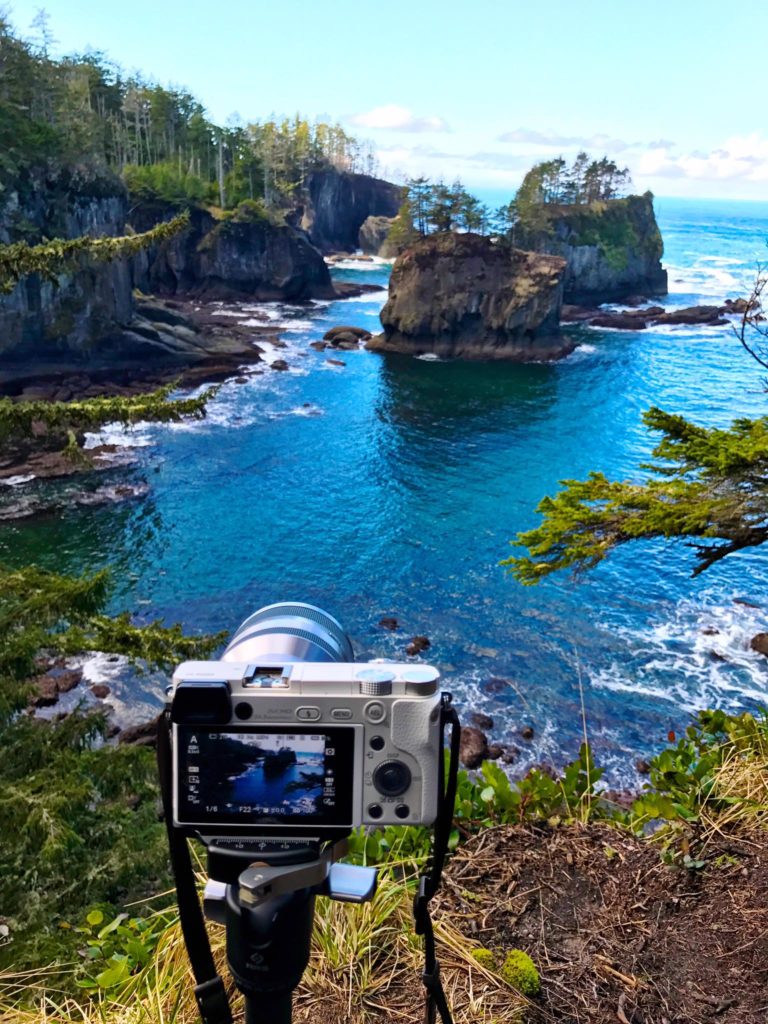
My tripod setup at Cape Flattery


Cape Flattery, Neah Bay, WA
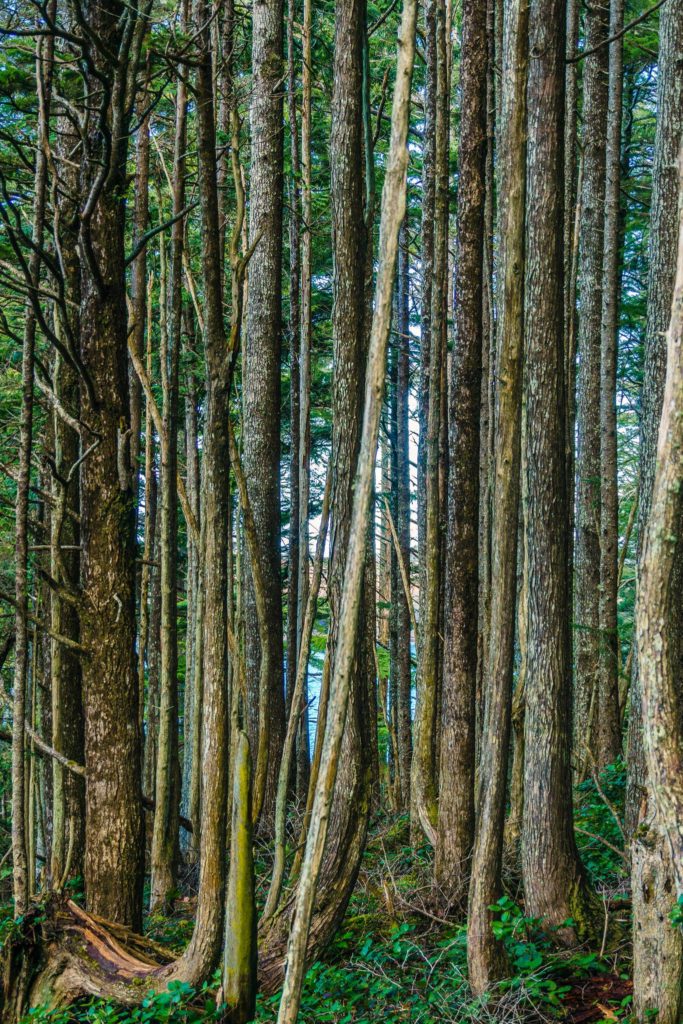
Trees at Cape Flattery, Neah Bay, WA


Where to Stay
The question of where to stay is a hard one because it depends on your interests, how many nights you’re planning to stay, whether you want to camp, etc.

I’ve personally stayed in Kalaloch Lodge, which is a fantastic place to stay if you want to stay on the coast and get away from it all. There’s no internet access or TV so you’ll be unplugged from daily life. There is an on-site restaurant, which you’ll want to eat at since dining options nearby are pretty limited. You can also camp at Kalaloch but you’ll need to reserve a campsite well in advance.

The view from Kalaloch Lodge in Olympic National Park

I’ve also stayed at Quileute Oceanside Resort, which is located on tribal land (not part of the national park), approximately 14 miles outside of Forks in La Push, WA. Like Kalaloch Lodge, Quileutae is rugged and remote, with an onsite restaurant. Lodging options here ranging from camping to luxury beach-front cabins with jacuzzis.

%CODE3%
While I haven’t stayed at Lake Crescent Lodge or Lake Quinault, both have absolutely amazing views and nice restaurants. Two additional national park lodging options include the Log Cabin Resort at Lake Crescent and Sol Duc Hot Springs Resort. You can read more about lodging options here.

The view from Quileutae Oceanside Resort in La Push, WA

If you want to stay outside of the national park, Port Angeles is located on the north side of the peninsula and convenient to the Hurricane Ridge and Lake Crescent areas. It’s the largest town you’ll find on the Olympic Peninsula.

On the west side of the peninsula, the towns are small and located far apart. The largest town is Forks, which is convenient to the coastal and rain forest areas.

Water near Marymere Falls, Olympic National Park

What to Pack
My suggestions on what to pack include:

  • Camera: Whether you have a DSLR or take photos with your camera, make sure your device is fully-charged because you’re going to want to snap some Instagram-worthy photos
  • Battery packs: You’re most likely going to spend your entire day outside and it would be a bummer to run out of phone or camera battery. Bring along a spare battery pack so that you can charge your devices on the go.
  • Books and board games: Internet access and TVs are pretty limited within the park boundaries. Bring plenty of books and board games with you to keep yourself entertained during the evening hours.
  • Food: Bring your favorite snacks with you since you’ll be spending a lot of time driving around in your car and out on the trails. I often find that I skip lunch when I’m in Olympic National Park, preferring to eat food while I’m on the go. I’d also suggest packing some food with you in a cooler if you’re going to stay at a lodge for more than a couple of nights since you may get tired of the lodge food.
  • Rain jacket: It doesn’t matter what time of year you’re visiting, make sure you bring a rain jacket.
  • Warm clothing: Since the weather is so variable, dress in layers and bring a warm jacket, hat and gloves. I visited Olympic National Park in July a few years ago and needed the hat and gloves on a couple of rainy days. I also recommend either waterproof or water resistant hiking pants since you’ll probably get rained on at some point and you don’t want to spend your day walking around in soggy pants.
  • Waterproof hiking boots and an extra pair of socks: This is important. The peninsula is very muddy and you don’t want to worry about ruining your nice shoes. I also suggest keeping an extra pair of socks with you in case your feet get wet. My feet got soaking wet at Ruby Beach when I was photographing the rock stacks. I can tell you from experience that 40 degree ocean water in your hiking boots is not a pleasant experience.
  • Hiking poles: If you regularly use hiking poles, bring them along.
  • GPS or maps: Cell phone service is very spotty so don’t rely on your phone to point you in the right direction.
  • Tide chart: Having a tide chart on hand is a must if you want to see tide pools. It’s also an essential item for beach hikes because you do not want to get trapped by a rising tide.
  • Binoculars: Bring them along if you’d like to look for whales, bald eagles, seals and otters, all of which I’ve seen on my visits to the park.
  • Daypack: Bring a daypack with hiking essentials in it, like a flashlight, whistle, compass, pocket knife, first aid kit and extra snacks.
  • Star chart: If it’s a clear night, you may be able to see up to 15,000 stars in the night sky.
  • Bug spray: It’s the wilderness and bugs live in the wilderness. Bring along bug spray if you don’t want to get bitten
Phone booths at Kalaloch Lodge

Other tips:
If you’re planning to arrive at Olympic National Park on a Friday from the Seattle area, leave before 2 pm or else you’ll get stuck in hellish traffic. Trust me on this.

You can arrive/leave Olympic National Park either from the south end by driving down to Olympia and out to the coast or by taking a ferry from Seattle to Bainbridge Island and driving to the north part of the peninsula from there. I recommend crossing via the ferry in at least one direction because it’s a unique Pacific Northwest experience and you’ll get some incredible views of downtown Seattle.

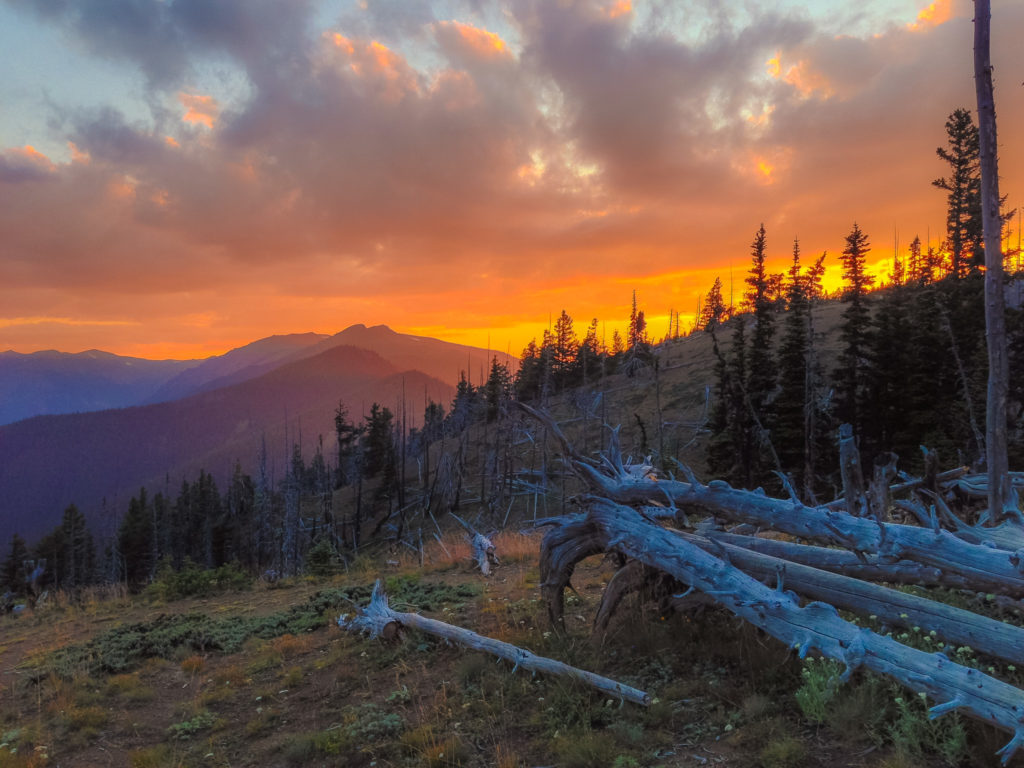
I’ve only camped once in Olympic National Park and it was at Deer Park, located at 5,400 feet and boasting the most stunning sunset and sunrise views you’ve ever seen. Deer Park is a small campground with 14 sites and operates on a first-come, first-serve basis. I almost regret telling you about this campsite since I sort of want to keep it a secret.

Deer Park campground at Olympic National Park

There are several gas stations located on the outskirts of the park. There’s a stretch between the Kalaloch area and Forks where you’ll travel around 40 miles with no service stations (there’s a sign warning you that this will happen).

Things to Know Before Visiting Olympic National Park

%CODE2%

How to Pack for Bhutan

I visited Bhutan at the end of January for 5 days, which presented some packing challenges. First challenge: It’s winter in Bhutan, which means chilly weather. I also went to Bangkok and Luang Prabang after Bhutan, which meant I needed to have warm-weather clothing as well. Second challenge: I wanted to pack in a carry-on backpack and I had a load of photography gear to bring with me. Third challenge: Packing lists for Bhutan are pretty long (at least the ones I found online) and if I brought along every single item on the lists, there’s no way I’d be able to close my carry-on luggage.

With that said, here’s what I found absolutely essential to bring. If you’re visiting in the summer, you obviously won’t need as many warm-weather clothes but the other items are still the same.

The Luggage


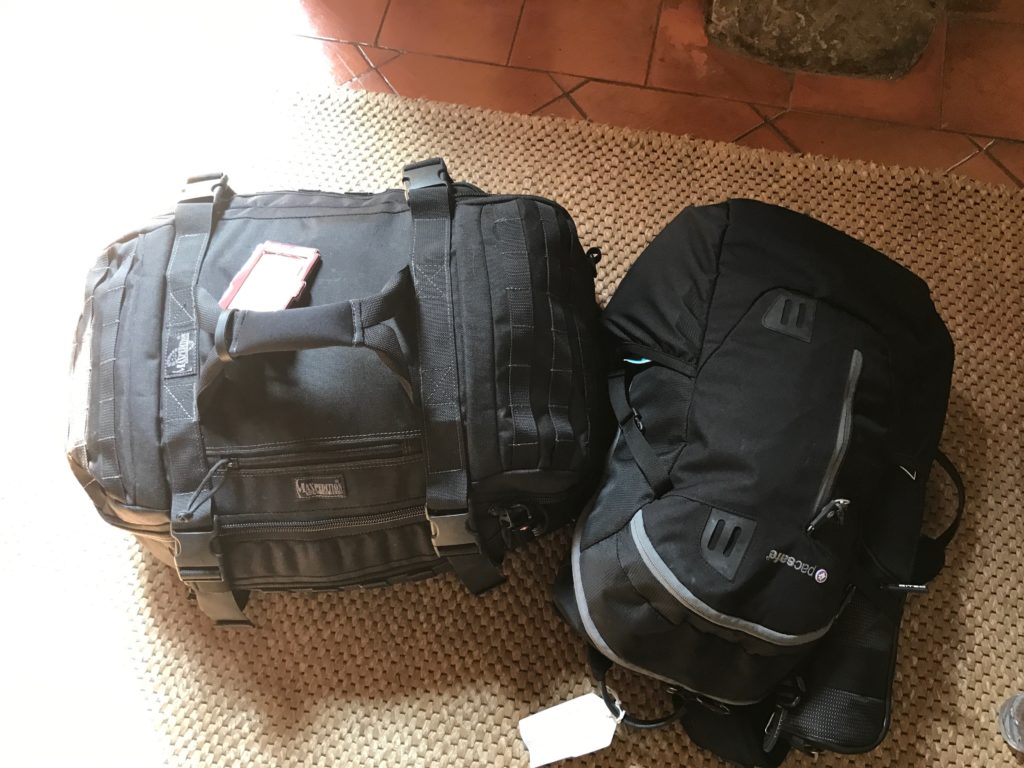
On this trip, I brought my favorite carry-on backpack, the Maxpedition Fliegerduffel. My husband turned me on to this brand since it’s a military-grade bag (a lot of ex-military people use this brand) and virtually indestructible. The duffel has two backpack straps that tuck away when you no longer need them.

To carry all my personal items, including my camera/photography gear, I also brought my Pacsafe daypack. I actually used my Vanguard Havana backpack as my daypack once I landed but in terms of hauling all of my gear onto the plane, the Pacsafe worked wonders.

Maxpedition Fliegerduffel Backpack

Clothing


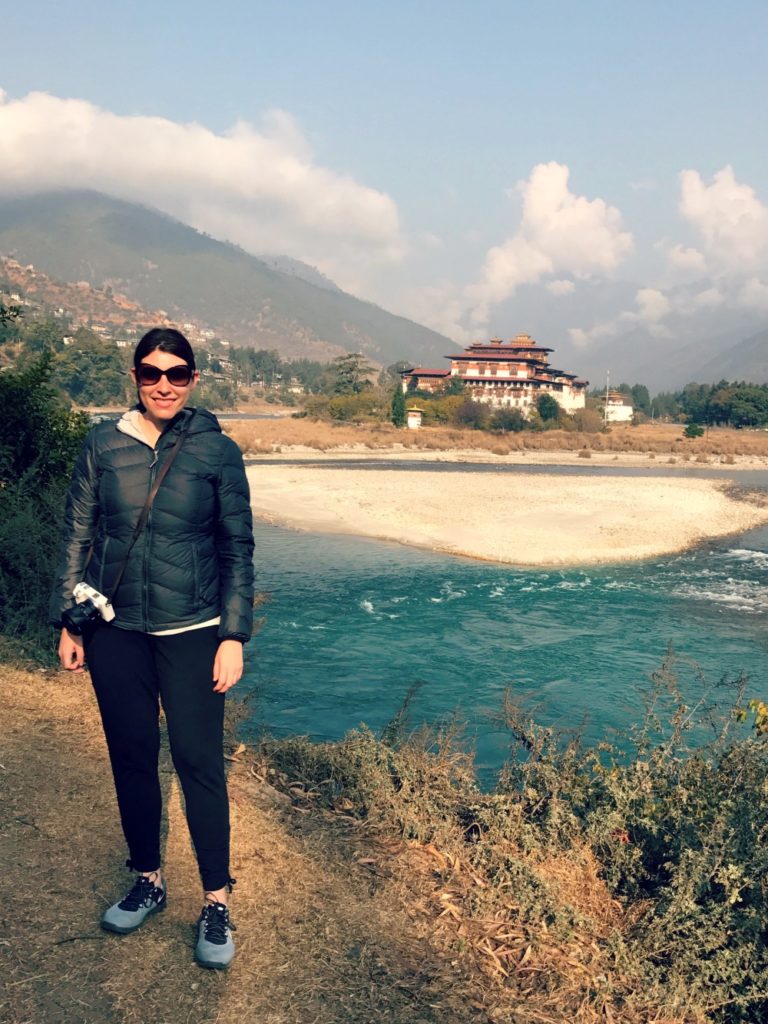
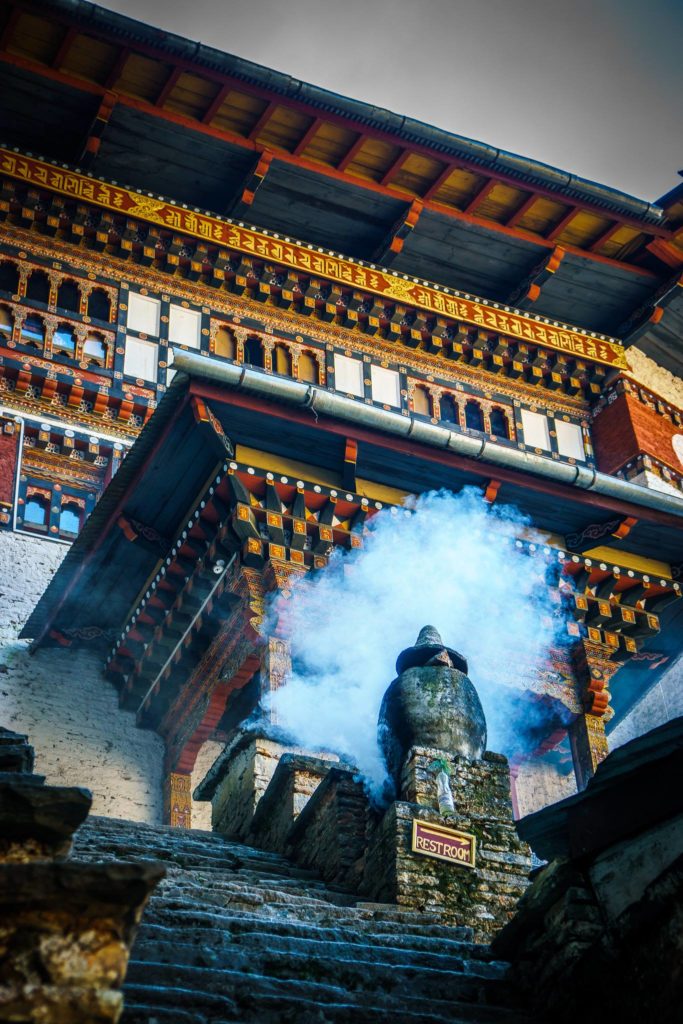
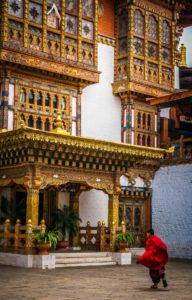
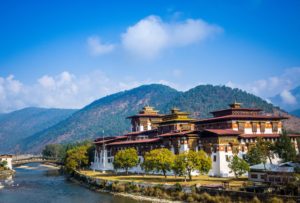
Punakha Dzong
Me in front of the Punakha Dzong, wearing my Lole jacket

Warm jacket: It gets cold in Bhutan in the middle of January, particularly at night and at a higher elevations. It’s not uncommon to see snowfall in December, January and February. I needed a lightweight jacket that could pack flat in my suitcase once I got to Bangkok. The Lole Emeline jacket kept me warm when it got down into the 30s/40s at night and it took up almost no space in my backpack. If you’re going to be trekking in the mountains in the winter, you’ll definitely need something warmer.


Rain shell: Unless your warm-weather jacket also happens to be waterproof, I also recommend bringing a rain shell, particularly one that folds into a tiny pouch. I brought my Columbia Arcadia II jacket, which I also use at home in the PNW. I didn’t need to use it at all in Bhutan since I only encountered light rain/snow on one day. You could also bring an umbrella but I prefer to have my hands free for my camera.


Pants: I brought two pairs of pants that I rotated through, along with a lightweight pair of leggings to wear underneath my pants, just in case. I ended up not wearing the leggings during the day but they were certainly nice to have when I was in the hotel room at night. Even if you’re traveling in the summer, you still need to bring pants because you won’t be admitted to the temples in shorts.

I packed the Lole Becky Pant (so comfortable that I have two pairs) and the Lole Gateway Pant.


Tops: I packed a couple of lightweight long sleeve tees, one tank top to wear underneath my tees, one sweater and one long-sleeved athletic top that I wore on the hike up to Tiger’s Nest.

Again, if you’re visiting in the summer, you’ll need to bring long sleeves with you since you won’t be admitted in a tank top or short sleeve shirt.

I recommend packing layers because the weather can change dramatically in the span of a few minutes. When I was hiking in Punakha, I got warm enough that I needed to ditch the jacket and my long-sleeve top.

Socks and undergarments: I know this seems obvious but you don’t want to forget your socks. Your feet will freeze in the winter and visiting temples will be very uncomfortable if you forget them (you have to remove your shoes to enter the temple). I also wore my socks in the hotel room at night since the rooms tend to be a bit chilly, even with the heat cranked all the way up.

In addition to a regular bra, you should also bring along a sports bra for the days that you’re hiking. You won’t want to be comfortable in a standard underwire bra on your up to Tiger’s Nest.

Shoes: Most of the guides I read said that you need to bring along sturdy hiking boots, which is true if you’re trekking or you just need additional ankle support. While Tiger’s Nest is steep, it’s not a technical trail and I didn’t feel that hiking boots were a necessity. I got by just fine with my Nike metcons, which I also wore on the flight over.

Accessories : No matter what time of year you’re visiting, you will need your sunglasses so don’t forget them. While you can certainly buy a pair in Thimphu, why would you want to waste your valuable vacation time shopping for something like sunglasses?

If you’re visiting in the winter, bring a warm hat and gloves as well. If you’re visiting in the summer, bring a lightweight, breathable hat to cover your head.

Personal Items


Keys to Bhutan
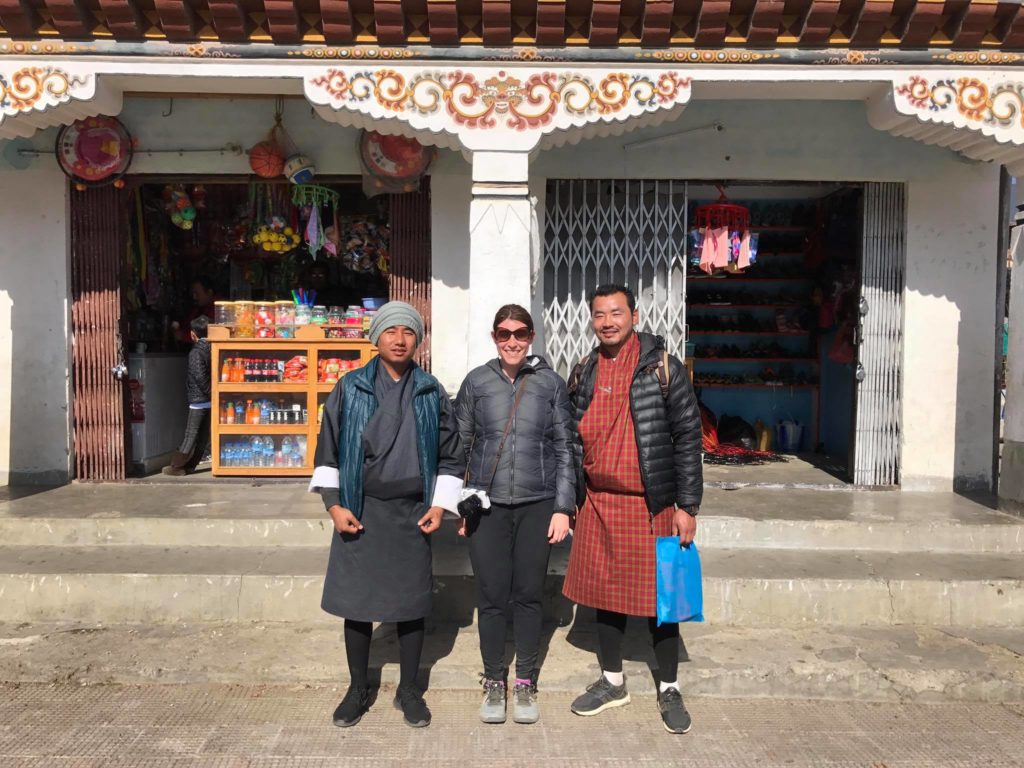
Me with my Keys to Bhutan guide and driver

Sunscreen: Depending on which town you’re visiting, the elevation ranges from 7,000 feet to 10,000 feet (and higher) so you’ll need to protect yourself with sunscreen. I brought two mini spray bottles of sunscreen and found that was enough for 5 days.

Books/Kindle: There’s not a lot to do late at night so keeping yourself occupied with a good book is a nice way to spend the evening. If you’re bringing your Kindle, make sure you download books before the trip since the wifi at the hotels is pretty spotty.

Essential documents: Make sure you bring a printout of your visa confirmation since you will need it to board your flight to Paro. Also bring along your passport, copies of travel insurance and credit cards.

Flashlight: It gets very dark at night and some of the streets aren’t well-lit.

Earplugs: Even if you’re a deep sleeper, I guarantee that you will still need earplugs. Those gangs of dogs are so damn loud and of course they sleep in the middle of the day.

Toiletries: I was glad that I brought shampoo and body wash. The hotels will supply you with both but they may not be brands that you’re familiar with. Don’t forget your deodorant and toothbrush/toothpaste either.

Snacks: You may get hungry while you’re hiking and it’s nice to have some food from home. I brought a few Larabars from home which I ate while hiking up Tiger’s Nest.

Medication: Bring all your medication from home. I also bring along melatonin since it helps me adjust when I have jet lag. I didn’t have any prescription motion sickness medication with me and I wish I did since the roads in Bhutan are very windy and I almost got car sick a couple of times.

Daypack: You’ll want a daypack to carry your daily essentials in. I brought along the Vanguard Havana 41 since I always carry extra lenses and it has space at the bottom to hold them. There’s a divider at the top to separate personal items from the compartment that holds the lenses. If you need a daypack that’s suitable for your photography gear, I highly recommend this one.

International adapter: Electricity runs at 220-240 volts so there’s a good chance that you will need an adapter in order to charge your electronics. I’ve used this Kensington international adapter for years; it has multiple plug options and comes with 2 USB ports, which is handy when you’re in a hotel with only one outlet (common in Bhutan).

Your cell phone: You likely won’t have service so consider buying a local Bhutanese SIM card if you need to be connected.

Cash: Bhutan has ATMs but they can be a little unreliable. I didn’t spend a lot of money but did manage to buy a couple souvenirs, a few beers and I also brought along enough to give my driver and guide a good tip ($10-15 per day is average).

Photography Gear


The average person isn’t going to bring all this gear but I want to give you an idea of what I packed. My photo gear took up a lot of room in my luggage but I still managed to bring carry-on only luggage.

Camera: I have a Sony A6000, which I highly recommend. The newest version of this camera is the Sony A6500.

Tripod: I shoot handheld the majority of the time but if you want to take tack-sharp landscape photos or shoot stars at night (which I highly recommend), you’ll need a tripod. Don’t cheap out and buy a flimsy tripod that is going to drop your camera on the ground. Invest in a high quality, lightweight tripod and ball head.

I personally love the Gitzo Traveler tripod, which is made out of carbon fiber and therefore lightweight, yet incredibly sturdy.

Lenses: Lenses are a matter of personal preference; you should really understand your style of photography before you invest serious cash into them. If you aren’t sure if you want to buy a particular lens, I recommend renting them on Borrow Lenses. For my Sony, I have the 18-200mm, 10-18mm for wide angle shots, 17-60mm and a 32mm prime.

Camera batteries and battery charger: I always travel with a ridiculous number of spare batteries because the last thing I want to do is have my camera go dead while I’m in the middle of taking a once-in-a-lifetime shot.

Memory cards: Just like with batteries, I’d rather have too many memory cards rather than too few.

Filters, like polarizing and neutral density filters: I used these a few times. Polarizing filters reduce glare and make blue skies pop. Neutral density filters are like sunglasses for your camera and reduce the amount of light coming it. It’s what allows photographers to blur movement in broad daylight, like waterfalls. If you’ve never used filters before, you should practice before you leave for your trip.

Lens wipes: I’m picky about lens wipes since some of them leave streaks or little tiny fibers on the lens. My favorite are these Zeiss wipes.

*Note: The post above contains some Amazon affiliate links. The products mentioned are all products that I purchased with my own money and brought with me to Bhutan. I only recommend products that I’ve personally used and love.

How to pack for BhutanHow to Pack for Bhutan

11 Things You Need to Know Before You Visit Bhutan

Things You Need to Know Before Visiting Bhutan

The tiny kingdom of Bhutan is nestled in the Himalayan mountains, sharing a border with India, Nepal and Tibet, home to 800,000 people. The landlocked country is full of historic Buddhist monasteries, fortresses, beautiful mountain landscapes and some of the world’s happiest people.

As I mentioned in a previous post, Bhutan is definitely worth a visit, even though there’s a little preparation needed. Here’s what you need to know before you go:

You need a visa and a tour guide
As I wrote in a previous post, everyone (except citizens of India, Maldives and Bangladesh) must apply for a visit and use the services of a local tour operator. Your tour company will assist you with the visa process.

Keys to Bhutan
Me with my Keys to Bhutan guide and driver

You’ll pay a daily tariff to the tour company, which ranges in prices from $200 to $250 depending on when you’re visiting. Although the price may sound steep, the cost includes your accommodation, food, services of a tour guide and transportation.

Here’s what it will cost you to visit in 2017:

Groups of 3 people or more:
US $200 per person per night during the months of January, February, June, July, August, December
US $250 per person per night for the months of March, April, May, September, October, November

If you’re a solo traveler, you’ll need to add $40 per night. If you’re traveling as a couple, you’ll add $30 per person per night.

Additionally, there’s a $40 for the visa itself.

Once your visa is issues, look at it closely to make sure your name isn’t misspelled. There was a typo in my visa and a lot of drama ensued at the Delhi airport, which I would’ve preferred to avoid.

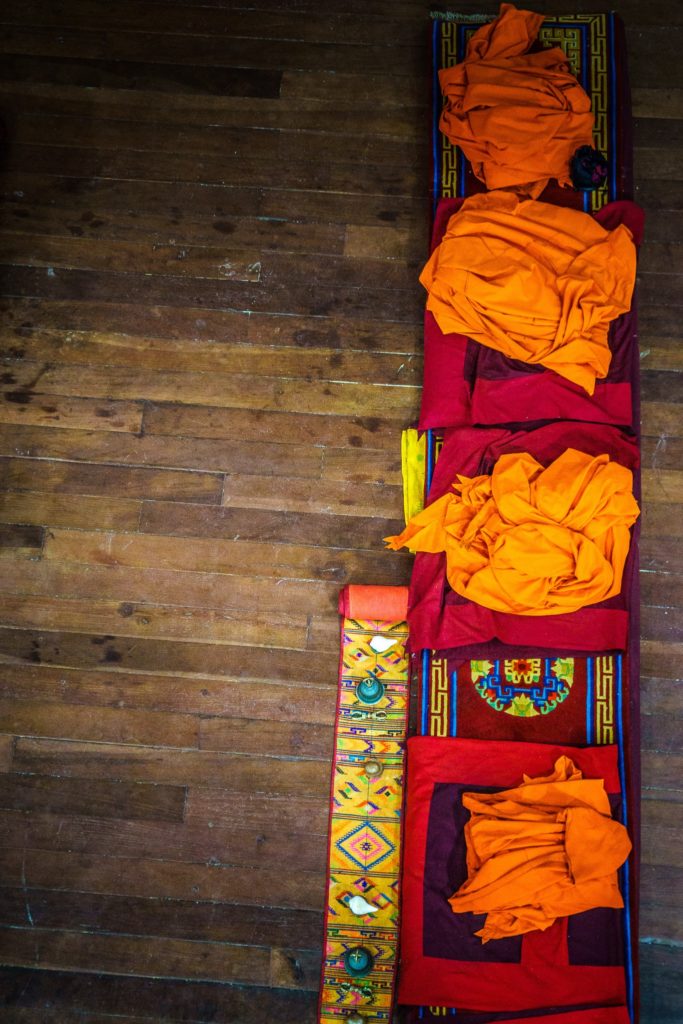
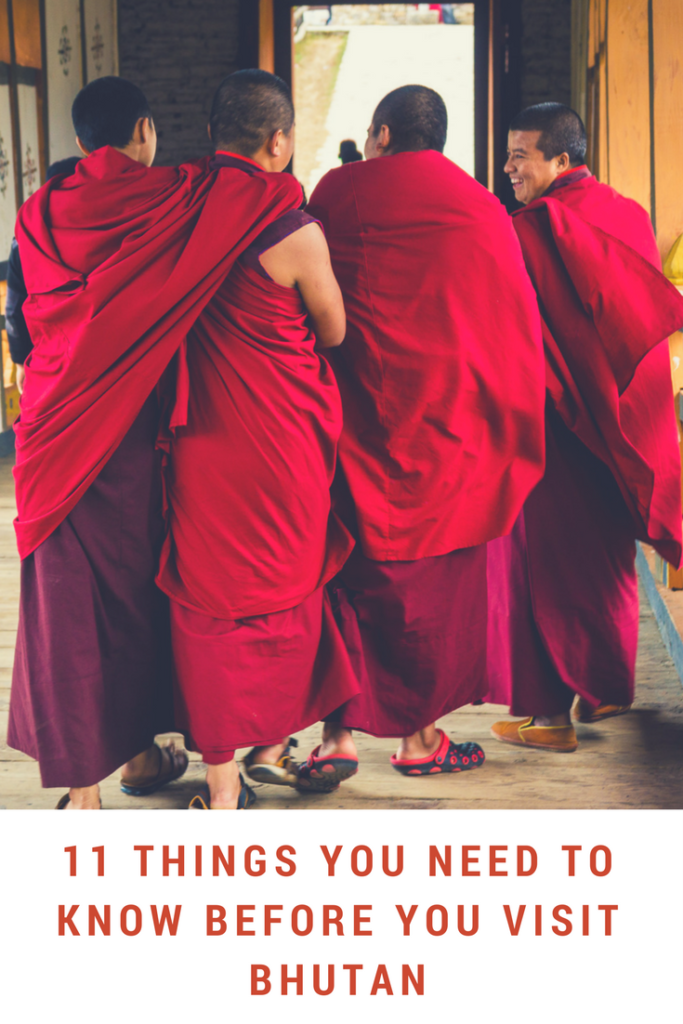
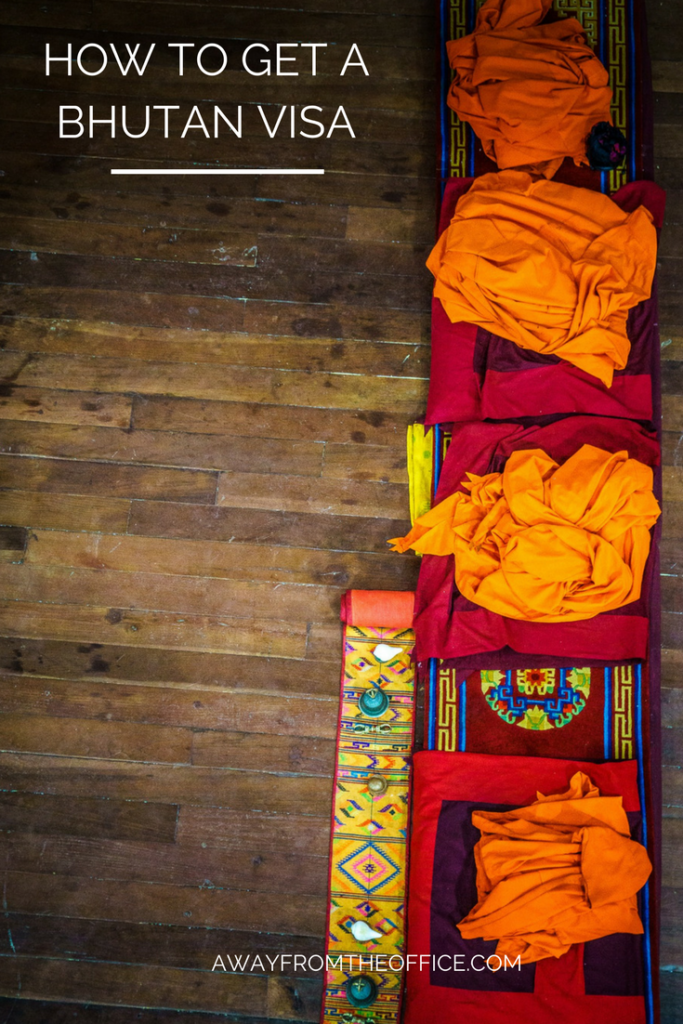
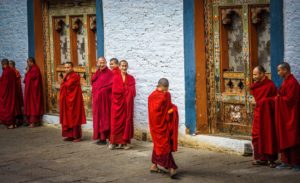
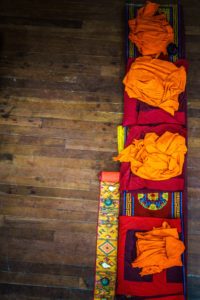
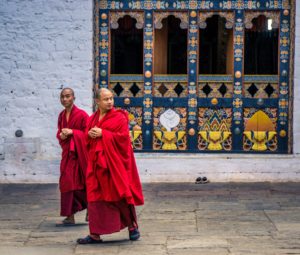
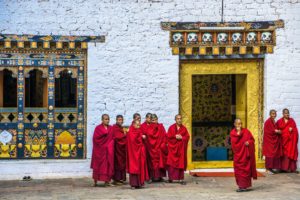
Monk robes at the Punakha Dzong, Bhutan
Monk robes at the Punakha Dzong

The Best Time to Visit
Bhutan is a year-round destination so the best time to visit is really a personal preference.

You’ll see spectacular flowers if you visit in the spring (March to June) and you’ll have crisp, clear days if you visit in the autumn (September to November). The largest and most colorful festivals (tsechus) also take place around this time and attract a large share of tourists. This is definitely high season so you’ll want to make sure to book in advance so that you have your choice of accommodation as well as flights.

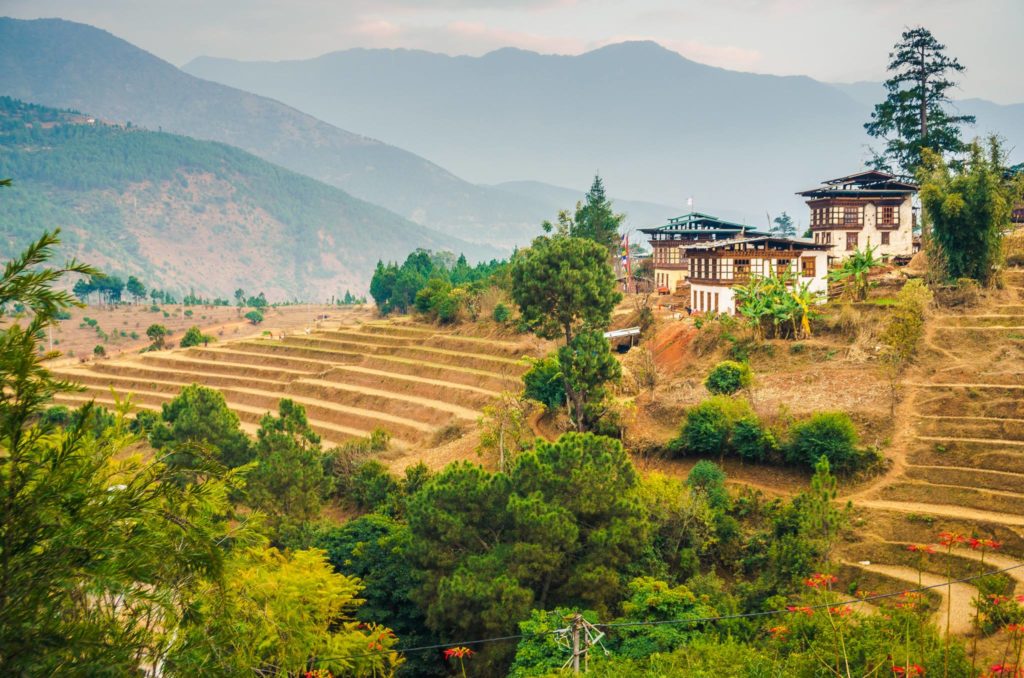
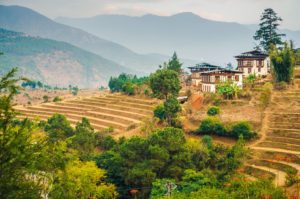
Fields in Punakha Bhutan

Summer (June through August) is a great time to visit since the daily tariff is lower and the valleys are lush. Even though it’s monsoon season, my guide said it usually rains once in the afternoon and it isn’t too heavy.

I try to travel during the off-season whenever I can so I visited in the winter (late January). There were very few tourists and the plane was half-empty on arrival.

The temperatures are pretty cold and it’s not uncommon to see snow. If you plan on visiting rural areas, you may want to fly on Druk Air since the roads may be impassible due to snow fall.

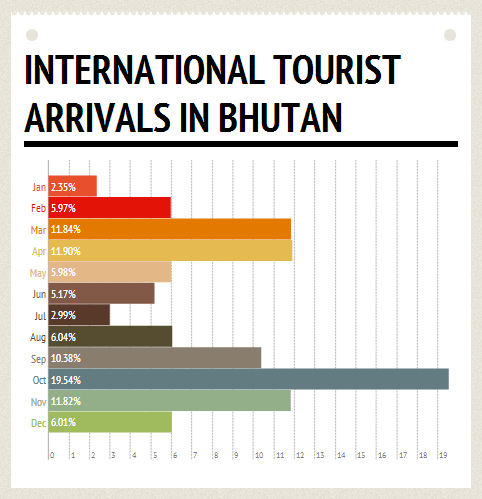
This chart will give you an idea of which months are busiest:

Bhutan Tourist Arrivals by Month

Getting There & Away
There are only three land border areas open to tourists: Phuentsholing, which is 6 hours away from Thimphu, Gelephu, which is 10 hours away from Thimphu and Samdrup Jonghkhar, which is 3 days away from Thimphu.

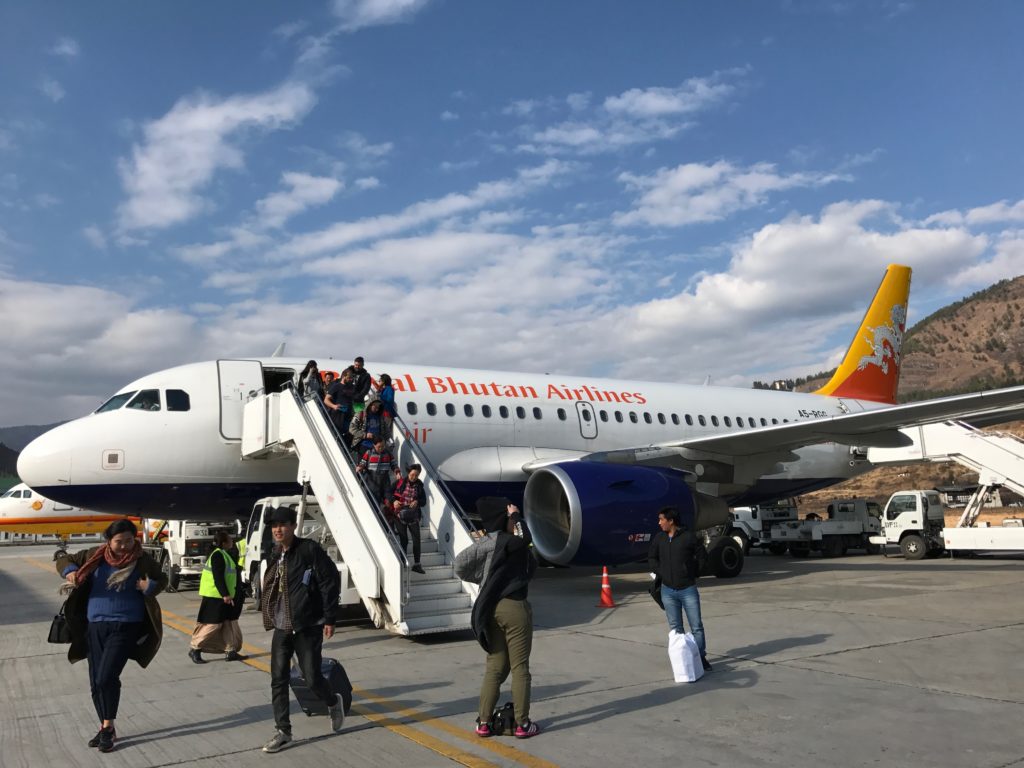
Most tourists will arrive by air to Paro, Bhutan on one of two airlines: Drukair and Bhutan Airlines. There are currently flights from the following locations: Delhi, Bangkok, Kolkata, Bagdogra, Bodh Gaya, Dhaka, Kathmandu, Guwahati, Singapore and Mumbai.

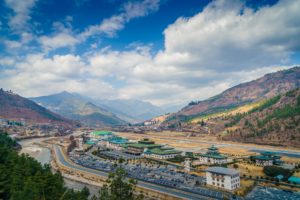
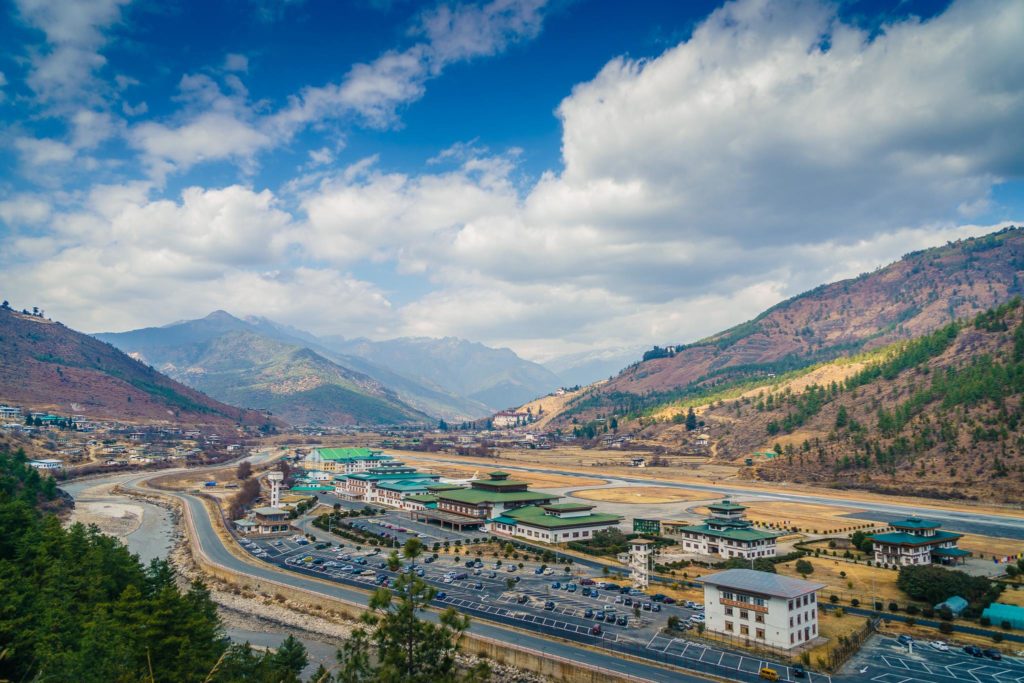
Bhutan: Paro Airport
Paro international airport

If you’re flying from Nepal or India, make sure to request a window seat on the left seat of the plane on arrival for spectacular views of the Himalayas. If the weather is clear, you’ll see Mt. Everest, Lhotse, Makalu and Kanchenjunga.

If you can, I recommend buying a business class ticket on Druk Air. You’ll enjoy a much more comfortable seat (complete with footrest) and amazing service.

The Food is Spicy
Good news for spicy food lovers: Almost all the local food in Bhutan is served with red and green chilis. If you like fire-in-your-mouth levels of spiciness, you’ve come to the right place.

My guide, Dhoji, told me that a lot of tourists don’t like Bhutanese cuisine because it’s too hot. I think he was surprised when I ate a meal with him and enjoyed every dish on my plate.

The country’s national dish, ema datse, consists of fiery chillies and farmer’s cheese, served with local red rice. To make it even more spicy, it often has dried chillies on top.

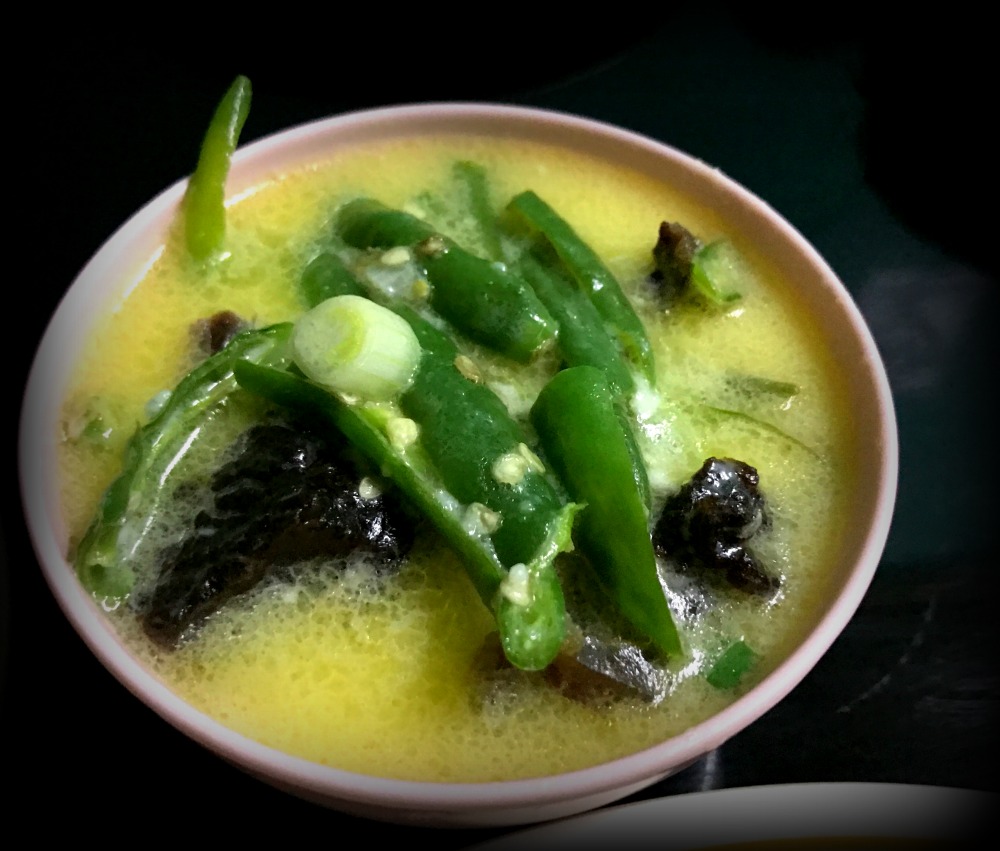
Ema Datshi, chili dish in Bhutan
Ema Datshi in Bhutan

If you’re not a fan of spicy food, don’t worry. All the hotels serve dinner and they tone the spicy level way down for westerners. You’ll find a lot of Indian dishes, western dishes as well as some Bhutanese dishes with fewer chilis.

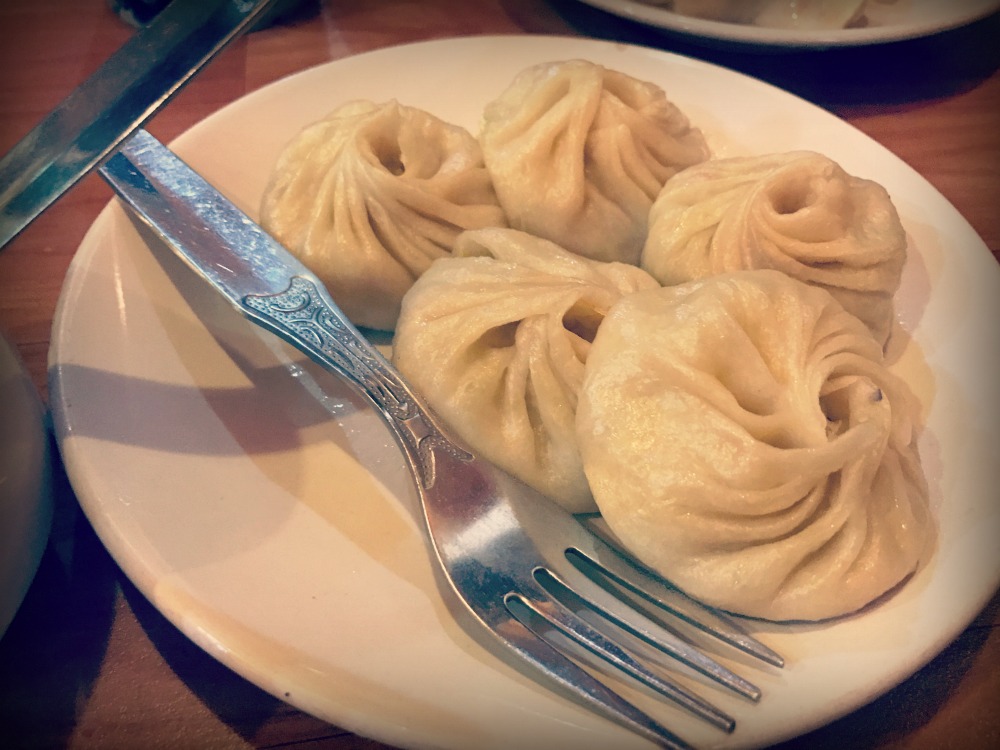
Momos in Bhutan
Momos in Bhutan

One note about meat in Bhutan: no animals are slaughtered in Bhutan but meat is consumed in the country. It’s brought to Bhutan from India via refrigerated trucks.

Bring Cash
While there are ATMs in Paro and Thimphu, they aren’t always reliable so make sure you bring USD or Indian rupees with you in case you can’t withdraw your funds. The ngultrum is the currency and it’s tied closely to the Indian rupee.

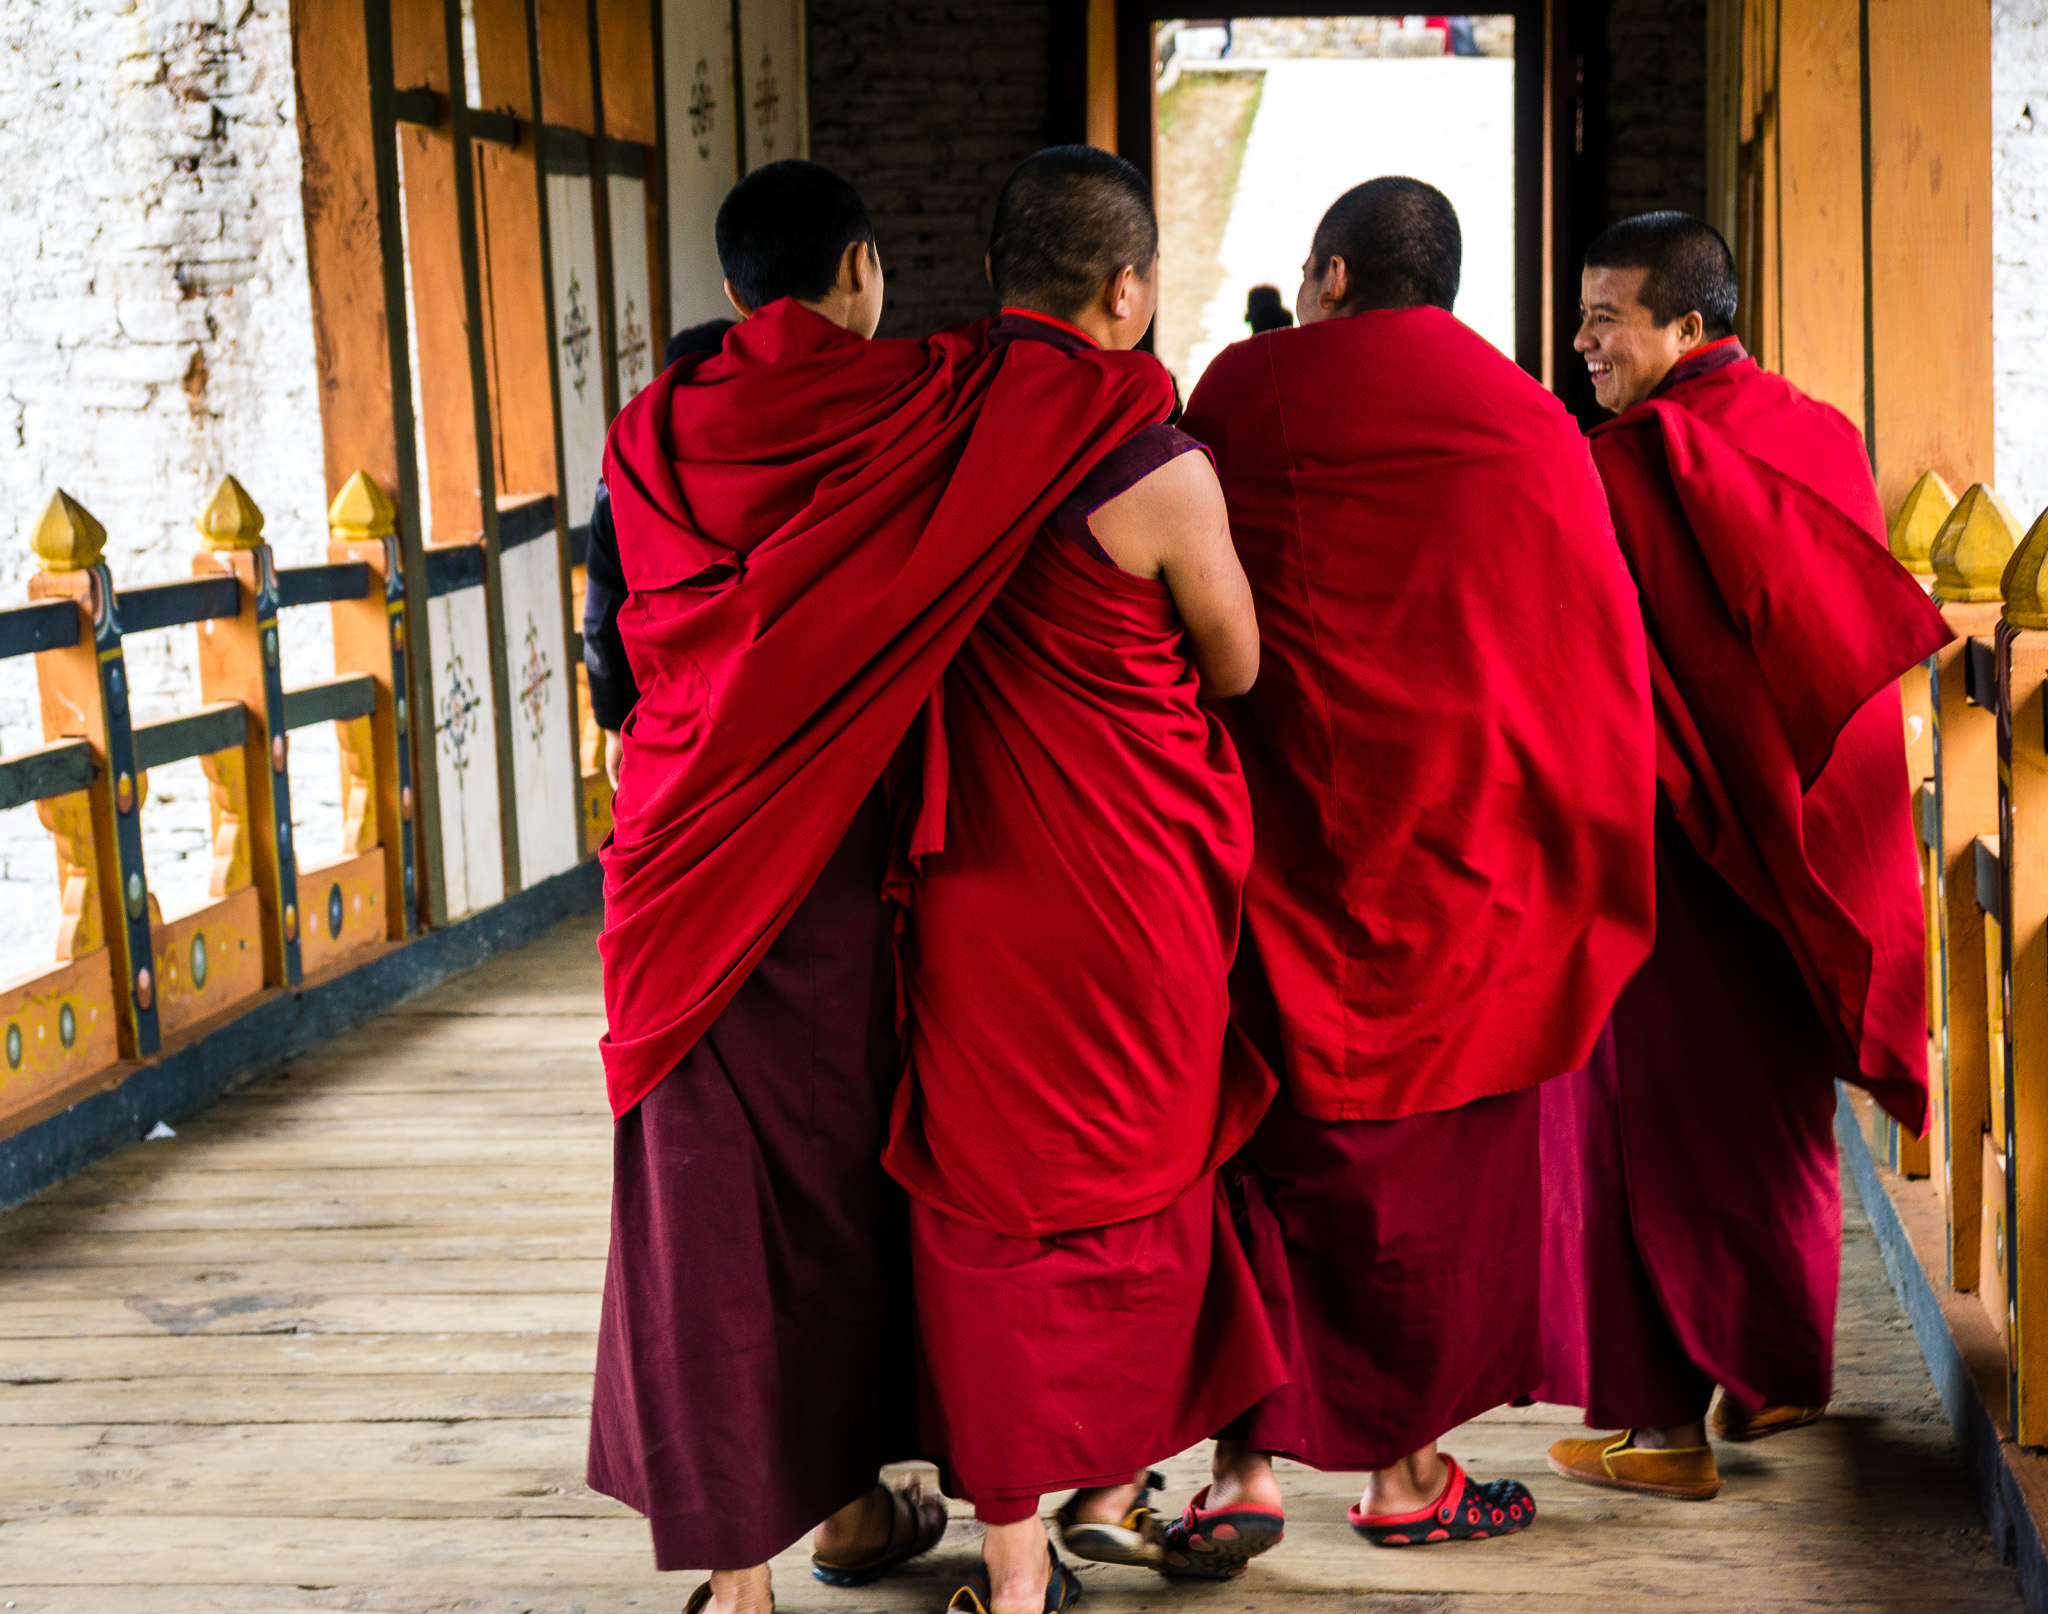
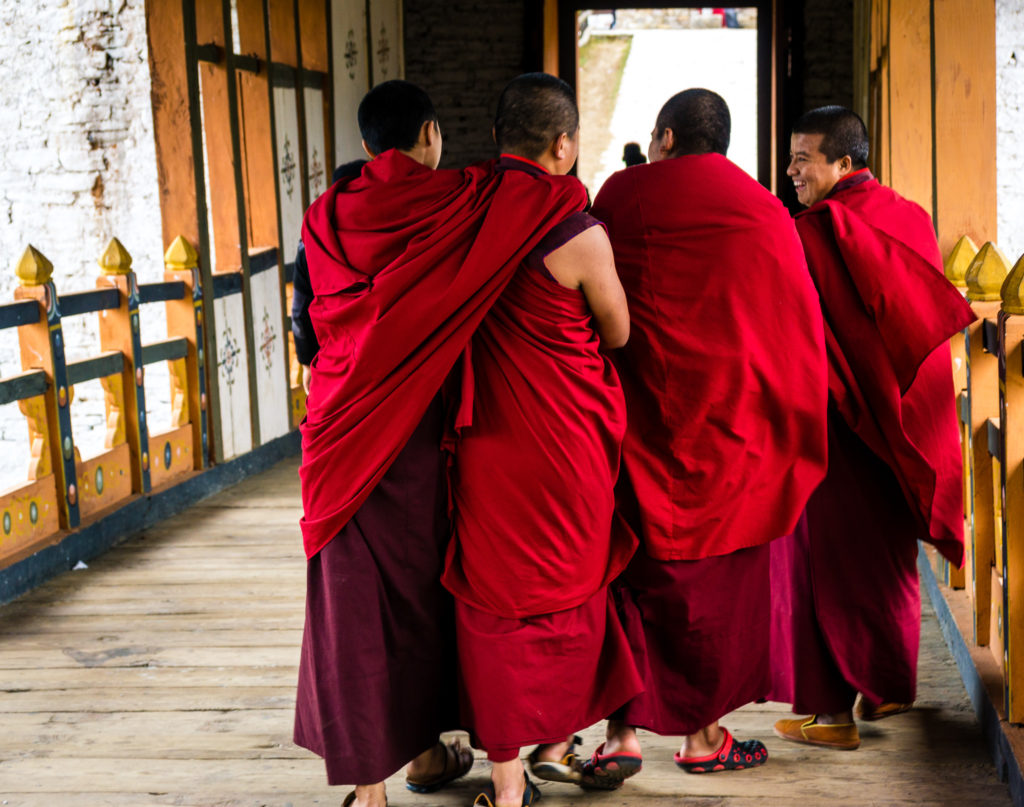
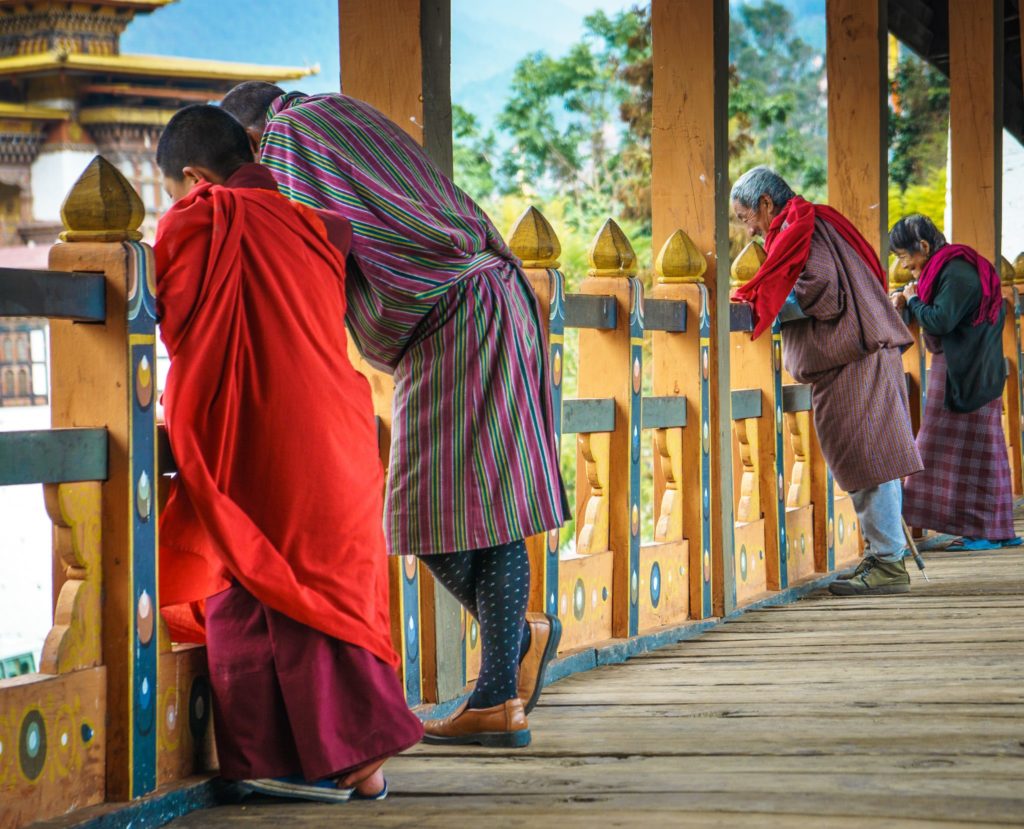
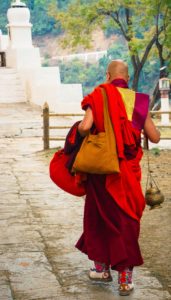
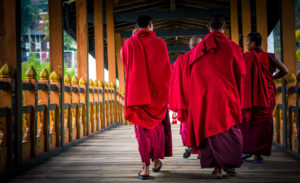
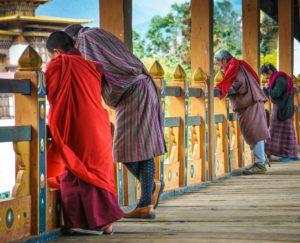
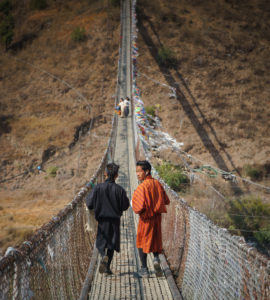
Monks crossing the bridge in Punakha Dzong, Bhutan
Monks crossing the bridge in Punakha Dzong

Photography
Bhutan is a stunning place to photograph and while smartphones take wonderful pictures, I recommend bringing along a real camera.

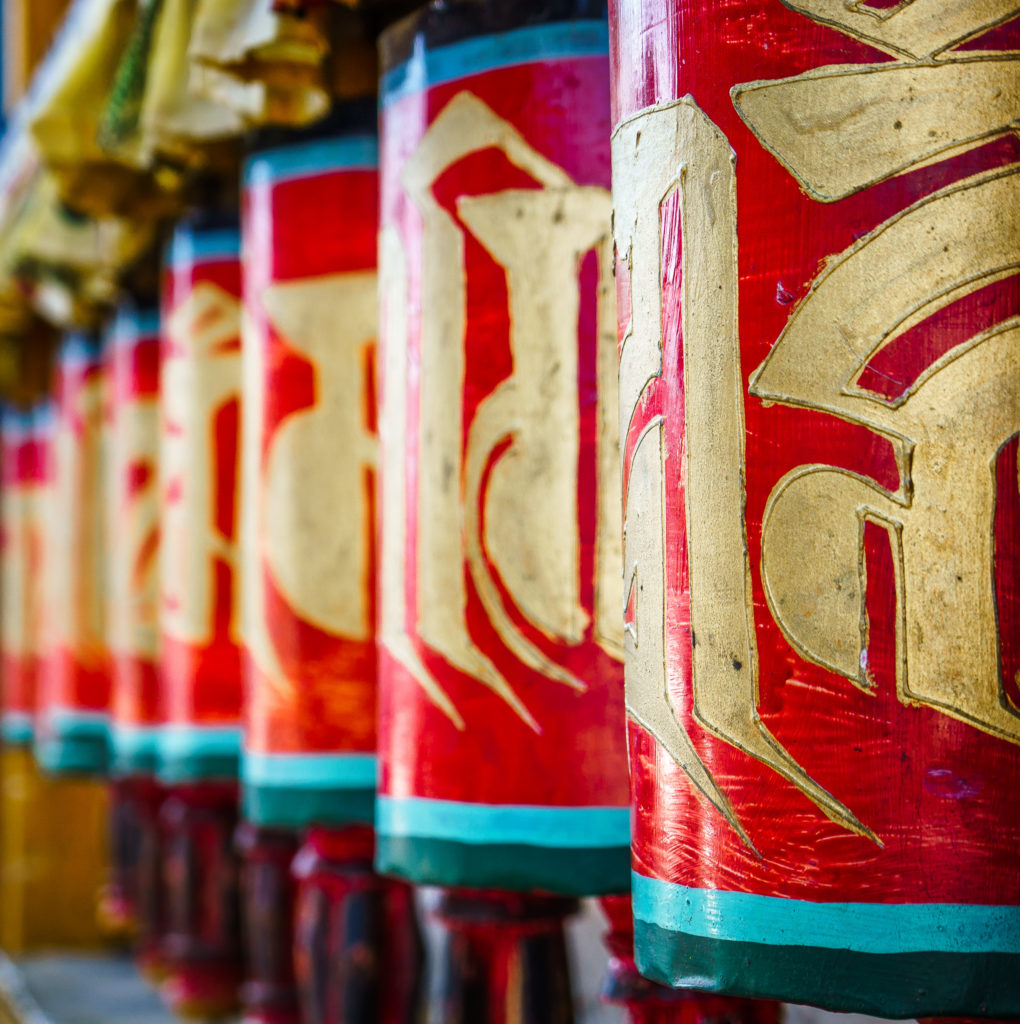
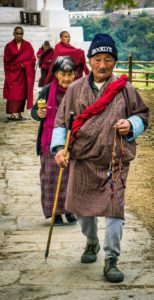
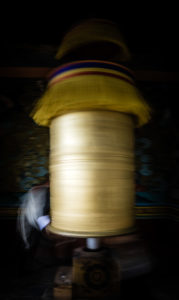
Prayer wheel Bhutan
Prayer wheel

Keep in mind that photography is not allowed inside most monasteries and temples. If  you have to take your shoes off, you probably aren’t allowed to take a photo.

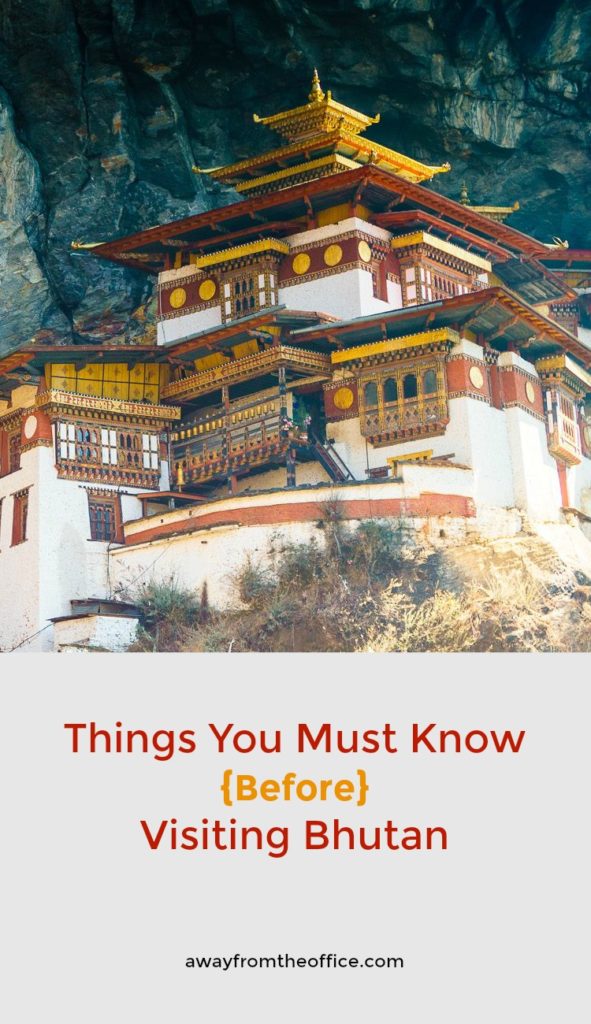
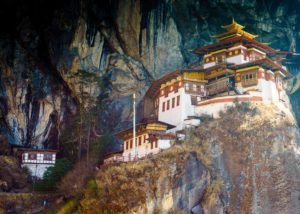
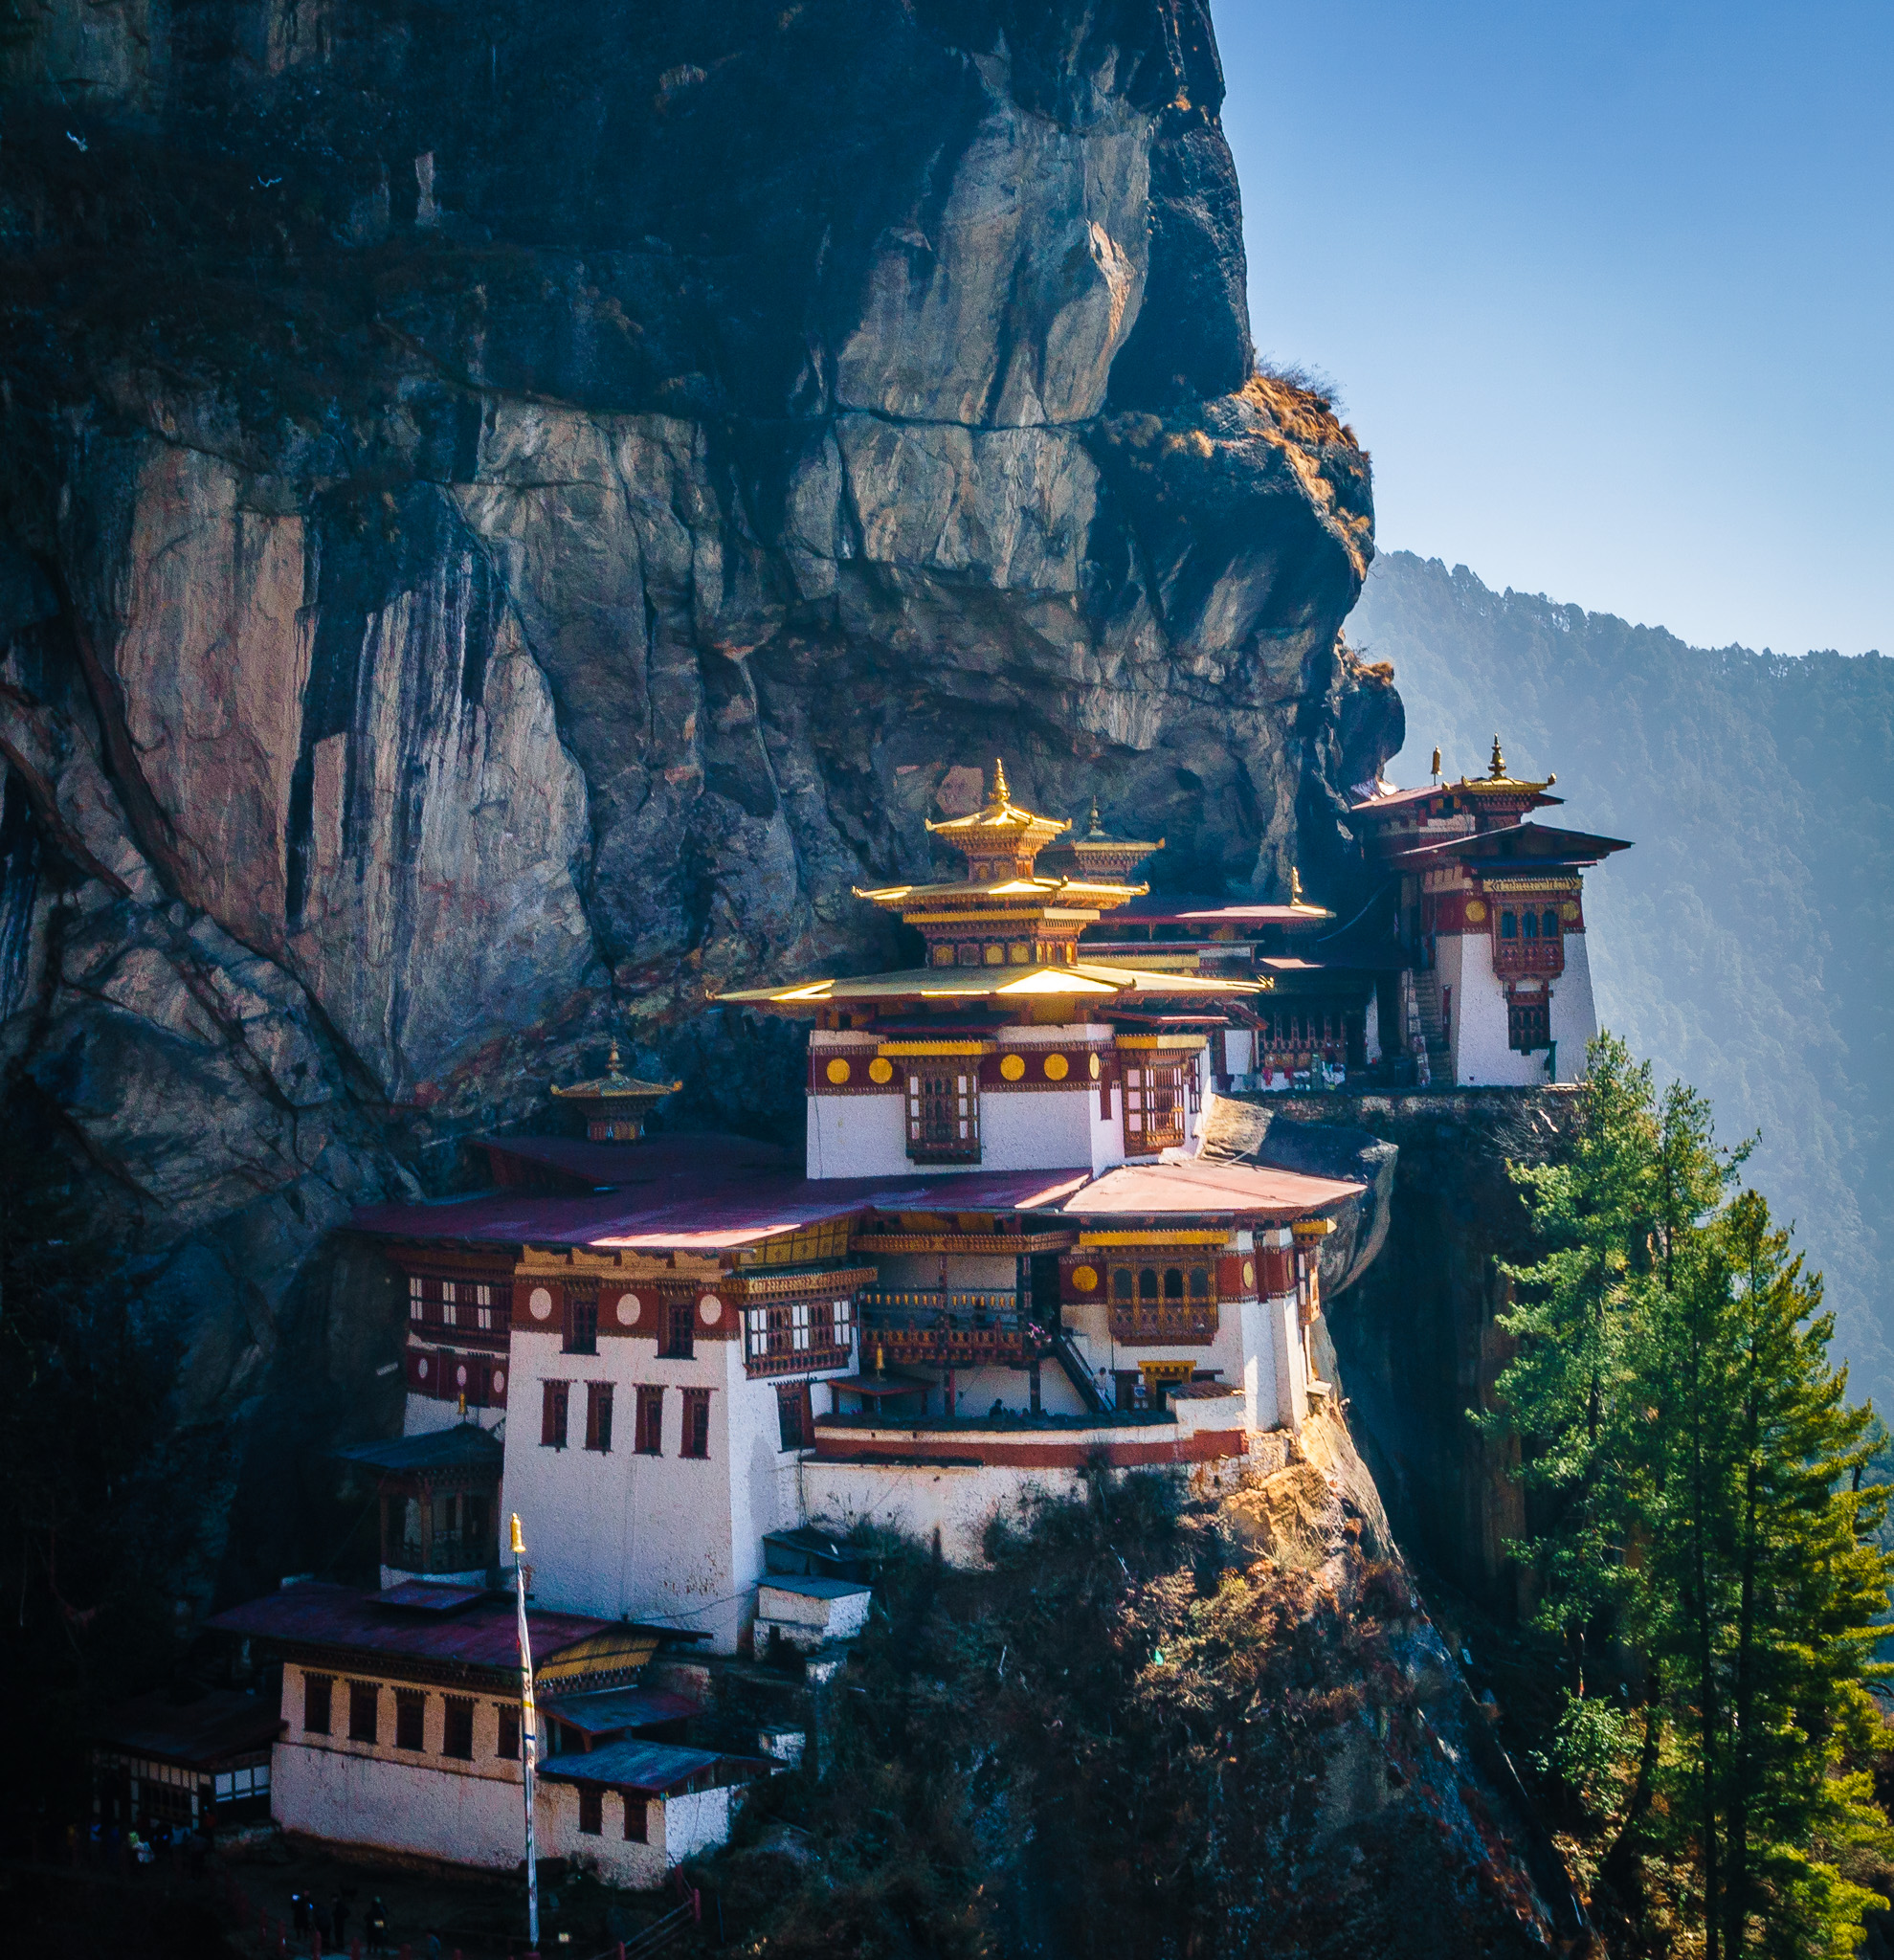
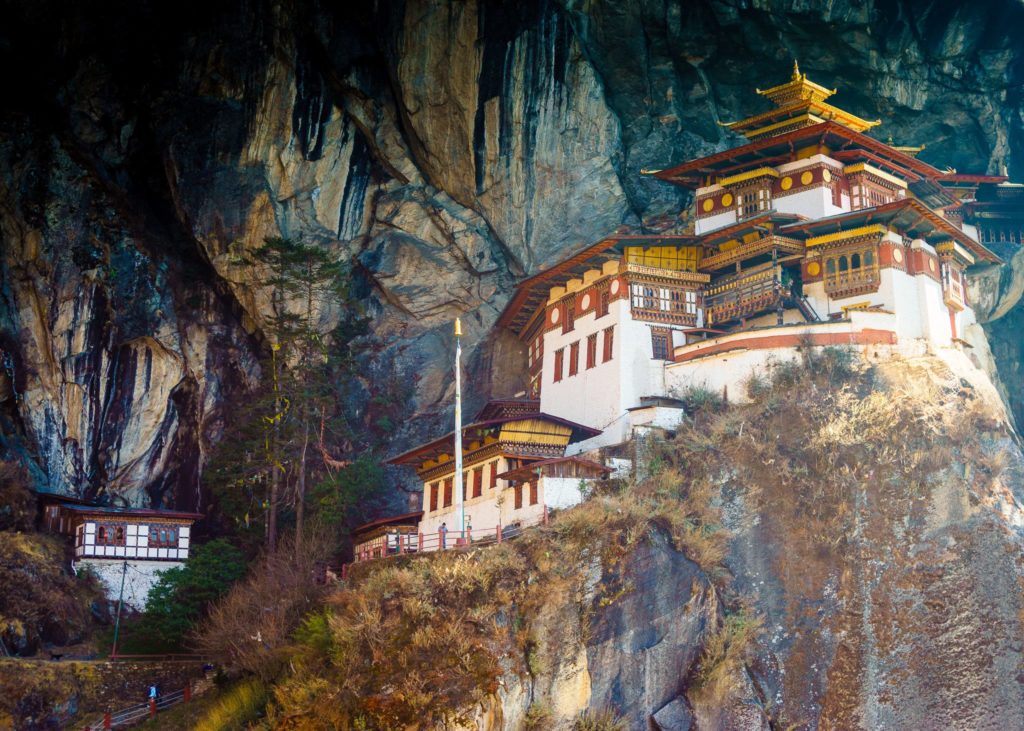
Bhutan: At the entrance to Paro Taktsang, also known as Tiger's Nest Monastery
At the entrance to Paro Taktsang, also known as Tiger’s Nest Monastery

Keep Your Eye Out For the Royal Family
Since Bhutan is such a small country, you may encounter the royal family. One morning in Punakha, the driver pulled the left side of the road and waited for some oncoming vehicles to pass. He told me that the entire royal family just drove by and they had likely visited the Punakha Dzong. If you do happen to spot the royals, don’t take their photo unless you have explicit permission.

Along those lines, don’t disrespect the royals. The Bhutanese people hold the monarchy close to their hearts and you’ll see photos of the royal family in museums, restaurants and shops.

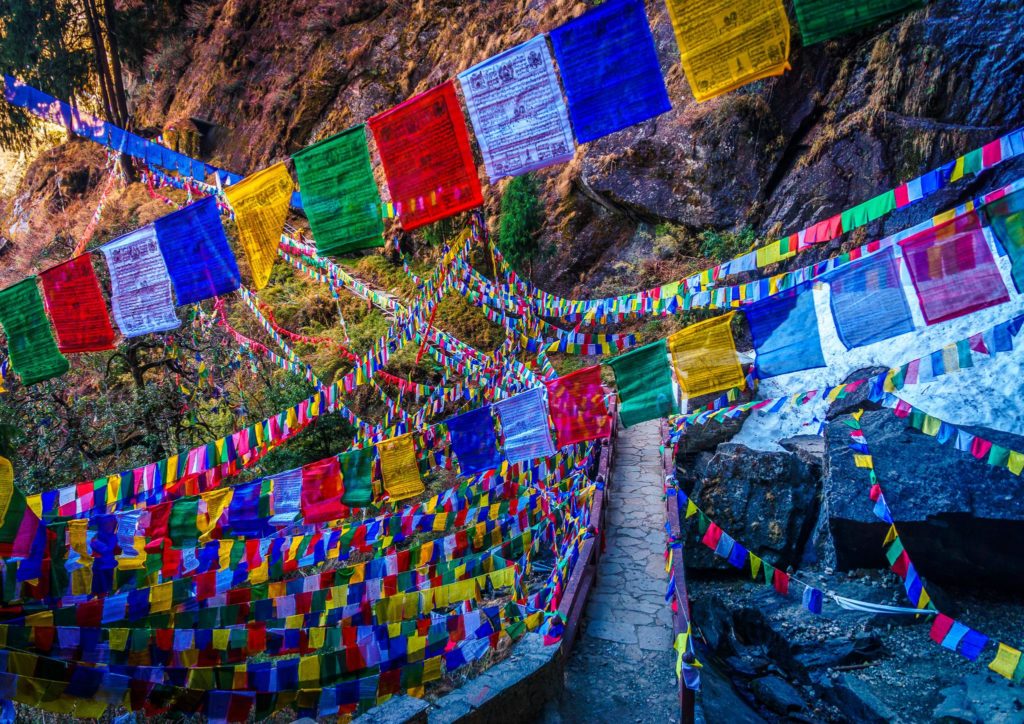
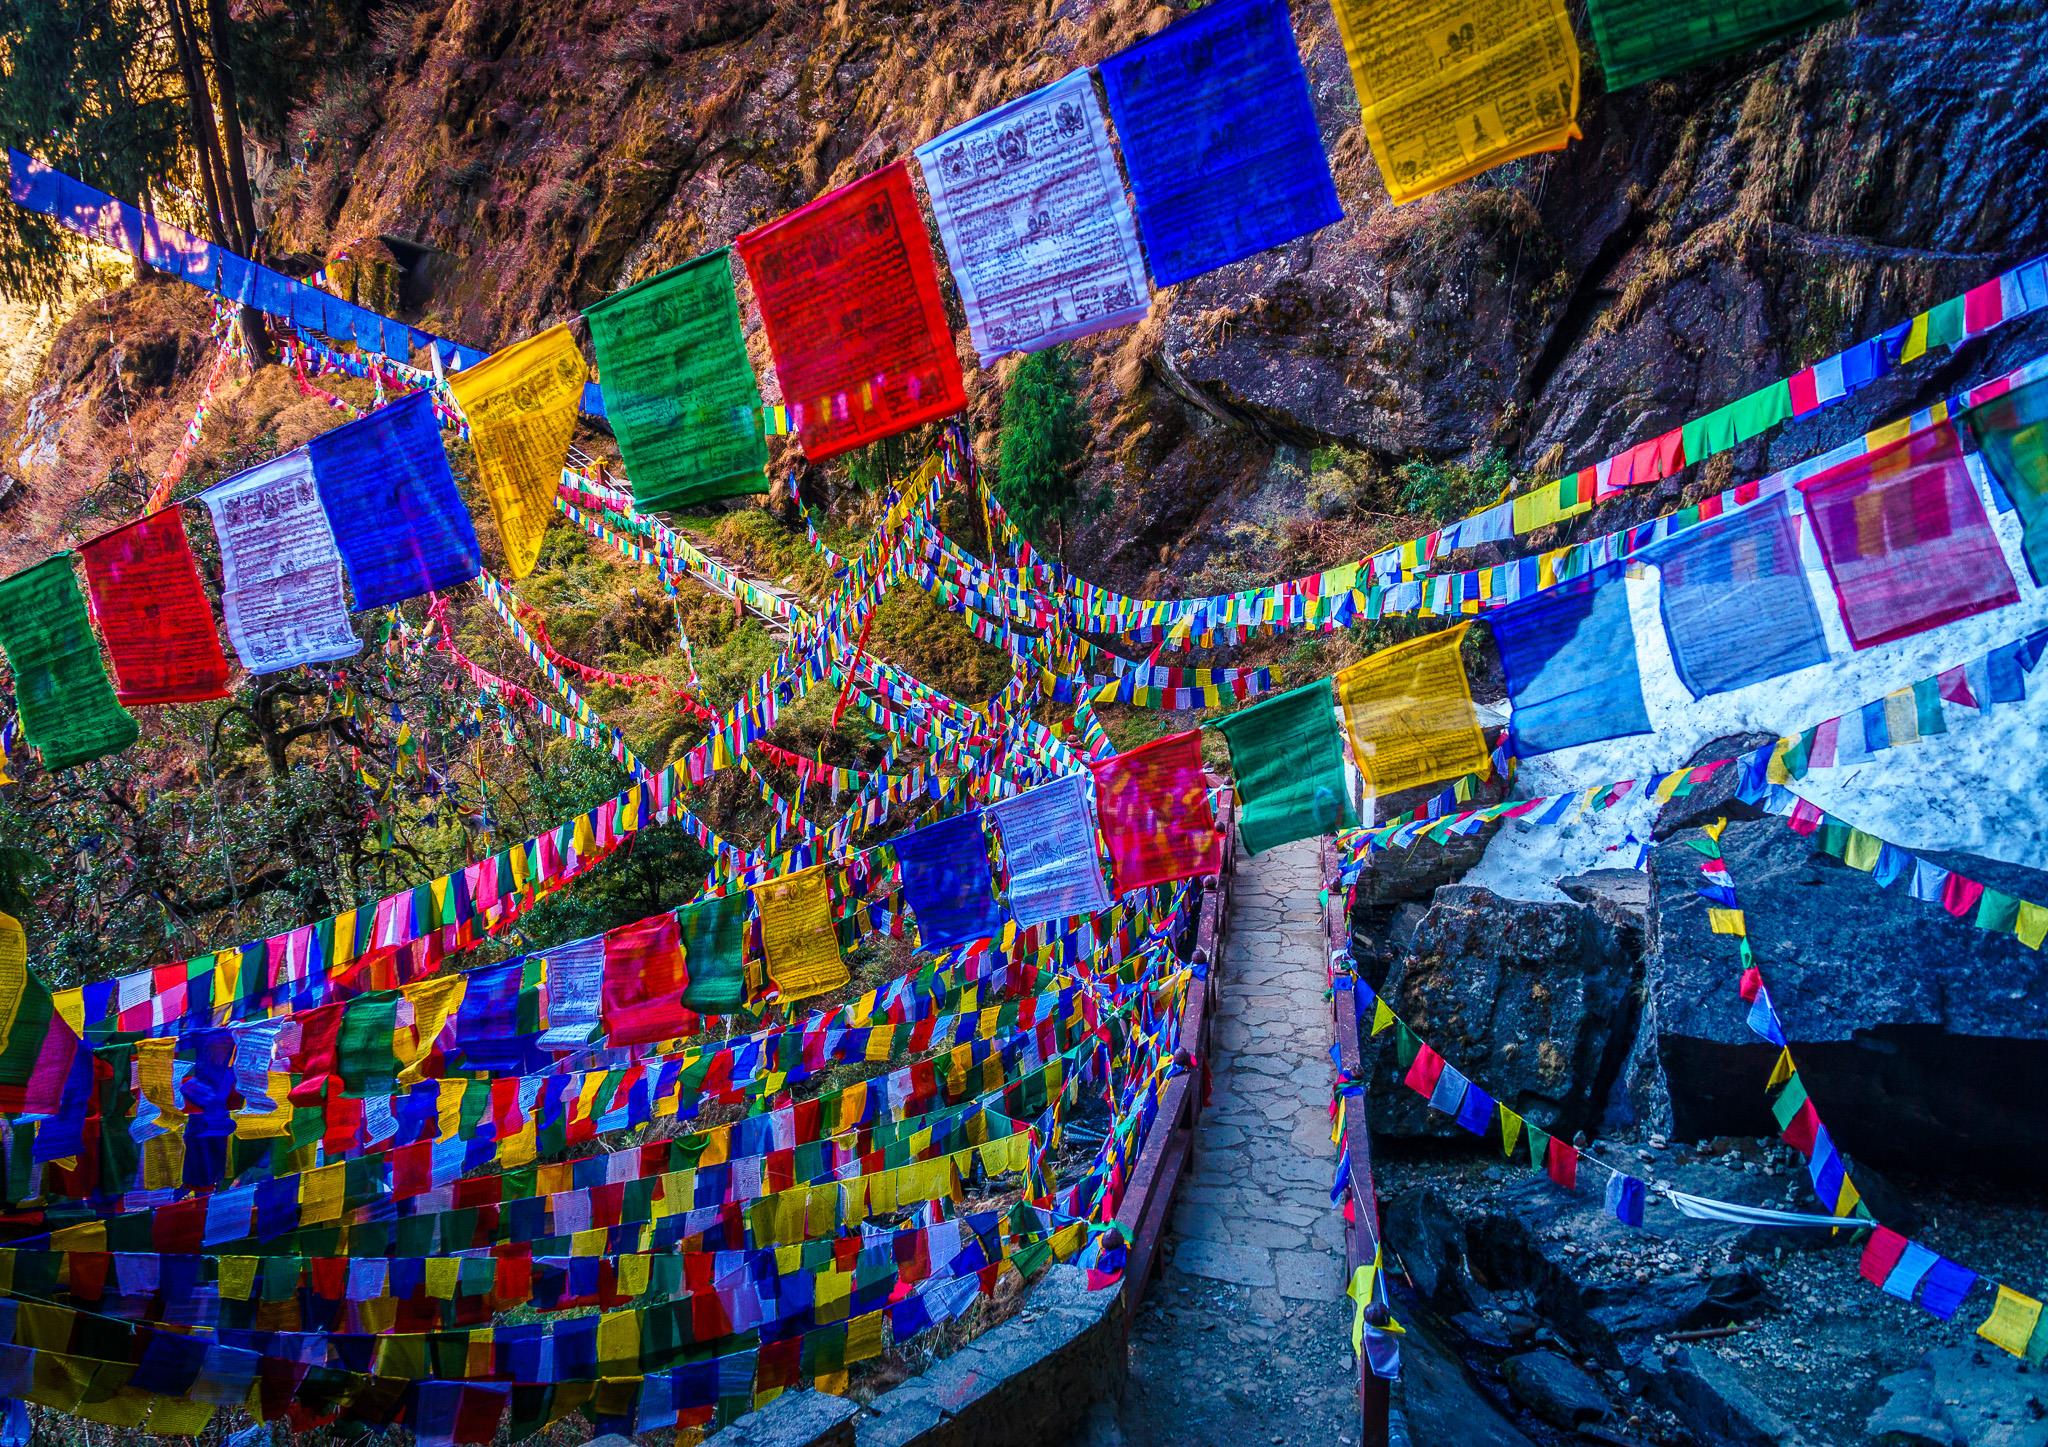
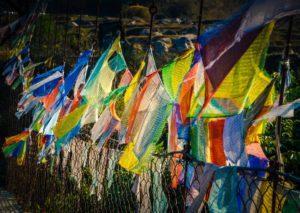
Bhutan: Prayer flags on the hike up to Tiger's Nest Monastery
Prayer flags on the hike up to Tiger’s Nest Monastery

Get a local SIM
Your cell phone may not get service in Bhutan (mine certainly didn’t). If you need to stay connected, plan on buying a Bhutanese SIM card.

Wifi is available in all the hotels but is probably much slower than what you’re used to back home. I was able to check Facebook but downloading email and trying to use FaceTime was pretty much impossible.

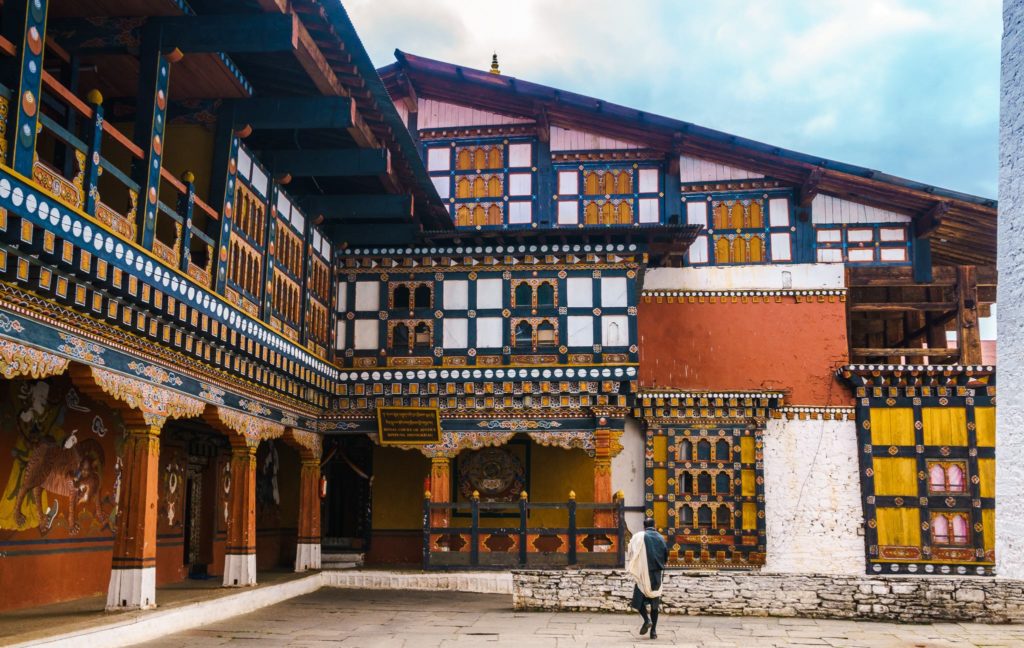
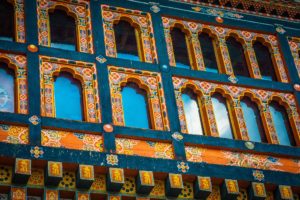
Bhutan: Paro Dzong
Bhutan: Paro Dzong

Bring appropriate clothing
I visiting in the middle of winter and the temperatures ranged anywhere from 30 F to 65 F in the course of a single day. If you’re visiting in the winter, plan on bringing a warm jacket, gloves, hat and warm pants. When you’re hiking, particularly at Tiger’s Nest, you’re going to want to shed your jacket so make sure you have a warm shirt underneath.

You’ll also need to dress modestly and respectfully at temples which means long pants and covered shoulders. You’ll need to remove your shoes when entering the temples so I definitely recommend wearing socks so that you don’t have to walk around barefoot.

Punakha Dzong
Me in front of the Punakha Dzong

While all the hotels have heat, it wasn’t as strong as I was used to so plan on bringing along a warm pair of pajamas in the winter.

Bring sunscreen
Bhutan is at a high altitude so you’ll need to bring sunglasses and wear sunscreen, regardless of the time of year.

Learn some dzongkha
Bhutan’s official language is dzongkha, with an additional 19 languages being spoken throughout the country. You’ll primarily hear dzongkha in Thimphu, Paro, Punakha, Haa, Wangdue and Phodrang. Even though the words are incredibly challenging to speak, you’ll earn respect from the Bhutanese for attempting the language.

Here are some basic phrases:
Hello: Kuzu zangpo la
Nice to meet you: Nga shoe da chebay sem ga yi
My name is: Nga gi ming _____ in
Thank you: Kadrin chhe la

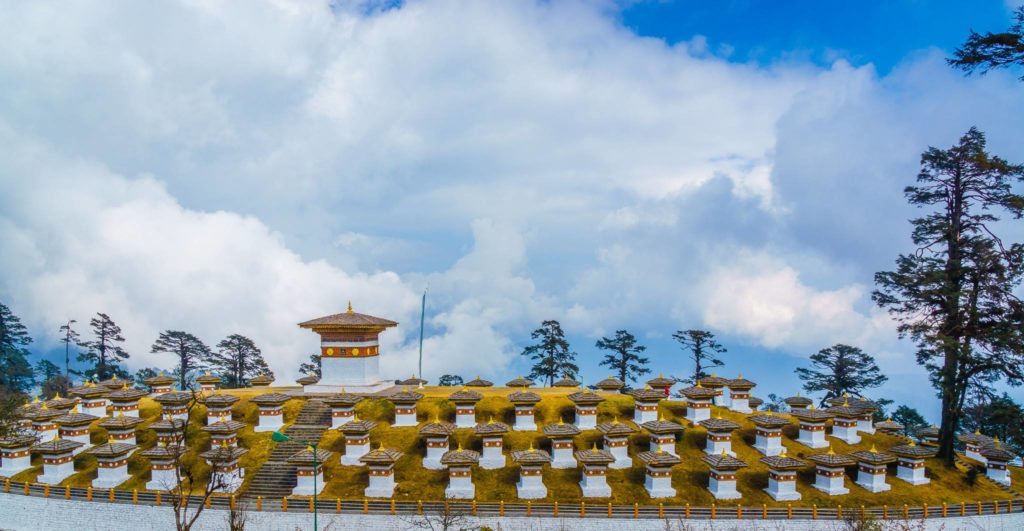
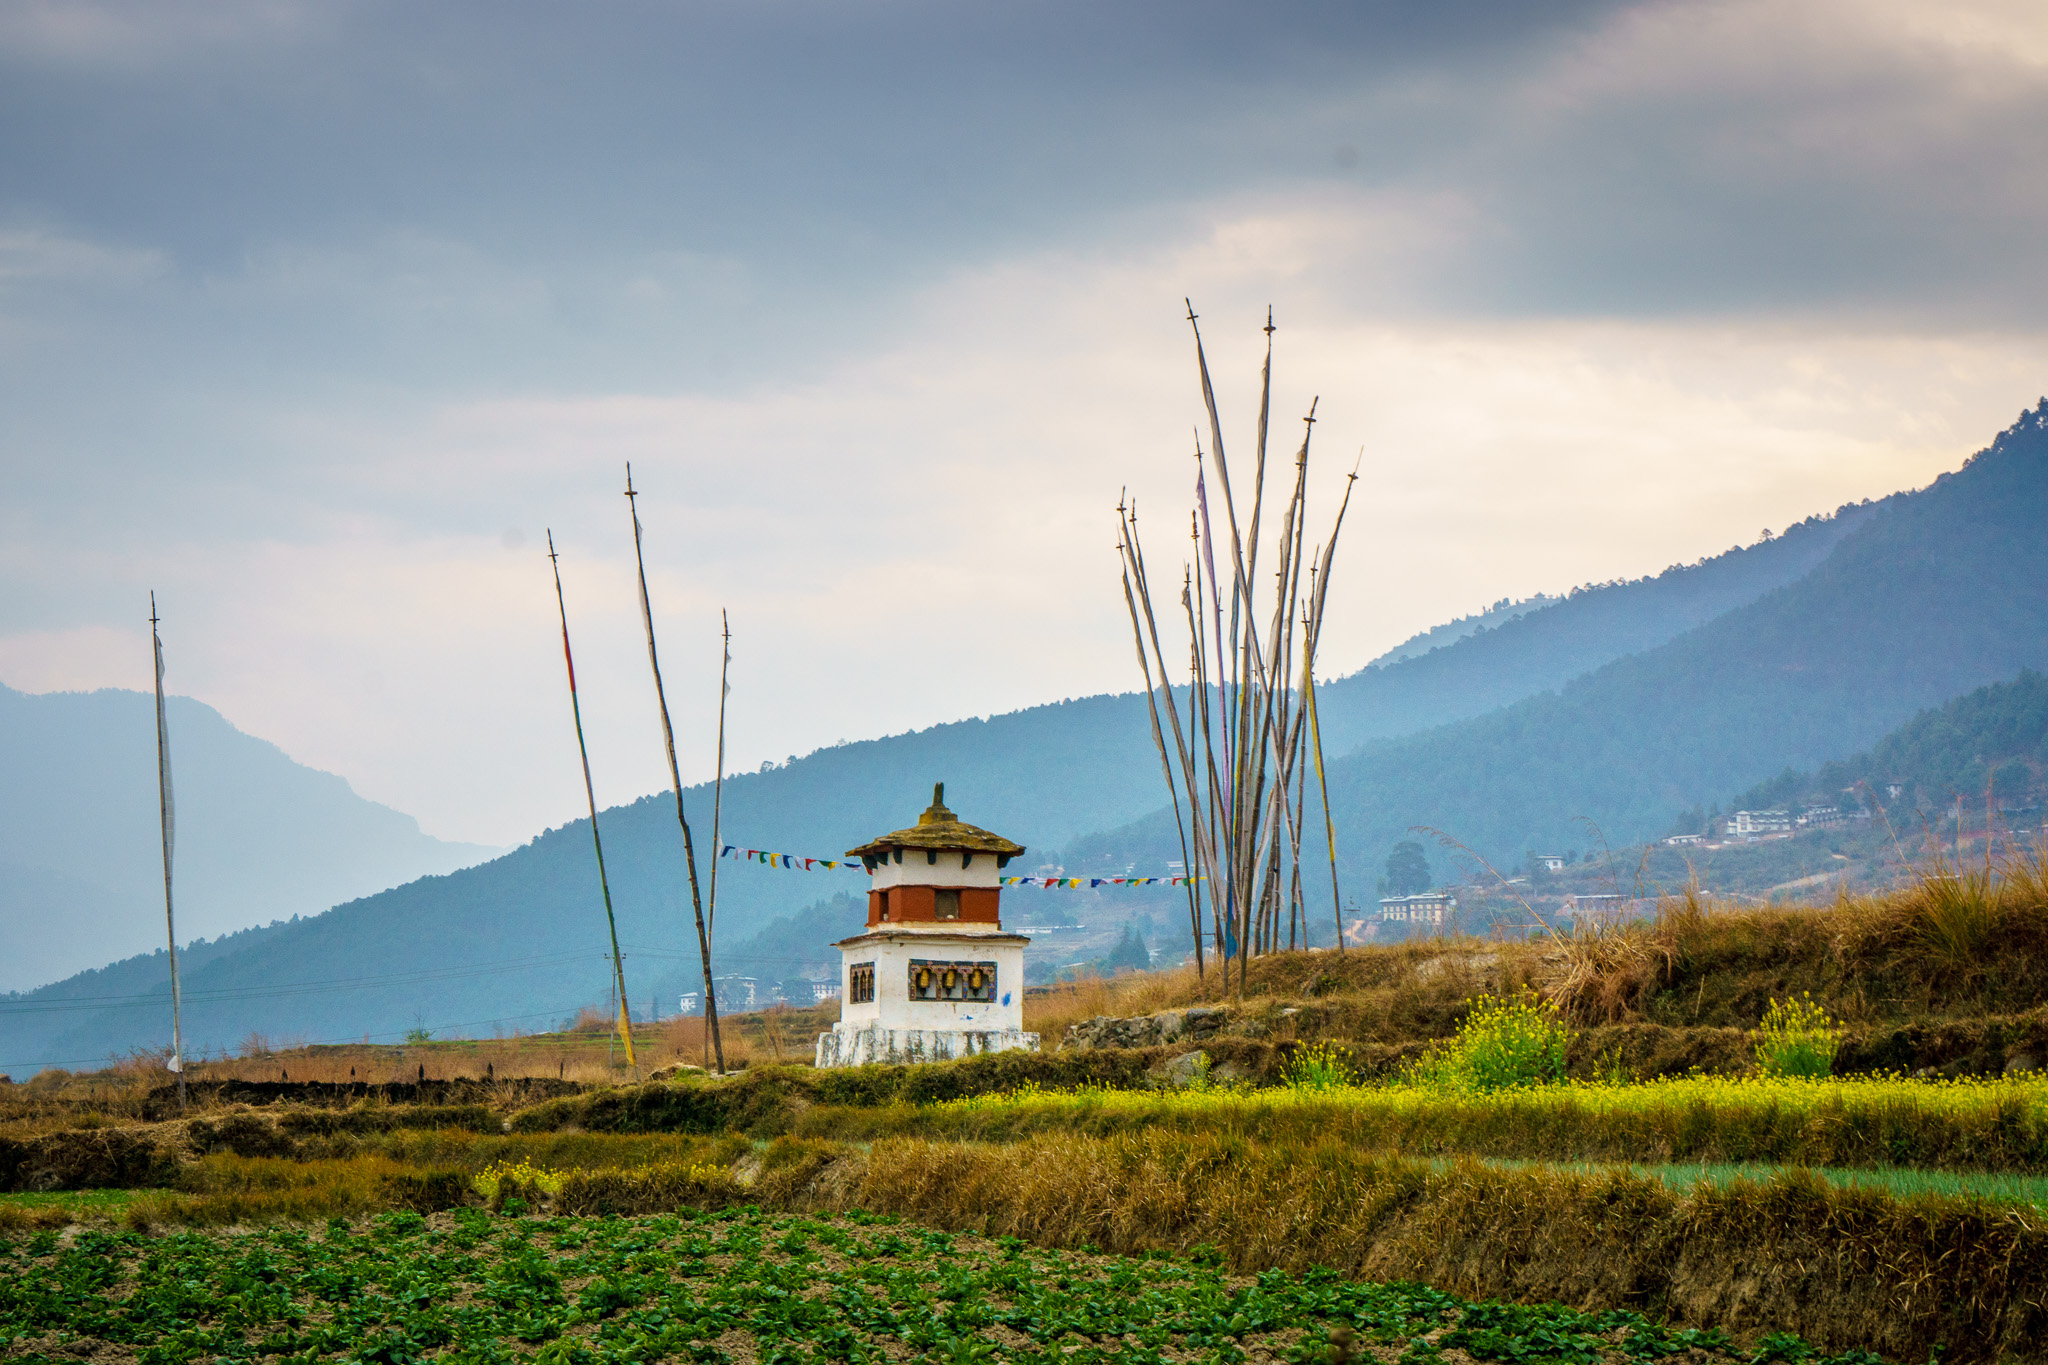
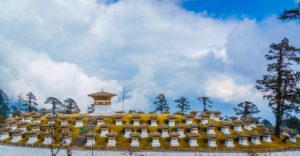
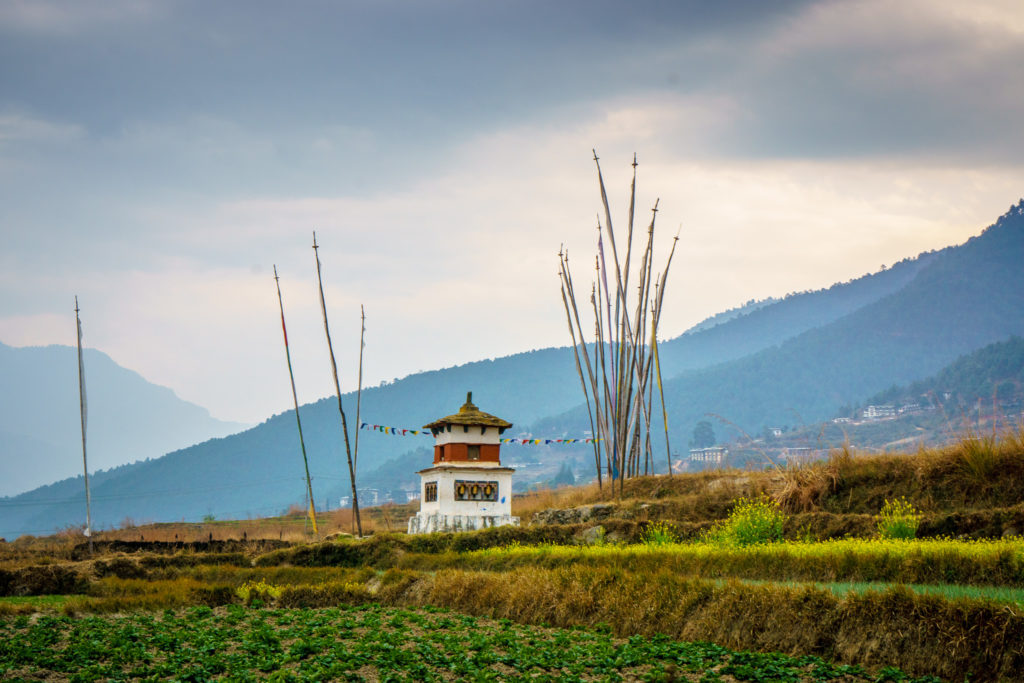
Stupas at Dochula Pass Bhutan
Stupas at Dochula Pass

Beware the dogs
Packs of dogs roam the streets of Thimphu, Paro and Punakha. They seemed pretty harmless and begged for food when I was hiking up to Tiger’s Nest Monastery. That said, I still wouldn’t pet them since they’re wild and may bite.

Of course, the packs of dogs are active during the day and spend all night barking as loud as possible. You’ll need to bring earplugs so that you can block out the sound of all-night barking and yelping.

Things You Must Know Before Visiting Bhutan

11 Things You Need to Know Before Your Visit Bhutan


Everything You Need to Know About Getting a Visa to Bhutan

Everything You Need to Know About Bhutan Visas

When I told my friends and family that I would be visiting Bhutan solo, one of the most common questions was “how did you manage to get a visit?” Many of my fellow Americans believe that travel to Bhutan is restricted and only a certain number of visas are issued a year, which is completely false.

A lot of people also think the visa process is incredibly complicated and while there are a couple of steps involved, it’s pretty straightforward.

All tourists visiting Bhutan must apply fora visa, unless you’re a citizen of the Maldives, India or Bangladesh. As part of the visa process, tourists must pay a daily tariff, which aligns to Bhutan’s tourism policy of “High Value, Low Impact.” Bhutan wants people visiting to respect their culture and the environment and requesting that tourists pay to visit the country is one of the best ways to ensure that.

Watching the fish at Punakha Dzong, Bhutan
Watching the fish at Punakha Dzong

Costs
As mentioned above, you’ll pay a daily tariff in order to visit Bhutan. The daily tariff varies depending on when you’re traveling and how many are in your group but here are the rates for 2017:

Groups of 3 people or more:
US $200 per person per night during the months of January, February, June, July, August, December
US $250 per person per night for the months of March, April, May, September, October, November

If you’re a solo traveler, you’ll need to add $40 per night. If you’re traveling as a couple, you’ll add $30 per person per night.

Additionally, there’s a $40 for the visa itself.

These fees sound pretty steep but the cost is inclusive of the following services

  • Your accommodation in a minimum 3-star hotel. If you want to stay in a luxury hotel (and there are several in Bhutan), you’ll need to pay extra
  • All meals (this includes eating out at restaurants, which I did several times. I was a fan of the local food but some people aren’t and prefer to eat at the hotel)
  • Licensed Bhutanese tour guide as well as a driver. Note: You are required to hire a guide unless you’re from India, Bangladesh or the Maldives. You will have your very own tour guide and won’t be put on a coach tour with 30 other tourists, unless that’s something you want and specifically request. I traveled with Keys to Bhutan and I highly recommend them.
  • All internal transport (excluding flights)
  • Camping equipment for trekking
  • Entry into all monuments and temples
  • 35% of what you pay goes to the government, which helps pay for things like healthcare, education and infrastructure

The only extra things I paid for during the trip were a few soft drinks, a couple beers (yes, there’s a local beer company), a few souvenirs and the tip for the guide and the driver.

The local currency is the Bhutanese Ngultrum and your guide will help you exchange money before the trip starts.

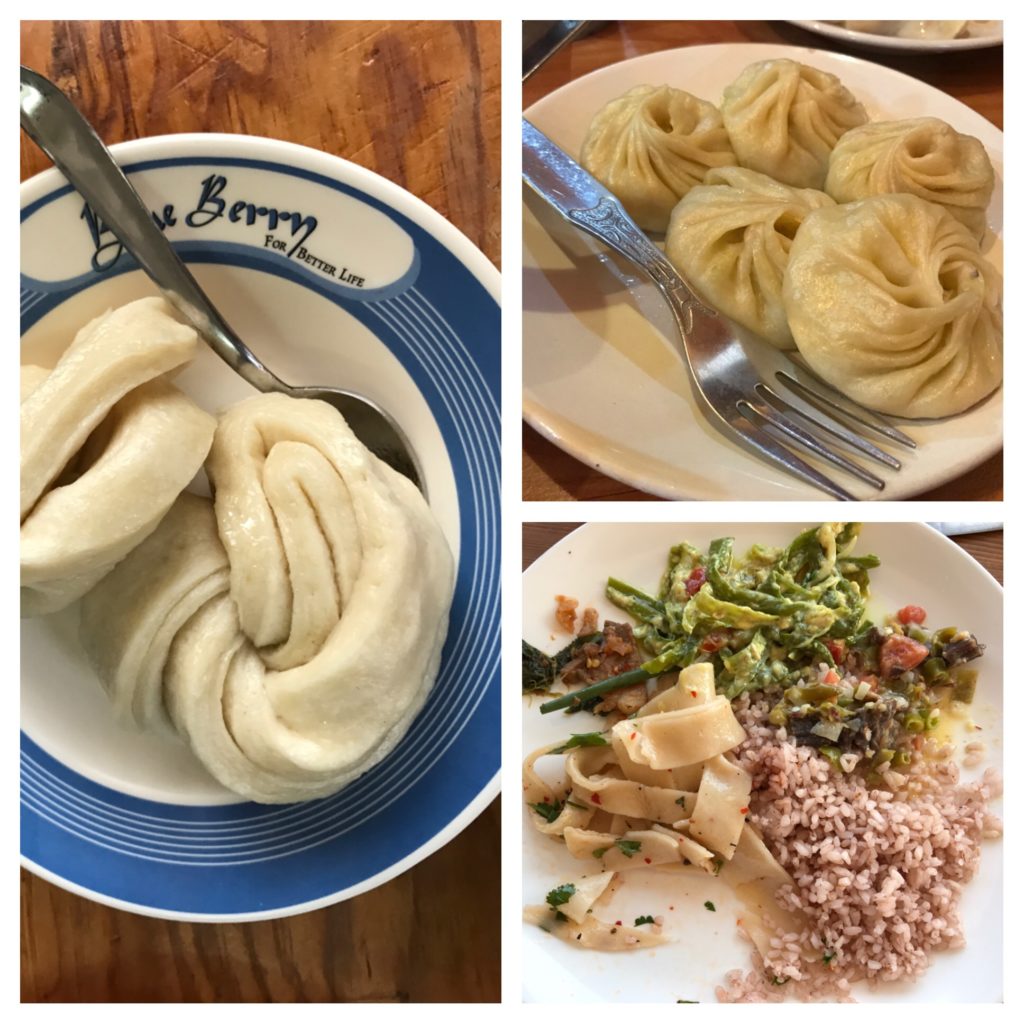
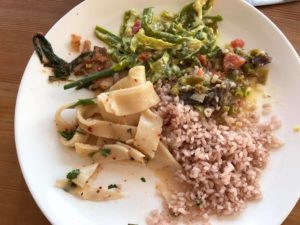
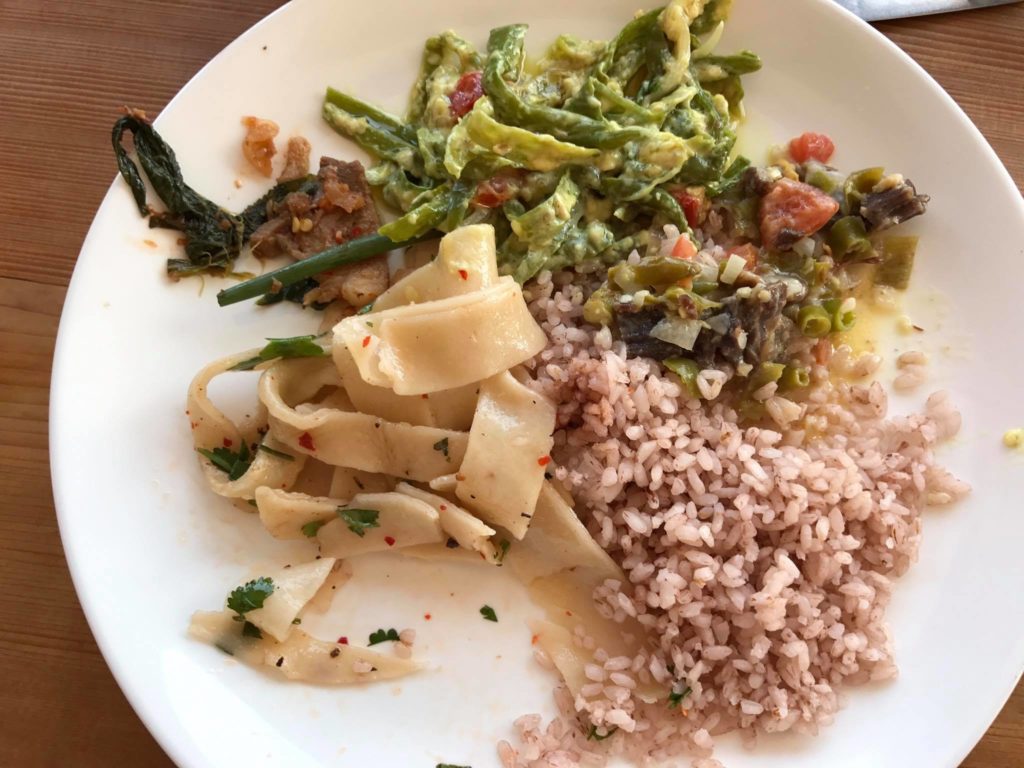
Bhutanese Food: Momos and spicy chili in a cheese sauce

Tour Company
Rather than arrange the visa yourself, your tour company will do this for you so it’s important to pick one out fairly early in the process. As I mentioned above, I used Keys to Bhutan based on their responsiveness to my questions and some other reviews that I read on Tripadvisor. If you have special interest such as trekking, seeing festivals, arrange an overnight stay with farmers, viewing wildlife, your tour company should be able to arrange this for you very easily.

Keys to Bhutan
Me with my Keys to Bhutan guide and driver

On most tour company websites, you’ll see suggested itineraries but since you’re getting a private tour, you can tweak the itinerary. It’s important that you decide where you want to visit before you arrive since your visa will specify where you can and can’t go in the country.

The tour company can also arrange your flights for you or you can book them yourself on Druk Air or Bhutan Airlines. I decided to book my flights myself since I had already paid for my tour and didn’t want to pay another wire transfer fee.

Arriving on Druk Air: Royal Bhutan Airlines

Before your tour company will officially apply for your visa, you’ll need to pay for the full cost of the tour in advance. You’ll be asked to wire money to your tour company via the Bank of Bhutan. I know this sounds sketchy but the tour company will provide you with instructions and it’s how every tourist books their trip. I went to my local Bank of America branch and the staff walked me through the process and two days later, the tour company had the money.

Your tour guide will also take care of booking your hotels for you so let them know if there is a specific place you want to stay, keeping in mind there are extra fees for luxury hotels. During my trip, I was booked at Dorji Elements in Thimphu, Meri Punesum in Punakha and Tenziling in Paro, which were all adequate 3* hotels.

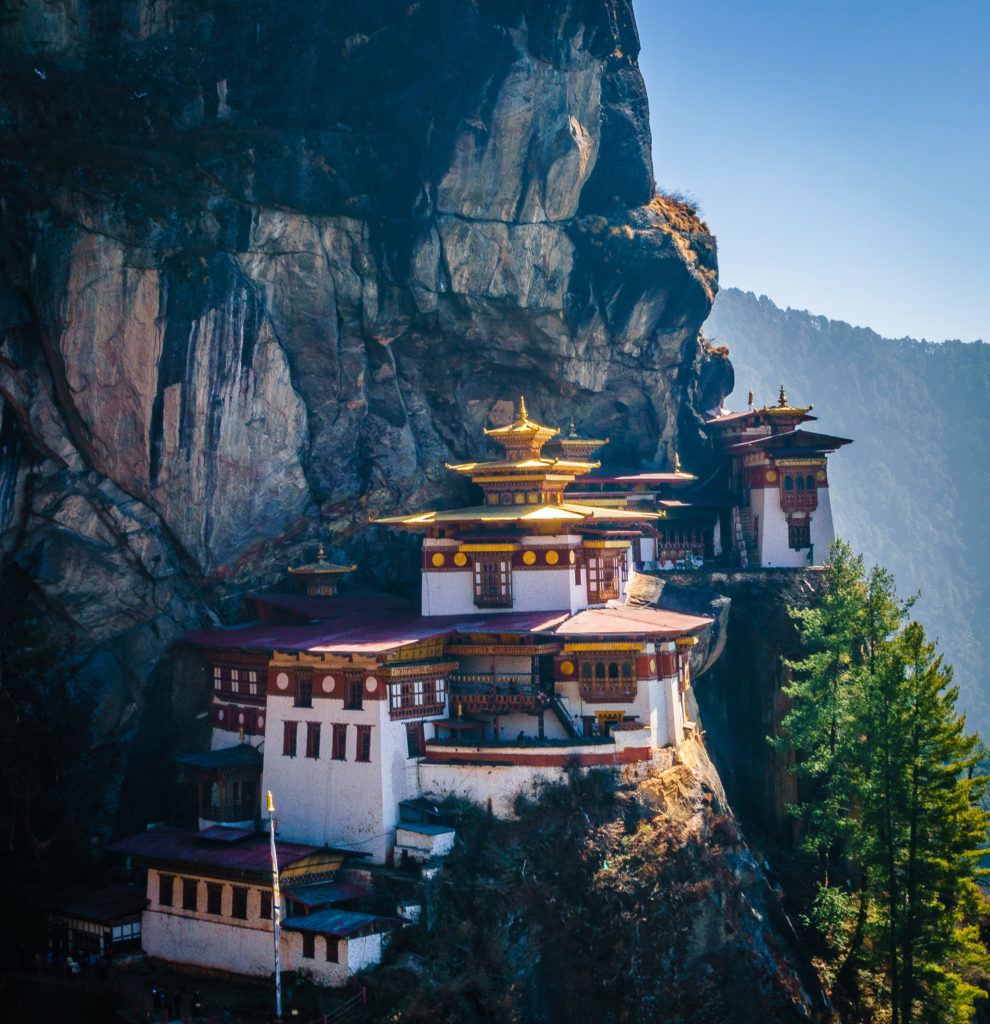
Bhutan: Paro Taktsang, also known as Tiger's Nest Monastery
Bhutan: Paro Taktsang, also known as Tiger’s Nest Monastery

Around two weeks before your departure, you’ll receive a confirmation of your visa which you’ll need to print out and bring with you. Doublecheck your visa very closely. Unfortunately I didn’t notice a typo in my last name and the staff at the Delhi airport weren’t going to let me board the Druk Air flight. After a couple hours of stressing out, they finally gave me an indemnification form and told me that I’d need to pay 40,000 rupees if I was denied entry into Bhutan. Once I arrived in Bhutan, they didn’t even mention the typo on my last name and I was through immigration within 5 minutes.

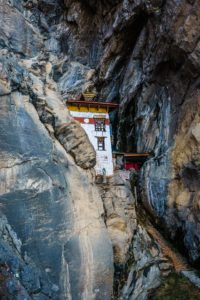
Bhutan: At the entrance to Paro Taktsang, also known as Tiger's Nest Monastery
At the entrance to Paro Taktsang, also known as Tiger’s Nest Monastery

Is the Daily Fee and Visa Process Worth It?
Absolutely. As I mentioned in a previous post, you’ll get to experience a unique country in this little land-locked country. From stunning vistas to learning about Buddhism to eating the spiciest food you’ve probably ever tried, Bhutan has a lot to offer.

While the country isn’t as cheap to visit as some other countries in Asia, it’s definitely within reach of many travelers. As a solo traveler in January, I paid a daily fee of $240 USD, which included delicious meals, a private guide and transportation, which puts it at the mid-range level. If you want to splurge, the luxury hotels certainly add up but I found the 3* star hotels to be clean and comfortable.

Definitely consider adding Bhutan to your bucket list. It’s easy to get there on Druk Air via several cities in India, Kathmandu, Bangkok and Singapore.

If you found this post helpful, please Pin It!

How to Get a Bhutan Visa

In Photos: Beautiful Bhutan

52 Photos That Will Make You Want to Visit Bhutan

In my last post, I talked about some of the reasons why you need to visit Bhutan. If you’re still not convinced, I’m including even more photos below that will make you want to visit The Land of the Thunder Dragon.

Bhutan: Why you need to visit the Land of the Thunder Dragon

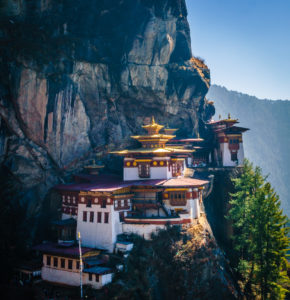
Bhutan: Tiger's Nest Monastery
Bhutan: Tiger’s Nest Monastery

In late January, I finally checked off a bucket-list item I’ve had since I was 12 years old: visiting Bhutan, also known as the Land of the Thunder Dragon. I started collecting postcards with my grandmother, Nana, when I was 10 years old and a couple of years later, I received a beautiful postcard from Bhutan. The people in the postcard were wearing their beautiful natural dress and the mysterious and alluring Paro Taktsang, also known more commonly as the Tiger’s Nest Monastery, was shrouded in a layer of fog. I had no idea where Bhutan was located so I went to the school library and did as much research as I could by using our encyclopedias. I knew that one day I would visit Bhutan but I didn’t realize it would take 23 years for it to happen.

Keys to Bhutan
Me with my Keys to Bhutan guide and driver

Bhutan isn’t the easiest country to visit. Their strategy around tourism is “high quality, low impact” which means that there are some barriers to visit that aren’t in place for nearby countries like Nepal. In a future blog post, I’ll talk in more detail on how you can plan a trip to Bhutan.

Here are some reasons why you need to visit the Land of the Thunderdragon as soon as possible:

Sustainable Tourism
The country is not overrun with mass tourism the same way other countries like Nepal, India and Thailand are. The government imposes a $250 per day for all tourists, except those from India, Bangladesh or the Maldives. While that may sound steep, the cost includes your accommodations, guide & driver, entrance fees and food. A portion of the daily tourist tariff (35%) goes towards free healthcare, education and tourism infrastructure.

Bhutan: Paro Dzong
Bhutan: Paro Dzong

They Love Chilis
I am a self-proclaimed spicy food addict and have been known to visit Santa Fe, NM just so that I can get my fill of hatch green chili.

I was happy to discover that Bhutanese cuisine is also incredibly spicy and almost every local dish has just as much chilis as veggies & meat. Within the first few hours of my arrival, I told my guide that I want to eat at local restaurants whenever possible since I’m not a huge fan of hotel buffets. He warned me several times that the food is incredibly spicy and most tourists can’t tolerate it. I think both he and the tour company manager were amused when I ate all my food at a local restaurant in Thimphu.

One of the most well-known dishes is Ema datshi, a spicy dish made with green chili peppers in a cheesy sauce. When I took my first bite of Ema datshi at the hotel, I mistakingly thought the green chili peppers were green beans. Whoops! At least I enjoy spicy food.

Ema Datshi, spicy green chilis in Bhutan

My favorite dish though, had to be Kewa datshi, which is potatoes with red chili peppers in a cheesy sauce.

If you can’t tolerate spicy food, don’t worry. The hotels serve a mix of Indian/Chinese/Western food so you can avoid the local food entirely if you wish.

No Western Chain Stores
While there are a few international chain hotels, such as Starwood’s Le Meridien Thimphu and Le Meridien Paro, no chain restaurants or stores exist in Bhutan. You won’t see a single McDonald’s, KFC, 7/11, etc. The only country I’ve traveled to that had zero western chains was Cuba, although that’s quickly starting to change.

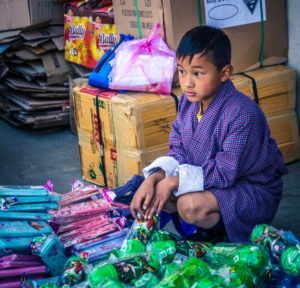
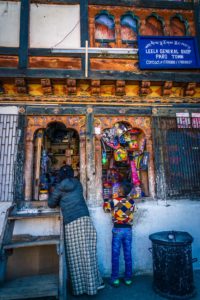
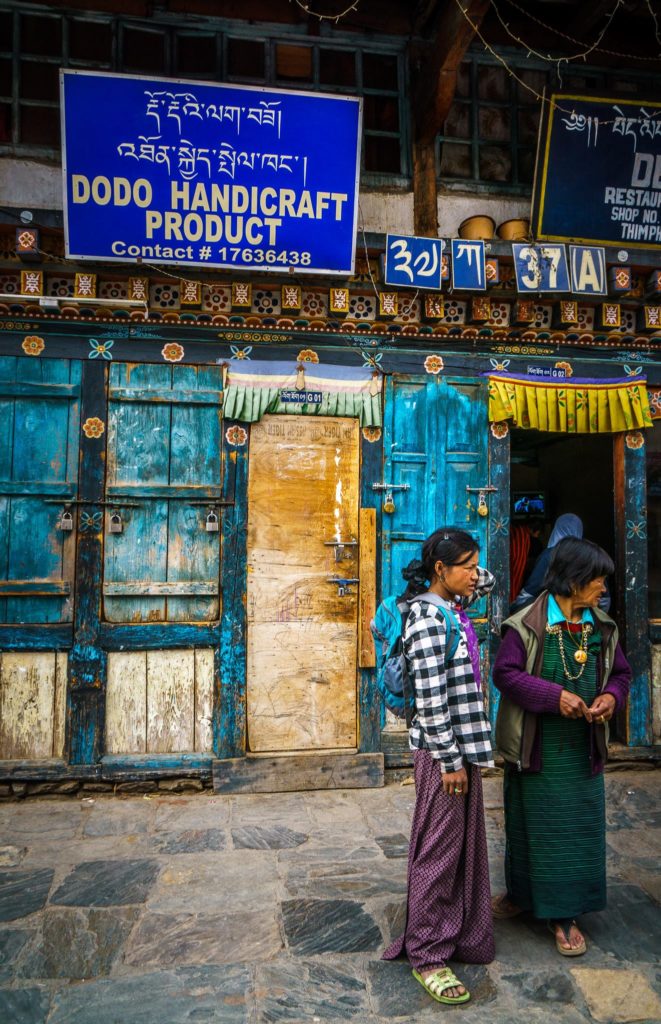
Bhutan: Shopping in Thimphu

Rest & Relaxation
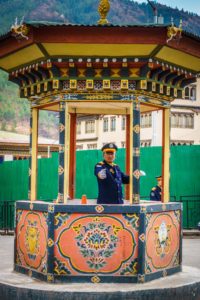
There’s a lot of to see in Bhutan but there are no big cities with your typical traffic jams and crowds. The capital of Bhutan, Thimphu, only has 170,000 residents and zero traffic lights (although there is one man directing traffic at the largest traffic circle). Much of my time was spent walking and taking in the fresh air and beautiful scenery.

Although my hotels had wifi, the signal was very weak, making it too difficult to check work email, which enabled me to unplug the entire time I was there.

Bhutan: Field in Punakha
Bhutan: Walking through a field in Punakha

Culture
Bhutan is an incredibly unique. They have more monks than soldiers. No traffic lights or fast food chains. There’s a national dress code. Traditional architecture must be maintained. They’re one of the few, if only countries, to measure their Gross National Happiness and until 1999, they didn’t have access to the Internet or cable TV. Even today, only 40% of the citizens use the Internet.

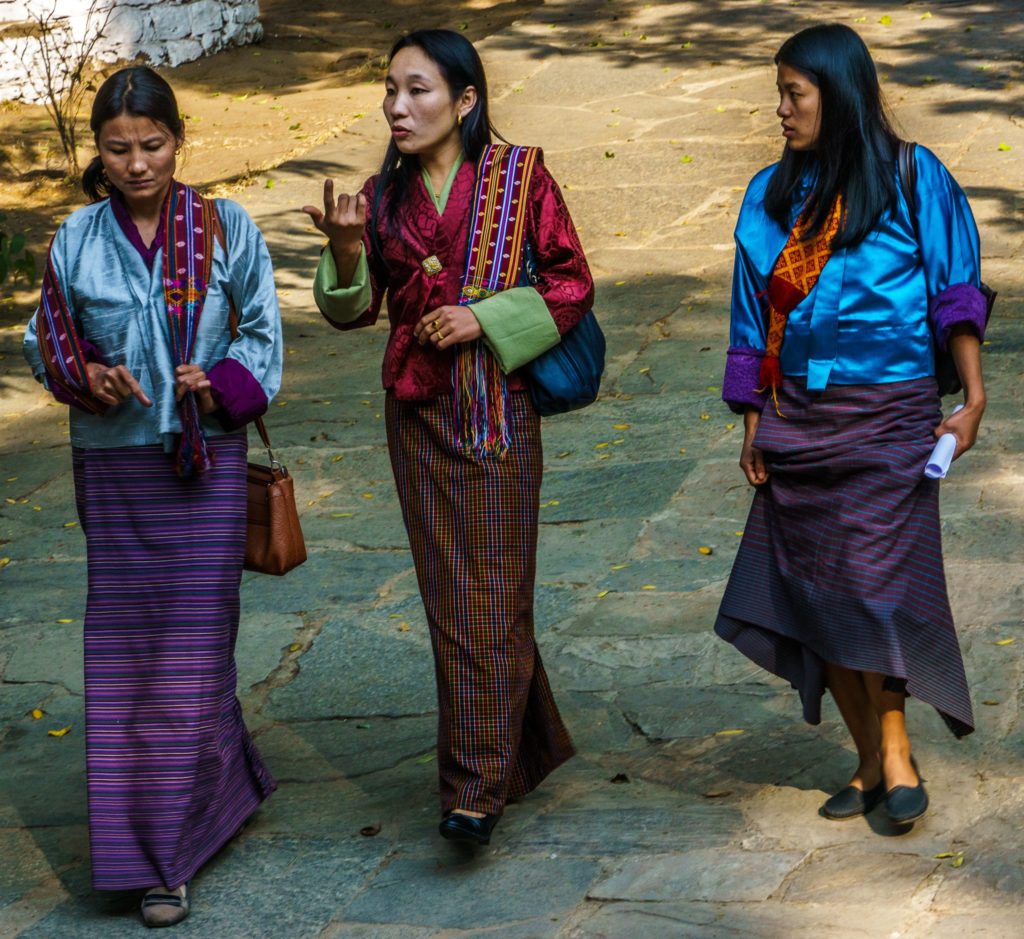
Walking around in Thimphu, you’ll see some teenagers and other folks in a sweatshirt and jeans, talking on their cellphone but it’s still much more rare to see western dress than the traditional kira or gho.

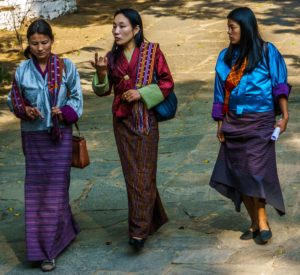
Bhutan: Women wearing the traditional kira
Women wearing the traditional kira

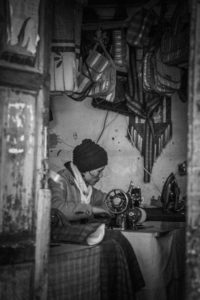
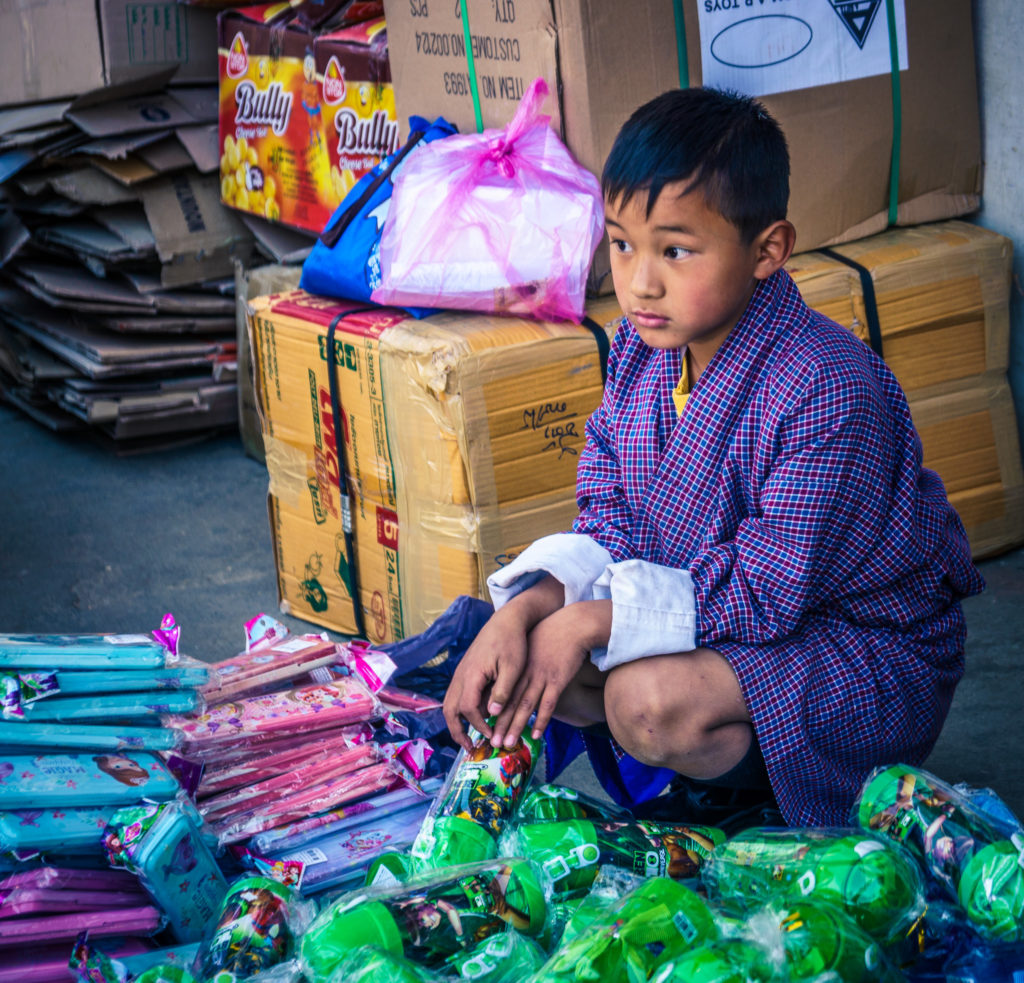
As a visitor, you won’t see hordes of tourists but you’ll have the opportunity to observe daily life in the temples, villages and even in the capital, Thimphu. When I wandered around Thimphu, it was the day before the new school year and parents were rushing to buy backpacks and school supplies.

Bhutan: Back to school shopping in Paro
Back to school shopping in Paro

To Experience a Unique Local Flavor You Won’t Get Anywhere Else
When we were driving down the road in Punakha, the driver pulled to the side of the road and told me that the entire royal family was passing. Apparently it’s not uncommon for tourists to have encounters with the royal family, given that it’s such a small country. People in Bhutan genuinely love the royal family and you’ll find their portraits in almost every home, restaurant and temple.

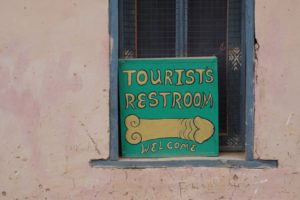
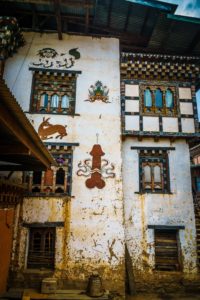
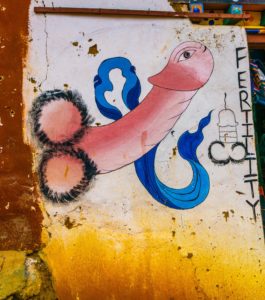
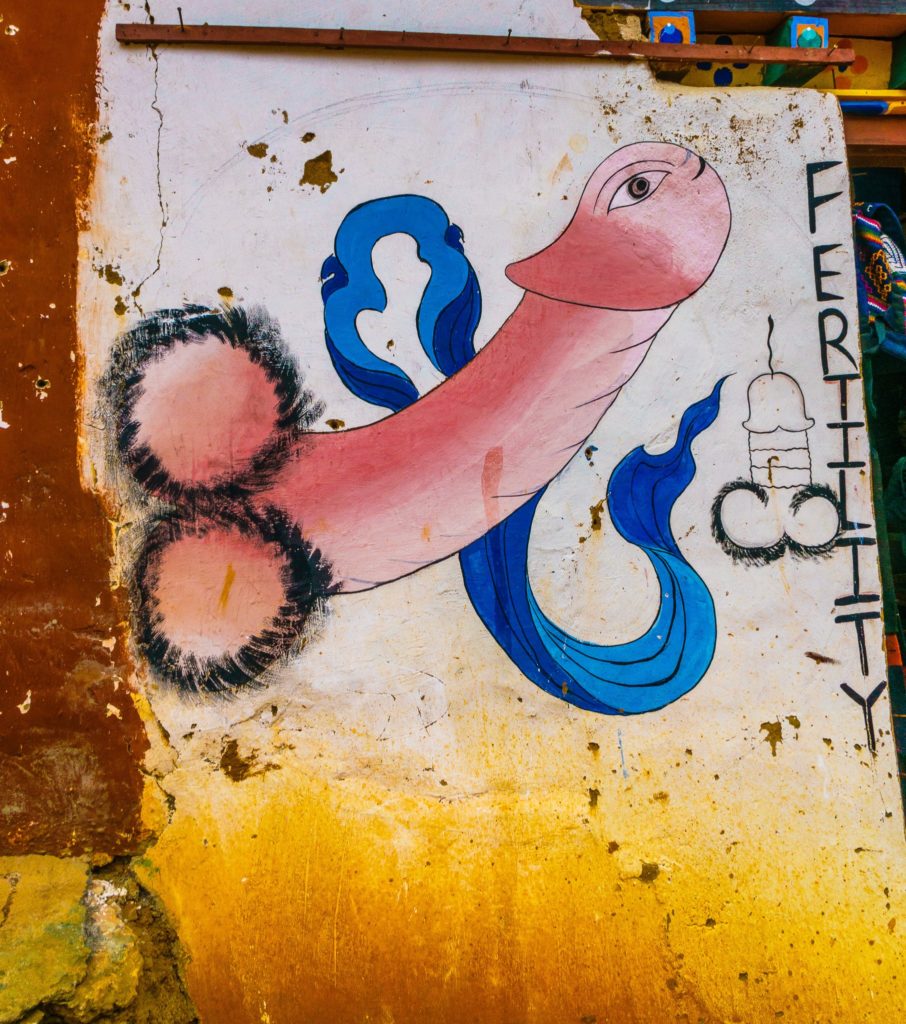
Bhutan: Penis in Punakha
Phallus in Punakha

The town of Punakha is also home to an unusual buddhist shrine, Chimi Lakhang, dedicated to Drupka Kunley. Kunley is better known as the Divine Madman as well as the “Saint of 5,000 Women.” Due to his teachings, you’ll see cartoon-like phalluses painted on homes in business in Punakha as well as other small towns, which are thought to keep demons at bay.

The Plane Landing
While it’s possible to travel overland via India, most visitors to Bhutan land in Paro, flying on either Druk Air or Bhutan Airlines.

Part is considered one of the world’s most dangerous airports due to the unique landscape and there are only ~25 pilots qualified to land there. Paro is surrounded by peaks as high as 18,000 feet as well as small hills close to the airport. Flights are only allowed to land and take off during the day.

Bhutan: Paro Airport
Paro international airport

If you fly from Delhi to Paro and sit on the left side of the plane, you’ll also have an amazing view of Mt. Everest.

I had 5 full days to explore to Bhutan and I look forward to returning one day, possibly during festival season. In a future article, I’ll share some practical tips and advice for booking a trip to Bhutan.

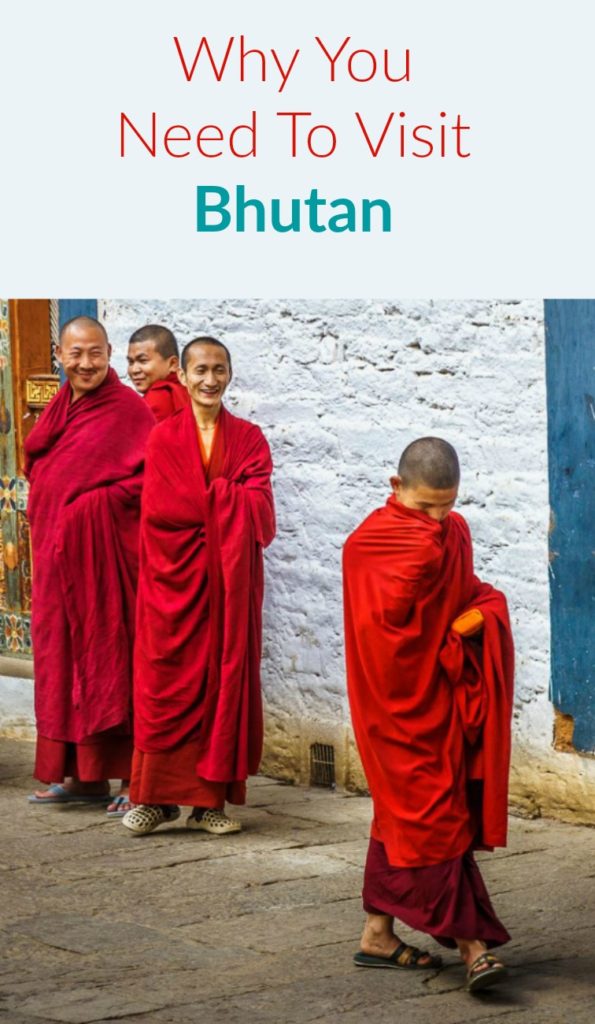
Why You Need to Visit Bhutan

18 Things Americans Need to Know Before Visiting Cuba

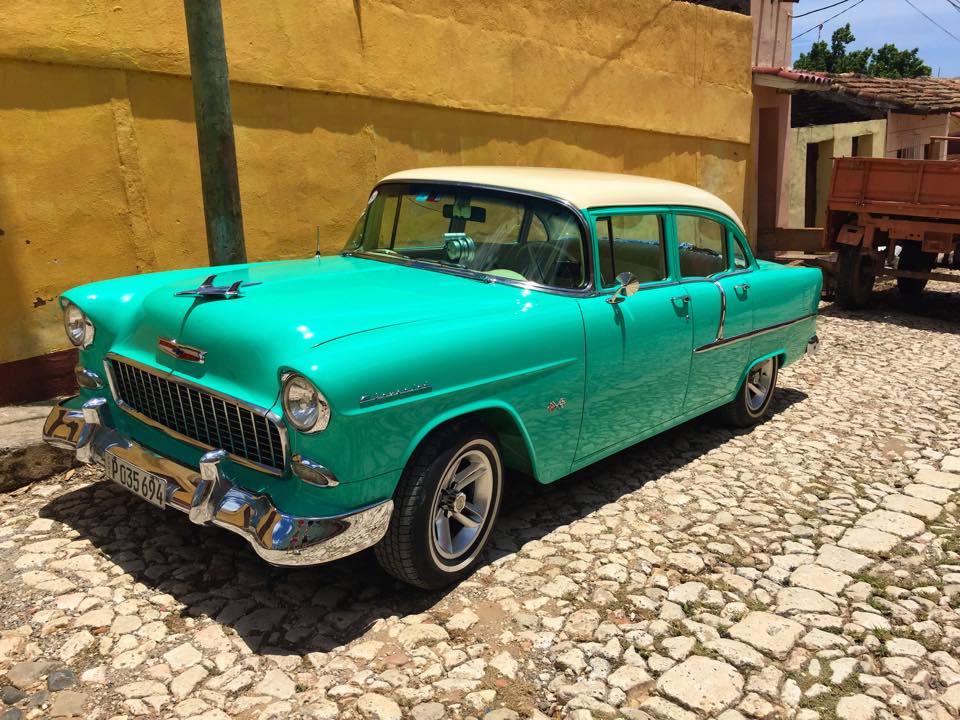
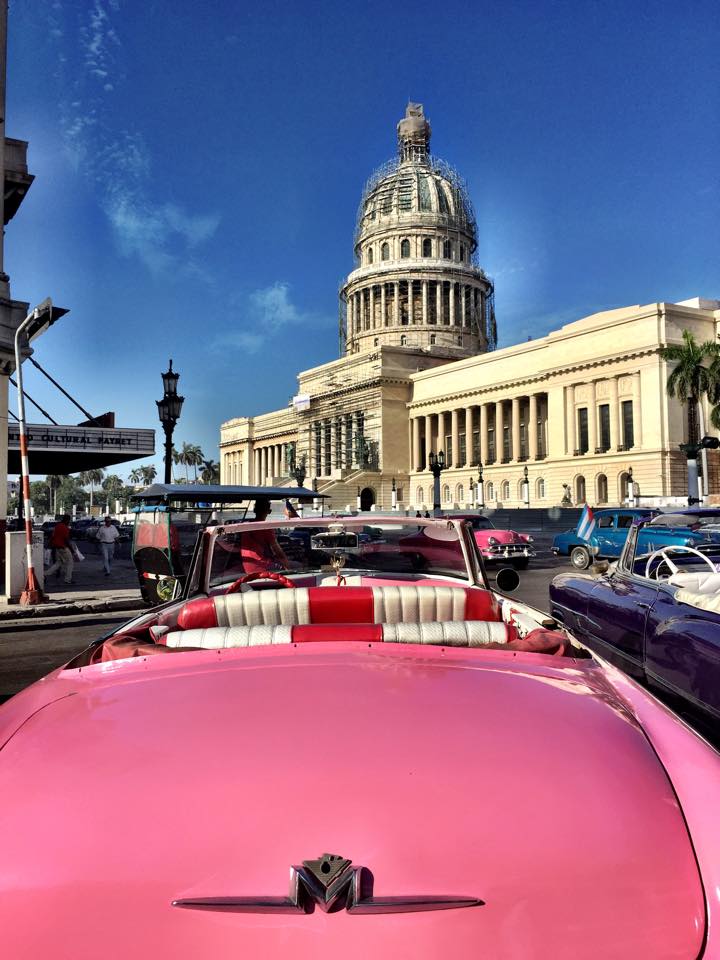
Car in Havana, Cuba
The cars in Havana are amazing

I visited Cuba for a week at the end of May with a small group tour company called Cuban Adventures. Growing up in Miami, I was exposed to Cuba culture (and the delicious food) at a young age and have always wanted to visit the country. I kept putting it off until I saw articles about huge masses of tourists visiting the island. I wanted a chance to visit before the country is officially opened up to Americans because I imagine it will start to change pretty quickly.

It’s not the easiest destination to visit but this beautiful and mysterious country is well worth a visit. I’ve included a few tips and pointers, especially for my fellow Americans.

Visiting legally or illegally. As of May 2015, Americans could not legally visit Cuba unless they fell into one of 12 categories, ranging from journalistic activity to support of the Cuban people. Prior to January 2015, Americans had to apply for a license in advance, using one of the 12 allowed categories. After January, the rules changed such that Americans no longer need prior approval the government trusts that you’re going for the reason you specified.

I’m not sure if this happens with all airlines but when I flew from Mexico City to Havana with Aeromexico, all the Americans were given a form and we had to select one of the twelve categories. Given that I have a travel blog, I chose journalism.

On the way home from Mexico City, the American customs officers never looked through my passport. Could’ve been due to the fact that I have Global Entry but even if they had, I was prepared to tell them that I went to Cuba under one of the 12 allowable categories. I have no idea if they would’ve pulled me aside or waved me through. None of the other Americans traveling on my tour had any issues re-entering the United States.

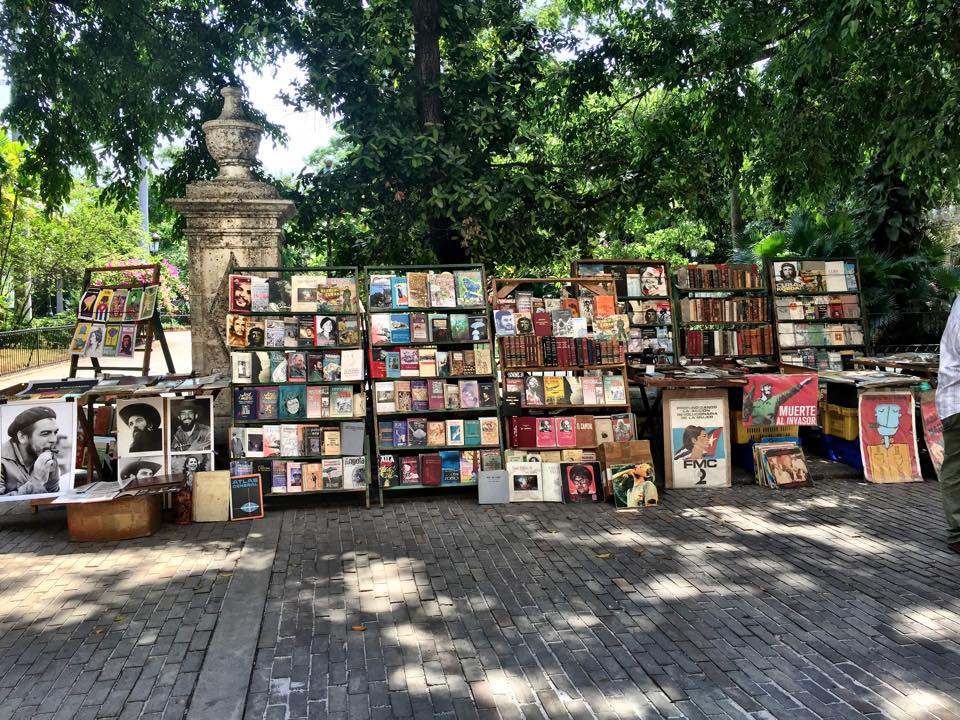
Outdoor bookstall in Havana

Bring Euros or Canadian dollars. While you can exchange US dollars in Cuba, you’ll get slapped with an additional 10% fee. Change money at your local bank and bring extra cash in case you have an emergency. As of May, there was no way for Americans to access money using ATMs or credit cards. A guy on my tour didn’t realize he needed to bring cash and tried several ATMs without success. Unfortunately, he only had US dollars so he had to pay the extra fee to exchange his money.

You can try calling your bank to see if they will allow you to access your money in Cuba but even then, I would recommend bringing cash.

Cuba has two currencies. One is the Cuban convertible peso (or CUC for short), which is aligned to the USD. One CUC = 1 USD. There is also the Cuban national peso (CUP), which is used by locals the same way Americans used ration stamps during the war. Locals can buy food and supplies with it and it’s rare for tourists to encounter this currently.

Do not exchange money at the airport. If you must exchange money, limit the amount to a small transaction. I had a driver waiting for me at the airport and as I walked over to the exchange desk, he warned me that tourists are frequently ripped off. Instead of exchanging a few hundred dollars, I opted to exchange $50 instead. I found out later that two ladies in my tour group had $200 stolen from them at the exchange desk.

Another helpful tip: Have your passport ready when handing over your cash. Regardless of where you travel, you almost always need a passport to exchange cash. If you hand over your money first and then start digging around for your passport, it gives the other person the opportunity to steal some of your money. After you’ve received your money, you should count it back just to make sure it’s accurate.

Gorgeous car on the streets of Trinida, Cuba

Your luggage may take forever to arrive. I waited for 2 ½ hours for my checked bag to arrive off the luggage belt. It was hot, humid and I was getting incredibly stressed out. The airport workers assured me that my bag would arrive any minute but I was losing patience. Cuba is not really the place where you want your luggage to get lost or delayed since it’s a bit more difficult to replace clothing, toiletries and other necessities. Turns out that the Havana airport, despite being fairly small, is just incredibly slow.

Bring all your basic necessities. Basic toiletries, like bug spray and sunscreen, can be difficult to find and/or expensive. Make sure you pack just about everything you need rather than relying on buying items once you’re in Cuba. My suitcase was a little heavier than normal since I brought more sunscreen, bug spray and shampoo than I actually needed but better safe than sorry. I also left behind the extra at various homestays since American products are difficult for Cubans to obtain.

The food is bland. This one surprised me since I’m used to the flavorful Cuban food served in Miami. The food in Cuba wasn’t bad but it was very bland and wasn’t what I was expecting. I wish packed a mini bottle of hot sauce with me since there is none in Cuba. I’m assuming that the food is bland due to the embargo since it’s so different from what you’d typically get at a Cuban restaurant in the U.S.

You need a visa. All tourists need a visa in order to enter Cuba. You can purchase a visa from the airline taking you to Havana but I opted to order mine online before I left from Cubaism. On arrival at the Havana airport, the immigration officer will stamp your card and give you half of it back. Do not lose this half of the card. I don’t know what happens if you lose it but I imagine you’ll be dealing with a lot of unwanted bureaucracy.

Print out your travel documents. Finding a working printer can be difficult in Cuba. Make sure you print out all the documents you need, such as airline confirmations, hotel reservations, travel insurance information, etc before you arrive.

Book a tour. While I’m sure it’s easy to travel solo, I opted to book a tour with Cuban Adventures since I wanted to see as much as possible in 8 days. The guide was spectacular and there was plenty of free time at each stop. Instead of staying at hotels, we stayed at casa particulars, which are houses owned and operated by individuals, sort of like a bed and breakfast. What’s nice about the casa particulars is that they help families earn extra income.

Passport stamp. Customs will more than likely not stamp your passport but you can always to make sure. Since I thought the chances of being caught on the way home were slim, I asked the customs officials to stamp my passport. I love collecting passport stamps and didn’t want to miss out on one.

The rum is delicious. Havana Club rum is sold everywhere and is often less expensive than buying a bottle of water. I may have returned with a few bottles in my luggage.

Insurance. You must have insurance when visiting Cuba and it’s possible the immigration officials will do a spot check to see if you have it. Not all American travel insurance providers will cover your trip to Cuba. To find ones that will, check out Insure My Trip.

Beware the Jineteros. Hustlers in Havana, also known as Jineteros, are common in Havana and there’s no way to avoid them. If you feel like someone is being overly friendly and they speak good English, chances are they’re a Jineteros and they’re looking for more than just good conversation. They’ll often suggest a nearby restaurant that you should join them at and if you do, you’ll get stuck with the bill. This happened to two women on my tour and it was an expensive evening for them.

The touts in Old Havana do get tiring after a while. I tried to relax in one of the central parks but had a stream of taxi drivers, musicians and other solicitors trying to get me to spend money. Thankfully, I didn’t see Jineteros in other towns I visited, such as Vinales, Cienfuegos or Trinidad.

Learn the language. While some Cubans speak English, many do not, especially as you leave Havana. None of the owners of the casa particulars I stayed at spoke any English at all. While I had a Spanish dictionary with me, I wish that I had brushed up on my Spanish before I left.

Internet access is limited. Internet access in Cuba is limited to higher-end hotels or a government-run location, where it will run you $5 for an hour. The speed is dial-up slow so don’t plan on uploading a lot of photos to Facebook or Instagram while you’re there. I used the Internet a few times while I was there to check in with my husband but otherwise, it was nice to detox from all things digital.

Take salsa lessons in advance. Salsa dancing is everywhere in Cuba. While you can take lessons once you arrive, it’s handy to have a few basic steps down so that you can participate without looking completely out of place.

Cell phone service. When I went to Cuba in May, there was no cell phone coverage anywhere on the island. The only two useful things my phone could do in Cuba were taking photos and waking me up.

While traveling in Cuba has its unique challenges, I definitely recommend a visit. The Cuban people are among the nicest I’ve encountered in all of my travels.

18 Things Americans Need to Know About Visiting Cuba